
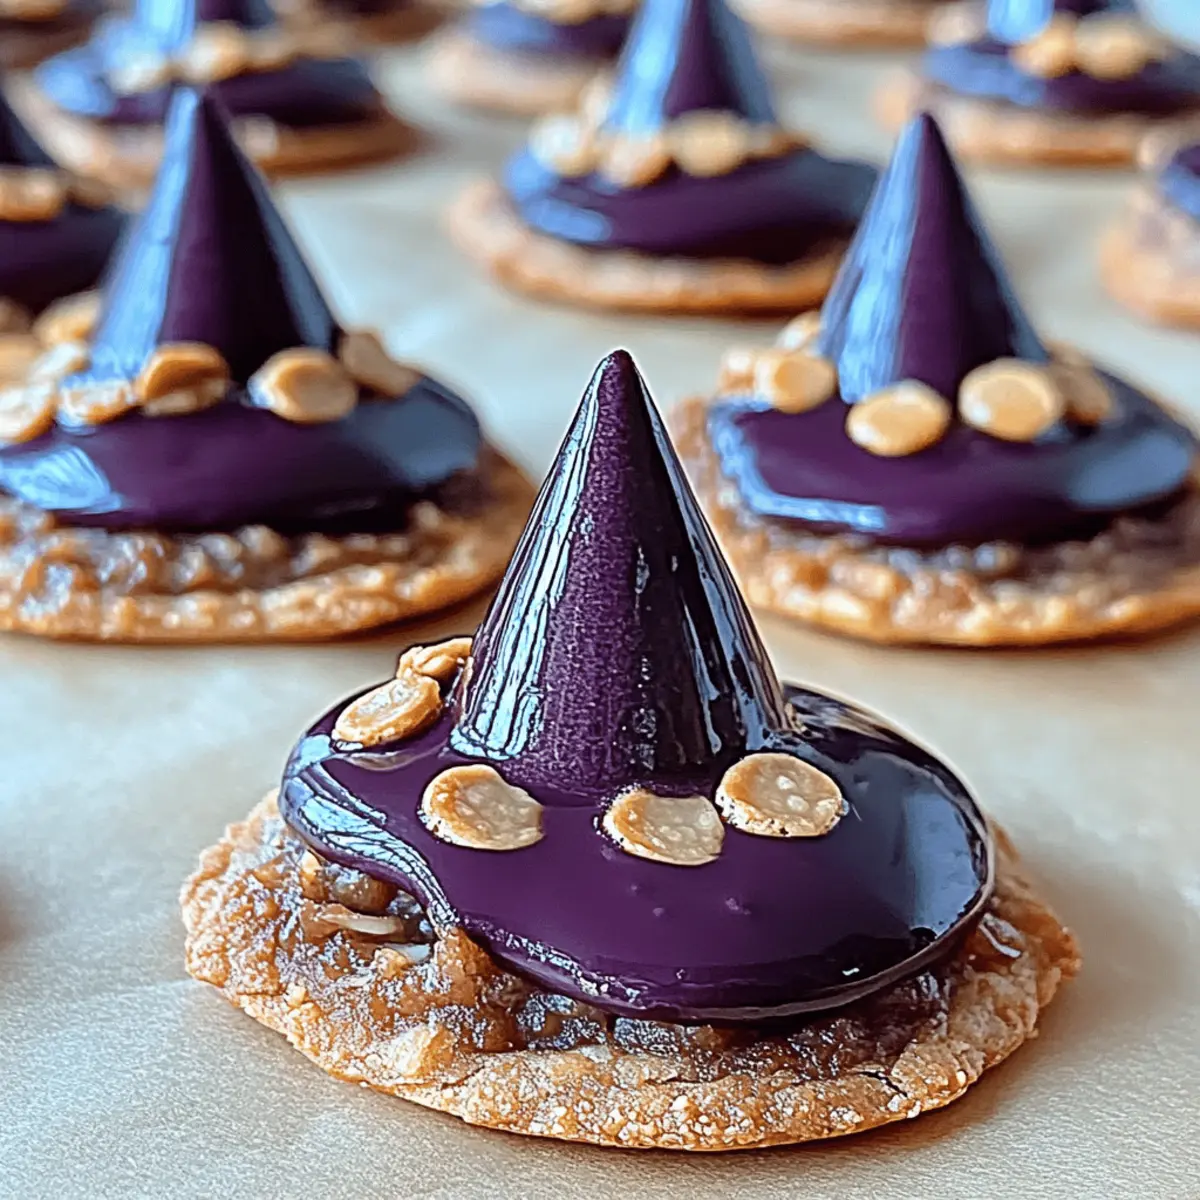
As I stood in my kitchen, the tempting aroma of melting chocolate and warm butter transported me straight to my happiest childhood memories. That's when I knew it was time to whip up a batch of my beloved Witchy Cookies! These delightful treats are not only a whimsical way to satisfy that sweet tooth, but they come together in under 30 minutes—perfect for busy days when you need a little magic in your life. With a scrumptious mix of semi-sweet chocolate chips and a soft, chewy center, they’re guaranteed to be a crowd-pleaser at any gathering or just a cozy night in. So, are you ready to cast a spell of flavor in your kitchen? Let’s dive into this enchanting recipe and bake up some joy!
Why Are Witchy Cookies So Magical?
Simplicity: These cookies come together in just 27 minutes, making them a perfect last-minute dessert.
Irresistible Flavor: The blend of brown and granulated sugars combined with rich chocolate chips creates a symphony of taste that will delight your palate.
Chewy Texture: Expect a wonderful contrast of textures, with a soft, chewy center encased by slightly crisp edges that are hard to resist.
Crowd-Pleaser: Bake them for gatherings or treat yourself at home; these cookies are sure to charm everyone who takes a bite!
Customizable: Feel free to swap out chocolate chips for nuts or add-ins, making each batch uniquely your own. Need a quick pairing for these cookies? Try them with a warm cup of homemade hot chocolate for an extra cozy experience!
Witchy Cookies Ingredients
For the Batter
- All-purpose flour – 2 ¼ cups create the perfect base for these Witchy Cookies.
- Baking soda – 1 teaspoon acts as a leavening agent, giving your cookies that delightful rise.
- Sea salt – ½ teaspoon enhances sweetness and balances the flavors beautifully.
- Unsalted butter – 1 cup at room temperature ensures a creamy texture and rich flavor.
- Granulated sugar – ¾ cup adds sweetness with a hint of crispiness to the cookie edges.
- Brown sugar – ¾ cup packed brings moisture and a deeper caramel flavor to the mix.
- Large eggs – 2 help to bind the ingredients while adding richness.
- Vanilla extract – 2 teaspoon infuses your cookies with a warm, inviting aroma.
For the Chocolate
- Chocolate chips – 2 cups (semi-sweet or dark) provide gooey pockets of chocolate that melt in your mouth. Substitute with your favorite mix-ins if desired!
Step‑by‑Step Instructions for Witchy Cookies
Step 1: Preheat the Oven
Begin by preheating your oven to 350°F (175°C). This crucial step ensures that when you place your Witchy Cookies in, they will rise and bake evenly. A properly heated oven is key to achieving a delightful, golden edge while maintaining a soft, chewy center.
Step 2: Prepare the Dry Ingredients
In a medium mixing bowl, whisk together 2 ¼ cups of all-purpose flour, 1 teaspoon of baking soda, and ½ teaspoon of sea salt. This mixture will be key to achieving the perfect texture in your cookies. Once combined, set this bowl aside while you prepare the wet ingredients, allowing the flavors to meld.
Step 3: Cream the Butters and Sugars
In a large mixing bowl, beat 1 cup of room temperature unsalted butter, ¾ cup of granulated sugar, and ¾ cup of packed brown sugar together using an electric mixer on medium speed. Continue mixing for about 3 minutes until the mixture is creamy and fluffy. This step will create a light and airy cookie base, essential for your Witchy Cookies.
Step 4: Add Eggs and Vanilla
Add 2 large eggs, one at a time, to the creamed butter and sugars, mixing well after each addition. Then, pour in 2 teaspoons of vanilla extract and blend until fully combined. The eggs will enrich the batter, and the vanilla will add a wonderful aroma to your Witchy Cookies, making the anticipation even sweeter.
Step 5: Combine Wet and Dry Ingredients
Gradually add the dry ingredients to your wet mixture, stirring gently with a spatula or wooden spoon until just combined. Be careful not to overmix as this can lead to tough cookies. You want a soft, slightly sticky dough that highlights the enchanting flavors of your Witchy Cookies.
Step 6: Fold in Chocolate Chips
Gently fold in 2 cups of semi-sweet or dark chocolate chips into the dough using a spatula. Ensure that the chocolate chips are evenly distributed throughout the mixture. This is where the magic happens, as the chocolate melts into delightful pockets within the soft cookie dough.
Step 7: Scoop and Bake the Cookies
Using a tablespoon or cookie scoop, drop spoonfuls of dough onto lined baking sheets, leaving enough space between each dollop. Bake in the preheated oven for 10-12 minutes, watching closely for the edges to turn golden while the centers remain soft. This is the perfect moment for that irresistible Witchy Cookie texture to emerge.
Step 8: Cool and Transfer
Once baked, remove the cookies from the oven and let them cool on the baking sheets for a few minutes. The cookies will continue to firm up slightly as they cool. Afterward, transfer them to wire racks to cool completely. Enjoy the magical aroma that fills your kitchen as your Witchy Cookies come to life!

Expert Tips for Witchy Cookies
-
Perfect Baking Time: Keep a close eye on your cookies baking for 10-12 minutes; they should be golden at the edges while remaining soft in the middle.
-
Room Temperature Ingredients: Use room temperature butter and eggs; this helps create a well-emulsified batter for your Witchy Cookies, ensuring the best texture.
-
Don’t Overmix: Mix the dry ingredients into the wet mixture until just combined. Overmixing can lead to tough cookies instead of the desired soft and chewy texture.
-
Chill the Dough: For thicker cookies, consider chilling the dough for 30 minutes before scooping. This helps prevent spreading while baking, keeping them nice and tall!
-
Mix-In Magic: Feel free to swap some chocolate chips for nuts, dried fruits, or even spices. Personalize your Witchy Cookies to make them uniquely yours!
Witchy Cookies Variations & Substitutions
Feel free to unleash your culinary creativity and make these cookies your own!
-
Nutty Boost: Swap 1 cup of chocolate chips for chopped nuts like walnuts or pecans for added crunch. Their rich flavor complements the sweetness beautifully.
-
Dairy-Free Delight: Use coconut oil instead of butter and a flax egg (1 tablespoon flaxseed meal + 2.5 tablespoon water) for a vegan option. You'll still get those chewy cookies everyone loves!
-
Gluten-Free Option: Substitute all-purpose flour with a 1:1 gluten-free flour blend for equally delicious cookies that cater to gluten sensitivities. Perfect for sharing with friends who are gluten-free!
-
Heavenly Spice: Add a teaspoon of ground cinnamon or nutmeg to the dry ingredients for a warm, aromatic spice kick. This twist brings cozy comfort and enhances the flavors.
-
Minty Magic: Replace vanilla extract with peppermint extract or add peppermint chips for a refreshing seasonal treat. Imagine the delightful surprise every time you bite into one!
-
Choco-Lovers Extra: Fold in a mix of chocolate chips and white chocolate chunks for a rich blend of flavors. The creaminess will create a captivating contrast in every bite.
-
Fruit Fusion: Toss in a handful of dried cranberries or cherries for a fruity tartness that balances out the sweetness. These pockets of flavor will melt hearts at any gathering!
-
Spicy Kick: For the adventurous, include a pinch of cayenne pepper or chili powder to bring some heat to your cookies. This unexpected twist adds a whole new layer of complexity to the flavor!
Trying these variations can complement your cookies with something delightful, so don’t hesitate to explore different combinations. For a perfect pairing, enjoying them with a warm cup of homemade hot chocolate adds a cozy vibe that enhances any occasion!
Make Ahead Options
These Witchy Cookies are perfect for meal prep enthusiasts looking to save time during busy weeks! You can prepare the cookie dough up to 24 hours in advance; simply follow the recipe up to the point of baking, then cover the bowl with plastic wrap and refrigerate. For longer storage, scoop the dough into individual portions on a lined baking sheet and freeze them for up to 3 days. When you're ready to bake, just place the frozen dough on a baking sheet while preheating your oven. This way, you'll have fresh, warm Witchy Cookies with minimal effort—just bake them for 10-12 minutes, and enjoy cookies that taste just as delicious as if they were made fresh that day!
What to Serve with Witchy Cookies
Imagine a cozy evening where delightful treats blend flawlessly with warm flavors and comforting drinks—these cookies bring that vision to life!
-
**Milk: ** A classic pairing, a chilled glass of milk perfectly complements the sweetness of the cookies and enhances their chocolatey goodness.
-
**Coffee: ** The rich flavors of your favorite brewed coffee contrast beautifully with the sweetness, creating a delightful café experience at home.
-
**Vanilla Ice Cream: ** Serve a scoop of creamy vanilla ice cream on the side for a luxurious treat that mixes warm and cold in every bite.
-
**Hot Chocolate: ** An indulgent mug of homemade hot chocolate adds an extra layer of comfort, making every bite feels like a warm hug.
-
**Fresh Berries: ** Juicy strawberries or raspberries provide a refreshing contrast to the rich cookies, adding a burst of tart flavor that enhances the sweetness.
-
**Nutty Trail Mix: ** A side of crunchy trail mix offers a delightful textural contrast with the soft cookies, bringing in earthy flavors that balance the sweetness.
-
**Spiced Chai Latte: ** The aromatic spices in a warm chai latte echo the enchanting flavors of the cookies, creating a cozy, flavorful pairing—perfect for a chilly day!
-
**Coconut Macaroon: ** These chewy coconut delights harmonize with the chocolate flavors in Witchy Cookies, offering a tropical twist that's simply delightful.
Indulging in your baked goodies doesn’t just mean eating cookies alone; create a magical experience with these enchanting pairings!
How to Store and Freeze Witchy Cookies
Room Temperature: Keep Witchy Cookies in an airtight container at room temperature for up to 3 days. They will maintain their delightful chewy texture while you savor every bite.
Fridge: For longer freshness, store the cookies in the fridge where they can last for up to 1 week. Just remember to let them come to room temperature before enjoying to regain that cozy bite.
Freezer: To freeze, place cooled cookies in a single layer in a freezer-safe bag or container for up to 3 months. When ready to indulge, thaw at room temperature or reheat in the oven for 5 minutes for that fresh-baked warmth.
Reheating: To reheat chilled or frozen Witchy Cookies, warm them in a preheated oven at 350°F (175°C) for about 5-7 minutes. They’ll be soft, warm, and utterly irresistible once more!

Witchy Cookies Recipe FAQs
What type of chocolate chips should I use?
I recommend using semi-sweet or dark chocolate chips for a rich flavor that perfectly complements the sweetness of the cookies. However, feel free to experiment with milk chocolate or even white chocolate for a different twist!
How do I know if my ingredients are fresh enough?
Make sure your baking soda is still active; you can test it by adding a teaspoon to vinegar—if it fizzes, it's good to go! For flour, check for any strange odors or dark spots, which can indicate staleness.
How can I store my Witchy Cookies?
Store your cookies in an airtight container at room temperature for up to 3 days to keep that delightful chewy texture. For longer storage, refrigerate them for up to 1 week. Just ensure they reach room temperature before enjoying!
Can I freeze Witchy Cookies, and how?
Absolutely! To freeze, allow the cookies to cool completely, then place them in a single layer in a freezer-safe bag or container for up to 3 months. For the best results, thaw them at room temperature or pop them in a preheated oven at 350°F (175°C) for about 5 minutes to regain that fresh-baked goodness.
What should I do if my cookies are too flat?
If your cookies spread too much, it could be due to using too warm butter. Next time, ensure your butter is softened, not melted, and consider chilling the dough for about 30 minutes before baking. This helps the cookies keep their shape beautifully!
Are Witchy Cookies safe for pets?
No, Witchy Cookies are not safe for pets due to the chocolate content. Chocolate can be toxic to dogs and cats, so it’s best to keep these enchanting treats out of their reach to ensure their health and safety.

Witchy Cookies: Enchantingly Delicious Chocolate Treats
Equipment
- mixing bowls
- whisk
- Electric Mixer
- spatula
- cookie scoop
- baking sheets
- wire racks
Ingredients
For the Batter
- 2.25 cups all-purpose flour
- 1 teaspoon baking soda
- 0.5 teaspoon sea salt
- 1 cup unsalted butter at room temperature
- 0.75 cup granulated sugar
- 0.75 cup brown sugar packed
- 2 large eggs
- 2 teaspoon vanilla extract
For the Chocolate
- 2 cups chocolate chips semi-sweet or dark
Instructions
Step-by-Step Instructions for Witchy Cookies
- Preheat your oven to 350°F (175°C).
- In a medium mixing bowl, whisk together the all-purpose flour, baking soda, and sea salt. Set aside.
- In a large mixing bowl, beat the unsalted butter, granulated sugar, and brown sugar together until creamy and fluffy, about 3 minutes.
- Add the eggs one at a time, mixing well after each addition. Then, stir in the vanilla extract until fully combined.
- Gradually add the dry ingredients to the wet mixture, stirring gently until just combined.
- Fold in the chocolate chips until evenly distributed throughout the dough.
- Drop spoonfuls of dough onto lined baking sheets, leaving space between each dollop. Bake for 10-12 minutes, or until the edges are golden.
- Let cool on the baking sheets for a few minutes before transferring to wire racks to cool completely.


Leave a Reply