
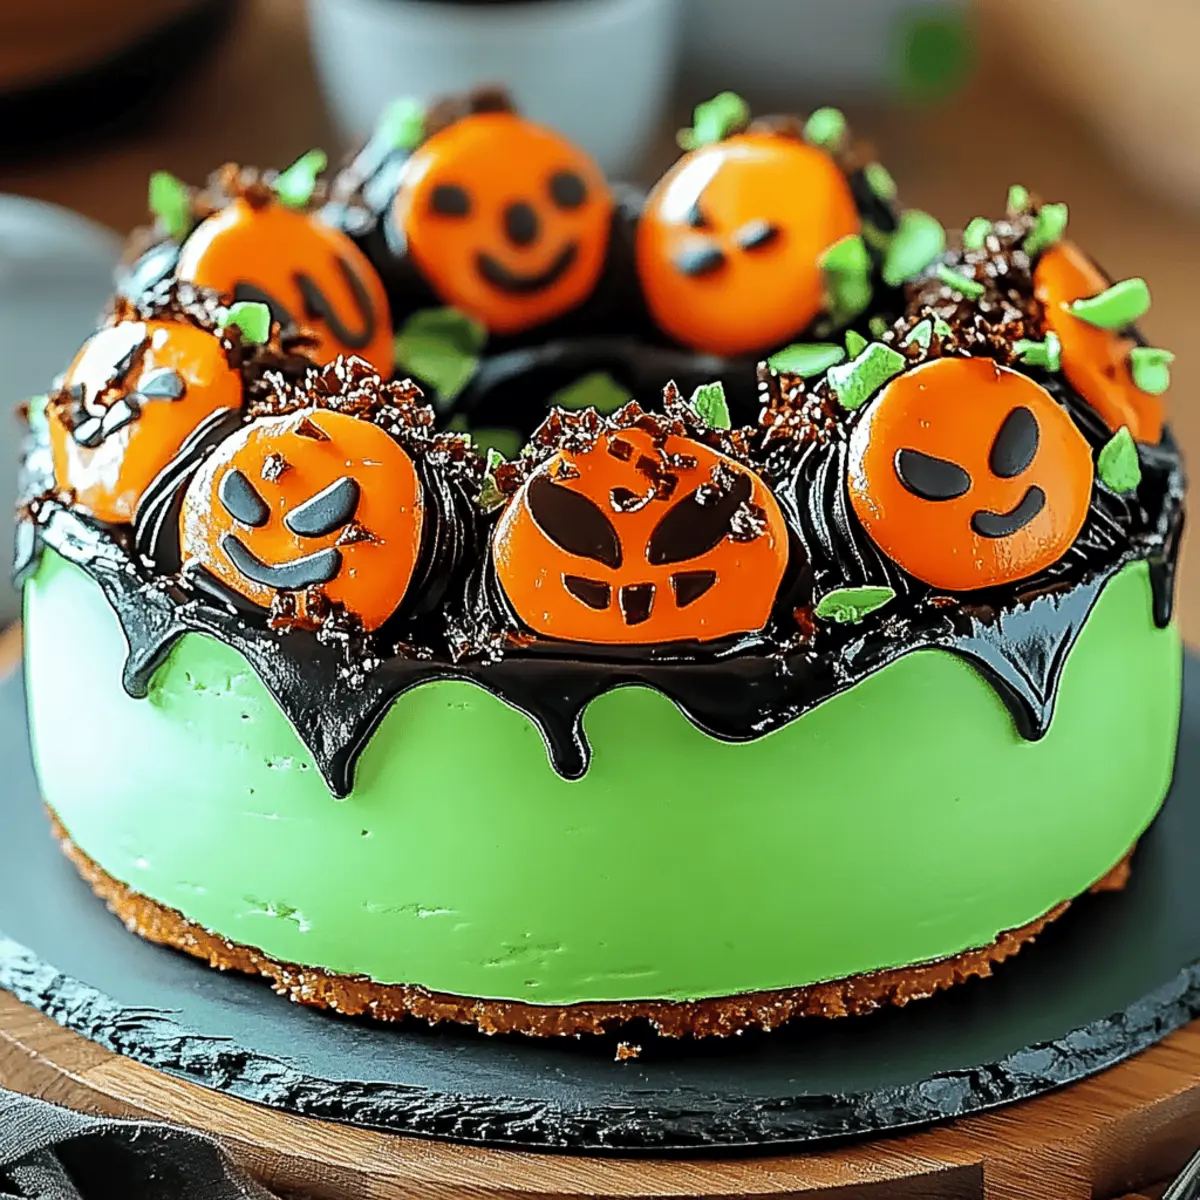
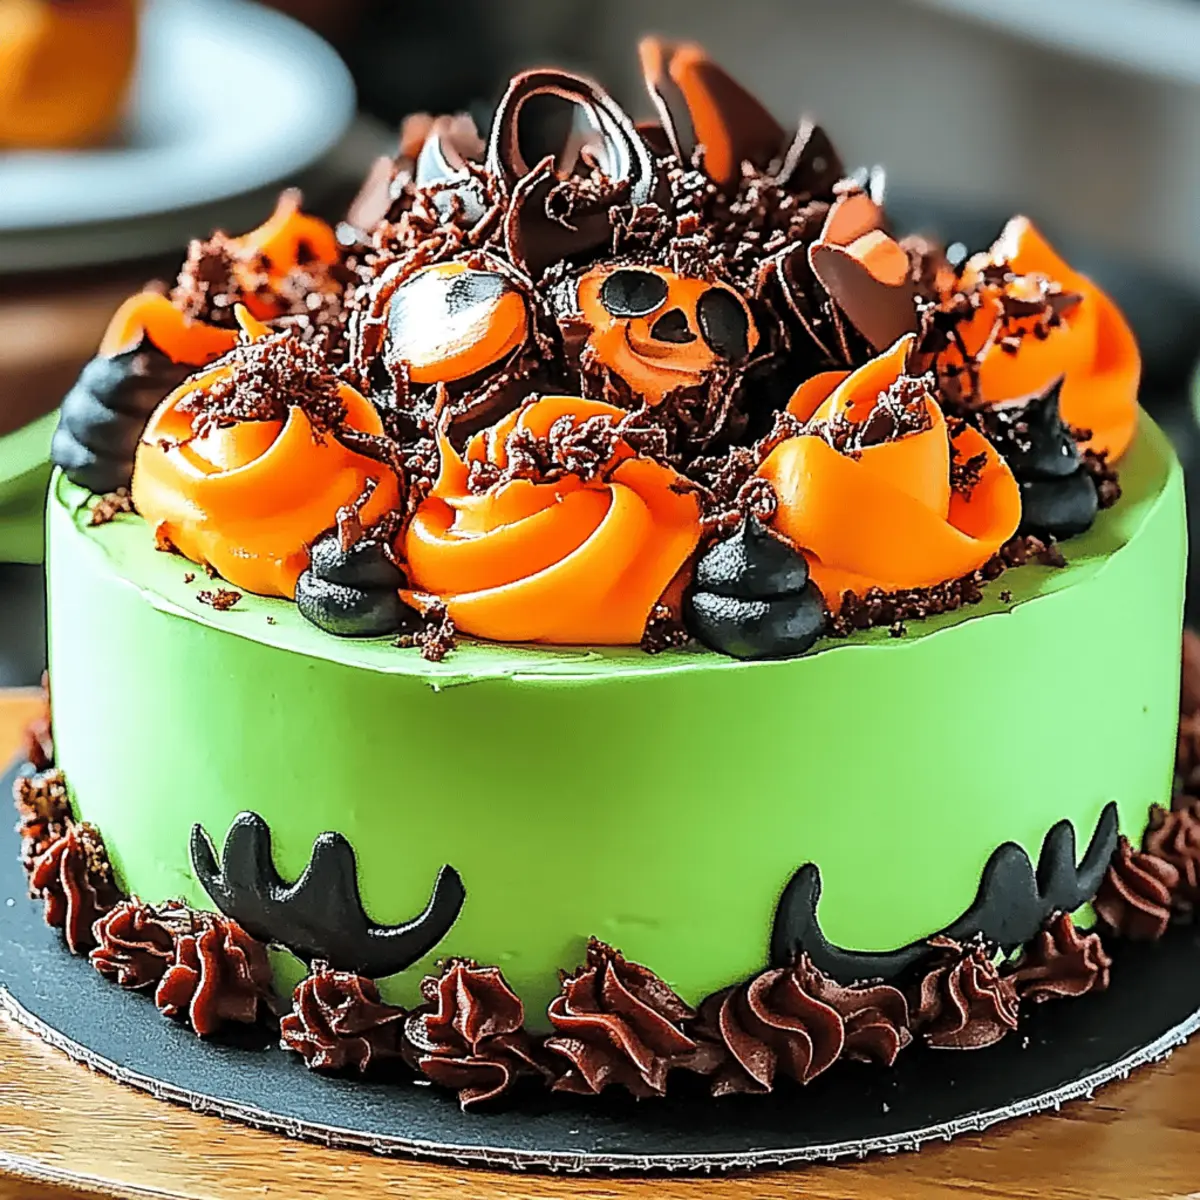
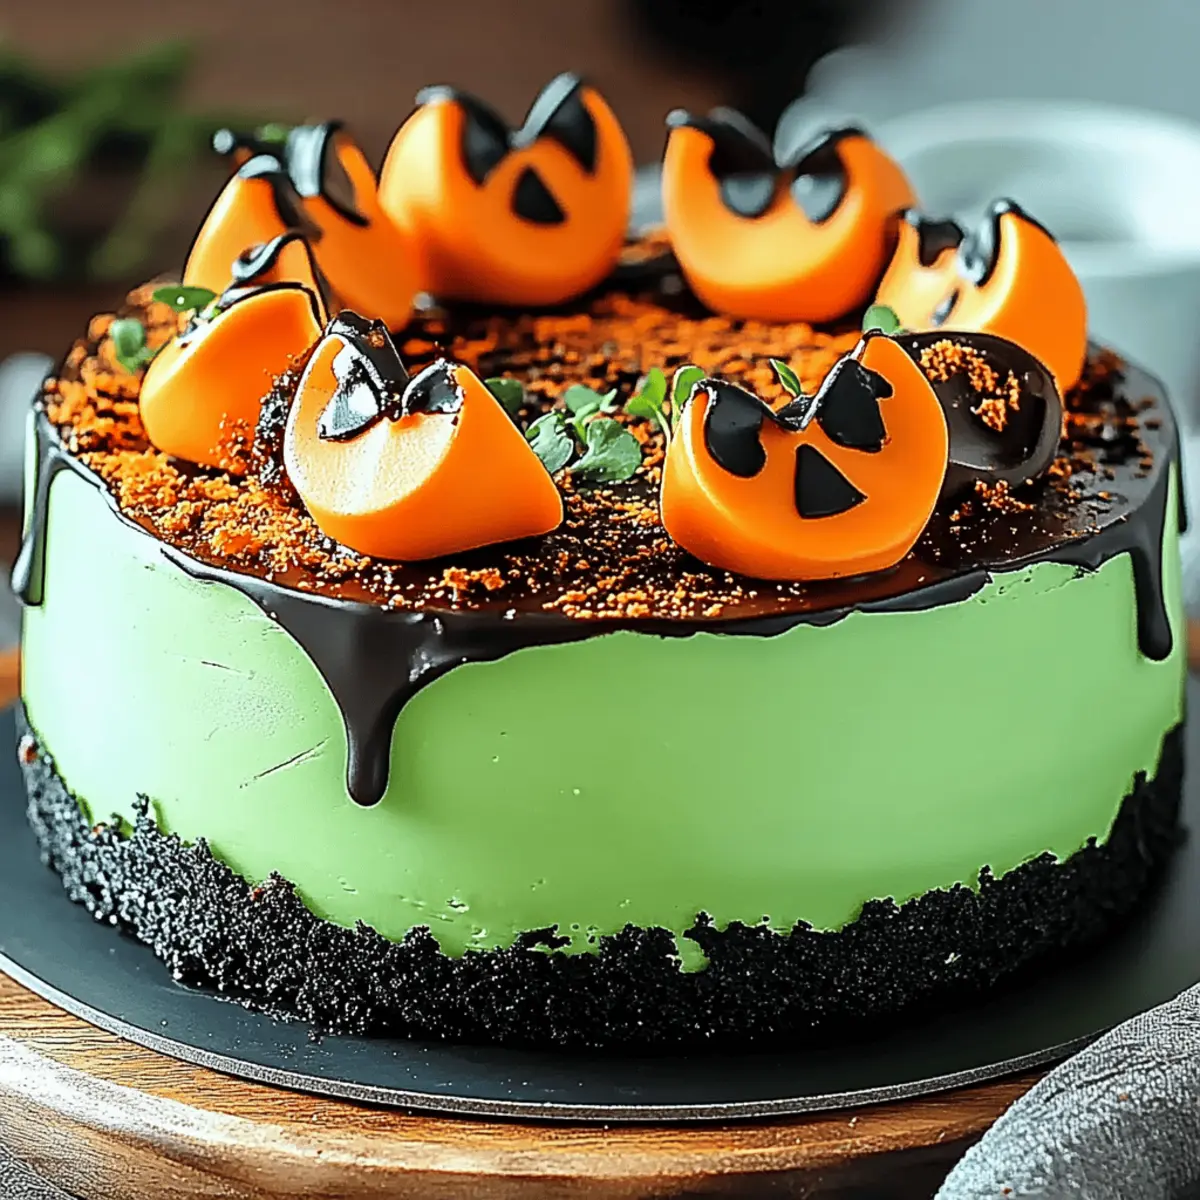
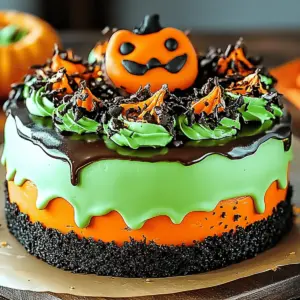
As I rummaged through my pantry, a vivid memory of childhood Halloween parties washed over me—a magical blend of costumes, laughter, and, of course, delicious treats. That's when I remembered my secret weapon: the Witch's Cauldron Cheesecake. This enchanting dessert turns an ordinary evening into a spellbinding experience, delighting both kids and adults alike. With its stunning green swirls and a buttery graham cracker crust, this cheesecake is not only a feast for the eyes but also a quick prep solution for busy home chefs. Plus, it makes for an impressive centerpiece at any gathering, ensuring that everyone will want a slice of the magic. Are you ready to conjure up something special in your kitchen? Let’s dive into this delightful recipe!
Why is this cheesecake a must-try?
Magical, This Witch’s Cauldron Cheesecake brings a touch of enchantment to your dessert table, making it perfect for Halloween or any festive occasion. Easy to Make, With straightforward steps, even beginner bakers can create this stunning treat without stress. Decadent Flavor, The creamy filling combined with a buttery graham cracker crust offers a rich experience you'll crave. Eye-Catching, Its vibrant green swirls make it a showstopper that’ll impress guests. Good for Sharing, This recipe serves 8, ideal for parties or gatherings—everyone will want a slice! Don’t forget to check out my tips for the perfect cheesecake here.
Witch’s Cauldron Cheesecake Ingredients
For the Crust
• Graham Cracker Crumbs – essential for a crunchy base that holds everything together.
• Melted Butter – binds the crumbs while adding richness and flavor.
• Granulated Sugar – enhances sweetness, balancing the creamy filling perfectly.
For the Filling
• Cream Cheese – the star of the show, delivering a smooth and luscious texture.
• Sour Cream – adds tanginess, making the cheesecake taste extra creamy!
• Eggs – crucial for structure; they help the filling set beautifully.
• Vanilla Extract – introduces a warm, inviting flavor that complements the rich filling.
• Green Food Coloring – adds that magical touch, turning your cheesecake into a festive masterpiece!
For the Topping
• Mint Leaves – a refreshing garnish that contrasts the richness of the cheesecake.
• Chocolate Shavings (optional) – for an elegant finish that adds both visual appeal and flavor.
Get ready to whisk your friends and family away with this delightful Witch’s Cauldron Cheesecake!
Step‑by‑Step Instructions for Witch’s Cauldron Cheesecake
Step 1: Preheat and Prepare the Crust
Preheat your oven to 350°F (175°C). In a medium bowl, combine 1.5 cups of graham cracker crumbs, ½ cup of melted butter, and ¼ cup of granulated sugar until well mixed. Transfer this mixture into a 9-inch springform pan, pressing it evenly across the bottom and slightly up the sides. Bake for about 10 minutes, or until the crust is lightly golden and fragrant.
Step 2: Make the Creamy Filling
In a large mixing bowl, use an electric mixer to beat together 24 oz of softened cream cheese and 1 cup of sour cream until the mixture is smooth and creamy. Gradually add 1 cup of granulated sugar, mixing until fully dissolved. Then, incorporate the eggs one at a time, blending thoroughly after each addition. Finish by stirring in 1 tablespoon of vanilla extract for added flavor.
Step 3: Add a Touch of Color
Divide the filling in half—set aside one portion and pour 1 tablespoon of green food coloring into the other half. Mix until the color is uniform, creating a vibrant green cheesecake filling. The contrasting colors will give your Witch’s Cauldron Cheesecake its magical appearance, perfect for Halloween or any festive gathering.
Step 4: Layer the Fillings
In your prepared springform pan, alternate spoonfuls of both the plain and green cheesecake fillings. Once layered, use a knife or skewer to gently swirl the colors together, creating a marbled effect. This step adds a whimsical touch, enhancing the enchanting look of your Witch’s Cauldron Cheesecake.
Step 5: Bake the Cheesecake
Carefully transfer the filled springform pan to the preheated oven. Bake for 55–60 minutes, or until the center is set but still has a slight jiggle. Once done, turn off the oven and crack the door open slightly, allowing the cheesecake to cool gradually inside for another 30 minutes, which helps prevent cracking.
Step 6: Chill the Cheesecake
After the gradual cooling, place the cheesecake in the refrigerator. Chill for at least 4 hours, though overnight is preferable for the best flavor and texture. Cover the cheesecake with plastic wrap to retain moisture while it sets, ensuring a creamy and delightful end result.
Step 7: Serve With Style
When you’re ready to serve the Witch’s Cauldron Cheesecake, carefully release and remove it from the springform pan. Garnish your creation with fresh mint leaves or optional chocolate shavings for added elegance. Cut into slices and present on a beautiful platter, perhaps drizzled with chocolate sauce or paired with seasonal fruit compote for a delightful final touch.
Make Ahead Options
Planning to whip up the enchanting Witch’s Cauldron Cheesecake ahead of time is a brilliant strategy for busy home cooks! You can prepare the graham cracker crust up to 24 hours in advance, simply covering it with plastic wrap once cooled to maintain its crunchiness. Additionally, the filling can be mixed and refrigerated for up to 3 days (just remember to cover it well to prevent any drying out). When you’re ready to bake, layer the filling in the crust and bake as directed. By chilling it overnight after baking, you ensure a perfect, creamy texture that's just as delightful when served, making this cheesecake a fabulous time-saver for your festive gatherings!
What to Serve with Witch’s Cauldron Cheesecake
Elevate your enchanting dessert experience with these delightful pairings that will complement the flavors and festive charm of the cheesecake.
- Creamy Vanilla Ice Cream: The smooth, cool texture enhances the richness of the cheesecake, creating a comforting balance that melts in your mouth.
- Fresh Berry Compote: A splash of tartness from mixed berries brightens the palate and adds a beautiful, colorful presentation atop your cheesecake.
- Chocolate Sauce Drizzle: A warm drizzle over each slice adds a luxurious touch that brings out the creamy flavors while deepening the dessert's decadence.
- Spiced Pumpkin Pie: Offering seasonal spice notes, pumpkin pie is a cozy companion to your witch’s cauldron dessert, perfect for fall gatherings!
- Mint-Infused Tea: The refreshing mint tea echoes the mint garnish on the cheesecake, enhancing the overall flavor profile while keeping it light.
- Salted Caramel Sauce: Drizzling this sweet-and-salty delight will elevate the dessert experience even further, making it truly irresistible.
- Autumn Fruit Salad: A colorful medley of seasonal fruits adds freshness and a crunchy texture that pairs beautifully with the cheesecake's creamy fill.
- Coffee or Espresso: A cup of rich coffee balances the sweetness of the cheesecake, making for a delightful end to any gathering.
How to Store and Freeze Witch’s Cauldron Cheesecake
Fridge: Store leftover cheesecake in the refrigerator for up to 3 days. Cover tightly with plastic wrap or place in an airtight container to keep it fresh and moist.
Freezer: If you want to enjoy this magical cheesecake later, freeze individual slices wrapped in plastic wrap and then foil for up to 2 months.
Thawing: To enjoy frozen Witch’s Cauldron Cheesecake, transfer it to the fridge and allow it to thaw overnight before serving. This helps retain its creamy texture.
Reheating: Don’t bake or heat the cheesecake; simply serve it chilled. For a delightful warm touch, pair with warm chocolate sauce or fruit compote just before serving.
Witch’s Cauldron Cheesecake Variations
Feel free to sprinkle your own magic on this recipe with these delightful customizations!
- Gluten-Free: Swap graham cracker crumbs for gluten-free alternatives like almond flour or crushed gluten-free cookies for a safe and equally delicious base.
- Dairy-Free: Use dairy-free cream cheese and coconut yogurt instead of sour cream. The flavors will still be rich and satisfying!
- Mint Chocolate: Add a teaspoon of mint extract to the filling for an extra touch of minty freshness complemented by a hint of chocolate shavings on top.
- Choco-licious: Incorporate ½ cup of melted chocolate into the filling for a fudgy twist that chocolate lovers will crave, enhancing both flavor and decadence.
- Spicy Kick: For a daring flair, add a pinch of cayenne pepper or cinnamon to the filling to add an unexpected warmth that contrasts beautifully with the sweetness.
- Fruit Infusion: Fold in some mashed ripe bananas or well-chopped strawberries into the filling for a fruity burst of flavor that’s perfect for spring or summer gatherings.
- Nutty Crunch: Top your cheesecake with crushed nuts like hazelnuts or pecans for a delightful crunch that adds texture and richness to each slice.
- Savory Touch: Try adding finely chopped rosemary or thyme to the crust for a unique savory twist that pairs surprisingly well with the sweet filling; it’s a flavor explosion!
With these variations, your Witch’s Cauldron Cheesecake can be uniquely yours, adding even more charm to this magical dessert! Make sure to explore the world of flavor by checking additional recipes like my berry cheesecake or chocolate ganache cheesecake for more tantalizing ideas.
Expert Tips for Witch’s Cauldron Cheesecake
- Room Temperature Ingredients: Ensure cream cheese and eggs are at room temperature for a smooth filling. Cold ingredients can lead to lumps in your cheesecake batter.
- Avoid Overmixing: Mix until just combined to prevent incorporating too much air, which can cause cracks during baking.
- Gradual Cooling: Allow the cheesecake to cool gradually in the oven after baking. This step minimizes the risk of cracks, giving you a beautiful finish.
- Chill Overnight: For the best flavor and texture, chill the Witch’s Cauldron Cheesecake overnight. This resting time allows the flavors to meld wonderfully!
- Garnish Wisely: Mint leaves or chocolate shavings not only enhance presentation but also add fresh flavor and texture. A little detail goes a long way!
Witch’s Cauldron Cheesecake Recipe FAQs
How do I select the right cream cheese for my cheesecake?
Absolutely! When choosing cream cheese, opt for full-fat, block-style cream cheese for the best texture and flavor. Avoid using the spreadable varieties, as they contain extra moisture that can affect the cheesecake's firmness. Check the expiration date to ensure freshness, and let it sit at room temperature for about 30 minutes before mixing for a smooth batter.
How do I store leftover Witch’s Cauldron Cheesecake?
Very! To store your leftover cheesecake, cover it tightly with plastic wrap or place it in an airtight container. It will stay fresh in the refrigerator for up to 3 days. Be sure to keep it chilled to maintain its creamy texture and flavors, ensuring your next slice is just as delicious!
Can I freeze slices of Witch's Cauldron Cheesecake?
Of course! Freezing is a great way to preserve your cheesecake for later enjoyment. Wrap each slice tightly in plastic wrap, then place them in a freezer-safe container or zip-top bag. This way, you can keep them for up to 2 months. Label them with the date for your convenience!
What should I do if my cheesecake cracks while baking?
Don't worry! If your cheesecake cracks, it's often a result of overmixing or a rapid temperature change. To prevent this, always mix the batter on low speed until just combined. During baking, ensure gradual cooling by leaving the oven door open slightly after the timer goes off. If you do have cracks, consider covering them with a fruit compote or whipped cream for a beautiful disguise!
Are there any dietary considerations for this recipe?
Absolutely! This cheesecake contains gluten from the graham cracker crumbs and dairy from the cream cheese and sour cream. If you have allergies or dietary restrictions, you can easily substitute gluten-free graham crackers or use dairy-free cream cheese and sour cream alternatives. As always, be sure to check labels for any allergens, especially if serving to guests.
How long can I keep the cheesecake in the freezer after making it?
Great question! You can keep the Witch’s Cauldron Cheesecake in the freezer for up to 2 months. For the best taste and texture, remember to wrap the slices tightly in plastic wrap and then eat within that timeframe. When you're ready to indulge again, just thaw it in the fridge overnight, and you'll have a delightful treat waiting for you.
Magical Witch’s Cauldron Cheesecake for Spooky Treats
Equipment
- 9-inch springform pan
- large mixing bowl
- medium bowl
- Electric Mixer
- knife or skewer
Ingredients
For the Crust
- 1.5 cups graham cracker crumbs essential for a crunchy base that holds everything together
- 0.5 cups melted butter binds the crumbs while adding richness and flavor
- 0.25 cups granulated sugar enhances sweetness, balancing the creamy filling perfectly
For the Filling
- 24 oz cream cheese the star of the show, delivering a smooth and luscious texture
- 1 cups sour cream adds tanginess, making the cheesecake taste extra creamy!
- 3 eggs crucial for structure; they help the filling set beautifully
- 1 tablespoon vanilla extract introduces a warm, inviting flavor that complements the rich filling
- 1 tablespoon green food coloring adds that magical touch, turning your cheesecake into a festive masterpiece!
For the Topping
- mint leaves a refreshing garnish that contrasts the richness of the cheesecake
- chocolate shavings optional for an elegant finish that adds both visual appeal and flavor
Instructions
Step-by-Step Instructions
- Preheat your oven to 350°F (175°C). In a medium bowl, combine graham cracker crumbs, melted butter, and granulated sugar until well mixed. Transfer mixture into a springform pan, pressing it evenly across the bottom and slightly up the sides. Bake for about 10 minutes, or until the crust is lightly golden and fragrant.
- In a large mixing bowl, use an electric mixer to beat together softened cream cheese and sour cream until smooth and creamy. Gradually add granulated sugar, mixing until fully dissolved. Incorporate eggs one at a time, blending thoroughly after each addition. Stir in vanilla extract.
- Divide the filling in half—set aside one portion and pour green food coloring into the other half. Mix until the color is uniform, creating a vibrant green filling.
- In your prepared pan, alternate spoonfuls of both the plain and green fillings. Use a knife or skewer to gently swirl the colors together, creating a marbled effect.
- Transfer the filled pan to the oven. Bake for 55–60 minutes, or until the center is set but still slightly jiggles. Turn off the oven and crack the door open slightly, allowing the cheesecake to cool gradually inside for another 30 minutes.
- After the gradual cooling, place the cheesecake in the refrigerator. Chill for at least 4 hours, preferably overnight.
- Carefully release and remove the cheesecake from the springform pan. Garnish with mint leaves or optional chocolate shavings. Cut into slices and serve.


Leave a Reply