
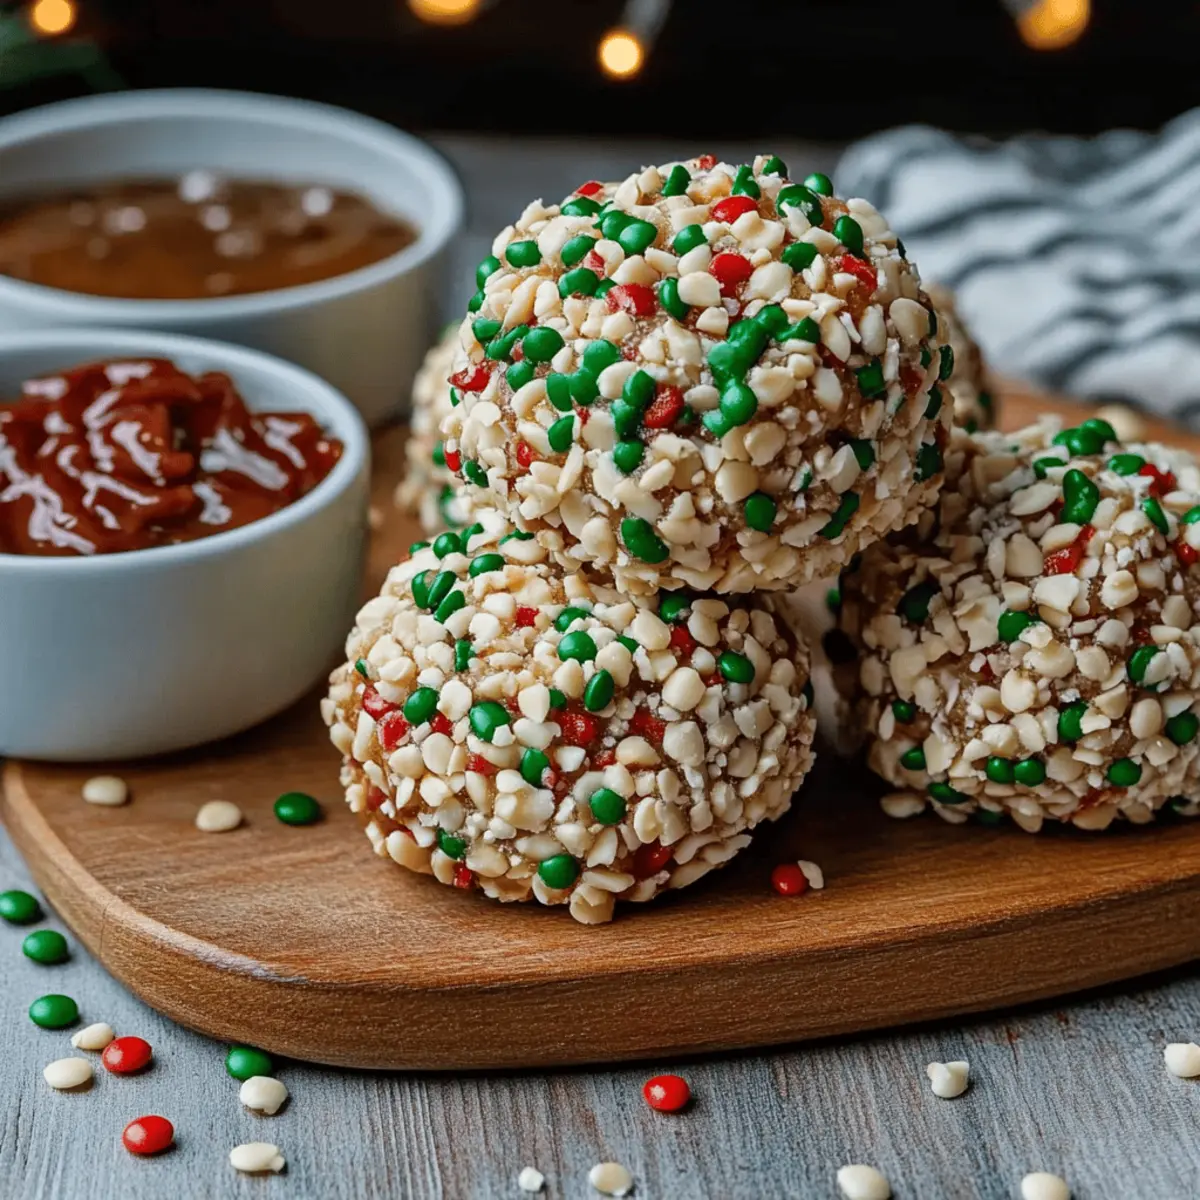
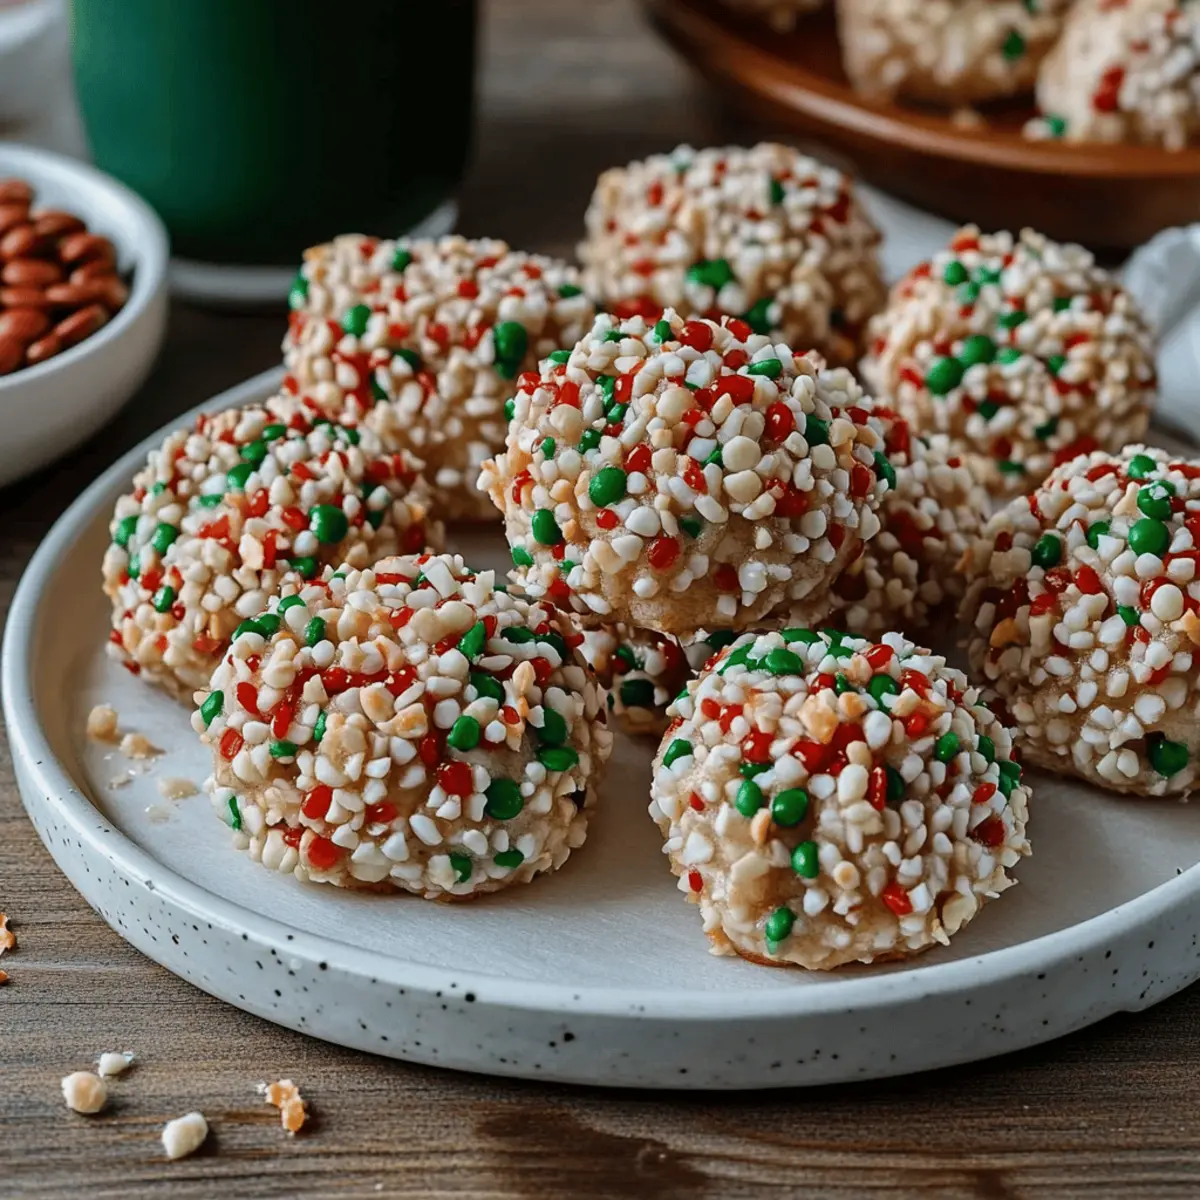
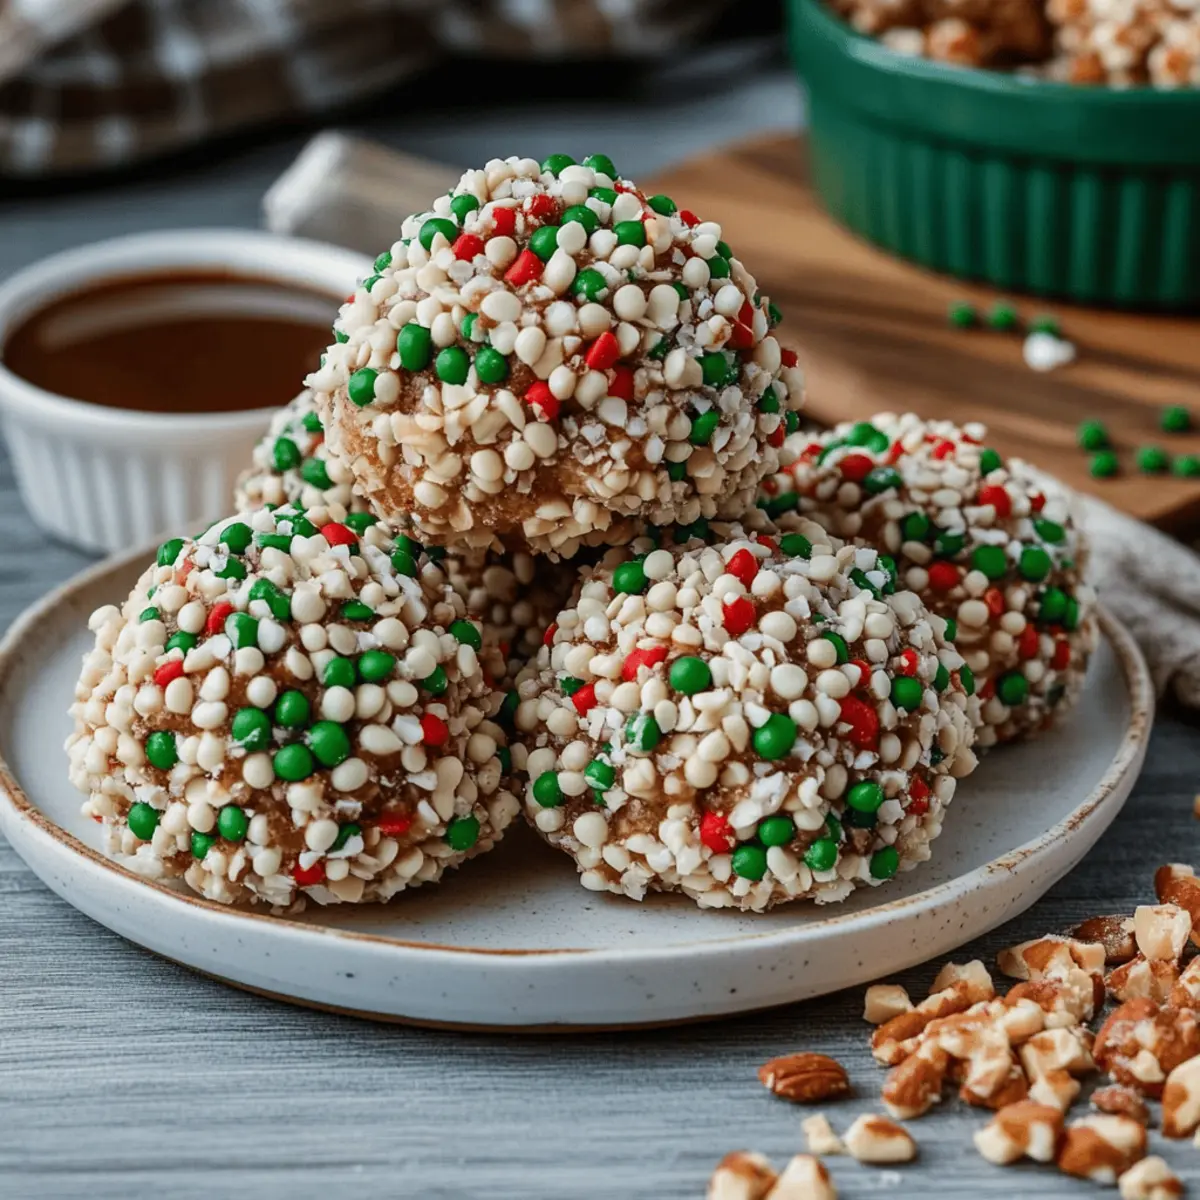
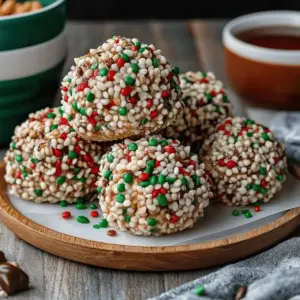
With a crunch that brings back childhood memories, these Chocolate Rice Krispie Balls are a delightful twist on a classic treat. As I mixed the creamy peanut butter and buttery goodness, the anticipation of a sweet reward filled the kitchen. These no-bake, easy-to-make bites are not only a crowd-pleaser for gatherings, but they also transform simple pantry staples into something extraordinary. Whether you’re looking for a quick dessert or a fun activity to share with the kids, this recipe is perfect for tapping into the joys of homemade indulgence. Plus, they are incredibly customizable, allowing you to mix in your favorite toppings or chocolates. Ready to create something delicious that will take you back in time? Let’s dive in!
Why Are These Rice Krispie Balls So Irresistible?
Simplicity makes these Chocolate Rice Krispie Balls a breeze to whip up—perfect for both novice cooks and seasoned chefs. Decadent flavor shines through with the rich peanut butter and velvety chocolate, creating a treat that satisfies sweet cravings. No-bake convenience means you can quickly prepare these tasty bites without the hassle of the oven, ideal for busy days. Versatile and customizable, feel free to add your favorite mix-ins or toppings, making each batch uniquely yours. Crowd-pleaser status is guaranteed—you'll want to make a double batch to share with family and friends!
Chocolate Rice Krispie Balls Ingredients
• Get ready to gather these pantry favorites for a delightful treat!
For the Base
- Creamy or crunchy peanut butter – This is the heart of the recipe, ensuring those irresistible chocolate rice krispie balls have a rich flavor.
- Unsalted butter – Using unsalted helps you control the sodium and enhances the sweetness.
- Powdered sugar – This gives the mixture its delightful sweetness and creamy texture.
- Pure vanilla extract – A splash of vanilla adds warm, inviting notes to the mix.
For the Crunch
- Rice Krispies cereal – The key ingredient that provides that satisfying crunch in every bite!
For the Coating
- Semi-sweet or dark chocolate chips – Choose your favorite for melting; this adds a luscious layer that’s simply divine!
- Vegetable oil – Optional, but a bit of oil can help achieve a smoother chocolate consistency for dipping.
Step‑by‑Step Instructions for Chocolate Rice Krispie Balls
Step 1: Cream the Base
In a large mixing bowl, combine 1 cup of creamy or crunchy peanut butter with 4 tablespoons of unsalted butter. Use a hand mixer or a sturdy spatula to blend until the mixture is smooth and well-combined. This step should take about 2-3 minutes and should result in a creamy, cohesive texture. The rich aroma of peanut butter will begin to fill your kitchen.
Step 2: Add Flavor
Next, stir in 1 teaspoon of pure vanilla extract, mixing thoroughly to infuse that warm, inviting flavor into the peanut butter mixture. Continue mixing for another minute until the vanilla is evenly distributed. You'll notice how the vanilla enhances the aroma, making it even more tempting.
Step 3: Sweeten It Up
Gradually add 2 cups of powdered sugar to the peanut butter mixture. Start by incorporating a little at a time, mixing well after each addition to prevent a powdered sugar cloud. This process should take about 3-5 minutes, resulting in a thick and creamy consistency that forms a soft dough-like mass.
Step 4: Fold in the Crunch
Gently fold in 1 ½ cups of Rice Krispies cereal into the sweet peanut butter mixture using a spatula. Ensure each piece of cereal is well-coated, which should take about 2 minutes. The mixture should become thick and chunky, with the Rice Krispies evenly distributed for that satisfying crunch in your Chocolate Rice Krispie Balls.
Step 5: Shape the Balls
Using a small cookie scoop or your hands, shape the mixture into 1-inch balls. Place each ball on a parchment-lined baking sheet, ensuring they are spaced apart to avoid sticking. This step usually takes about 5-10 minutes. The joy of creating these bite-sized treats should bring a smile to your face as you prepare them for chilling.
Step 6: Chill the Balls
Transfer the baking sheet to the freezer and chill the mixture for at least 20 minutes. This will help the balls firm up, making them easier to handle during the chocolate coating step. You’ll know they are ready when they feel solid to the touch but maintain a slight give.
Step 7: Melt the Chocolate
While the balls chill, melt 8-10 ounces of semi-sweet or dark chocolate chips in a double boiler or microwave. If using a microwave, heat in 30-second increments, stirring often, until the chocolate is completely melted and smooth. If the chocolate thickens too much, stir in 1-2 teaspoons of vegetable oil for a silkier texture.
Step 8: Coat with Chocolate
Once the chocolate is melted and smooth, remove the chilled balls from the freezer. Using a toothpick or dipping tool, dip each ball into the melted chocolate, ensuring it is fully coated. Allow the excess chocolate to drip off before placing them back on the parchment-lined baking sheet. This step allows the chocolate coating to form a beautiful and even layer around each Chocolate Rice Krispie Ball.
Step 9: Set the Coating
Lastly, let the chocolate-coated balls sit at room temperature or place them in the fridge to set completely, which will take about 15-20 minutes. You'll know they are ready when the chocolate has hardened and has a lovely sheen. They're now perfect for sharing or enjoying yourself!
Chocolate Rice Krispie Balls Variations
Feel free to personalize your Chocolate Rice Krispie Balls with these delightful twists that will cater to all your taste preferences!
-
Nut Butter Twist: Swap peanut butter for almond or cashew butter for a deliciously creamy alternative. Each nut butter brings its unique flavor profile, enriching this classic treat.
-
Crunchy Add-Ins: Add chopped nuts, mini pretzels, or crushed cookies to the Rice Krispies for extra texture and flavor. Experimenting with your favorite snacks will make each batch a new adventure!
-
Coconut Flavor: Incorporate shredded coconut into the mixture for a tropical flair. This twist not only enhances the flavor but also gives your treats an alluring visual appeal.
-
Spicy Heat: Mix in a pinch of cayenne pepper or chili powder for a surprising kick. This playful addition can elevate the richness of the chocolate, providing an exciting contrast to the sweetness.
-
Vegan-Friendly: Use almond butter, coconut oil, and dairy-free chocolate to create a vegan version of these delicious treats. You won’t miss the dairy as the flavors still sing harmoniously!
-
Fruit Infusion: Fold in dried fruits, such as cranberries or raisins, for a touch of natural sweetness. This encourages a delightful chewiness and pairs wonderfully with the chocolate coating.
-
Flavor Extracts: Experiment with different flavor extracts like almond or peppermint for a new aroma and taste profile. A simple swap can transform these rice krispie balls into seasonal delights.
-
Nut-Free Version: Replace peanut butter with sun butter for a nut-free option that’s still packed with flavor. This ensures everyone can enjoy the delicious taste without the worry!
These variations invite creativity in the kitchen, making the experience all the more enjoyable! Don’t forget, you can also enjoy these treats alongside a warm cup of hot chocolate or drizzle with homemade caramel for an extra touch of indulgence.
Make Ahead Options
These Chocolate Rice Krispie Balls are fantastic for meal prep, saving you time on busy days! You can prepare the base mixture—including peanut butter, butter, powdered sugar, and Rice Krispies—up to 24 hours in advance. Simply shape the mixture into balls and refrigerate them, ensuring they remain covered to prevent drying out. When you're ready to enjoy them, melt the chocolate and coat the chilled balls as directed; they'll taste just as delicious as when freshly made. Alternatively, these treats can be frozen for up to 3 months. Just thaw them in the fridge before dipping in chocolate for that perfect homemade touch!
Storage Tips for Chocolate Rice Krispie Balls
Room Temperature: Keep your Chocolate Rice Krispie Balls in an airtight container at room temperature for up to 1 week. They’ll remain delightfully chewy and flavorful!
Fridge: For longer freshness, store the balls in the fridge where they will last for up to 2 weeks. Just be sure to keep them in an airtight container to prevent them from absorbing other odors.
Freezer: You can freeze the Chocolate Rice Krispie Balls for up to 3 months. To do so, place them in a single layer on a baking sheet until firm, then transfer to a freezer-safe container with parchment paper in between layers to prevent sticking.
Reheating: For best taste, enjoy them straight from the fridge or freezer—not recommended to reheat, as they are best enjoyed chilled!
What to Serve with Chocolate Rice Krispie Balls
Indulging in these sweet treats is best paired with complementary dishes that elevate your snacking experience.
- Fresh Fruit Skewers: Juicy berries and tropical fruits add a refreshing contrast to the rich chocolate and peanut butter flavors, keeping your palate balanced.
- Milk or Dairy Alternatives: A glass of chilled milk, almond or oat milk pairs perfectly, enhancing the sweetness and richness of each crunchy bite.
- Chocolate-Dipped Pretzels: The salty crunch of pretzels complements the sweet chocolate, creating a satisfying sweet-and-salty harmony in every mouthful.
- Nutty Trail Mix: A handful of nut and seed mix brings a delightful crunch and healthy fats that pair well with the creaminess of the rice krispie balls.
- Coffee or Espresso: A warm cup of coffee balances the sweetness, creating a cozy treat experience, perfect for afternoon snacking or with your favorite dessert.
- Ice Cream: Creamy vanilla or a scoop of chocolate ice cream adds an indulgent touch, creating a dessert experience that feels special and delightful.
- Caramel Sauce Drizzle: Drizzling caramel on top of these chocolate rice krispie balls provides an extra layer of gooey sweetness that’s utterly irresistible.
- Coconut Macaroons: These chewy, coconut treats can enhance the texture experience, providing a lovely tropical twist alongside the classic crunch of the rice krispie balls.
- Homemade Whipped Cream: A dollop of lightly sweetened whipped cream can make your snack feel even more special, offering a light and fluffy companion to the delightful chocolate bites.
Expert Tips for Chocolate Rice Krispie Balls
- Peanut Butter Choice: Use creamy peanut butter for a smooth texture, or crunchy for added bites of flavor and fun!
- Chilling Time: Don’t rush the chilling step! Chilling for at least 20 minutes ensures the balls hold their shape for easier coating in chocolate.
- Chocolate Melting: Be cautious when melting chocolate; stir often to prevent burning. Adding a bit of vegetable oil can keep it smooth for dipping.
- Coating Technique: Use a toothpick for precise dipping; swirl the balls gently to ensure an even chocolate coat and minimize excess.
- Storage Tips: Keep your Chocolate Rice Krispie Balls in an airtight container at room temperature for up to a week or in the fridge for longer freshness.
Chocolate Rice Krispie Balls Recipe FAQs
How do I choose the best peanut butter for the recipe?
Absolutely! Choose creamy peanut butter for a smooth texture or crunchy if you prefer a little extra bite. Ensure the peanut butter is fresh and without dark spots or an oily top signifying it’s been sitting too long. Look for natural varieties with no added sugars for a cleaner taste.
How should I store leftover Chocolate Rice Krispie Balls?
To store your delicious treats, keep them in an airtight container at room temperature for up to 1 week. For longer storage, place them in the fridge for up to 2 weeks while still maintaining their flavor. If you prefer, you can freeze them for up to 3 months, ensuring to layer them with parchment paper in a freezer-safe container to prevent sticking.
Can I freeze Chocolate Rice Krispie Balls?
Yes! To freeze your Chocolate Rice Krispie Balls, first, arrange them in a single layer on a baking sheet and freeze until they are firm. This usually takes about 1-2 hours. After they’re solid, transfer them to a freezer-safe container, layering parchment paper between balls to prevent sticking. Enjoy them fresh from the freezer for a delightful chilled treat!
What if my chocolate is too thick for dipping?
Very! If you find your melted chocolate is too thick for easy dipping, start by adding 1-2 teaspoons of vegetable oil and stir until smooth. If it's still not the desired consistency, you can add a pinch of shortening or melt it a bit longer, stirring continuously to avoid scorching.
Are there any allergy considerations I should keep in mind?
Yes! This recipe contains peanuts, which are a common allergen. If you’re making these for a gathering, it’s always best to check with guests for any nut allergies. You could use sunflower seed butter as an alternative for a nut-free version that’s still delicious!
Irresistible Chocolate Rice Krispie Balls for Sweet Cravings
Equipment
- mixing bowl
- Hand mixer
- spatula
- cookie scoop
- parchment paper
- double boiler
Ingredients
For the Base
- 1 cup Creamy or crunchy peanut butter This is the heart of the recipe
- 4 tablespoons Unsalted butter Enhances sweetness
- 2 cups Powdered sugar Gives the mixture its sweetness
- 1 teaspoon Pure vanilla extract Adds warm notes to the mix
For the Crunch
- 1.5 cups Rice Krispies cereal Provides satisfying crunch
For the Coating
- 8-10 ounces Semi-sweet or dark chocolate chips Adds a luscious layer
- 1-2 teaspoons Vegetable oil Optional for smoother consistency
Instructions
Step-by-Step Instructions
- In a large mixing bowl, combine 1 cup of creamy or crunchy peanut butter with 4 tablespoons of unsalted butter. Blend until smooth and well-combined.
- Stir in 1 teaspoon of pure vanilla extract, mixing thoroughly to infuse flavor.
- Gradually add 2 cups of powdered sugar, mixing well after each addition to prevent clouding.
- Fold in 1 ½ cups of Rice Krispies cereal until evenly coated.
- Shape the mixture into 1-inch balls and place on a parchment-lined baking sheet.
- Chill in the freezer for at least 20 minutes.
- Melt 8-10 ounces of chocolate chips and stir in 1-2 teaspoons of vegetable oil if needed.
- Dip each ball into the melted chocolate until fully coated and allow excess to drip off.
- Let the chocolate-coated balls sit at room temperature or in the fridge to set for 15-20 minutes.


Leave a Reply