
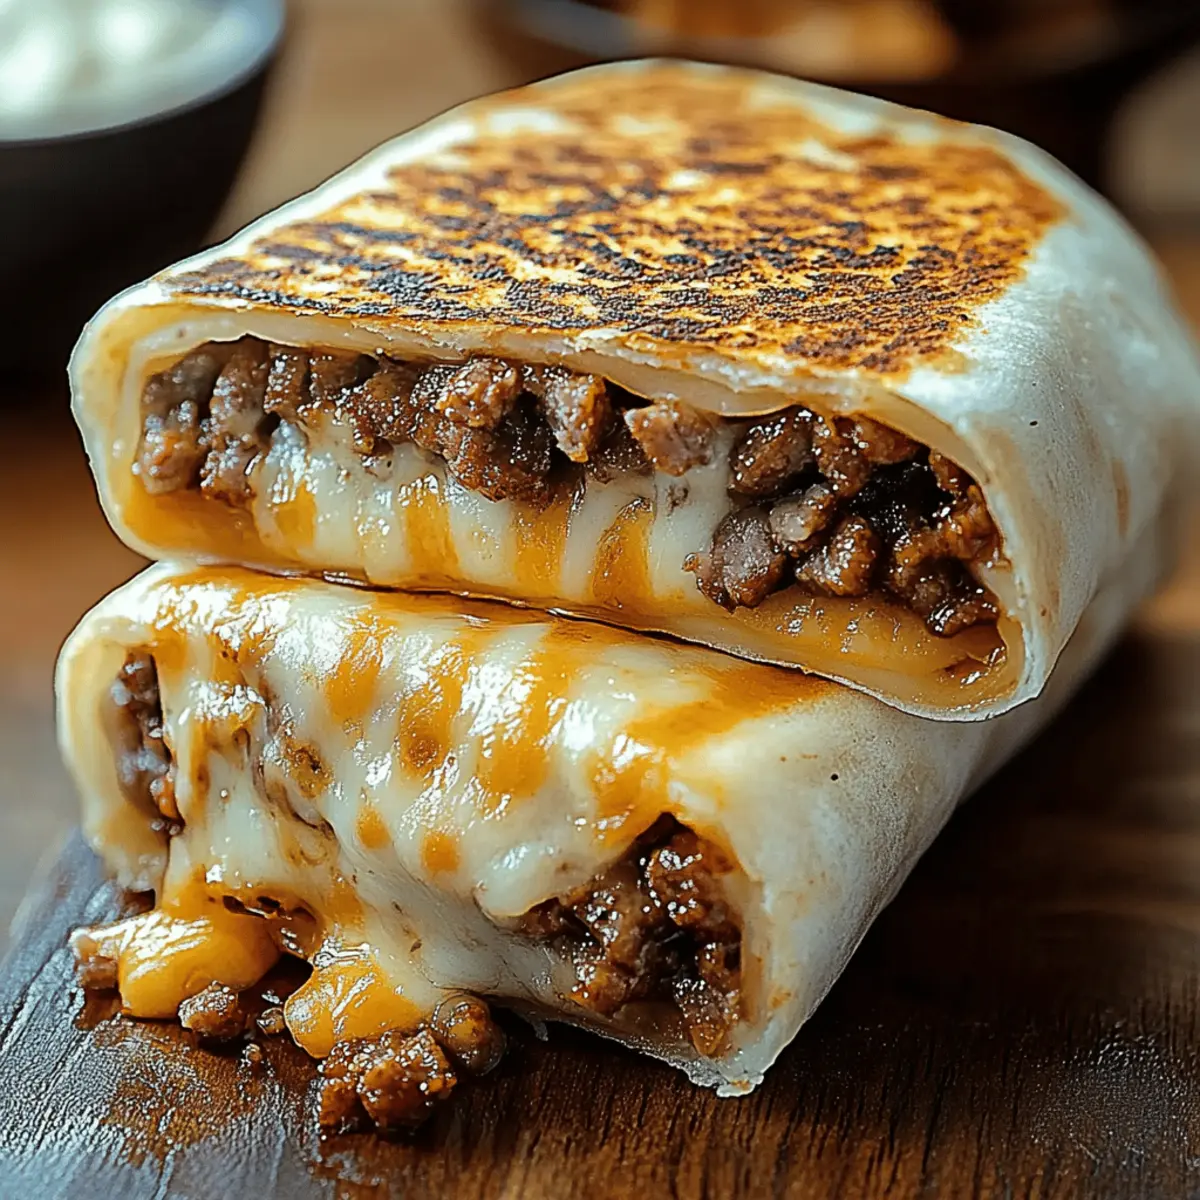
The first time I wrapped a cheesy burrito in a warm tortilla, I felt like I had just discovered a secret menu item designed for ultimate comfort. This Grilled Cheese Burrito is a delightful fusion of flavors that takes traditional burrito goodness to a whole new level, thanks to layers of seasoned beef, melty nacho cheese, and a smoky chipotle kick. With just 25 minutes of your time, this crowd-pleasing dish is not only quick to whip up but also perfect for those busy weeknights when nothing but a homemade hug of a meal will do. You can customize it with your favorite fillings or add extra crunch with some fresh toppings, making it the kind of recipe that keeps your family coming back for more. Ready to dive into this cheesy goodness? Let’s get cooking!
Why is the Grilled Cheese Burrito a Must-Try?
Simplicity: Whipping up this dish requires minimal cooking skills—perfect for both seasoned chefs and new cooks alike.
Bold Flavors: Each bite is a flavor explosion with seasoned beef, nacho cheese, and a hint of smokiness from the chipotle sauce.
Quick Dinner: With just 25 minutes from prep to plate, this recipe fits seamlessly into your busy lifestyle.
Customizable: Feel free to experiment—add black beans, jalapeños, or even chicken for extra flair. You can even try a vegan version with dairy-free cheese!
Crowd-Pleasing: Bring friends and family together with this fun and delicious meal that's guaranteed to satisfy cravings. Check out our storage tips for leftovers for amazing next-day enjoyment!
Grilled Cheese Burrito Ingredients
For the Filling
• Ground beef – a flavorful base that absorbs all the delicious seasonings.
• Taco seasoning – adds that authentic taco flavor in one convenient packet.
• Cooked white rice – provides substance and helps balance the flavors.
• Sour cream – for a creamy texture and tangy kick to enhance the taste.
• Nacho cheese sauce – adds that gooey factor, making your grilled cheese burrito extra luscious.
• Chipotle sauce – injects a smoky heat that takes the flavor up a notch.
For the Cheesy Goodness
• Shredded cheddar cheese – provides a classic cheesy flavor that melts beautifully.
• Shredded mozzarella – adds a stretchy quality that makes every bite delightful.
For the Assembly
• Large flour tortillas – the perfect vessel to wrap up all the scrumptious fillings.
• Butter or oil for grilling – ensures a crispy, golden exterior that you won't resist.
This Grilled Cheese Burrito is a dish you'll want to make again and again—get ready to enjoy every delicious bite!
Step‑by‑Step Instructions for Grilled Cheese Burrito
Step 1: Brown the Meat
In a large skillet over medium heat, add the 1 lb of ground beef. Cook for about 7-10 minutes, breaking it up as it browns, until there is no pink remaining. Drain any excess grease before adding 1 packet of taco seasoning and ¼ cup of water. Stir well and let it simmer for 5 minutes, allowing the flavors to meld beautifully.
Step 2: Prepare the Tortillas
While the beef is simmering, warm your tortillas for flexibility. You can either heat them in a dry skillet over low heat for about 30 seconds on each side or microwave them wrapped in a damp paper towel for about 20-30 seconds. This step ensures that your tortillas are pliable and easy to fold for the Grilled Cheese Burrito.
Step 3: Assemble the Burrito
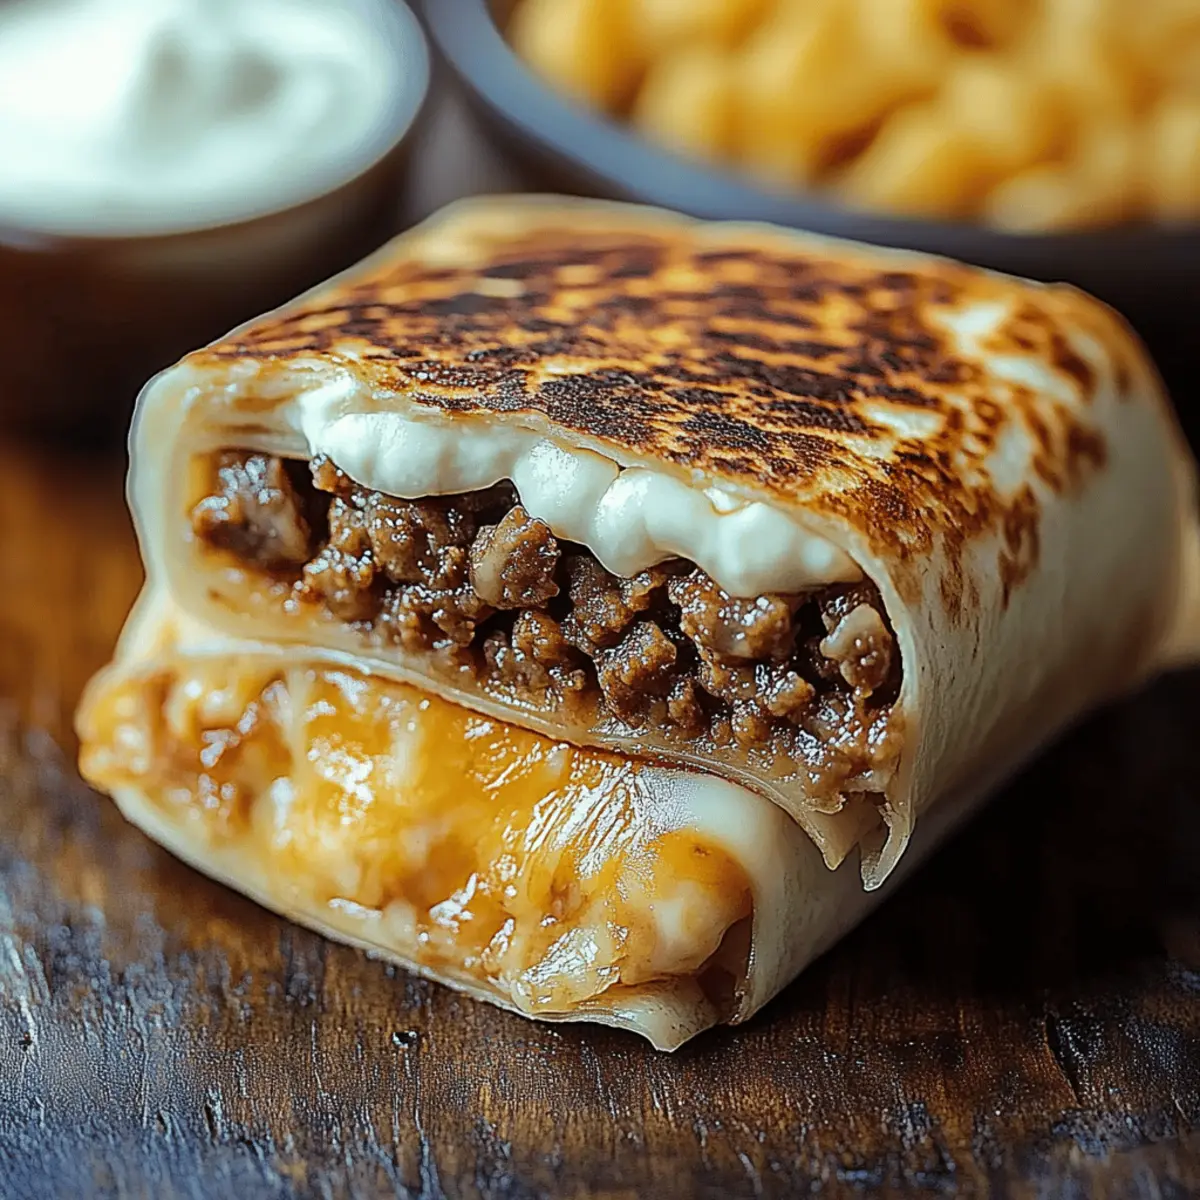
Take a warm tortilla and lay it flat on a clean surface. Begin layering with about ¼ cup cooked white rice, followed by the seasoned beef mixture, a drizzle of ½ cup nacho cheese sauce, and ¼ cup chipotle sauce. Add a dollop of ½ cup sour cream, then sprinkle with 1 cup of shredded cheddar cheese and 1 cup of shredded mozzarella for the ultimate cheesy flavor.
Step 4: Cook the Burrito
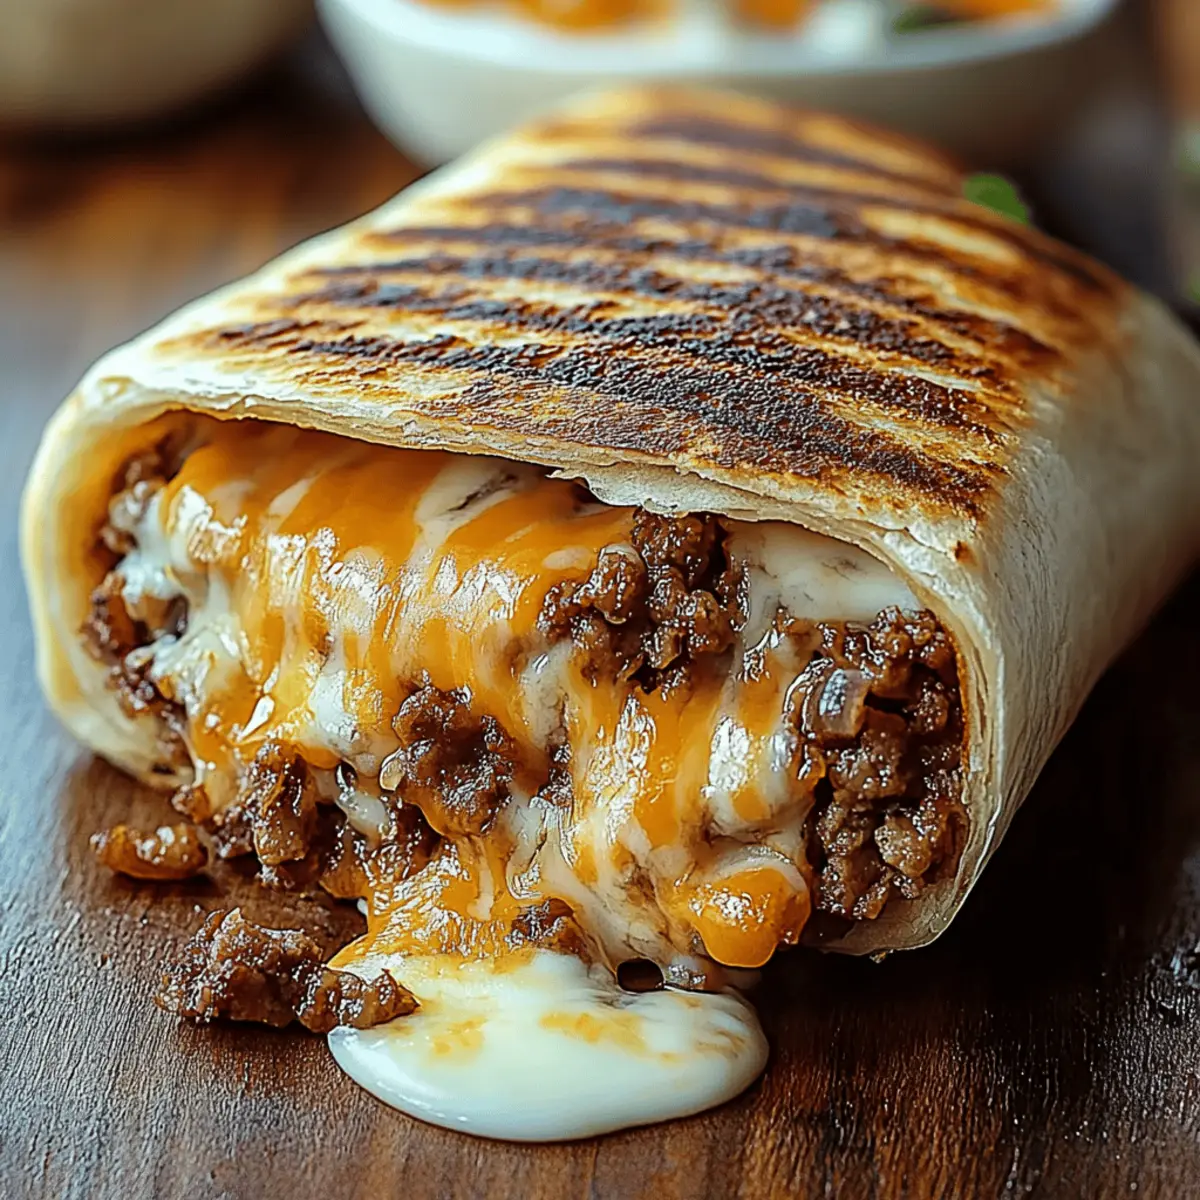
In a clean skillet, heat 2 tablespoons of butter or oil over medium heat. Place the burrito seam-side down in the skillet and cook for 3-4 minutes until the bottom is golden brown and the cheese begins to melt, forming a crispy crust. Carefully flip the burrito with a spatula and cook for another 3-4 minutes on the other side until the cheese is fully melted and both sides are crispy.
Step 5: Serve and Enjoy
Once your Grilled Cheese Burrito is perfectly golden and crispy, transfer it to a plate. Let it cool for a minute before slicing it in half to reveal the melty cheese inside. Serve warm, and feel free to add your favorite toppings like fresh salsa or guacamole for an extra touch of flavor!
Expert Tips for Grilled Cheese Burrito
Perfectly Browned Beef: Ensure your ground beef is fully browned for maximum flavor. Undercooked meat can lead to a less delightful filling.
Flexible Tortillas: Always warm tortillas before assembly to prevent cracking. If they're too cold, they'll break when you fold.
Layer Wisely: Avoid overfilling your burrito; too much stuffing can make sealing difficult and lead to messy burritos.
Crispy Finish: Remember to cook until each side is golden brown. A crispy exterior enhances the contrast with the gooey cheese inside.
Storage Know-How: If saving leftovers, store in an airtight container. This keeps the Grilled Cheese Burrito fresh, avoiding sogginess!
Customize with Care: Feel free to add extras like jalapeños or black beans, but balance flavors carefully to maintain the core goodness.
How to Store and Freeze Grilled Cheese Burrito
Fridge: Store any leftover Grilled Cheese Burrito in an airtight container for up to 3 days to keep it fresh and flavorful.
Freezer: For longer storage, wrap each burrito tightly in foil or parchment paper, then place in a freezer-safe bag for up to 3 months.
Reheating: Reheat your burrito on the stovetop over medium heat for a crispy exterior, or microwave for 60–90 seconds wrapped in a paper towel for a quick fix.
Thawing: If frozen, allow the burrito to thaw in the fridge overnight before reheating for the best texture and flavor.
Make Ahead Options
These Grilled Cheese Burritos are perfect for meal prep, allowing you to enjoy delicious homemade meals with minimal fuss. You can prepare the filling—seasoned ground beef, rice, and sauces—up to 3 days in advance; simply refrigerate it in an airtight container. When you're ready to enjoy your burritos, warm the filling on the stovetop, then assemble and grill the tortillas as instructed. To maintain the quality, be sure to let the filling cool before storing, preventing excess moisture that can make tortillas soggy. With this prep-ahead option, you'll savor the same comforting flavor with just a quick finish, making busy weeknights a breeze!
What to Serve with Grilled Cheese Burrito
Whether you're enjoying a cozy family dinner or hosting friends, it's always fun to add delightful sides to complement your Grilled Cheese Burrito.
- Crispy Fried Plantains: Their sweet and savory flavor pairs beautifully with the rich burrito, adding a tropical twist to your meal.
- Zesty Coleslaw: A crunchy coleslaw brings refreshing brightness and balances the hearty flavors, making every bite more satisfying.
- Spanish Rice: This fluffy, well-seasoned rice offers a comforting starch that harmonizes wonderfully with the bold flavors of the burrito, creating a satisfying plate.
- Guacamole: The creamy texture and fresh taste of guacamole not only add a tasty layer but also contrast nicely with the grilled burrito.
- Grilled Corn on the Cob: Charred sweetness from the corn provides a delightful crunch, enhancing the overall texture and flavor experience of your meal.
- Pico de Gallo: A fresh, vibrant salsa made with tomatoes, onions, and cilantro brightens up the plate and enhances the taste of your burrito.
- Beer or Citrus Iced Tea: A cold beverage complements the richness of the burrito, helping to cleanse the palate after each delicious bite.
- Chocolate Flan: For dessert, a silky chocolate flan offers a luscious ending that balances the savory main course, bringing out your sweet tooth.
Each pairing brings out different flavors and textures, turning a simple meal into a vibrant family feast!
Grilled Cheese Burrito Variations
Feel free to spice things up with these delicious twists on the classic Grilled Cheese Burrito!
-
Spicy Kick: Add diced jalapeños into the filling for that extra layer of heat. This will give each bite a delightful punch, waking up your taste buds!
-
Veggie Lover's: Swap ground beef for sautéed bell peppers, onions, and black beans for a hearty vegetarian option. It's a colorful and nutritious way to enjoy the burrito!
-
Creamy Avocado: Layer in some sliced avocado for a creamy texture that complements the flavors. The richness of avocado pairs beautifully with the spices.
-
Crunchy Topping: Finish with crushed tortilla chips on top for some added crunch and texture. This delightful contrast will elevate your burrito experience!
-
Low-Carb Delight: Use lettuce wraps instead of tortillas to create a low-carb version. This refreshing alternative will still satisfy your craving in a lighter way.
-
Cheesy Heaven: Add a sprinkle of pepper jack cheese for added flavor and a bit of heat. Melting it into your burrito will create a gooey experience that you won't forget.
-
Smoky BBQ: Replace chipotle sauce with your favorite BBQ sauce for a fun twist. The sweetness of BBQ balances with the savory beef nicely.
-
Breakfast Style: Incorporate scrambled eggs and diced hash browns for a breakfast burrito twist. This is perfect fuel for starting your day off right!
These variations ensure your Grilled Cheese Burrito is customizable, allowing for adventurous flavors for every member of the family. Each twist can lead to new favorites; you can even try these along with our expert tips for an unbeatable meal!
Grilled Cheese Burrito Recipe FAQs
How do I choose the right ground beef for my burrito?
Absolutely! When selecting ground beef, look for an 80/20 ratio of lean to fat, as it provides the perfect balance of flavor and moisture without being too greasy. Freshness is key—choose meat that is bright red and avoid any with dark spots or an off smell.
What’s the best way to store my leftover Grilled Cheese Burrito?
To keep your burrito delightful, store leftovers in an airtight container in the fridge for up to 3 days. This will help prevent it from drying out or becoming soggy. If you want to store it longer, consider freezing it!
Can I freeze my Grilled Cheese Burrito?
Absolutely! For freezing, wrap each burrito tightly in foil or wax paper, then place it in a freezer-safe bag. This method will keep them fresh for up to 3 months. When you're ready to enjoy it, let it thaw in the fridge overnight before reheating.
How do I reheat my burrito without making it soggy?
For the best results, reheat your burrito in a skillet over medium heat. This allows it to regain its crispiness. Cook for 2-3 minutes on each side. Alternatively, you can use a microwave: wrap it in a paper towel and heat for 60–90 seconds. Just be cautious, as microwaving may soften the exterior.
Can I customize the fillings for dietary concerns?
Very! The beauty of the Grilled Cheese Burrito lies in its versatility. If you're concerned about allergies, opt for gluten-free tortillas or use dairy-free cheese for a vegan version. Always check labels to ensure you're accommodating any food sensitivities.
What should I do if my burrito is too full to seal?
Don't worry! If your burrito feels overstuffed, gently remove some filling—it's better to have a well-sealed burrito. To properly seal it, fold in the sides first and then roll from the bottom to the top while tucking in the filling as you go. Enjoy all the flavors without the mess!
Satisfy Cravings with This Grilled Cheese Burrito Delight
Equipment
- large skillet
- microwave
- spatula
Ingredients
For the Filling
- 1 lb ground beef a flavorful base
- 1 packet taco seasoning adds authentic taco flavor
- ¼ cup water
- 1 cup cooked white rice
- ½ cup sour cream for creamy texture
- ½ cup nacho cheese sauce adds gooey factor
- ¼ cup chipotle sauce for smoky heat
For the Cheesy Goodness
- 1 cup shredded cheddar cheese classic cheesy flavor
- 1 cup shredded mozzarella adds stretchiness
For the Assembly
- 4 large flour tortillas to wrap fillings
- 2 tablespoon butter or oil for grilling
Instructions
Step‑by‑Step Instructions for Grilled Cheese Burrito
- In a large skillet over medium heat, brown the ground beef for about 7-10 minutes, then drain excess grease.
- Add the taco seasoning and water, stir, and let it simmer for 5 minutes.
- Warm tortillas in a dry skillet or microwave for flexibility.
- Layer cooked white rice, seasoned beef, nacho cheese sauce, chipotle sauce, sour cream, cheddar cheese, and mozzarella into the tortillas.
- In a skillet, heat butter/oil, and cook the burrito seam-side down for 3-4 minutes until golden brown. Flip and cook another 3-4 minutes.
- Serve warm, sliced in half, and add toppings like salsa or guacamole if desired.


Leave a Reply