
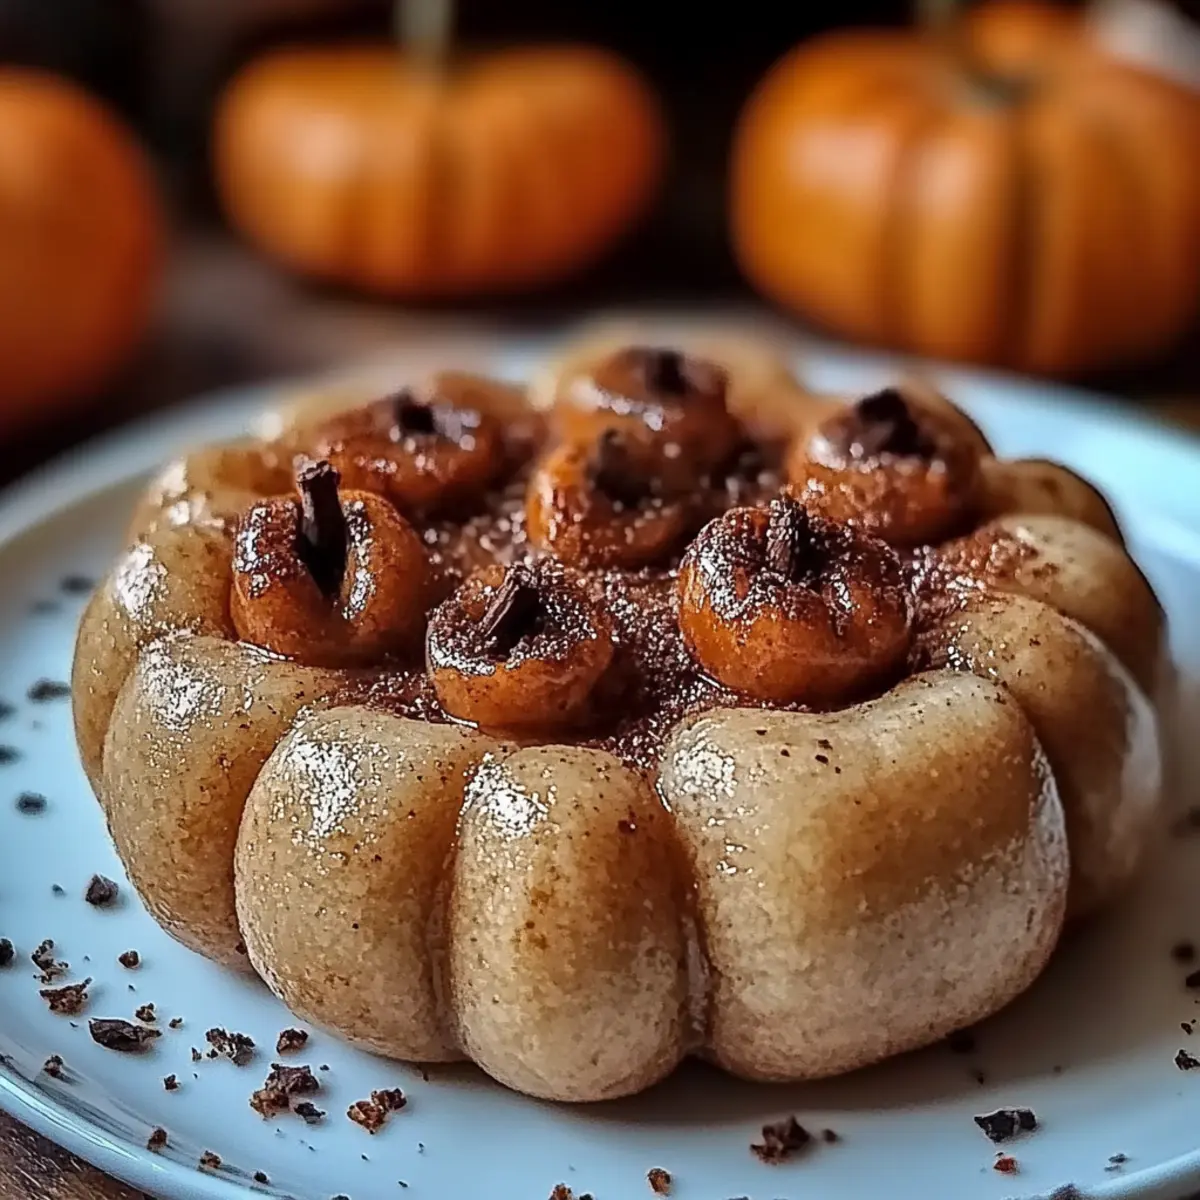
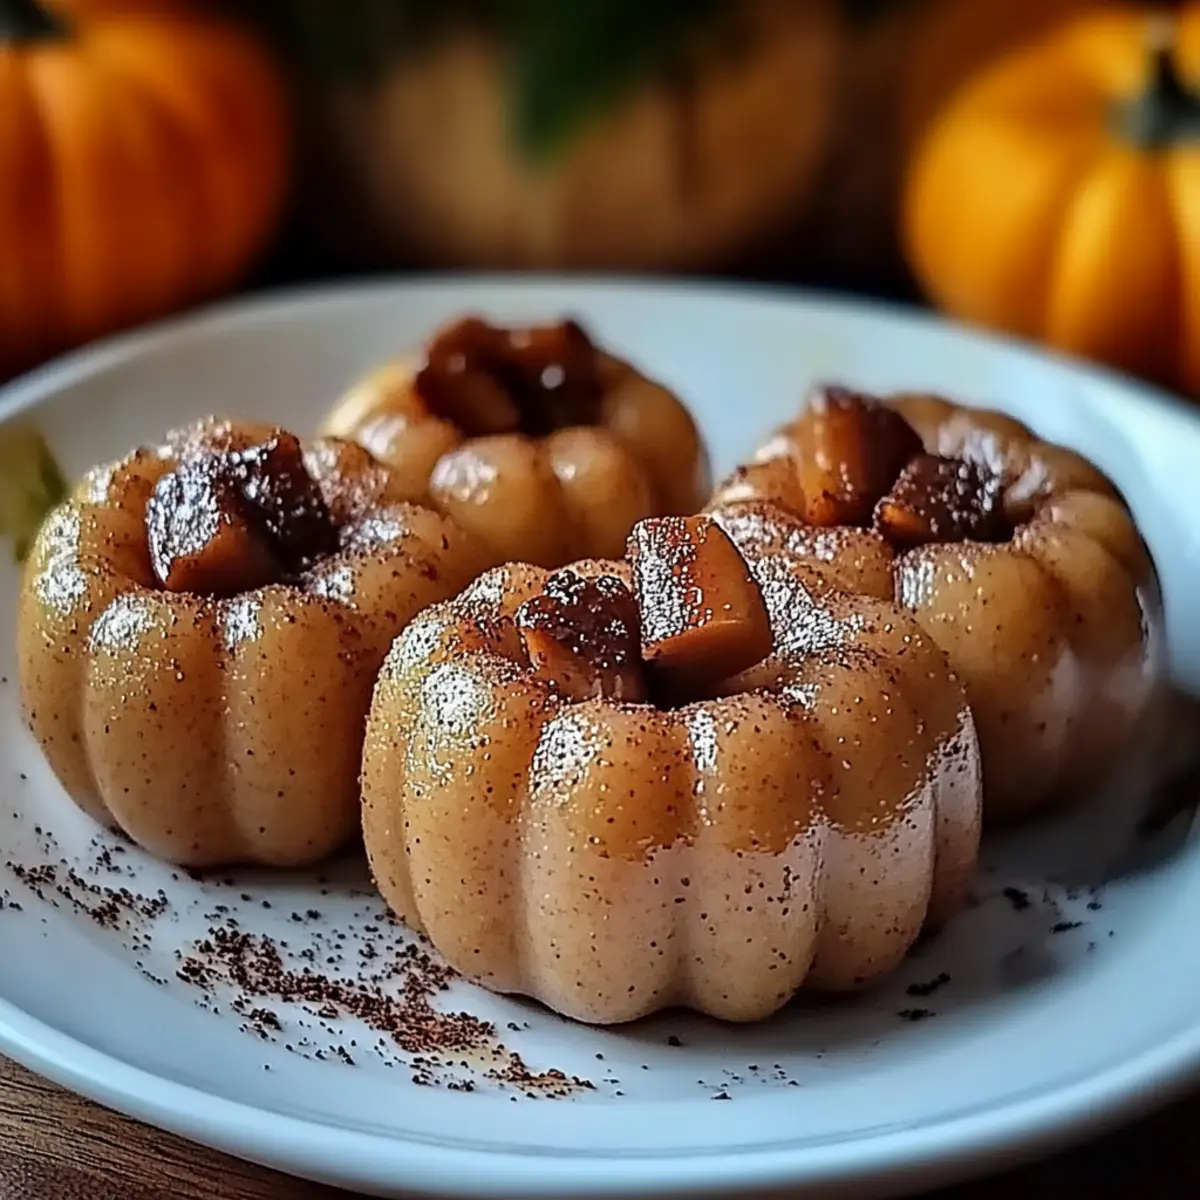
As the crisp autumn air sweeps in, I find myself craving something sweet yet playful. That’s when I decided to whip up my delightful Peanut Butter Pumpkins! Not only are these little treats an absolute joy to make, but they're also a fantastic choice for gatherings—perfect for both kids and adults alike. With just a handful of ingredients like creamy peanut butter and crispy rice cereal, they bring a fun twist to your seasonal desserts. Plus, they’re quick to prepare, leaving you plenty of time to enjoy the festivities. Ready to bring a touch of whimsy into your kitchen? Let’s dive into making these irresistible Peanut Butter Pumpkins together!
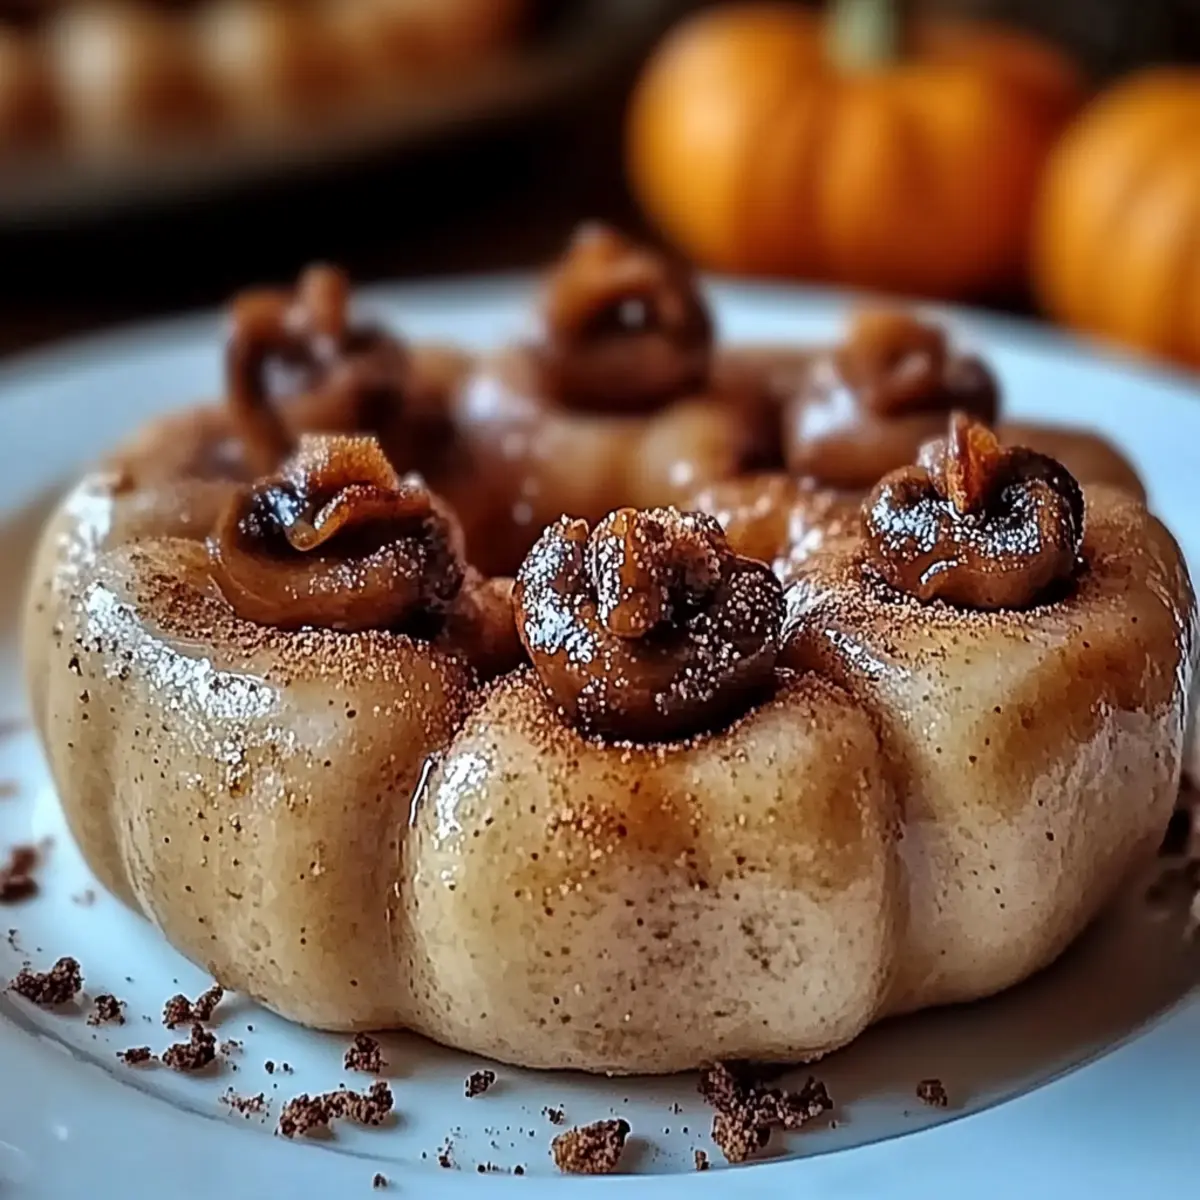
Why are Peanut Butter Pumpkins a Must-Try?
Irresistible Appeal: These adorable treats are not only fun to make but also delightful to eat—perfect for gatherings and parties, pleasing both kids and adults alike.
Quick Preparation: In just 50 minutes, you can create 24 delicious pumpkins, making this a time-efficient way to impress.
Easy-to-Follow Instructions: With simple steps and basic ingredients like peanut butter and crispy rice cereal, even novice cooks will shine in the kitchen.
Creative Display: Arrange them on a decorative platter for an eye-catching centerpiece that’s bound to be a conversation starter. For more ideas, check out our tips on Serving Suggestions.
Versatile Customization: Feel free to get creative! Add your own twist with different colors or candies for personalized treats.
Enjoy bringing the festive spirit into your home with these delightful Peanut Butter Pumpkins!
Peanut Butter Pumpkins Ingredients
• Get ready to enjoy a delightful treat!
For the Pumpkin Mixture
- Creamy peanut butter – The star ingredient that provides a rich, nutty flavor.
- Powdered sugar – Sweetens the mixture and gives a smooth texture.
- Vanilla extract – Adds a warm, aromatic hint to elevate the flavor.
- Crispy rice cereal – Offers a satisfying crunch and structure to your pumpkins.
For the Candy Coating
- Orange candy melts – The vibrant coating that transforms your pumpkins into festive treats.
- Vegetable oil – Ensures the melting chocolate is smooth and easy to work with.
For Decoration
- Green candy melts – Perfect for creating tiny leaves that add charm to your pumpkins.
- Mini chocolate chips – Use these as eyes for a whimsical touch.
These Peanut Butter Pumpkins are not only simple to create but also a delightful way to celebrate the autumn season with a tasty twist!
Step‑by‑Step Instructions for Peanut Butter Pumpkins
Step 1: Prepare Your Workspace
Clear your kitchen counter and gather all your ingredients and equipment. Make sure you have a large mixing bowl, a spatula, a parchment-lined baking sheet, and a microwave-safe bowl ready. Creating a tidy space will help you easily navigate the fun process of making Peanut Butter Pumpkins!
Step 2: Mix the Peanut Butter Mixture
In a large mixing bowl, combine the creamy peanut butter, powdered sugar, and vanilla extract. Stir the mixture using a spatula until it becomes a smooth and well-blended consistency. This step should take about 3-5 minutes, and it's essential for achieving that rich peanut butter flavor in your treats!
Step 3: Add Rice Cereal
Gently fold in the crispy rice cereal into your peanut butter mixture. Use a spatula to combine until the cereal is fully incorporated, creating a delicious crunchy texture. This step should take about 2 minutes, ensuring that you don’t crush the cereal too much while mixing.
Step 4: Form Pumpkins
Take small portions of the mixture and roll them into round shapes about 1-2 inches in diameter. This will give you the adorable shape of Peanut Butter Pumpkins! Place each formed pumpkin on your parchment-lined baking sheet as you go, which will help them keep their shape while chilling.
Step 5: Chill
Cover your baking sheet with plastic wrap and place it in the refrigerator. Chill the pumpkins for about 30 minutes until they are firm to the touch. This step is crucial as it helps the shapes hold firm while you coat them, making your Peanut Butter Pumpkins perfect for decorating.
Step 6: Melt Candy Coating
In a microwave-safe bowl, mix the orange candy melts with vegetable oil. Microwave in 30-second intervals, stirring until completely melted and smooth—about 1-2 minutes. The oil helps the candy maintain its glossy finish, making your Peanut Butter Pumpkins look extra appealing!
Step 7: Coat Pumpkins
Once the candy coating is ready, dip each chilled peanut butter ball into the melted orange coating. Ensure they are fully covered before returning them to the parchment-lined baking sheet. This creates the vibrant orange exterior of your Peanut Butter Pumpkins and should take about 10-15 minutes to complete.
Step 8: Add Leaves and Eyes
While the coating is still wet, place two mini chocolate chips on each pumpkin to create adorable eyes. Using melted green candy melts, pipe small leaves on top of your pumpkins for an extra touch of charm. Get creative, and enjoy making these delightful decorations!
Step 9: Set
Allow your coated Peanut Butter Pumpkins to set at room temperature. This will take about 15-30 minutes, or until the candy coating hardens completely. Once set, your delightful treats are ready to be enjoyed or displayed at your next festive gathering!
Make Ahead Options
These Peanut Butter Pumpkins are an excellent choice for busy home cooks looking to save time while impressing guests! You can prepare the pumpkin mixture up to 24 hours in advance by mixing the creamy peanut butter, powdered sugar, and vanilla extract, then folding in the crispy rice cereal. Just cover the mixture and refrigerate it—this not only enhances the flavor but also helps maintain quality. When you're ready to serve, all you need to do is roll the mixture into pumpkin shapes, chill for 30 minutes, and coat with the melted candy. Your treats will be just as delicious and ready to charm your friends and family!
Peanut Butter Pumpkins Variations
Feel free to let your creativity shine as you customize these delightful treats!
-
Nut-Free: Substitute peanut butter with sunbutter or almond butter to keep it nut-free while retaining that creamy goodness.
-
Vegan: Use vegan butter and dark chocolate chips for the coating. This way, everyone can enjoy the sweetness!
-
Chocolate Lovers: Replace the orange candy melts with milk or dark chocolate for a deliciously rich twist. You may want to add a sprinkle of sea salt for that extra flair.
-
Crunchy Additions: Mix in mini marshmallows or chopped nuts for added texture and flavor. It’s a simple enhancement that brings delightful surprises in every bite!
-
Cocoa Twist: Add 2 tablespoons of cocoa powder to the peanut butter mixture for a chocolatey flavor. Imagine taking a bite and being greeted with delicious chocolatey goodness!
-
Spicy Kick: Incorporate a pinch of cayenne pepper or cinnamon into the peanut butter mixture for subtle warmth. Just a hint can elevate the flavors festively!
-
Different Shapes: Instead of pumpkins, roll the mixture into different shapes to celebrate various themes—like hearts for Valentine’s Day or stars for New Year’s!
-
Flavorful Drizzles: Drizzle white chocolate or caramel over the set pumpkins for a beautiful finishing touch—yum! This extra step enhances both the appearance and flavor.
Feel free to mix and match these variations to find your perfect Peanut Butter Pumpkin! For more fun ideas, explore different Serving Suggestions that add a festive flair to your treats.
How to Store and Freeze Peanut Butter Pumpkins
Fridge: Store leftover Peanut Butter Pumpkins in an airtight container in the refrigerator for up to 1 week to maintain freshness and flavor.
Freezer: These delightful treats can be frozen for up to 3 months. Simply place them in a single layer and wrap tightly before storing in a freezer-safe container.
Thawing: To enjoy frozen Peanut Butter Pumpkins, transfer them to the fridge overnight before serving, allowing them to gradually thaw while maintaining their taste and texture.
Reheating: There's no need to reheat these treats; they are best enjoyed chilled or at room temperature right after thawing.
What to Serve with Peanut Butter Pumpkins?
Delightful and whimsical, these little treats can turn any gathering into a festive celebration, perfect for pairing with a variety of flavors.
- Creamy Mashed Potatoes: Their buttery softness provides a delightful contrast to the crunchy Peanut Butter Pumpkins, creating a balance of flavors and textures.
- Warm Apple Cider: The sweet and spiced notes of cider enhance the autumn vibes, making it a cozy pairing for your festive treats.
- Caramel Popcorn: This crunchy, sweet snack adds an extra layer of fun, making for a delightful treat table that will please party-goers and kids alike.
- Sweet Potato Wedges: Roasted wedges offer a subtle sweetness that complements the peanut butter while introducing a healthy, satisfying element to your spread.
- Chocolate Milkshake: For a nostalgic touch, a rich chocolate milkshake pairs beautifully, bringing a creamy indulgence that children will adore.
- Fruit Salad: A fresh fruit medley brightens up the table, offering a good contrast to the sweetness of the Peanut Butter Pumpkins while adding vibrant colors.
- Spiced Pecans: Adding a nutty crunch with spiced pecans brings out the warm flavors of fall, making a delightful complement to your treats.
- Pumpkin Spice Ice Cream: For those who truly want to indulge, a scoop of pumpkin spice ice cream can turn your dessert into a playful autumn dream.
- Honey Crisp Apples: The crisp texture and natural sweetness of these apples can lighten up the dessert experience while enhancing the festive fall theme.
Helpful Tricks for Peanut Butter Pumpkins
-
Perfect Proportions: Remember to measure your creamy peanut butter and powdered sugar accurately. Too much sugar can make the mixture too thick to form into pumpkins properly.
-
Gentle Folding: When mixing in the crispy rice cereal, use a gentle folding motion. This prevents crushing the cereal and maintains that delightful crunch in your Peanut Butter Pumpkins.
-
Chill Time Matters: Don’t skip the chilling step! It’s crucial for helping your pumpkins maintain their shape as you coat them. Let them chill for the full 30 minutes.
-
Smooth Coating: For a glossy finish on your candy coating, be patient! Microwave the orange melts in short intervals and stir well to achieve a smooth consistency without lumps.
-
Creative Eyes and Leaves: Have fun with your pumpkin decorations! Experiment with different candies for eyes or shapes for leaves, making your Peanut Butter Pumpkins uniquely yours.
Peanut Butter Pumpkins Recipe FAQs
What type of peanut butter is best for Peanut Butter Pumpkins?
I recommend using creamy peanut butter for the best consistency and flavor. Avoid natural peanut butters that contain oil separation, as they may not bind well with the other ingredients.
How long can I store Peanut Butter Pumpkins in the fridge?
You can store leftover Peanut Butter Pumpkins in an airtight container in the refrigerator for up to 1 week. Keeping them sealed will help maintain their freshness and deliciousness!
Can Peanut Butter Pumpkins be frozen?
Absolutely! You can freeze these treats for up to 3 months. To do this, place the cooled peanut butter pumpkins in a single layer on a baking sheet, and freeze until solid. Then, transfer them to a freezer-safe container, separating layers with parchment paper to prevent sticking.
What should I do if my candy coating is too thick?
If your melted candy coating is too thick, you can add a teaspoon of vegetable oil and stir well. This will help thin it out and achieve a smoother consistency. Just be careful not to add too much, or it might affect the coating's firmness once it hardens!
Are Peanut Butter Pumpkins safe for people with nut allergies?
Unfortunately, no. Peanut Butter Pumpkins contain peanut butter, making them unsuitable for those with nut allergies. However, you can try substituting with sun butter or soy nut butter if you’re looking for a nut-free alternative!
How can I decorate Peanut Butter Pumpkins differently?
Feel free to let your creativity shine! Instead of mini chocolate chips for eyes, you might use candy corn or edible glitter. You could even experiment with different colors of candy melts for unique pumpkin designs that stand out at your gatherings!
Easy Peanut Butter Pumpkins for Fall Fun and Treats
Equipment
- mixing bowl
- spatula
- Parchment-lined baking sheet
- Microwave-safe bowl
Ingredients
For the Pumpkin Mixture
- 1 cup creamy peanut butter The star ingredient that provides a rich, nutty flavor.
- 2 cups powdered sugar Sweetens the mixture and gives a smooth texture.
- 1 teaspoon vanilla extract Adds a warm, aromatic hint to elevate the flavor.
- 3 cups crispy rice cereal Offers a satisfying crunch and structure to your pumpkins.
For the Candy Coating
- 1 cup orange candy melts The vibrant coating that transforms your pumpkins into festive treats.
- 1 tablespoon vegetable oil Ensures the melting chocolate is smooth and easy to work with.
For Decoration
- 1 cup green candy melts Perfect for creating tiny leaves that add charm to your pumpkins.
- ½ cup mini chocolate chips Use these as eyes for a whimsical touch.
Instructions
Step-by-Step Instructions for Peanut Butter Pumpkins
- Prepare Your Workspace by clearing your kitchen counter and gathering all your ingredients and equipment.
- Mix the Peanut Butter Mixture by combining the creamy peanut butter, powdered sugar, and vanilla extract in a large mixing bowl. Stir until smooth.
- Add Rice Cereal by gently folding in the crispy rice cereal into your peanut butter mixture.
- Form Pumpkins by taking small portions of the mixture and rolling them into round shapes about 1-2 inches in diameter.
- Chill by covering the baking sheet with plastic wrap and placing it in the refrigerator for about 30 minutes.
- Melt Candy Coating by mixing the orange candy melts with vegetable oil and microwaving in intervals until melted and smooth.
- Coat Pumpkins by dipping each chilled peanut butter ball into the melted orange coating.
- Add Leaves and Eyes while the coating is still wet, placing two mini chocolate chips on each pumpkin for eyes and piping small leaves with green candy melts.
- Set by allowing your coated Peanut Butter Pumpkins to set at room temperature until the candy coating hardens completely.


Leave a Reply