
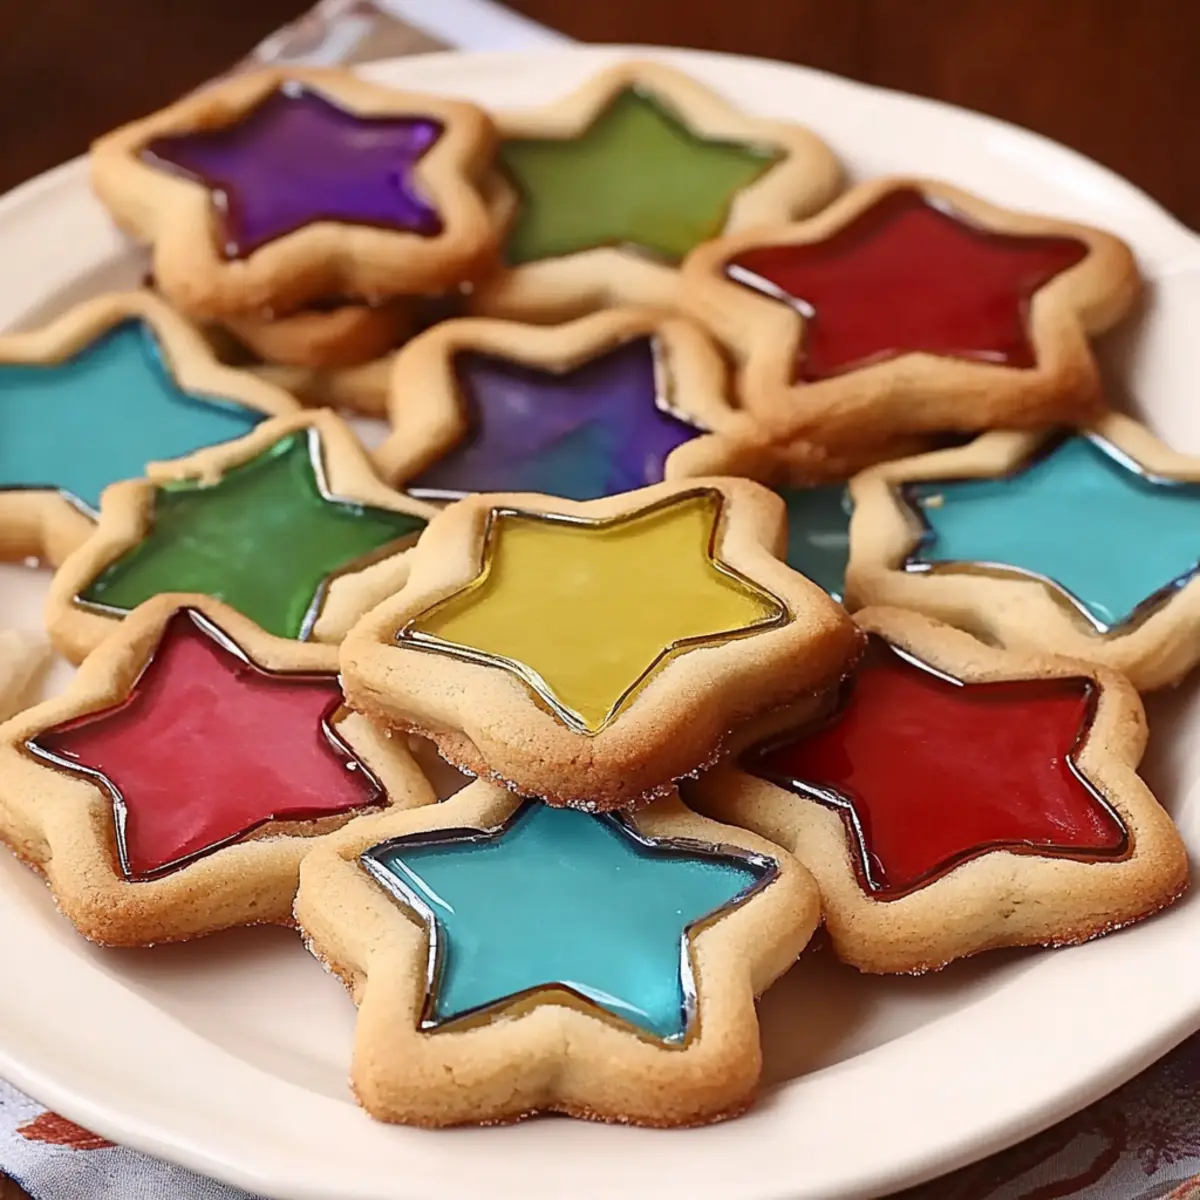
As I stood in my kitchen, the warm aroma of freshly baked cookies enveloped me, transporting me back to my childhood. There's something truly magical about crafting Stained Glass Cookies; they not only satisfy a sweet tooth but also double as stunning decorations. What's even better? This delightful recipe features a quick prep time and offers a unique twist to traditional cookies, ensuring they're a hit at any gathering. Whether you're baking for the holidays or just wanting to impress friends at a casual get-together, these cookies bring joy and creativity to the table. Ready to see a colorful masterpiece emerge from your oven? Let’s dive into this whimsical baking adventure together!
Why Are Stained Glass Cookies So Special?
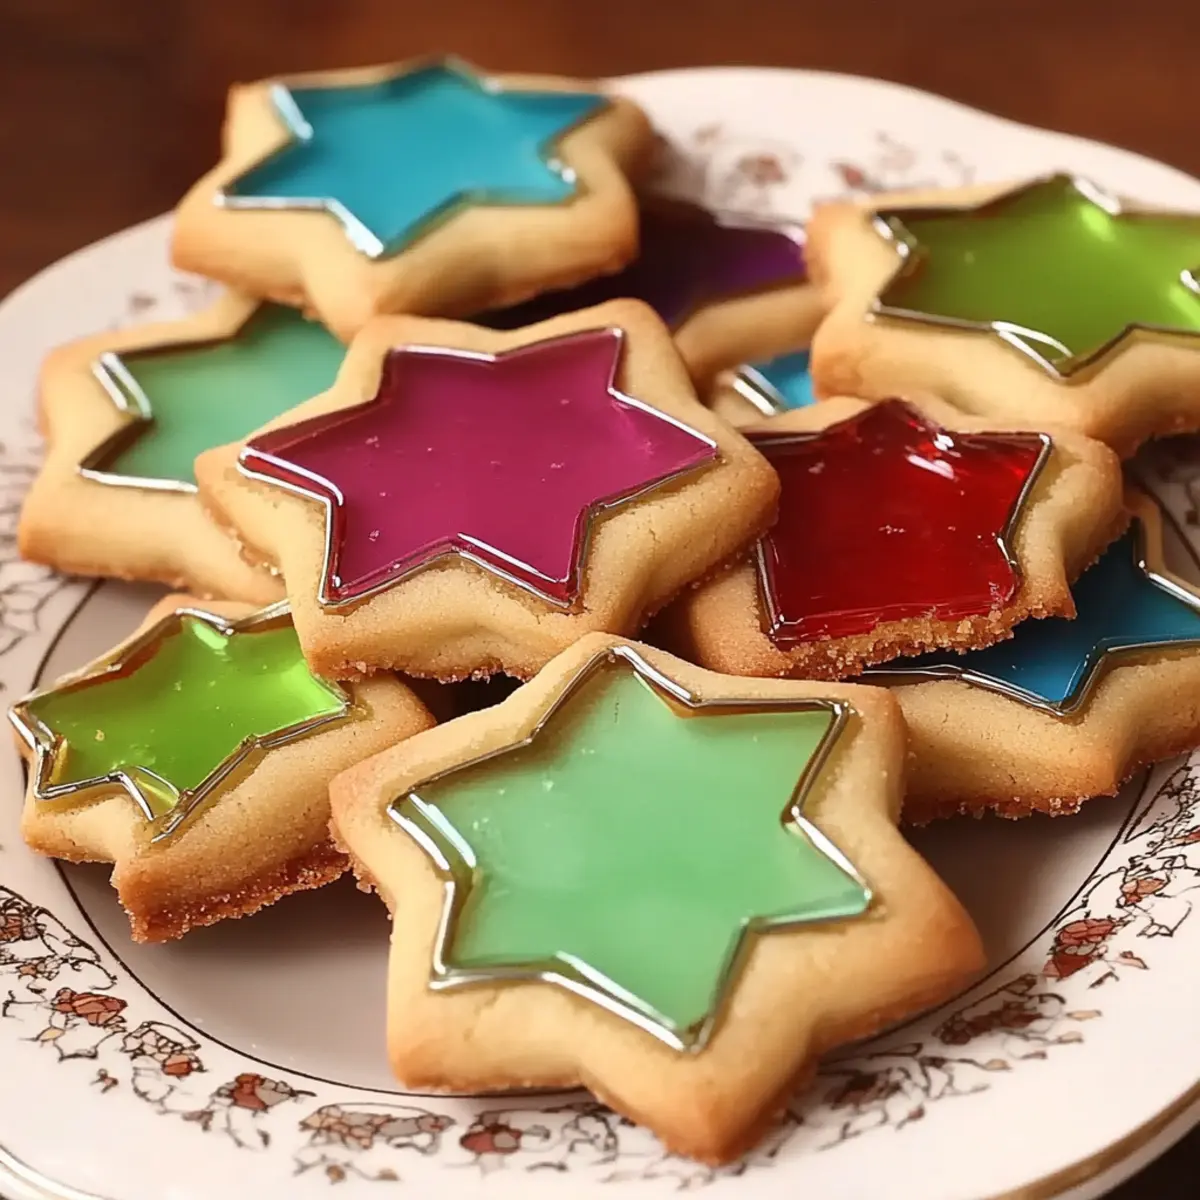
Colorful, these cookies aren’t just a treat for the taste buds but also a feast for the eyes! Easy to make, with just a few simple ingredients, this recipe is perfect for bakers of all levels. Impressive designs allow you to unleash your creativity, making them fantastic for festive occasions. Quick prep time means you can whip them up in no time, leaving you free to enjoy time with loved ones. Plus, they pair beautifully with other delightful options like Pistachio Cream Cookies or Butter Toffee Cookies for a colorful cookie platter!
Stained Glass Cookies Ingredients
• Here’s everything you need to create these colorful delights!
For the Dough
- All-purpose flour – 2 ½ cups – helps create the perfect cookie base for your Stained Glass Cookies.
- Baking powder – 1 teaspoon – ensures the cookies rise and have a lovely texture.
- Salt – ½ teaspoon – enhances the sweetness of the cookies, balancing the flavors.
- Unsalted butter – 1 cup, softened – adds rich flavor and creates a tender structure.
- Granulated sugar – 1 cup – sweetens the dough and contributes to that delightful crisp edge.
- Large egg – 1 – binds the ingredients together for a cohesive dough.
- Vanilla extract – 2 teaspoons – infuses a wonderful aroma and warm flavor.
- Almond extract (optional) – ½ teaspoon – adds a unique layer of flavor that's absolutely heavenly.
For the Filling
- Assorted hard candies – for filling – crush into small pieces for the stunning stained glass effect.
Let’s gather these ingredients and get ready for a baking adventure that will warm your heart and your home!
Step‑by‑Step Instructions for Stained Glass Cookies
Step 1: Prepare the Dry Ingredients
In a medium bowl, whisk together 2 ½ cups of all-purpose flour, 1 teaspoon of baking powder, and ½ teaspoon of salt until well combined. This step ensures an even distribution of the leavening agent. Set this mixture aside while you move on to creaming the butter and sugar together, as this will provide the perfect base for your Stained Glass Cookies.
Step 2: Cream the Butter and Sugar
In a large mixing bowl, combine 1 cup of softened unsalted butter and 1 cup of granulated sugar. Use an electric mixer on medium speed to cream the two ingredients together for about 2-3 minutes, or until the mixture is light and fluffy. The texture should be creamy and pale, which signals that you are ready to add in the remaining wet ingredients.
Step 3: Mix in the Wet Ingredients
Add in 1 large egg, 2 teaspoons of vanilla extract, and ½ teaspoon of almond extract (if using) to the creamed butter mixture. Beat on low speed until everything is well incorporated, scraping down the sides of the bowl as necessary. This will create a rich and flavorful dough for your Stained Glass Cookies, ensuring every bite is delicious.
Step 4: Combine the Ingredients
Gradually add the dry ingredient mixture into the wet ingredients, mixing on low speed until just combined. Avoid overmixing to retain a tender texture. The dough should be soft but not sticky. Once your dough comes together, transfer it to a floured surface and shape it into a ball to prepare for chilling.
Step 5: Chill the Dough
Divide the dough into two equal halves and shape each half into a disc. Wrap each disc tightly in plastic wrap and refrigerate for at least 1 hour or until the dough is firm. This chilling step is essential for easier rolling and cutting, which will help maintain the shapes of your Stained Glass Cookies during baking.
Step 6: Preheat and Line the Baking Sheets
Once the dough has chilled, preheat your oven to 350°F (175°C). While the oven is heating, line your baking sheets with parchment paper to prevent sticking and ensure effortless cleanup. This preparation is key for baking your cookies evenly and achieving that lovely golden edge.
Step 7: Roll and Cut the Dough
On a lightly floured surface, roll out one disc of chilled dough to about ¼ inch thick. Use your choice of cookie cutters to cut out festive shapes, and then, with a smaller cutter, create a window in the center of each cookie. This will showcase the colorful candy filling, transforming your Stained Glass Cookies into edible art.
Step 8: Fill with Candies
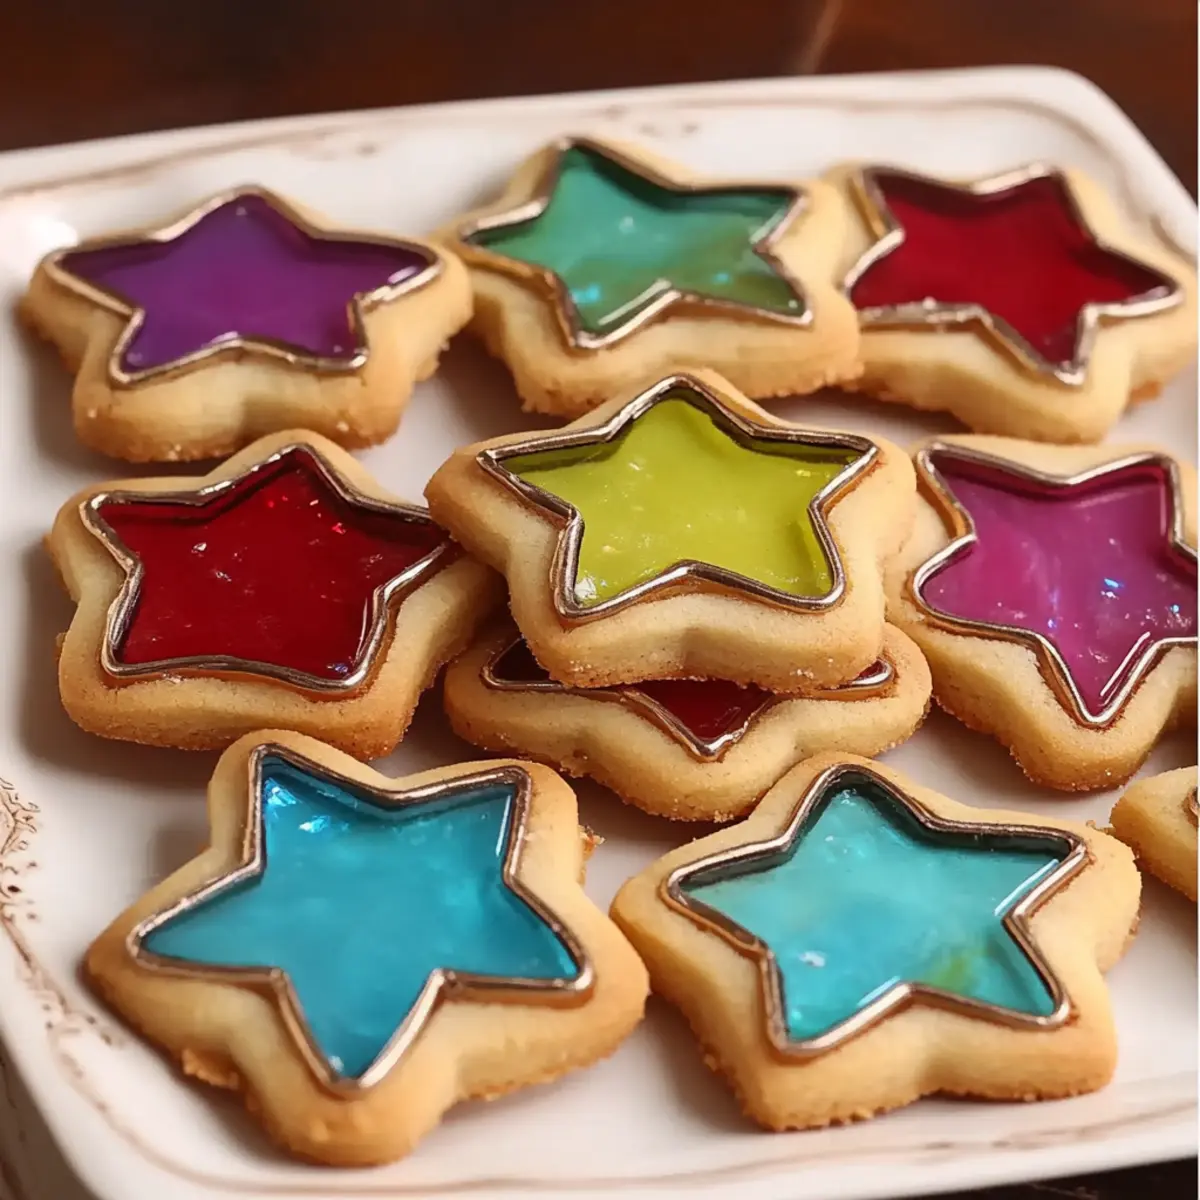
Crush assorted hard candies into small pieces and carefully fill the centers of each cookie cutout with the crushed candy. Ensure not to overfill, as the candy will expand when melted. This step is what brings your Stained Glass Cookies to life with color; the candies will create a beautiful stained glass effect when baked.
Step 9: Bake the Cookies
Place the cookies on the prepared baking sheets and bake in the preheated oven for 8-10 minutes. Keep an eye on the edges, which should turn lightly golden. The candy in the centers will melt beautifully, creating that iconic stained glass look. Your kitchen will soon be filled with delicious scents!
Step 10: Cool the Cookies
Once baked, remove the cookies from the oven and allow them to cool on the baking sheets for about 5 minutes. This cooling time helps the cookies firm up before transferring them to a wire rack to cool completely. Once cooled, these Stained Glass Cookies will be ready to impress with their vibrant colors!
Stained Glass Cookies Variations & Substitutions
Feel free to put your own spin on these delightful cookies; let your imagination run wild in the kitchen!
- Gluten-Free: Substitute all-purpose flour with a gluten-free blend to accommodate gluten sensitivities without sacrificing taste.
- Vegan: Swap out the butter for a plant-based alternative and replace the egg with unsweetened applesauce or flaxseed meal for a vegan-friendly cookie.
- Citrus Zest: Add a tablespoon of lemon or orange zest to the dough for a refreshing, bright flavor that will elevate your cookies.
- Nutty Twist: Mix in chopped nuts like almonds or walnuts for added texture and crunch, making each bite even more delightful!
- Spicy Kick: Incorporate a pinch of cinnamon or ginger into the dough for a warm, spicy note that complements the sweetness beautifully.
- Chocolatey Delight: Use chocolate candies like M&M's or chocolate chips in place of hard candies for a richer chocolatey surprise in each cookie.
- Colorful Theme: Choose candies in a specific color palette to create themed cookies for holidays or special occasions—think red and green for Christmas!
- Dried Fruits: Add finely chopped dried fruits like cherries or cranberries to the dough for a chewy, sweet addition that brightens the flavor profile.
With these variations, your Stained Glass Cookies can adapt beautifully to any celebration or personal taste. Don't forget that they pair wonderfully with other treats like Matcha Crinkle Cookies or Salted Chocolate Cookies for an impressive and vibrant cookie spread! Enjoy experimenting!
Expert Tips for Stained Glass Cookies
- Chill the Dough: Always chill the dough for at least an hour. This helps the cookies maintain their shape during baking and prevents spreading.
- Avoid Overmixing: When combining wet and dry ingredients, mix just until combined. Overmixing can lead to tough cookies, which we want to avoid!
- Reliable Candy Choices: Use hard candies like Jolly Ranchers or Life Savers for vibrant colors. Avoid candies that might not melt well, like gummy candies.
- Perfect Cutting: When cutting out shapes, make sure to use a larger cutter for the cookie and a smaller one for the center. This will create the stunning stained glass effect that draws everyone in!
- Watch Baking Time: Every oven is different, so keep an eye on your cookies! Aim for lightly golden edges and melted candy centers for the best results.
How to Store and Freeze Stained Glass Cookies
Room Temperature: Store your Stained Glass Cookies in an airtight container at room temperature for up to 3 days to keep them fresh and delicious.
Fridge: For longer freshness, place the cookies in the fridge in an airtight container for up to 7 days. Ensure they are completely cooled before storing to prevent moisture buildup.
Freezer: Freeze the cookies in a single layer on a baking sheet, then transfer them to a zip-top bag for up to 3 months. When ready to enjoy, thaw them at room temperature.
Reheating: To bring back that fresh, baked aroma, reheat the cookies in the oven at 300°F (150°C) for about 5 minutes, ensuring the candy filling stays intact and gooey.
What to Serve with Stained Glass Cookies
There's something truly enchanting about a dessert table that sparkles with color and flavor, especially when accompanied by delightful pairings.
- Rich Hot Chocolate: The creamy richness of hot chocolate perfectly complements the sweetness of the cookies, enhancing their candy-filled delight.
- Fresh Berries Salad: A vibrant mix of strawberries, blueberries, and raspberries adds a refreshing contrast, balancing the sweetness of the cookies beautifully.
- Vanilla Ice Cream: The creamy, smooth texture of vanilla ice cream melts in your mouth and contrasts nicely with the crunchy cookie edges and chewy candy center.
- Decadent Brownies: Fudgy brownies offer a rich and dense counterpart to the lightness of stained glass cookies, creating a delightful variety of textures on your dessert platter.
- Sparkling Lemonade: The zesty brightness of sparkling lemonade will uplift your cookie experience, adding a refreshing burst of citrus that pairs wonderfully with sweetness.
- Tea Party Blend: Consider serving a delicate Earl Grey or chamomile tea that will provide a calming finish to the festive flavors, sharpening the cookie's notes with a hint of floral freshness.
Make Ahead Options
These Stained Glass Cookies are a fantastic option for meal prep, allowing you to enjoy delightful homemade treats with less hassle during busy weeks! You can prepare the dough and refrigerate it for up to 3 days. Simply follow the instructions to mix the dough, then form it into discs, wrap in plastic wrap, and place in the fridge. For the best results, roll and cut the cookies just before baking to maintain their shape and freshness. Once baked, the cookies can be stored at room temperature in an airtight container for up to 5 days, ensuring they remain just as delicious. When you’re ready to serve, just warm them briefly in the oven for that fresh-baked aroma!
Stained Glass Cookies Recipe FAQs
What type of hard candies should I use for the filling?
Absolutely! I recommend using bright and vibrant hard candies like Jolly Ranchers or Life Savers. These melt beautifully to create that stunning stained glass effect. Avoid gummy candies or anything that doesn't melt well, as they won't create the desired look.
How should I store my Stained Glass Cookies?
For optimal freshness, store your Stained Glass Cookies in an airtight container at room temperature for up to 3 days. If you want to keep them longer, refrigerate them in an airtight container for up to 7 days. Just make sure they cool completely before storage to prevent moisture buildup.
Can I freeze Stained Glass Cookies?
Yes, you can easily freeze these scrumptious cookies! Start by placing them in a single layer on a baking sheet and freeze until solid. Then transfer them to a zip-top bag and store them in the freezer for up to 3 months. When you're ready to enjoy, simply thaw at room temperature, and they will taste just as delightful!
What should I do if my cookie dough is too sticky?
Very! If you find that your cookie dough is too sticky to roll out easily, you can sprinkle some additional flour on your work surface and rolling pin. You can also refrigerate it for about 15-30 minutes, which should help firm it up and make it easier to work with.
Can I customize the flavors of my Stained Glass Cookies?
Absolutely! You can personalize your cookies by adding different extracts such as lemon or coconut, or even incorporating spices like cinnamon or nutmeg. Just remember to adjust the quantities according to your taste preferences and enjoy experimenting with new flavors!
Are Stained Glass Cookies allergy-friendly?
When making Stained Glass Cookies, it's essential to consider dietary restrictions. If you have allergies to nuts, dairy, or gluten, you can substitute with allergy-friendly alternatives. For instance, use gluten-free flour, dairy-free butter, and ensure the hard candies you select are free of allergens. Always double-check the labels to stay safe!

Delightful Stained Glass Cookies for a Colorful Treat
Equipment
- mixing bowls
- Electric Mixer
- cookie cutters
- parchment paper
Ingredients
For the Dough
- 2.5 cups all-purpose flour helps create the perfect cookie base for your Stained Glass Cookies.
- 1 teaspoon baking powder ensures the cookies rise and have a lovely texture.
- 0.5 teaspoon salt enhances the sweetness of the cookies, balancing the flavors.
- 1 cup unsalted butter adds rich flavor and creates a tender structure.
- 1 cup granulated sugar sweetens the dough and contributes to that delightful crisp edge.
- 1 large egg binds the ingredients together for a cohesive dough.
- 2 teaspoons vanilla extract infuses a wonderful aroma and warm flavor.
- 0.5 teaspoon almond extract adds a unique layer of flavor that's absolutely heavenly.
For the Filling
- assorted hard candies crush into small pieces for the stunning stained glass effect.
Instructions
Step‑by‑Step Instructions
- In a medium bowl, whisk together the flour, baking powder, and salt until well combined. Set aside.
- In a large mixing bowl, cream the softened butter and granulated sugar together for about 2-3 minutes until light and fluffy.
- Add the egg, vanilla extract, and almond extract (if using) to the butter mixture, beating until well incorporated.
- Gradually mix in the dry ingredients until just combined. Shape the dough into a ball and prepare for chilling.
- Divide the dough into two halves, wrap each in plastic wrap, and refrigerate for at least 1 hour.
- Preheat the oven to 350°F (175°C) and line baking sheets with parchment paper.
- Roll out the chilled dough to about ¼ inch thick and cut out cookie shapes, creating a smaller window in each with a cutter.
- Fill the centers of each cookie with crushed hard candies, being careful not to overfill.
- Bake for 8-10 minutes, until edges are lightly golden and candy centers are melted.
- Cool on the baking sheets for about 5 minutes before transferring to a wire rack.


Leave a Reply