
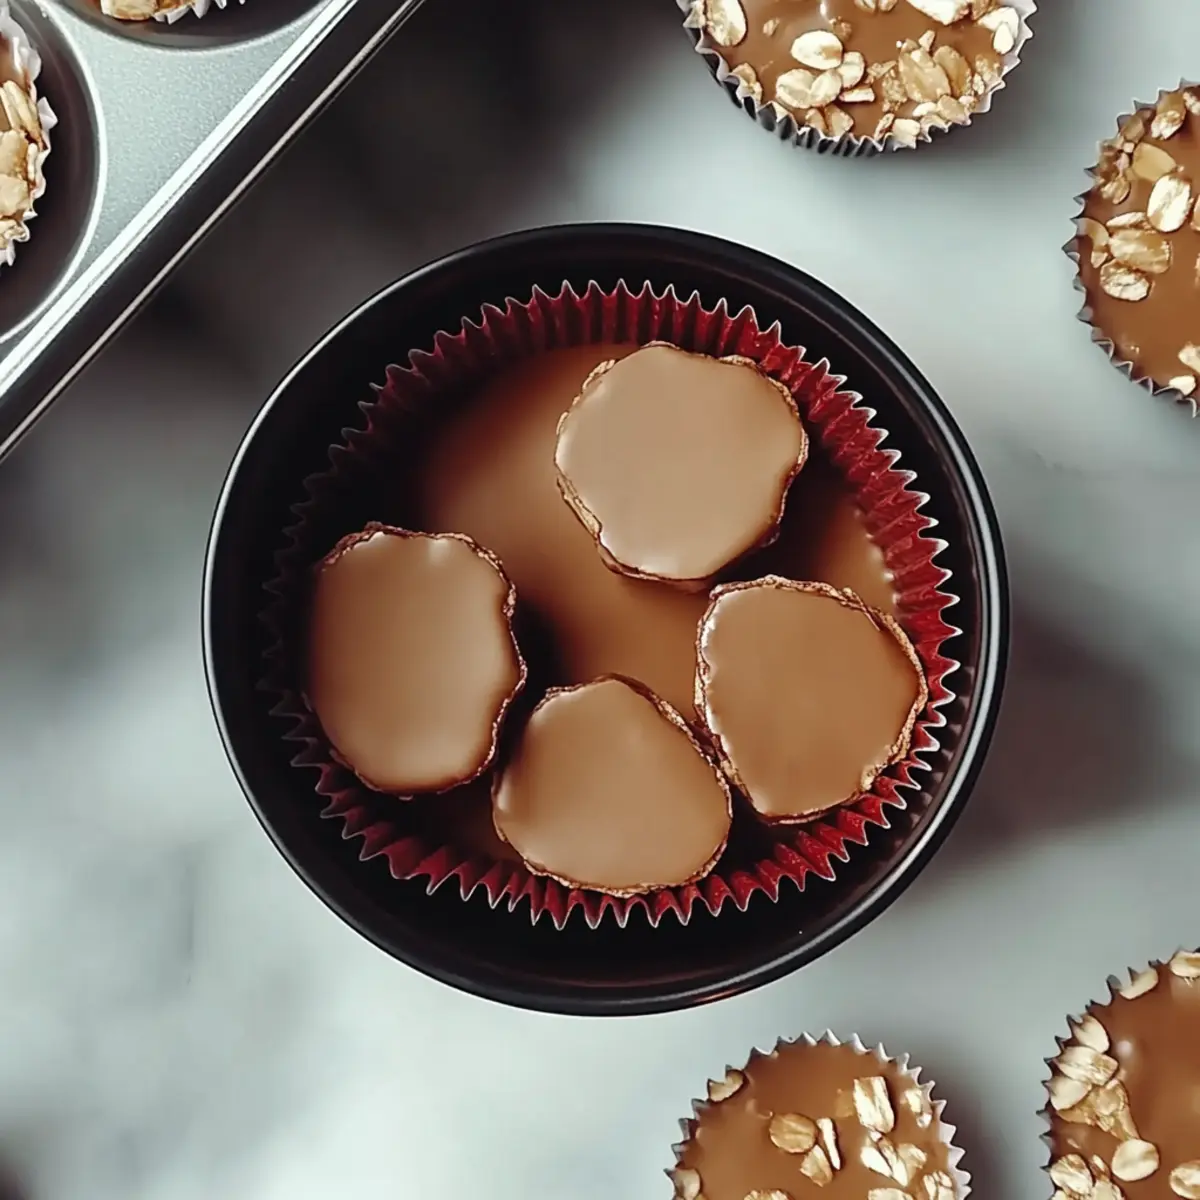
With just a few pantry staples, you can create delightful No Bake Peanut Butter Oat Cups that are both delicious and satisfying! As someone who loves to whip up treats that don’t require an oven, I’m always on the lookout for quick and easy recipes, and these cups fit the bill perfectly. Packed with the protein of peanut butter and the wholesome goodness of oats, they’re a guilt-free indulgence that you can enjoy anytime. Plus, with just ten minutes of prep, you’ll have a delightful snack ready to chill in the fridge! Whether you need a quick breakfast on the go or a sweet pick-me-up during the day, these no-bake treats are sure to please. Curious about how to make them? Let’s jump right in!
Why Choose No Bake Peanut Butter Oat Cups?
Simplicity at its Best: The recipe requires only minimal effort and a handful of pantry staples.
Nutritious and Delicious: Packed with protein-rich peanut butter and whole grains, these oat cups offer a satisfying snack without the guilt.
Customizable Treat: Feel free to swap in your favorite mix-ins—consider dried fruit or nuts for an extra burst of flavor.
Perfect for Meal Prepping: Make a batch ahead of time, and you'll have quick options for busy mornings or snack attacks.
Crowd-Pleasing Appeal: These no-bake cups are sure to impress family and friends. Plus, they cater to all ages, making them ideal for any gathering!
In just 10 minutes of prep, you’ll be on your way to enjoying these delightful bites.
No Bake Peanut Butter Oat Cups Ingredients
• Get ready to whip up a delicious snack!
For the Base
- Peanut Butter – Provides a creamy texture and serves as a protein-packed base for the cups.
- Honey – Acts as a natural sweetener, adding just the right amount of sweetness to balance the flavors.
- Vanilla Extract – Enhances the overall taste with its warm, aromatic notes.
- Rolled Oats – Adds a chewy texture and whole grain goodness, making these No Bake Peanut Butter Oat Cups both filling and satisfying.
For the Mix-Ins
- Chocolate Chips – Introduce a delightful hint of sweetness; feel free to use dark chocolate for a richer flavor!
- Milk – Helps bind the mixture together, making it easier to press into molds.
These simple ingredients come together to create a treat that's not just easy to make but also delightfully satisfying!
Step‑by‑Step Instructions for No Bake Peanut Butter Oat Cups
Step 1: Mix the Base
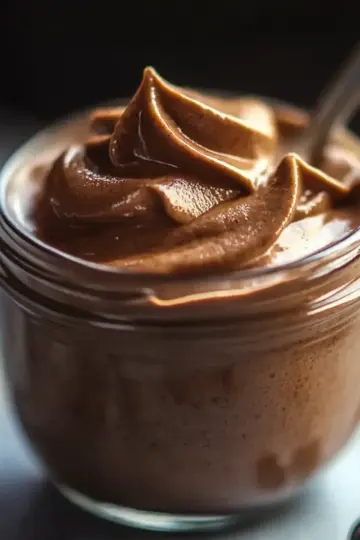
In a medium-sized mixing bowl, combine 1 cup of peanut butter, ¼ cup of honey, and 1 teaspoon of vanilla extract. Using a sturdy spatula or wooden spoon, blend these ingredients together thoroughly until the mixture is smooth and well combined. This should take about 2 minutes; you want a creamy consistency without any lumps.
Step 2: Add the Oats
Once your base for the no bake peanut butter oat cups is ready, add 2 cups of rolled oats to the bowl. Stir vigorously to ensure the oats are evenly coated with the peanut butter mixture. As you mix, observe the transformation—the oats will start to absorb the flavors, creating a thick and sticky blend that takes about 3 minutes to achieve.
Step 3: Incorporate the Chocolate Chips
Next, fold in ¼ cup of chocolate chips into the oat mixture. Gently combine them with the oats using your spatula, ensuring an even distribution throughout the mixture. This step adds delightful pops of sweetness, and the chocolate should be distributed so every bite feels indulgent, which will take about a minute.
Step 4: Add Milk for Consistency
Pour in ¼ cup of milk to your mixture, stirring until everything is well combined and thick. The milk should help bind the ingredients, making the mixture easier to handle. Aim for a thick and sticky consistency that holds together well—this process should take another 2 minutes of mixing.
Step 5: Prepare the Muffin Tin
Line a muffin tin with paper liners or lightly grease each cup to ensure easy removal of your no bake peanut butter oat cups later. Prepping the muffin tin in this way is essential and should take about 2 minutes. Make sure the liners fit snugly to hold the mixture firmly.
Step 6: Spoon in the Mixture
Spoon the oat and peanut butter mixture into each muffin cup, filling them evenly. Use a heaping tablespoon for each cup, ensuring generous portions. As you scoop, keep an eye on the divisions for evenness; this should take roughly 3 minutes to complete all cups.
Step 7: Press Down Firmly
With the mixture in the muffin tin, take the back of a spoon or your fingers to press the mixture down firmly into each cup. This step is crucial for ensuring they hold their shape once set, so take your time and aim for a compact look, which should take about 2 minutes.
Step 8: Chill the Cups
Place the muffin tin in the refrigerator, allowing the no bake peanut butter oat cups to chill for at least 1 hour. You want them to be firm to the touch before serving. This cooling time is important for creating a nice texture, so be patient while they firm up.
Step 9: Remove from the Tin
Once your oat cups have chilled and hardened, carefully remove them from the muffin tin. If you’ve used paper liners, peel them off gently. This step should be quick and done with care; it should take about 3 minutes to ensure none of the cute cups break apart.
Step 10: Store for Enjoyment
To keep your delicious no bake peanut butter oat cups fresh, store them in an airtight container in the refrigerator. They will remain tasty for up to a week, providing you with a delightful snack anytime you crave something sweet! Enjoy your homemade treats and share them with your loved ones!
No Bake Peanut Butter Oat Cups Variations
Feel free to get creative with these cups; they’re perfect for making the recipe truly your own!
- Nut-Free: Replace peanut butter with sunflower seed butter for a delightful alternative that maintains creaminess without the nuts.
- Vegan: Use maple syrup in place of honey and almond milk instead of regular milk for a delicious plant-based option.
- Gluten-Free: Ensure your oats are certified gluten-free; this small swap makes your cups safe for gluten-sensitive friends!
- Fruit-Infused: Add in a handful of dried cranberries or chopped apricots for a sweet fruity twist that complements the creamy texture.
- Spicy Kick: Mix in a pinch of cayenne pepper or a dash of cinnamon for an unexpected warmth that will surprise and delight your taste buds.
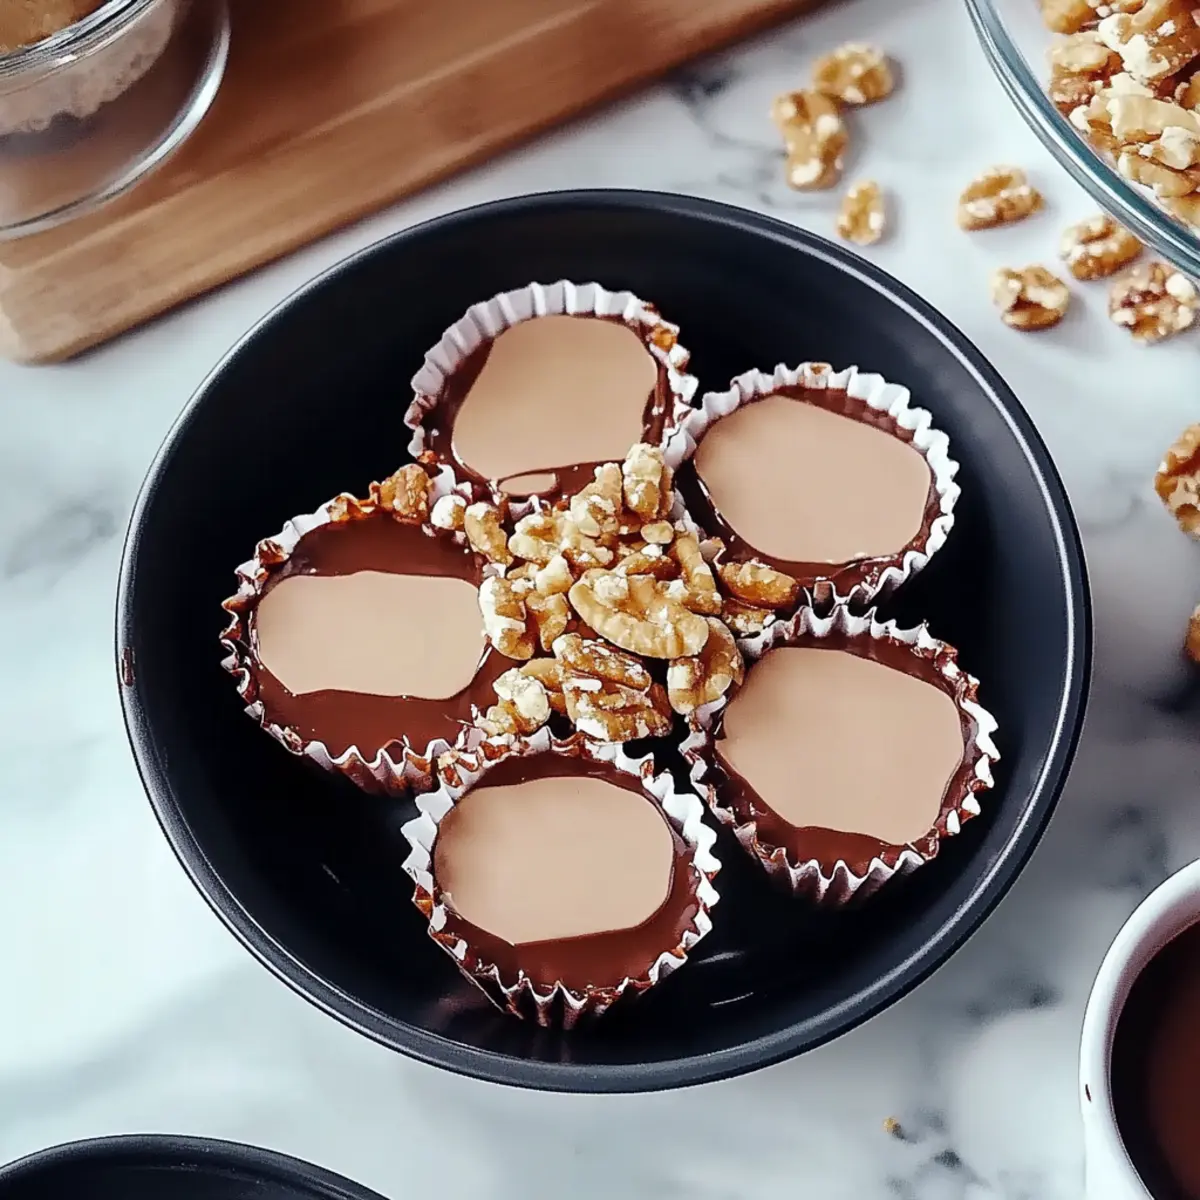
- Crunchy Twists: Fold in chopped nuts, like almonds or walnuts, for an added crunch that contrasts beautifully with the creamy oat base.
- Protein Boost: Stir in a scoop of your favorite protein powder for an extra nutritional boost, making these cups a great post-workout snack.
- Nutty Chocolaty: Swap out the chocolate chips for cacao nibs or roasted cacao for a deeper chocolate flavor that’s less sugary.
Don't hesitate to explore and make these delicious no bake peanut butter oat cups your own. You can even pair them with a refreshing smoothie for a wholesome breakfast or snack. Enjoy mixing it up!
What to Serve with No Bake Peanut Butter Oat Cups
Elevate your snacking experience by pairing these delightful treats with flavors that sing together in harmony.
-
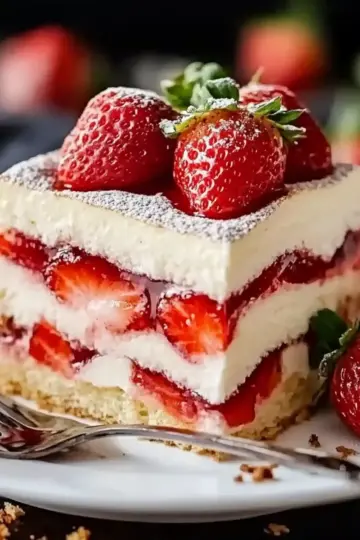
Fresh Fruit Salad: A vibrant mix of seasonal fruits adds a refreshing contrast to the rich, creamy oat cups. The sweetness of fruits like strawberries and melons creates a beautiful balance.
-
Yogurt Parfait: Layer creamy yogurt with granola and your peanut butter oat cups for a satisfying breakfast or dessert. The crunch and creaminess together make every spoonful an adventure.
-
Chocolate Milk: Sip on a glass of chocolate milk to amplify the chocolate chips in your oat cups. This pairing is like reliving your childhood with a delightful twist!
-
Nutty Granola: Sprinkle some crunchy granola alongside for an extra layer of texture. The nutty flavors echo the peanut butter beautifully while providing a satisfying crunch.
-
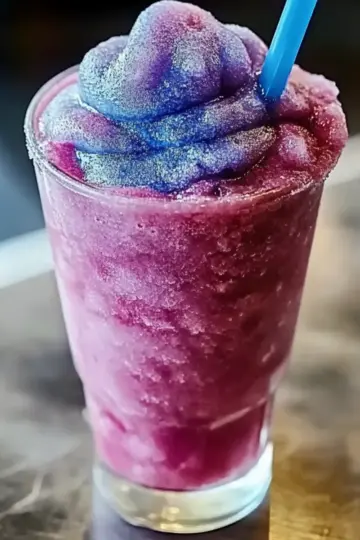
Coffee Smoothie: A smoothie made with coffee and banana gives a quick caffeine boost, making it an energizing treat any time of day. Perfect to enjoy while indulging in your oat cups!
-
Coconut Flakes: Toasted coconut flakes add tropical flair and a bit of crunch that's a delightful surprise. Adding them not only enhances flavor but also brings a sunny essence to your snack time.
-
Creamy Hot Chocolate: Serve a warm cup of creamy hot chocolate with marshmallows to dip your oat cups into, making the treat indulgent and cozy on colder days.
-
Chia Seed Pudding: The subtle sweetness and soft texture of chia seed pudding complement the chewiness of the oat cups nicely. Together, they create a fabulous, guilt-free dessert duo.
Expert Tips for No Bake Peanut Butter Oat Cups
Measure Accurately: Ensure you're measuring ingredients correctly to achieve the right consistency for your no bake peanut butter oat cups.
Use Natural Peanut Butter: Choose a natural peanut butter without additives for a smoother blend and richer taste.
Chill Time Matters: Don’t skip the chilling step; it’s essential for helping the cups firm up and hold their shape.
Mix-Ins Galore: Experiment with different mix-ins like nuts, seeds, or even dried fruit to customize these oat cups to your liking.
Storing Smartly: Keep your cups stored in an airtight container in the fridge to maintain freshness and flavor for up to a week.
Make Ahead Options
These No Bake Peanut Butter Oat Cups are fantastic for meal prep! You can whip up the mixture up to 24 hours in advance and simply chill it in the refrigerator. Just follow all the steps until you place the muffin tin in the fridge, allowing the cups to set as you prepare other meals. If you prefer, you can also pre-form the cups and store them in an airtight container for up to 5 days after they have chilled. To maintain their delicious texture, ensure they are well-packed to prevent them from drying out. When you’re ready to indulge, simply remove them from the refrigerator, and they will be just as delightful and satisfying as when you first made them!
How to Store and Freeze No Bake Peanut Butter Oat Cups
Fridge: Store your no bake peanut butter oat cups in an airtight container in the refrigerator for up to 1 week to maintain freshness and flavor.
Freezer: For longer storage, you can freeze the oat cups by wrapping them individually in plastic wrap and placing them in a freezer-safe bag. They will last for up to 3 months.
Thawing: To enjoy frozen cups, thaw them in the refrigerator overnight or let them sit at room temperature for 30 minutes before eating.
Reheating: These cups can be served cold or at room temperature; however, if you prefer a softer texture, microwave them for about 10-15 seconds.
No Bake Peanut Butter Oat Cups Recipe FAQs
How do I choose the right peanut butter for these cups?
Absolutely! For the best flavor and texture, opt for natural peanut butter that contains just peanuts (and maybe a pinch of salt). This type of peanut butter will blend smoothly into the mixture without any added sugars or oils that can alter the end result.
How should I store my No Bake Peanut Butter Oat Cups?
I recommend keeping your oat cups in an airtight container in the refrigerator for up to 1 week. This will help retain their freshness and delicious flavors. Just grab one whenever a sweet craving hits!
Can I freeze No Bake Peanut Butter Oat Cups?
Absolutely! If you want to enjoy them later, wrap each cup individually in plastic wrap and place them in a freezer-safe bag. They can be frozen for up to 3 months. When you're ready to enjoy, simply thaw them in the fridge overnight or let them sit at room temperature for about 30 minutes.
What should I do if my mixture is too dry to hold together?
If you find that the mixture is crumbly and doesn’t hold together well, try adding a little more milk—start with one tablespoon at a time. Mix thoroughly until the consistency is thick and sticky. This will help bind everything together nicely!
Are these oat cups suitable for individuals with nut allergies?
Very! If you’re looking for a nut-free option, consider substituting the peanut butter with sunflower seed butter or another nut-free spread. Just be sure to check that other ingredients, like chocolate chips, are also nut-free to avoid any allergy issues.
What if I don’t have rolled oats? Can I use a different type?
Great question! You can substitute rolled oats with quick oats; however, keep in mind that the texture might be slightly different. For an alternative, you could also use a combination of crushed graham crackers and rolled oats for a fun twist!
Delicious No Bake Peanut Butter Oat Cups for Sweet Cravings
Equipment
- mixing bowl
- Muffin tin
- spatula
Ingredients
Base Ingredients
- 1 cup Peanut Butter creamy texture and protein-packed base
- ¼ cup Honey natural sweetener
- 1 teaspoon Vanilla Extract enhances overall taste
- 2 cups Rolled Oats adds chewy texture
Mix-Ins
- ¼ cup Chocolate Chips or dark chocolate for richer flavor
- ¼ cup Milk helps bind the mixture
Instructions
Preparation Steps
- In a medium-sized mixing bowl, combine peanut butter, honey, and vanilla extract. Mix until smooth.
- Add rolled oats to the bowl and stir until evenly coated.
- Fold in chocolate chips, ensuring they are well distributed.
- Pour in milk and mix until well combined.
- Line a muffin tin with liners or grease cups, then spoon in the mixture evenly.
- Press the mixture down firmly into each cup.
- Refrigerate for at least 1 hour to chill and firm up.
- Carefully remove the cups from the muffin tin.
- Store in an airtight container in the fridge for up to 1 week.
Leave a Reply