
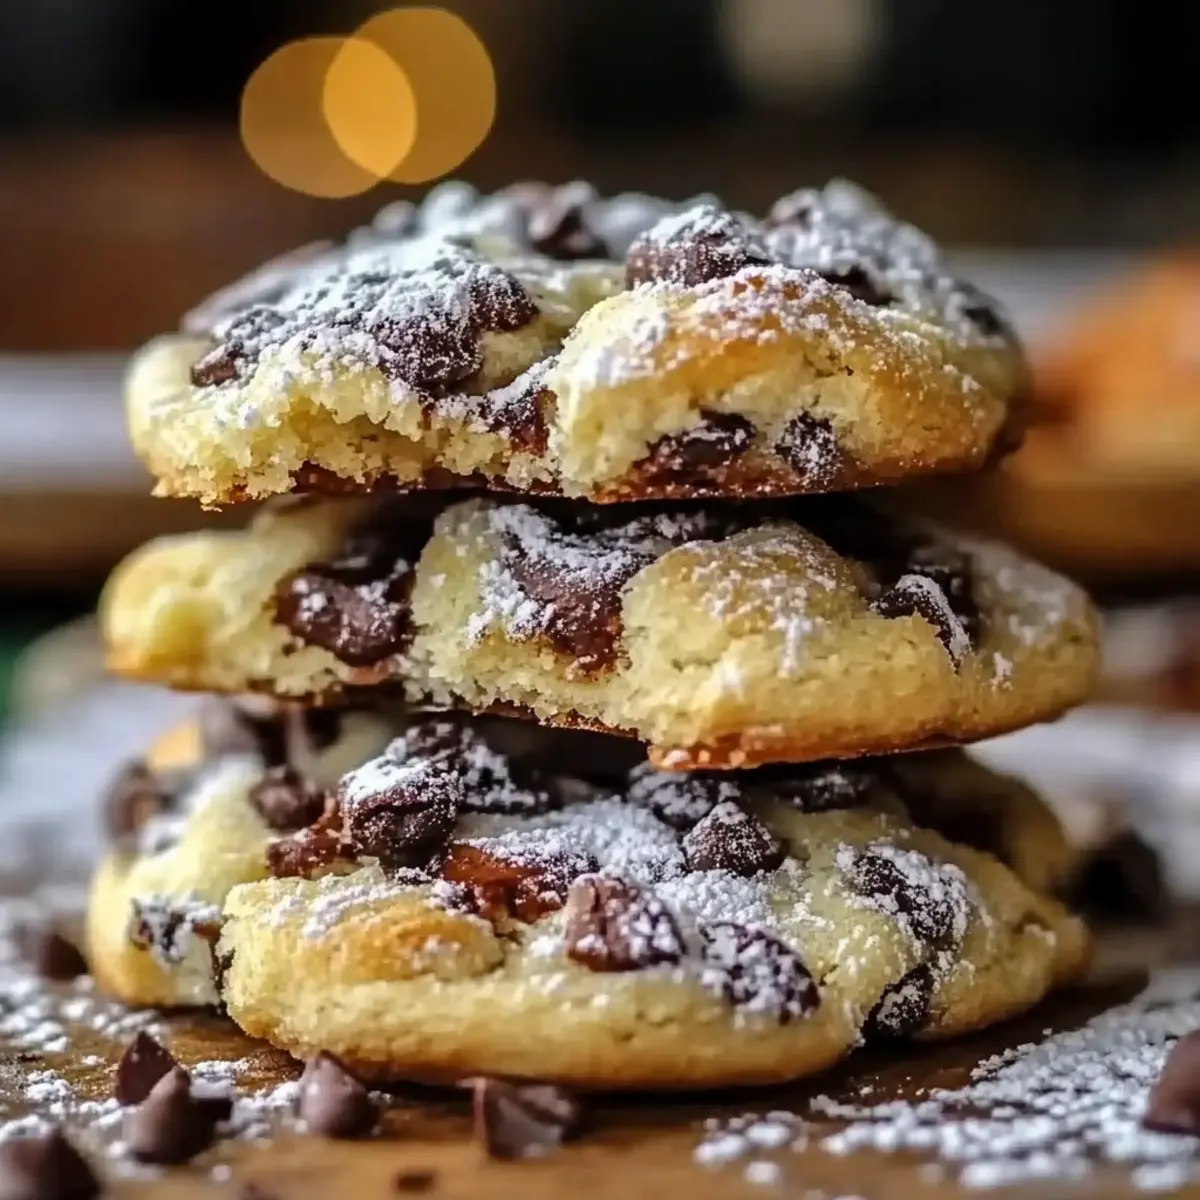
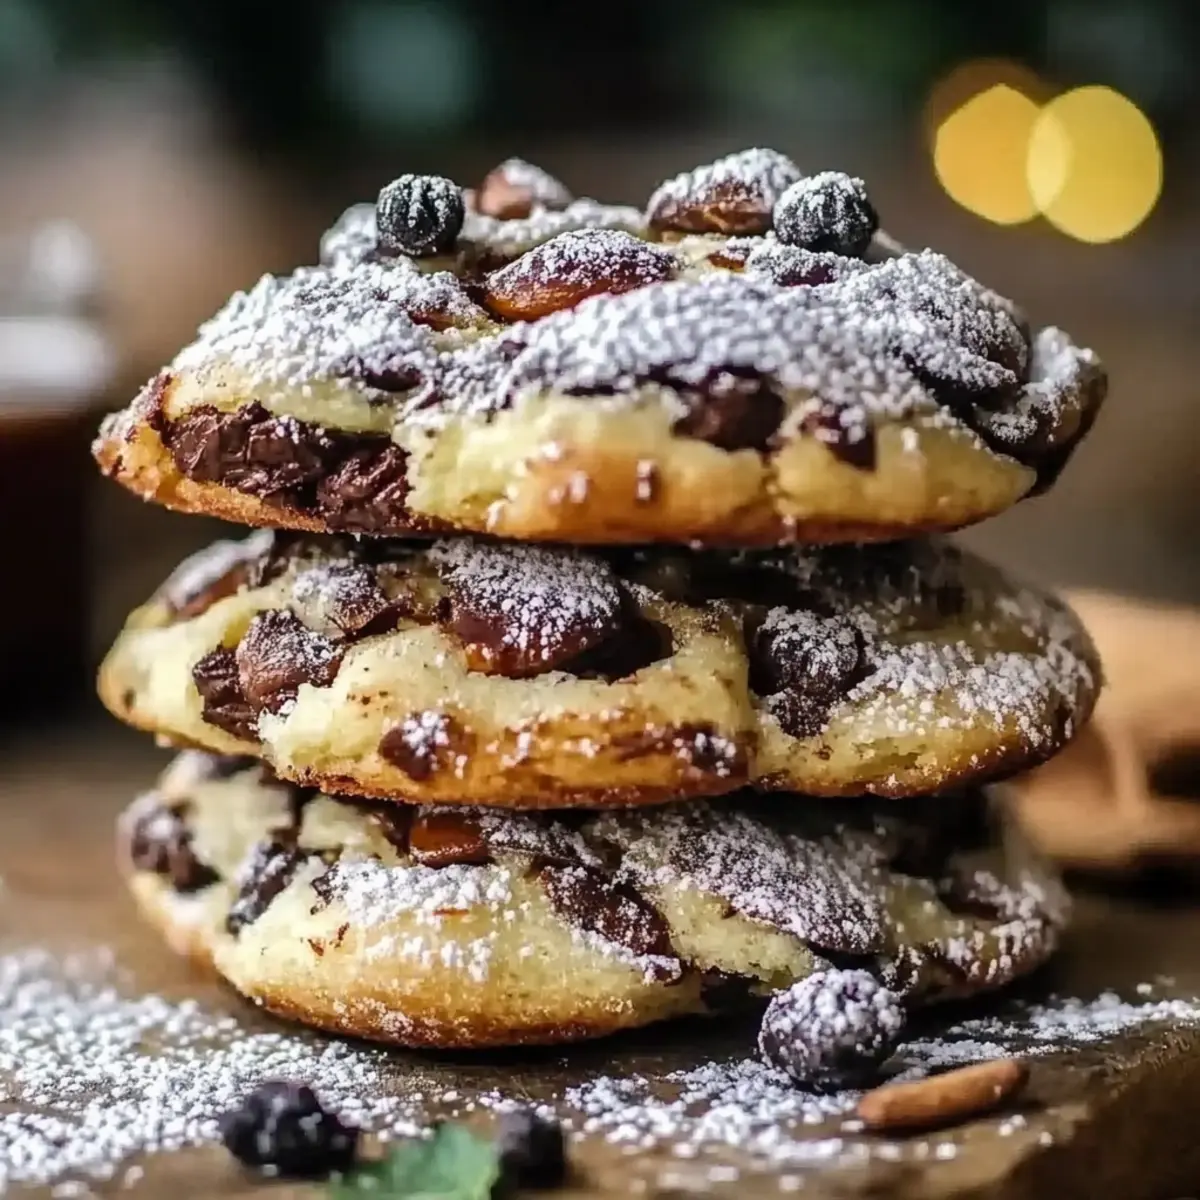
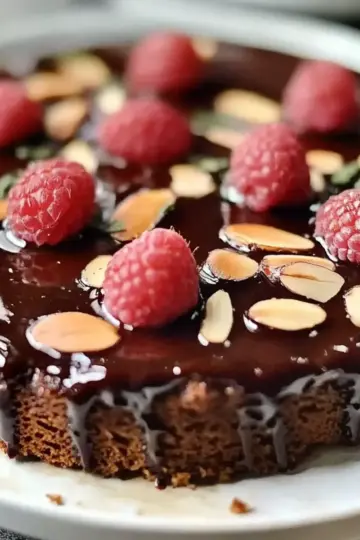
The aroma of freshly baked cookies can instantly transport me to a cozy Italian kitchen, where timeless recipes are lovingly passed down through generations. Today, I’m excited to share my take on Cannoli Cookies—a delightful twist on the classic dessert that brings a touch of Italy directly to your home. Not only are these treats quick to prepare, but their unique blend of ricotta cheese, rich chocolate chips, and bright lemon zest makes them perfect for any gathering or just a cozy night in. They’re soft, chewy, and a surefire crowd-pleaser! Ready to turn your kitchen into a delightful pastry shop? Let's get started and whip up these irresistible Cannoli Cookies together!
Why Are Cannoli Cookies So Irresistible?
Unique Flavor Fusion: Imagine the combination of creamy ricotta, sweet chocolate chips, and zesty lemon—each bite bursts with character.
Time-Saving Delight: With just 40 minutes from prep to serving, these cookies are a quick solution for satisfying your sweet tooth.
Perfect for Sharing: These treats are perfect for gatherings; serve them alongside coffee or integrate them into a dessert table for a crowd-pleasing experience.
Easy to Make: Even novice bakers can confidently whip these up with simple steps, making it easy to create homemade happiness.
Don’t forget to check out tips on storage for cookies to keep them fresh longer!
Cannoli Cookies Ingredients
• Here’s everything you need to whip up these delightful Cannoli Cookies!
For the Cookie Dough
- All-purpose flour – 2 cups for the perfect cookie base that gives structure.
- Baking powder – 1 teaspoon helps your cookies rise to fluffy perfection.
- Baking soda – ½ teaspoon adds a slight lift and balances sweetness.
- Salt – ¼ teaspoon enhances the flavors and balances sweetness.
- Unsalted butter – ½ cup, softened to create a rich, creamy texture.
- Granulated sugar – 1 cup sweetens the deal while keeping the cookies tender.
- Large egg – 1 adds moisture and helps bind the ingredients together.
- Almond extract – 1 teaspoon imparts a nutty flavor reminiscent of traditional cannoli.
- Vanilla extract – 1 teaspoon adds depth to the sweetness.
For the Filling
- Ricotta cheese – 1 cup offers a creamy texture that sets these cookies apart.
- Chocolate chips – ½ cup for an indulgent, sweet surprise in every bite.
- Lemon zest – Zest of 1 lemon brightens the flavor and adds a refreshing kick.
Dive into these ingredients, and remember—the secret to the best Cannoli Cookies lies in the quality of your ingredients!
Step‑by‑Step Instructions for Cannoli Cookies
Step 1: Preheat the Oven
Start by preheating your oven to 350°F (175°C). This step is crucial as it ensures that your Cannoli Cookies will bake evenly and develop that delightful golden color. While the oven heats up, prepare your baking sheet by lining it with parchment paper; this will prevent the cookies from sticking and make cleanup a breeze.
Step 2: Mix Dry Ingredients
In a medium bowl, whisk together 2 cups of all-purpose flour, 1 teaspoon of baking powder, ½ teaspoon of baking soda, and ¼ teaspoon of salt. This combination creates the perfect balance for your Cannoli Cookies. Make sure there are no lumps in the flour mixture; it should be smooth and well-combined, setting the stage for fluffy cookies.
Step 3: Cream Butter and Sugar
In a larger mixing bowl, cream together ½ cup of softened unsalted butter and 1 cup of granulated sugar until the mixture is light and fluffy. This should take about 2-3 minutes with a hand mixer. The texture should be airy, and the color will lighten significantly, indicating it’s ready for the next ingredients.
Step 4: Add Egg and Extracts
Beat in 1 large egg, along with 1 teaspoon of almond extract and 1 teaspoon of vanilla extract. Continue mixing until everything is well combined, and the mixture appears smooth. You’ll notice a sweet, aromatic fragrance filling the kitchen—an enticing sign that your Cannoli Cookies are coming together beautifully.
Step 5: Combine Wet and Dry Mixtures
Gradually add the dry flour mixture to the wet ingredients, mixing gently until just combined. Be careful not to overmix; the batter should remain slightly lumpy. This delicate blending is key to achieving soft and chewy Cannoli Cookies.
Step 6: Fold in the Filling Ingredients
Now it’s time to add the star ingredients! Gently fold in 1 cup of ricotta cheese, ½ cup of chocolate chips, and the zest of 1 lemon. Use a spatula to ensure even distribution without overworking the dough. The mixture should look rich and creamy, with bursts of chocolate chips and bright flecks of lemon zest throughout.
Step 7: Shape the Cookies
Using a tablespoon, drop rounded scoops of dough onto the prepared baking sheet, spacing them about 2 inches apart. This spacing is vital as the Cannoli Cookies will spread slightly while baking. You should have about 24 cookies ready to go into the oven, each just waiting to become a delicious treat.
Step 8: Bake the Cookies
Place the baking sheet in the preheated oven and bake for 12-15 minutes, or until the edges of the cookies are lightly golden. Keep an eye on them—when they begin to puff and the edges are set, you’ll know they are almost done. The centers might look a bit soft, but they will firm up as they cool.
Step 9: Cool the Cookies
Once baked, allow the Cannoli Cookies to cool on the baking sheet for about 5 minutes. This resting time helps them hold their shape before transferring to a wire rack. After they’ve set a bit, gently lift them onto the rack to cool completely—your kitchen will be filled with an irresistible aroma!
What to Serve with Cannoli Cookies?
The sweet fragrance of freshly baked Cannoli Cookies can inspire a cozy gathering or a delightful dessert spread.
- Rich Espresso: The bold, rich flavors of espresso make for a perfect pairing, balancing the sweetness of the cookies with its deep notes.
- Creamy Gelato: A scoop of vanilla or pistachio gelato alongside your Cannoli Cookies creates a delicious contrast with creamy textures and flavors.
- Chocolate Fondue: Dip the cookies into warm chocolate fondue for an indulgent experience that adds a delightful layer of richness.
- Fresh Berries: A bowl of mixed berries brightens the palate, offering a refreshing burst that complements the cookies’ sweetness.
- Whipped Cream: Light, fluffy whipped cream adds a touch of luxuriousness that elevates each bite of your Cannoli Cookies.
- Dessert Wine: A glass of sweet dessert wine pairs wonderfully, enriching the experience with notes of fruit and honey that complement the cookie’s flavors.
- Pistachio Nuts: Sprinkle chopped pistachios on top for a nutty crunch that echoes the flavors of traditional cannoli, enhancing every bite!
- Mint Tea: The refreshing taste of mint tea provides a light, herbal contrast to the sweet, creamy flavors of your Cannoli Cookies.
- Coconut Macaroons: Serve these chewy treats with the cookies for a delightful texture contrast and to amplify the dessert experience.
Expert Tips for Cannoli Cookies
• Use Quality Ingredients: Choose high-quality ricotta and butter; they'll significantly impact flavor and texture.
• Don’t Overmix: When combining wet and dry ingredients, mix until just combined to avoid tough cookies.
• Experiment with Flavors: Feel free to substitute chocolate chips with dried fruit or nuts for a unique twist on your Cannoli Cookies.
• Watch the Bake Time: Ovens vary; keep an eye on the cookies and remove them when the edges are golden for the best results.
• Cooling Is Key: Allow cookies to cool on the baking sheet before transferring them to a rack—this helps them maintain shape and texture.
Keep these tips in mind, and you’ll be creating the best Cannoli Cookies in no time!
Storage Tips for Cannoli Cookies
Room Temperature: Store your Cannoli Cookies in an airtight container at room temperature for up to 1 week for optimal freshness and taste.
Fridge: If you prefer, Cannoli Cookies can be refrigerated, where they’ll stay fresh for up to 2 weeks. Just ensure they’re well wrapped to prevent drying out.
Freezer: To freeze, place the cookies in a single layer in a zip-top bag or airtight container, ensuring they’re separated by parchment paper. They can be frozen for up to 3 months.
Reheating: For the best flavor, reheat frozen cookies in a 350°F oven for about 5-10 minutes. This helps restore their soft, just-baked texture and enhances flavors.
Make Ahead Options
These Cannoli Cookies are ideal for busy home cooks looking to save time without sacrificing flavor! You can prepare the cookie dough up to 24 hours in advance by mixing all the wet and dry ingredients, then refrigerate it in an airtight container to keep it fresh and flavorful. When you’re ready to bake, simply scoop the dough onto a lined baking sheet and pop them in the oven as per the original instructions. If you’d like to prep even earlier, you can freeze the cookie dough for up to 3 months; just thaw it overnight in the fridge before baking. This way, you can enjoy deliciously fresh Cannoli Cookies with minimal effort anytime!
Cannoli Cookies Variations & Substitutions
Feel free to get creative and personalize your Cannoli Cookies with these tasty changes!
- Gluten-Free: Substitute all-purpose flour with a 1:1 gluten-free flour blend to cater to gluten sensitivities.
- Vegan Option: Replace the egg with a flax egg (1 tablespoon flaxseed meal + 2.5 tablespoons water) and use vegan butter.
- Nutty Twist: Add ½ cup of finely chopped walnuts or pistachios for a delightful crunch that echoes the flavors of traditional cannoli.
- Spicy Kick: Introduce a pinch of cinnamon or nutmeg for a warm spice that brings complexity to every bite, enhancing that sweet-and-savory dynamic.
- Dairy-Free Delight: Replace ricotta cheese with a dairy-free alternative like tofu or cashew cream for a lighter version that keeps the creamy texture.
- Flavor Burst: Swap chocolate chips for chopped dried fruits like cherries or apricots, infusing the cookies with a chewy, fruity surprise.
- Citrus Infusion: Enhance the lemon zest with orange zest for a zesty twist that brightens the flavor profile.
- Heat It Up: Add a dash of red pepper flakes for a surprising contrast that lifts the sweetness, creating an exciting flavor experience.
Experimenting with these variations can bring new life to your Cannoli Cookies! Don’t forget to check out my expert tips and storage tips for keeping your cookies fresh and delicious!

Cannoli Cookies Recipe FAQs
How do I select the right ricotta cheese for Cannoli Cookies?
Absolutely! When choosing ricotta cheese, look for a brand that's creamy and has a smooth texture. Avoid ones with excessive whey, as this can make your cookies too wet. For the best flavor, fresh or whole-milk ricotta is recommended, as it offers a richer, creamier taste that complements the other ingredients beautifully.
How can I store Cannoli Cookies?
If stored properly, Cannoli Cookies can last up to a week at room temperature in an airtight container. To keep them at their best, place parchment paper between layers to prevent sticking. If you need them to last longer, you can refrigerate them for up to 2 weeks. Just make sure they’re wrapped well to keep them moist and fresh!
Can I freeze the cookie dough before baking Cannoli Cookies?
Yes! Freezing the dough is a great idea. After you've mixed the cookie dough, scoop it into rounded tablespoons and place them in a single layer on a baking sheet. Freeze them until solid, then transfer the dough balls to a zip-top bag or airtight container. They can be frozen for up to 3 months! When you're ready to bake, there's no need to thaw—just add a couple of extra minutes to the baking time.
What should I do if my Cannoli Cookies spread too much while baking?
Very good question! If you find that your cookies are spreading too much, it could be due to the butter being too warm or not enough flour in the dough. To troubleshoot, be sure to cream the butter and sugar just until combined, and measure your flour accurately. If the dough feels sticky, you can chill it in the fridge for 30 minutes before baking, which helps them retain their shape.
Are Cannoli Cookies suitable for people with nut allergies?
Yes, Cannoli Cookies can easily be modified for nut allergies! Since almond extract is typically used to mimic the traditional flavors of cannoli, you can simply omit it and substitute with more vanilla extract. Always double-check any additional ingredients like chocolate chips for potential allergens. These delicious cookies can still be enjoyed by those with nut sensitivities!

Delicious Cannoli Cookies: A Sweet Twist on a Classic Treat
Equipment
- mixing bowl
- baking sheet
- parchment paper
- spatula
- Hand mixer
Ingredients
Cookie Dough
- 2 cups all-purpose flour for the perfect cookie base that gives structure
- 1 teaspoon baking powder helps your cookies rise to fluffy perfection
- 0.5 teaspoon baking soda adds a slight lift and balances sweetness
- 0.25 teaspoon salt enhances the flavors and balances sweetness
- 0.5 cup unsalted butter softened to create a rich, creamy texture
- 1 cup granulated sugar sweetens the deal while keeping the cookies tender
- 1 large egg adds moisture and helps bind the ingredients together
- 1 teaspoon almond extract imparts a nutty flavor reminiscent of traditional cannoli
- 1 teaspoon vanilla extract adds depth to the sweetness
Filling
- 1 cup ricotta cheese offers a creamy texture that sets these cookies apart
- 0.5 cup chocolate chips for an indulgent, sweet surprise in every bite
- 1 zest lemon brightens the flavor and adds a refreshing kick
Instructions
Baking Instructions
- Preheat your oven to 350°F (175°C) and line a baking sheet with parchment paper.
- In a medium bowl, whisk together flour, baking powder, baking soda, and salt.
- In a larger bowl, cream butter and sugar until light and fluffy.
- Beat in egg, almond extract, and vanilla extract until well combined.
- Gradually add the dry ingredients to the wet, mixing gently until just combined.
- Fold in ricotta, chocolate chips, and lemon zest until evenly distributed.
- Drop rounded scoops of dough onto the prepared baking sheet, spacing them about 2 inches apart.
- Bake for 12-15 minutes or until edges are lightly golden.
- Allow to cool on the baking sheet for 5 minutes before transferring to a wire rack.
Leave a Reply