
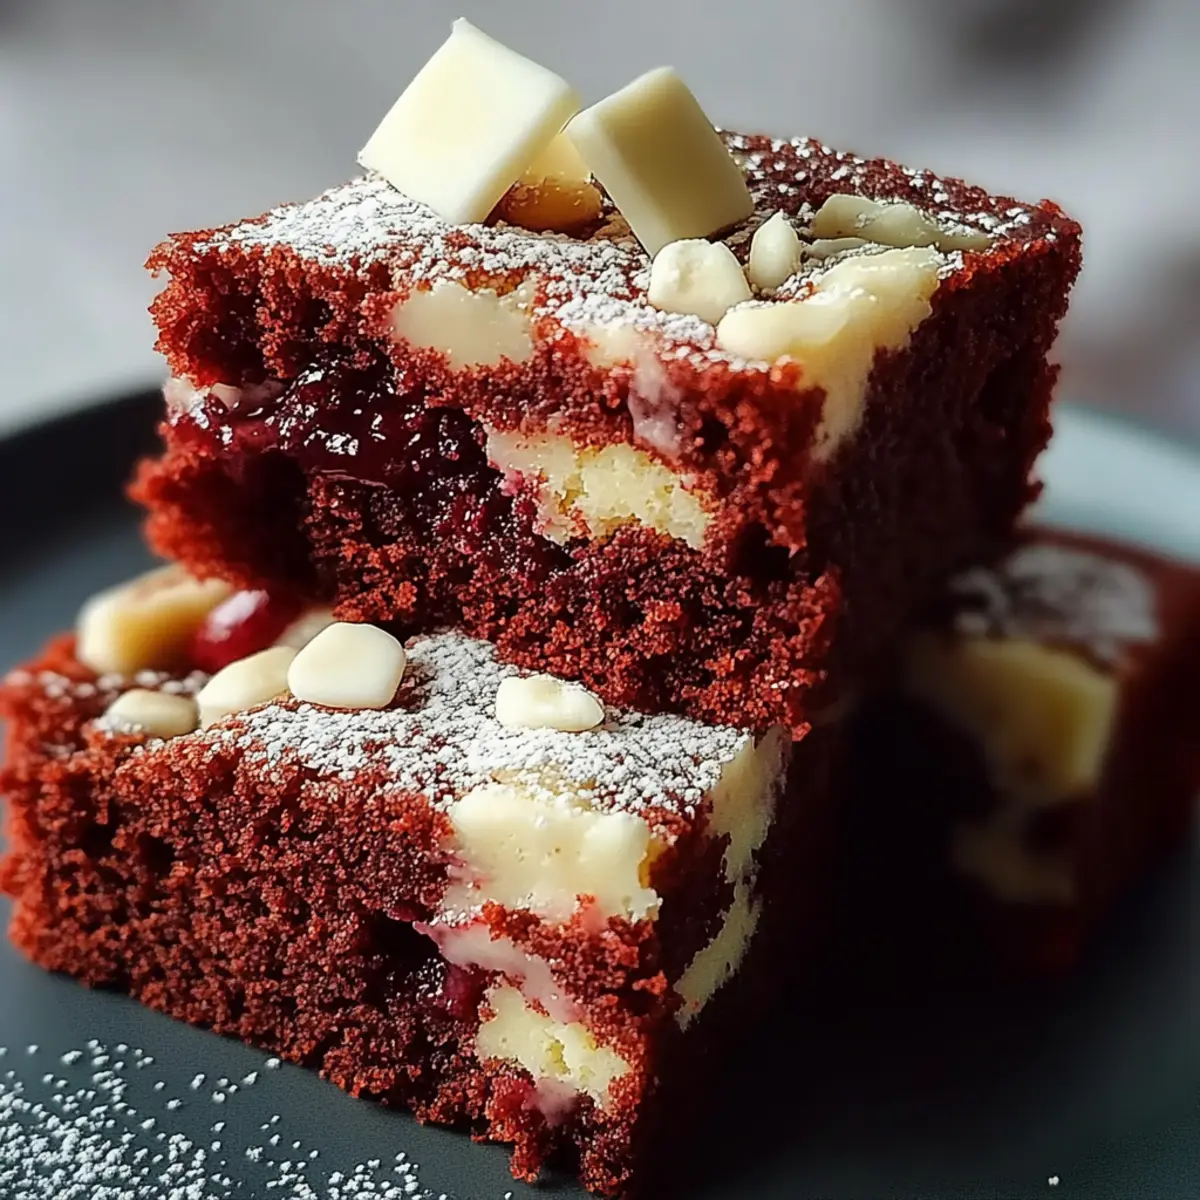
As I pulled the vibrant red brownies from the oven, the delicious aroma filled my kitchen, instantly melting away any weekday stress. These Red Velvet Brownies aren’t just a feast for the eyes—they’re a remarkable two-in-one treat that combines the rich, indulgent flavors of chocolate with the festive flair of red velvet. Perfect for gatherings or a cozy night in, they come together in about 50 minutes, making them a delightful quick fix when cravings strike. Plus, the sweet surprise of white chocolate chips adds a whimsical twist that will leave everyone wondering what your secret is. Are you ready to delight your friends and family with these stunning brownies?
Why are these brownies irresistible?
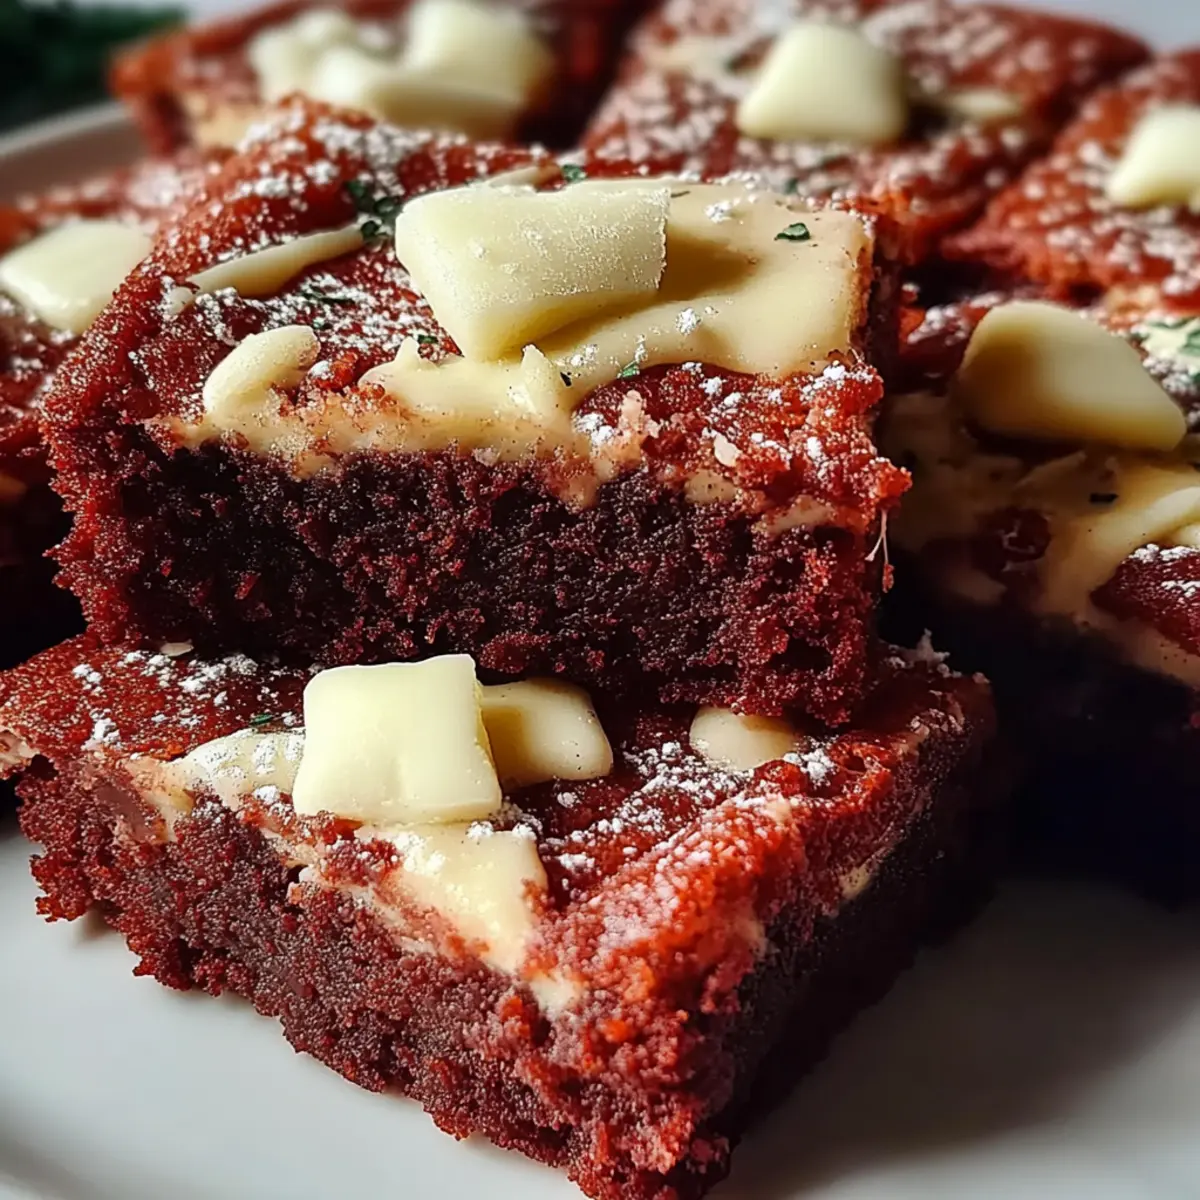
Decadent Layers: These Red Velvet Brownies deliver an unforgettable experience, merging rich chocolate with the playful charm of red velvet.
Quick Prep: With just 15 minutes of prep, you’ll be able to treat yourself and your loved ones without much hassle.
Crowd-Pleasing Delight: Unforgettable and visually stunning, they're perfect for parties or intimate gatherings—everyone will be asking for seconds!
Whimsical Flavor: The addition of white chocolate chips elevates each bite into a blissful surprise, creating a dessert that feels both gourmet and comforting.
Versatile Choice: Whether for a celebration or a cozy night at home, these brownies cater to any occasion. Just imagine serving them warm with a scoop of vanilla ice cream for an irresistible dessert experience!
Red Velvet Brownie Ingredients
• Let’s gather what you need!
For the Batter
- Unsalted butter (1 cup) – melts the perfect fudgy texture into your brownies.
- Granulated sugar (1 ½ cups) – sweetens your treat for a delightful richness.
- Brown sugar (½ cup) – adds moistness and a hint of caramel flavor.
- Large eggs (4) – binds the ingredients together for a smooth consistency.
- Vanilla extract (2 teaspoons) – enhances all the delicious flavors in your brownies.
- All-purpose flour (2 cups) – provides structure so your brownies rise beautifully.
- Unsweetened cocoa powder (½ cup) – deepens the chocolate flavor without added sweetness.
- Baking powder (1 teaspoon) – gives those brownies a light and airy lift.
- Salt (1 teaspoon) – balances the sweetness and enhances flavor.
- Red food coloring (1 tablespoon) – turns your brownies into a striking red velvet delight.
For the White Chocolate Surprise
- White chocolate chips or chopped white chocolate (1 cup) – bring a creamy sweetness that complements the rich brownies.
These Red Velvet Brownies are sure to become a family favorite, so keep these ingredients on hand for your next baking adventure!
Step‑by‑Step Instructions for Red Velvet Brownies
Step 1: Prepare the Baking Pan
Begin by preheating your oven to 350°F (175°C). While the oven heats up, take a 9x13-inch baking pan and grease it lightly before lining it with parchment paper, allowing some overhang on the sides for easy removal later. This will ensure your Red Velvet Brownies come out smoothly and remain intact.
Step 2: Mix the Wet Ingredients
In a large mixing bowl, combine 1 cup of melted unsalted butter, 1 ½ cups of granulated sugar, and ½ cup of packed brown sugar. Whisk these ingredients together until the mixture is smooth and glossy, showing no visible sugar granules. This should take about 2-3 minutes. The sugar will dissolve beautifully, creating a rich base for your brownies.
Step 3: Incorporate the Eggs and Vanilla
Add 4 large eggs to the sugar mixture individually, stirring well after each addition. This process helps to create a smooth and creamy batter. After incorporating the last egg, mix in 2 teaspoons of vanilla extract until fully blended. The batter should now be light and slightly thick.
Step 4: Combine the Dry Ingredients
In a separate bowl, sift together 2 cups of all-purpose flour, ½ cup of unsweetened cocoa powder, 1 teaspoon of baking powder, and 1 teaspoon of salt. Gradually stir this dry mixture into the wet ingredients using a spatula, mixing until just combined. Avoid overmixing to ensure your Red Velvet Brownies remain fudgy and rich.
Step 5: Add the Color
Next, pour in 1 tablespoon of red food coloring and gently fold it into the batter with a spatula until the rich crimson color is evenly distributed. This vibrant color will not only be visually appealing but will also contribute to the signature red velvet flavor of your brownies.
Step 6: Stir in the White Chocolate Chips
Now, fold in 1 cup of white chocolate chips (or chopped white chocolate) into your batter. Ensure that the chips are evenly spread throughout, giving you delightful pockets of creamy sweetness in every bite. The contrasting flavors of chocolate and white chocolate make these Red Velvet Brownies truly special.
Step 7: Pour and Smooth the Batter
Pour the brownie batter into the prepared baking pan. Use a spatula to spread the batter evenly, smoothing out the top to ensure even baking. This layer of vibrant red batter will create a beautiful visual once baked and set the stage for an amazing brownie experience.
Step 8: Bake the Brownies
Place the baking pan in the preheated oven and let the brownies bake for 20-25 minutes. Keep an eye on them, and when a toothpick inserted in the center comes out with a few moist crumbs (not wet batter), they are perfectly done. The edges should appear set while the center remains slightly soft.
Step 9: Cool Before Cutting
Once baked, remove the pan from the oven and allow the brownies to cool in the pan for about 10 minutes. After that, carefully use the parchment overhang to lift the brownies out of the pan and onto a wire rack. Let them cool completely before cutting them into squares to ensure the ideal texture in your Red Velvet Brownies.
Expert Tips for Red Velvet Brownies
Don't Overmix: Ensure your batter is just combined after adding the flour mixture. Overmixing can lead to dry brownies instead of the desired fudgy texture.
Use Quality Ingredients: Invest in high-quality cocoa powder and chocolate chips. The better the ingredients, the richer the flavor of your Red Velvet Brownies will be.
Check for Doneness: When baking, start checking your brownies a few minutes before the suggested time. They should be set at the edges, but the center can remain slightly soft.
Cool Completely: Allow your brownies to cool fully on a wire rack before cutting. This step helps them set properly, making for cleaner cuts and better texture.
Customize Your Add-Ins: Feel free to mix in nuts or other chocolate varieties if white chocolate isn't your favorite. Get creative to make these Red Velvet Brownies truly yours!
Red Velvet Brownies Variations
Feel free to get creative with these Red Velvet Brownies and adapt them to suit your taste buds!
- Gluten-Free: Substitute the all-purpose flour with a gluten-free flour blend for a deliciously warm treat that everyone can enjoy.
- Nutty Surprise: Fold in 1 cup of chopped walnuts or pecans for a delightful crunch that complements the soft, fudgy brownies beautifully.
- Minty Twist: Add 1 teaspoon of peppermint extract for an invigorating flavor that pairs perfectly with chocolate, especially during the holiday season.
- Spicy Kick: Mix in a pinch of cayenne pepper or chili powder for a surprising heat that contrasts wonderfully with the sweetness of the white chocolate chips.
- Berry Burst: Incorporate 1 cup of fresh raspberries or strawberries into the batter for a juicy, fruity twist that enhances the flavor and adds a pop of color.
- Layered Delight: Create a two-layer treat by separating the batter and adding a layer of your favorite cream cheese frosting between two brownie layers. This adds creaminess and visual appeal.
- Vegan Option: Replace eggs with ¼ cup of unsweetened applesauce and use a dairy-free butter alternative to make a tasty vegan version that everyone can enjoy.
- Extra Chocolaty: Double the cocoa powder to 1 cup for an even richer chocolate flavor—perfect for those chocoholics in your life!
These variations are just a few ways to explore and personalize the beauty of your Red Velvet Brownies. Enjoy the process of making them your own!
Make Ahead Options
These Red Velvet Brownies are perfect for meal prep, allowing you to indulge in this decadent treat while saving time on busy days! You can prepare the brownie batter up to 24 hours in advance by mixing all the wet and dry ingredients together, but don't add the white chocolate chips just yet. Store the batter in an airtight container in the refrigerator to maintain its freshness. When you're ready to bake, simply fold in the chips and pour the batter into the prepared pan, then bake as directed. This way, you can enjoy homemade brownies with minimal effort, just as delicious as if they were made fresh!
How to Store and Freeze Red Velvet Brownies
Fridge: Store your baked Red Velvet Brownies in an airtight container in the refrigerator for up to 3 days to maintain freshness and flavor.
Freezer: For longer storage, freeze the brownies in a single layer, wrapped tightly in plastic wrap, for up to 3 months. Thaw in the fridge before enjoying.
Reheating: To revive your brownies, microwave them for 10-15 seconds to warm and soften the texture without drying them out. Enjoy a slice of that delightful flavor!
Cutting: When ready to serve, cut them into squares while cold for cleaner edges, then let them come to room temperature before indulging for the best taste.
What to Serve with Red Velvet Brownies?
Indulging in warm, fudgy brownies is just the beginning of a delightful dessert experience waiting to happen.
- Vanilla Ice Cream: The creamy sweetness of vanilla ice cream beautifully balances the richness of the brownies, creating a classic dessert pairing.
- Fresh Berries: A sprinkle of fresh raspberries or strawberries adds a tart brightness that cuts through the sweetness, enhancing each bite.
- Chocolate Sauce: Drizzling warm chocolate sauce over your brownies elevates the chocolate flavor profile, making them even more decadent and indulgent.
- Whipped Cream: A dollop of light, fluffy whipped cream provides a perfect contrast in texture, bringing a delightful airy bite to the dense brownies.
- Espresso or Coffee: Pairing these brownies with a cup of rich espresso intensifies the cocoa taste while providing a satisfying caffeine boost that complements the dessert.
- Mint Chocolate Chip Milkshake: The coolness and minty flavor of this milkshake create a refreshing contrast to the warm brownies, making it a fun and nostalgic choice!
- Nutty Brownie Sundae: Serve your brownies as a sundae topped with chopped nuts and drizzled with caramel, adding crunchy texture and a sweet finish.
- Spiced Chai Tea: The warm spices of chai tea harmonize with the chocolate notes, steering your dessert into a cozy, comforting territory.
- Coconut Cream: Sweet, silky coconut cream adds an exotic twist and beautifully marries with the white chocolate chips in your brownies.
- Red Velvet Cake Pops: Keep the red velvet theme alive with playful cake pops, offering another tasty treat that's fun for gatherings!
Red Velvet Brownies Recipe FAQs
What should I look for when selecting red food coloring?
When selecting red food coloring, opt for a gel-based type over liquid, as it provides a more vibrant color without adding excess moisture to your batter. You want the food coloring to be bright and vivid, creating that iconic red velvet hue in your brownies.
How can I store my Red Velvet Brownies to keep them fresh?
To keep your Red Velvet Brownies fresh, place them in an airtight container in the refrigerator, where they can last for up to 3 days. Make sure to let them cool completely before storing, as this prevents condensation from making them soggy.
Can I freeze Red Velvet Brownies, and how do I do it properly?
Absolutely! To freeze your Red Velvet Brownies, first ensure they are fully cooled. Then, wrap them tightly in plastic wrap or aluminum foil and place them in an airtight container or zip-top freezer bag. They can be frozen for up to 3 months. To thaw, simply transfer them to the refrigerator overnight and enjoy as a quick treat!
How do I troubleshoot if my brownies turn out too dry?
If your brownies turn out too dry, it may be due to overbaking them or not having enough moisture in the mixture. To prevent this next time, keep an eye on the baking time and use a toothpick to check for doneness—it should come out with a few moist crumbs, not clean. Additionally, ensure you’ve accurately measured your ingredients; overly dry brownies could also result from too much flour.
Are there any dietary considerations for pets or allergies with these brownies?
Yes! These Red Velvet Brownies contain ingredients like chocolate, which is toxic to pets, particularly dogs and cats, so ensure to keep them out of reach. If you're catering to allergies, note that these brownies contain eggs, gluten, and dairy. For egg-free options, consider using flaxseed meal or applesauce as a substitute, and for gluten-free versions, you can replace all-purpose flour with a gluten-free flour blend.
How do I know when my Red Velvet Brownies are done baking?
A great way to determine if your brownies are baked to perfection is to insert a toothpick into the center. If it comes out with a few moist crumbs but not wet batter, they're done! Keep in mind that they might continue cooking slightly from residual heat even after being removed from the oven, so pull them out once they are set around the edges and slightly soft in the center.
Decadent Red Velvet Brownies with White Chocolate Bliss
Equipment
- 9x13-inch baking pan
- mixing bowl
- spatula
- whisk
Ingredients
For the Batter
- 1 cup unsalted butter melted
- 1.5 cups granulated sugar
- 0.5 cup brown sugar packed
- 4 large eggs
- 2 teaspoons vanilla extract
- 2 cups all-purpose flour
- 0.5 cup unsweetened cocoa powder
- 1 teaspoon baking powder
- 1 teaspoon salt
- 1 tablespoon red food coloring
For the White Chocolate Surprise
- 1 cup white chocolate chips or chopped white chocolate
Instructions
Step-by-Step Instructions
- Preheat your oven to 350°F (175°C). Grease a 9x13-inch baking pan and line it with parchment paper.
- In a large bowl, whisk together melted butter, granulated sugar, and brown sugar until smooth and glossy.
- Add eggs to the sugar mixture, one at a time, stirring well after each addition. Mix in vanilla extract.
- In another bowl, sift together flour, cocoa powder, baking powder, and salt. Gradually mix into the wet ingredients.
- Fold in red food coloring into the batter until evenly distributed.
- Gently fold in white chocolate chips.
- Pour the batter into the prepared pan and smooth the top.
- Bake for 20-25 minutes, until a toothpick comes out with moist crumbs.
- Allow the brownies to cool in the pan for 10 minutes, then transfer to a wire rack to cool completely.


Leave a Reply