The moment I unwrapped the delightful treat, I was instantly transported back to my childhood—a time when the simplest ingredients created the most magical snacks. Introducing Ruler Rice Krispies, a fun, colorful twist on the classic, that anyone can whip up in just 25 minutes! This recipe not only brings joy to all ages, but it’s also a fantastic way to infuse creativity into your kitchen, making it the perfect project for both seasoned chefs and those new to the stove. With its quick prep time and the ability to customize, these charming bars are ideal for parties or cozy family gatherings. Are you ready to create a sweet masterpiece that’ll have everyone lining up for seconds? Let’s dive into the colorful world of Ruler Rice Krispies!
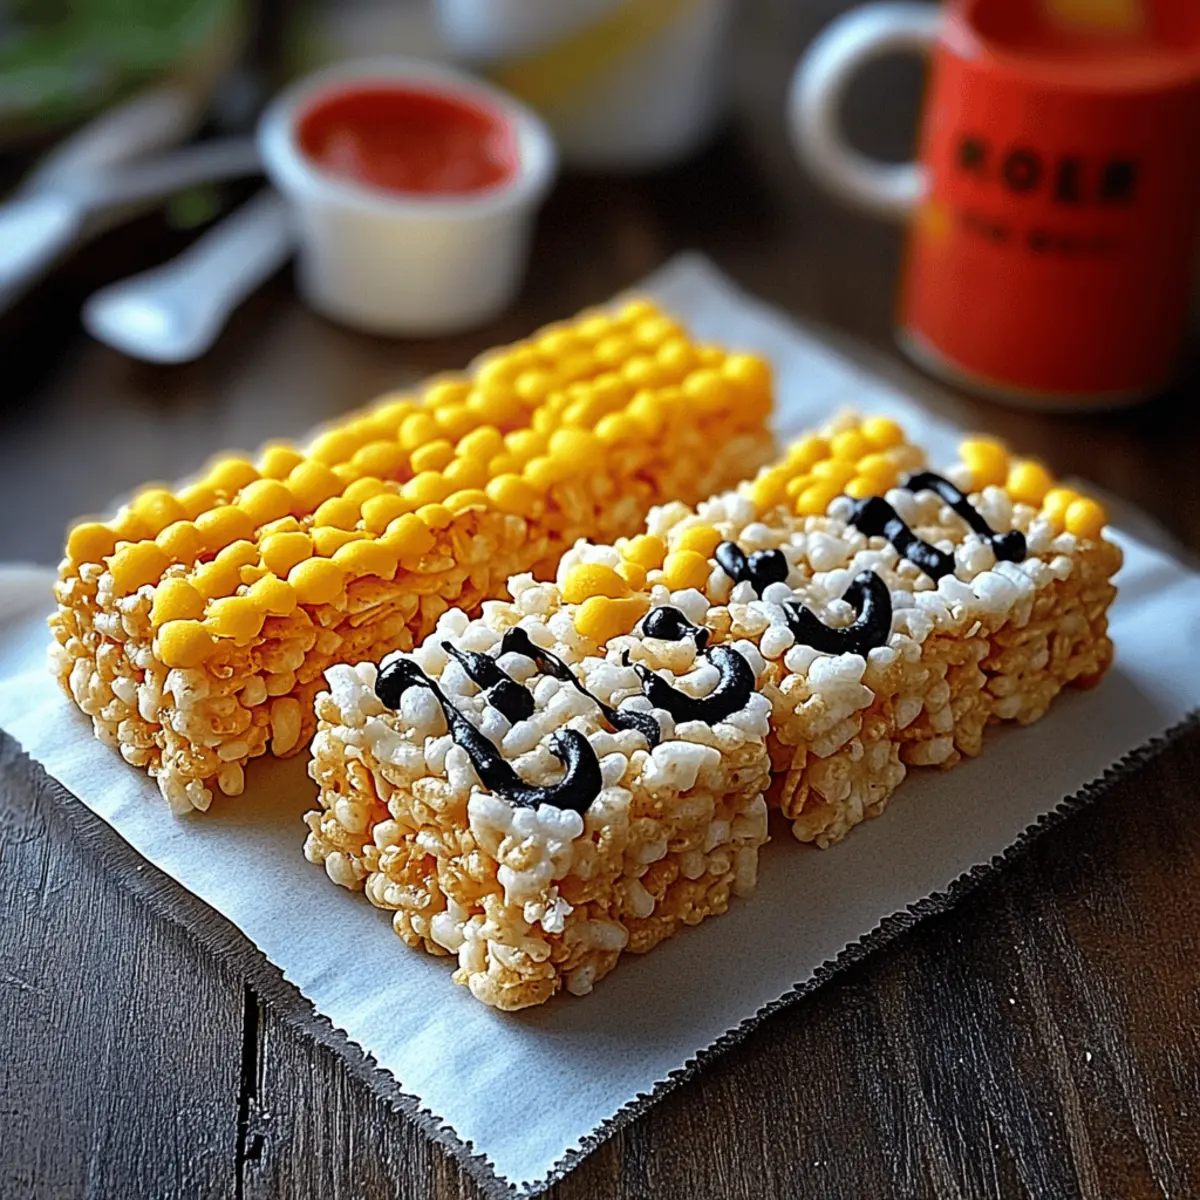
Why are Ruler Rice Krispies irresistible?
Delightfully Fun: These Ruler Rice Krispies aren’t just treats; they’re a playful culinary adventure that invites creativity in the kitchen!
Quick and Easy: With just 25 minutes from start to finish, you can whip up these colorful delights, making them perfect for last-minute gatherings.
Customizable Colors: Have fun with colors by choosing your own gel food shades, grabbing ideas from other recipes like Coconut Sweet Rice for unexpected flair!
Appeal to All Ages: Whether you’re a kid or a kid at heart, these treats are sure to impress everyone at home or at parties.
Tasty and Chewy: The gooey marshmallow base paired with crispy rice creates a texture that’s truly addictive!
Perfect for Sharing: Easily wrapped for parties or as delicious homemade gifts, they add a personal touch that everyone will appreciate!
Ruler Rice Krispies Ingredients
Get ready to bring a fun twist to your kitchen with these delightful Ruler Rice Krispies!
For the Base
• 6 cups Rice Krispies cereal – choose the classic variety for that perfect crispy crunch!
• 1 (10 oz) bag mini marshmallows – the star ingredient that brings sweetness and gooeyness to your treat!
• 3 tablespoons butter – adds richness and helps to bind everything together!
For Coloring
• Red gel food coloring – create vibrant red sections for a fun pop of color!
• Yellow gel food coloring – adds a sunny brightness to your treats!
• Black gel food coloring – use sparingly to enhance the ruler's fine details!
For Decoration
• ½ cup white candy melts – melt these for a “metal edge” that makes your treats look extra special!
• ½ cup chocolate chips (or brown candy melts) – perfect for creating ruler markings that are both tasty and fun!
• Black decorating gel or black edible marker – use this for adding those finishing touches in style!
Miscellaneous
• Non-stick cooking spray – ensures easy removal of your treats from the pan!
• Parchment paper – lining your baking dish will prevent sticking and save time on cleanup!
Embrace the excitement of making Ruler Rice Krispies with these simple yet essential ingredients!
Step‑by‑Step Instructions for Ruler Rice Krispies
Step 1: Prepare the Baking Dish
Start by preheating your kitchen to a cozy atmosphere, then take a 9×13 inch baking dish and line it with parchment paper, ensuring the paper hangs over the edges for easy removal. Spray the parchment generously with non-stick cooking spray to prevent any sticky surprises later. This will be your canvas for the delightful Ruler Rice Krispies.
Step 2: Melt Butter and Marshmallows
In a large saucepan, place 3 tablespoons of butter over low heat. As the butter begins to melt, gently stir in a full bag of mini marshmallows. Keep stirring continuously for about 5-7 minutes until the mixture becomes smooth, creamy and slightly bubbly. This gooey concoction will be the heart of your Ruler Rice Krispies!
Step 3: Combine with Rice Krispies
Once the marshmallows have melted perfectly, remove the saucepan from heat. Pour in 6 cups of Rice Krispies cereal, stirring gently but thoroughly until each piece is completely coated in the marshmallow mixture. This step should take about 2-3 minutes, and you'll know it's ready when you see no dry cereal peeking through the sticky goodness.
Step 4: Divide the Mixture
Transfer the mixture to a clean surface and quickly divide it into three equal portions. Leave one portion plain and add yellow gel coloring to another and red gel coloring to the last. Use your hands or a spatula to mix until the colors are vibrant. These colors will bring your Ruler Rice Krispies to life!
Step 5: Layer the Mixtures
Now it's time to create the colorful layers! Start by pressing the red mixture evenly into the bottom third of your prepared baking dish, using the spatula for smoothness. Follow with the yellow mixture for the center layer and finally, press the plain mixture on top. Make sure each layer is packed tightly and smooth—this will help your treats maintain their shape.
Step 6: Allow to Cool
Once all the layers are in place, allow the Ruler Rice Krispies to cool completely at room temperature. This should take about 30 minutes. You'll know they’re ready when they feel firm to the touch. Patience here ensures beautifully cut bars later on.
Step 7: Cut into Bars
Once cooled and set, lift the entire block out of the dish using the parchment paper overhang. Place it on a cutting board and, using a sharp knife, slice the treats into long rectangle bars, resembling rulers. Aim for about 12 bars for perfect portion sizes to share!
Step 8: Melt and Decorate
In two separate microwave-safe bowls, melt ½ cup of white candy melts and ½ cup of chocolate chips. Heat them in the microwave in 20-second intervals, stirring frequently until smooth. Use a piping bag or a spoon to create ruler markings with the melted chocolate and a “metal edge” using the white melts on one side of the treat.
Step 9: Add Finishing Touches
After adding the basic designs, take a black edible marker or decorating gel to draw numbers and small lines on the treats, enhancing the ruler effect. Let your creativity run wild here; this is the fun part that brings your Ruler Rice Krispies to life!
Step 10: Set and Serve
Allow all decorations to set for about 15 minutes, then your creative Ruler Rice Krispies will be ready to serve! Whether for a party, a snack, or a fun treat at home, these eye-catching bars are sure to delight. Enjoy the smiles they bring!
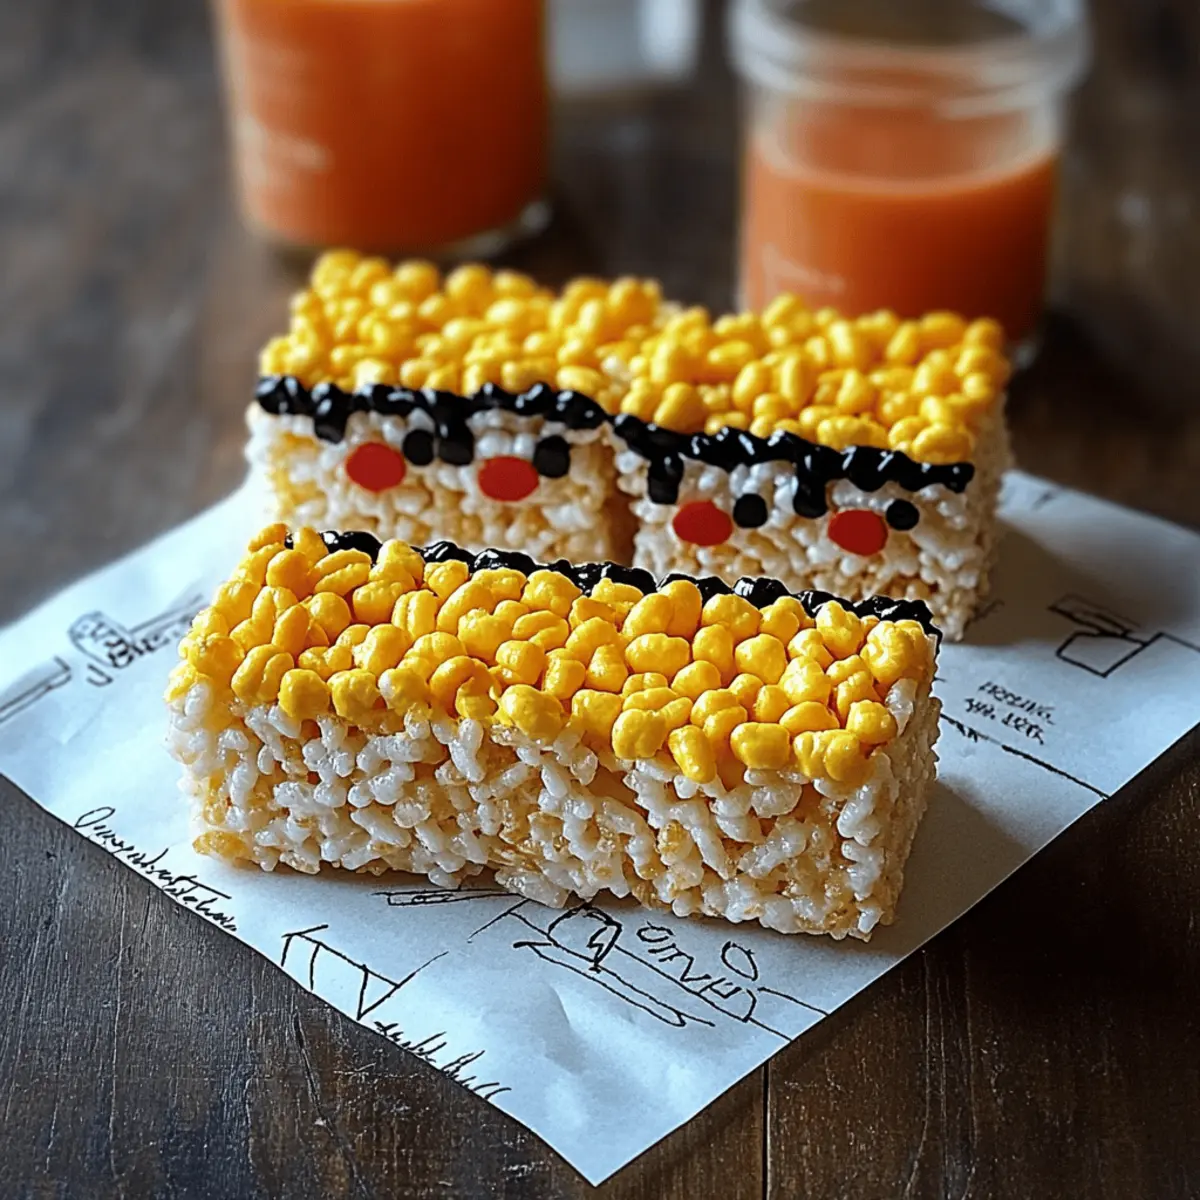
Ruler Rice Krispies Variations & Substitutions
Feel free to let your creativity run wild as you customize your Ruler Rice Krispies with these exciting twists and swaps!
-
Gluten-Free: Use gluten-free cereal for a delicious alternative that everyone can enjoy together.
-
Vegan: Swap butter with coconut oil and use dairy-free chocolate chips to make these treats vegan-friendly.
-
Colorful Sprinkles: Add a handful of sprinkles to the marshmallow mixture for extra vibrancy and a fun crunch.
-
Nutty Addition: Toss in chopped nuts or sunflower seeds for delightful texture and a flavor boost.
-
Flavor Fusion: Mix in a teaspoon of vanilla extract with the melted marshmallows for a fragrant twist.
-
Mini Treats: Instead of bars, make mini versions using a muffin tin for individual-sized delights, perfect for kids' parties!
-
Hot & Spicy: Add a sprinkle of cayenne pepper to the melted marshmallows for a surprising kick that contrasts the sweetness!
Now, let's gather around our crafting table and start creating these fun, eye-catching treats! And if you find yourself with leftover marshmallows, you might also enjoy experimenting with other delightful recipes like Coconut Sweet Rice to make the most of your ingredients!
What to Serve with Ruler Rice Krispies
Creating a delightful spread to accompany your colorful Ruler Rice Krispies elevates any gathering into a feast of fun and flavor!
-
Fruit Skewers: Brightly colored fruit adds freshness and complements the sweetness of the treats, making them a perfect balance. The juicy bites will be a hit with kids and adults alike!
-
Milkshakes: A creamy milkshake, whether chocolate, strawberry, or vanilla, pairs deliciously for a nostalgic twist. The rich flavors will complement the crispy bars and keep everyone refreshed!
-
Yogurt Parfaits: Layered yogurt, granola, and berries create a creamy, crunchy contrast. This light option keeps your menu varied and brings a wholesome touch to the table.
-
Chocolate Dipping Sauce: Serve warm chocolate sauce on the side for a fun dipping experience. It tempts everyone to indulge even more, creating a playful dessert moment.
-
Popcorn Mix: A crunchy popcorn mix seasoned with caramel and nuts offers an appealing salty-sweet option alongside your Ruler Rice Krispies. The varied textures will delight your guests!
-
Beverage Pairings: Refreshing lemonade or fruit-infused water enhances these colorful treats beautifully. The zesty kick brightens the flavors and prevents the meal from feeling too heavy.
Creating a full spread adds to the excitement of enjoying these vibrant treats—each bite is a joyous reminder of childhood whimsy!
Make Ahead Options
These Ruler Rice Krispies are ideal for busy home cooks looking to streamline their meal prep! You can prepare the colorful Rice Krispies mixture up to 24 hours in advance. Simply complete steps 1 through 5, layering the colored mixtures in your baking dish. Once cooled, cover the dish tightly with plastic wrap to prevent dryness. When you're ready to enjoy these fun treats, simply cut them into bars and finish with the melting and decorating steps (steps 8 and 9). This way, you'll delight your family and friends with freshly decorated treats, just as delicious as if made on the spot!
Expert Tips for Ruler Rice Krispies
Uniform Color Mixing: Ensure each colored portion of the mixture is well-mixed for vibrant and consistent colors in your Ruler Rice Krispies.
Don’t Rush Cooling: Allow the layered treats to cool completely; this makes cutting much easier and prevents messy bars.
Sharp Knife for Cutting: Use a sharp knife to slice into bars for clean edges; a dull knife may crush the layers.
Experiment with Flavors: Try adding flavored extracts, like vanilla or almond, to the melted marshmallow for extra deliciousness without losing the classic taste.
Wrapping for Freshness: Store your Ruler Rice Krispies in an airtight container at room temperature to keep them chewy and fresh for up to five days.
Avoid Overheating: When melting candy melts or chocolate chips, heat in short intervals to prevent scorching; stir often for a smoother texture.
How to Store and Freeze Ruler Rice Krispies
Room Temperature: Store Ruler Rice Krispies in an airtight container at room temperature for up to 5 days to maintain their delightful chewy texture.
Fridge: If you prefer a firmer treat, refrigerate them for up to a week, but ensure they’re tightly wrapped to prevent them from drying out.
Freezer: For longer storage, freeze Ruler Rice Krispies in individual pieces wrapped in plastic wrap, then place in a freezer bag for up to 3 months.
Reheating: When ready to enjoy, thaw at room temperature for about an hour, or microwave briefly (10-15 seconds) for a soft, gooey treat again!
Ruler Rice Krispies Recipe FAQs
What is the best way to choose ripe ingredients for my Ruler Rice Krispies?
Absolutely! While the ingredients for this recipe are mostly shelf-stable, it’s important to ensure your mini marshmallows are soft and fresh. Check the expiration date and choose a bag that feels light and fluffy without any hard clumps. For the gel food coloring, ensure the tubes are well-sealed and not expired for the best color effect!
How should I store my Ruler Rice Krispies?
Store your Ruler Rice Krispies in an airtight container at room temperature for up to 5 days. This helps maintain their chewy, delicious texture. If humidity affects your area, consider wrapping the bars individually in plastic wrap for added protection against moisture.
Can I freeze my Ruler Rice Krispies?
Absolutely! For longer-lasting treats, freeze your Ruler Rice Krispies by wrapping each bar tightly in plastic wrap, then placing them in a freezer-safe bag. They can be stored for up to 3 months. When you're ready to indulge, simply thaw at room temperature for about an hour. For a quick fix, microwave them for 10-15 seconds to restore their gooeyness.
What should I do if my Ruler Rice Krispies are too sticky or fall apart?
Very! If your Ruler Rice Krispies are too sticky, it may be a sign you added too much marshmallow or didn't let them cool properly. To troubleshoot, try refrigerating them for 30 minutes before cutting, which may firm up the layers. If they fall apart, ensure you’re pressing the mixture firmly into the pan to create cohesive layers!
Are Ruler Rice Krispies safe for people with allergies or dietary restrictions?
Definitely! While this recipe is generally safe, it contains marshmallows and butter, which may not be suitable for individuals with dairy or gluten sensitivities. Always read ingredient labels, and if you have concerns, consider making your own marshmallows or using dairy-free alternatives to butter to suit various dietary needs.
How long should I let the Ruler Rice Krispies cool before cutting?
After combining the mixtures in the baking dish, let the treats cool at room temperature for about 30 minutes. They should feel firm to the touch before cutting. Take your time – rushing this step can lead to messy bars that don't hold their shape.
Creative Ruler Rice Krispies: Fun Treats for All Ages
Equipment
- 9×13-inch baking dish
- large saucepan
- Piping bag
- sharp knife
Ingredients
For the Base
- 6 cups Rice Krispies cereal choose the classic variety for that perfect crispy crunch!
- 1 bag (10 oz) mini marshmallows the star ingredient that brings sweetness and gooeyness to your treat!
- 3 tablespoons butter adds richness and helps to bind everything together!
For Coloring
- 1 bottle red gel food coloring create vibrant red sections for a fun pop of color!
- 1 bottle yellow gel food coloring adds a sunny brightness to your treats!
- 1 bottle black gel food coloring use sparingly to enhance the ruler's fine details!
For Decoration
- ½ cup white candy melts melt these for a 'metal edge' that makes your treats look extra special!
- ½ cup chocolate chips (or brown candy melts) perfect for creating ruler markings that are both tasty and fun!
- 1 tube black decorating gel or black edible marker use this for adding those finishing touches in style!
Miscellaneous
- 1 can non-stick cooking spray ensures easy removal of your treats from the pan!
- 1 roll parchment paper lining your baking dish will prevent sticking and save time on cleanup!
Instructions
Step-by-Step Instructions
- Prepare the Baking Dish: Preheat your kitchen and line a 9×13 inch baking dish with parchment paper, allowing the paper to hang over the edges. Spray it with non-stick cooking spray.
- Melt Butter and Marshmallows: In a large saucepan, melt 3 tablespoons of butter over low heat. Stir in the full bag of mini marshmallows and keep stirring until the mixture becomes smooth and creamy.
- Combine with Rice Krispies: Remove the saucepan from heat and stir in 6 cups of Rice Krispies cereal until fully coated in the marshmallow mixture.
- Divide the Mixture: Transfer the mixture to a clean surface and divide into three portions. Keep one plain, add yellow gel coloring to another, and red gel coloring to the last.
- Layer the Mixtures: Press the red mixture into the bottom of the baking dish, followed by the yellow mixture for the center layer, and finally the plain mixture on top.
- Allow to Cool: Let the rice krispies cool completely at room temperature for about 30 minutes until firm to the touch.
- Cut into Bars: Lift the block out of the dish and slice into long rectangle bars using a sharp knife.
- Melt and Decorate: Melt ½ cup of white candy melts and ½ cup of chocolate chips separately. Use them to create ruler markings and a 'metal edge' on the treats.
- Add Finishing Touches: Use a black edible marker or decorating gel to draw numbers and small lines to enhance the ruler effect.
- Set and Serve: Let the decorations set for about 15 minutes and your creative Ruler Rice Krispies will be ready to serve!

Leave a Reply