
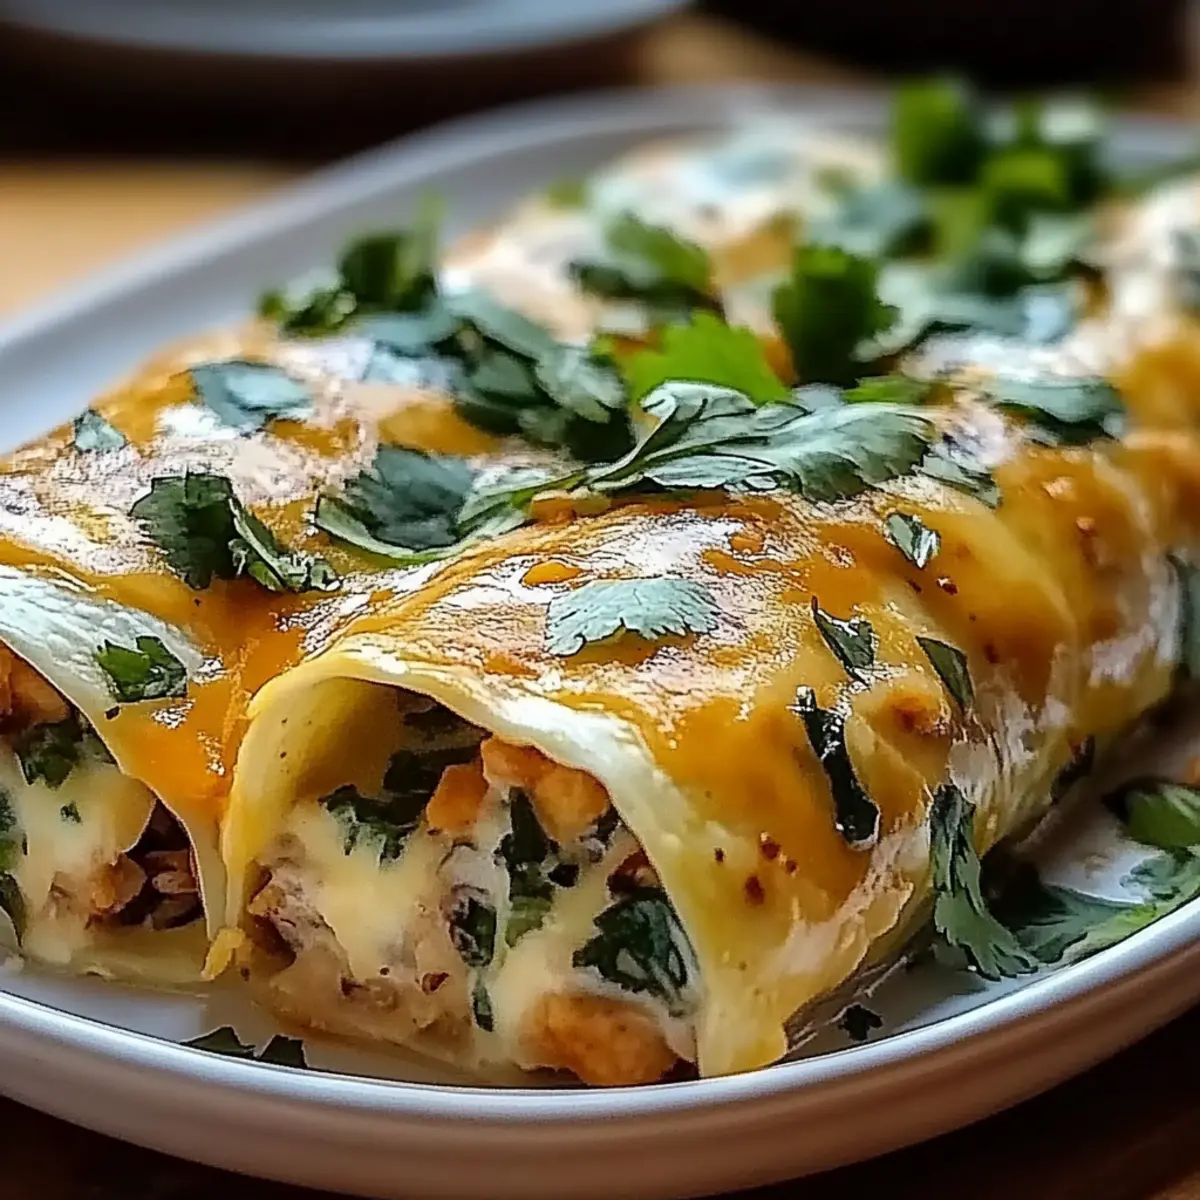
The aroma of roasted chiles wafting through the kitchen is nothing short of magical. As I dish up a plate of Spicy Hatch Chile Enchiladas, I can’t help but feel a rush of love for homemade cooking. This delightful recipe is a true crowd-pleaser, packed with flavor and a comforting warmth that’s perfect for family gatherings or cozy nights in. Made with tender corn tortillas, succulent shredded chicken or beef, and those zesty Hatch green chiles, these enchiladas bring a fun twist to your usual taco night! In just about 30 minutes of prep, you can create a dish that not only tantalizes your taste buds but also serves as a satisfying comfort food without the fast-food guilt. Are you ready to elevate your dinner game and impress your loved ones? Let's dive into making these scrumptious enchiladas!

Why Are These Enchiladas So Irresistible?
Flavor-Packed: The combination of spicy Hatch chiles and rich cheese delivers a taste explosion in every bite.
Easy Prep: With just 30 minutes of prep time, you can whip up a satisfying meal that feels gourmet without the fuss.
Customizable: Feel free to mix things up! Substitute chicken with beef or even veggies for a delightful twist.
Crowd-Pleaser: Perfect for family dinners or festive gatherings, these enchiladas will have everyone coming back for seconds.
Comfort Food: They provide that warm, comforting feeling that only homemade meals can bring, making them ideal for cozy nights.
Dive into the world of easy, flavorful dishes like these by checking out our ultimate guide to homemade enchiladas.
Spicy Hatch Chile Enchiladas Ingredients
For the Enchiladas
• 12 corn tortillas – Essential for rolling and holding all those delicious fillings.
• 2 cups cooked shredded chicken (or beef) – This is your protein base, but feel free to sub in beans for a vegetarian option.
• 1 cup shredded cheese (cheddar or Monterey Jack) – Adds a melty, gooey goodness that complements the enchiladas perfectly.
• 2 cups Hatch green chiles, roasted and chopped – The star of the dish that brings that distinctive spicy flavor you crave!
• 1 cup sour cream – For a cool, creamy topping that balances the heat.
• 1 cup green enchilada sauce – This ties everything together with its vibrant flavor and moisture.
• 1 teaspoon ground cumin – Offers a warm, earthy note to enhance the filling.
• 1 teaspoon garlic powder – A must for that aromatic depth in every bite.
• 1 teaspoon onion powder – Adds another layer of flavor that complements the spices beautifully.
• Salt and pepper to taste – Season to bring out the best in all your ingredients.
• Fresh cilantro for garnish (optional) – Adds a pop of freshness and color to your delicious dish.
Step‑by‑Step Instructions for Spicy Hatch Chile Enchiladas
Step 1: Preheat the Oven
Begin by preheating your oven to 350°F (175°C). This will ensure it's perfectly hot for baking your Spicy Hatch Chile Enchiladas, creating that delightful melty cheese and bubbling sauce. Set your oven rack to the middle position to achieve even cooking as the enchiladas bake to golden perfection.
Step 2: Mix the Filling
In a large mixing bowl, combine the shredded chicken (or beef), roasted and chopped Hatch green chiles, ground cumin, garlic powder, onion powder, and season with salt and pepper. Use a fork to mix everything thoroughly until the ingredients are well coated with spices. The filling will be aromatic and colorful, setting the stage for flavorful enchiladas.
Step 3: Warm the Tortillas
Heat a dry skillet over medium heat. Place one corn tortilla in the skillet for about 30 seconds, flipping it to warm both sides; this will make them pliable. Repeat this process for all tortillas, stacking them on a plate as you go. A slightly warm tortilla is key for a neat rolling experience, ensuring your enchiladas come together beautifully.
Step 4: Fill and Roll the Tortillas
Take one warmed tortilla and place about three tablespoons of the filling mixture in the center. Roll the tortilla tightly, ensuring the filling stays inside, and place it seam-side down in a greased baking dish. Continue this process for the remaining tortillas, arranging them snugly in the dish. You’ll start to see a delicious arrangement of Spicy Hatch Chile Enchiladas taking shape!
Step 5: Add the Sauce
Once all the tortillas are filled and placed in the baking dish, pour the green enchilada sauce evenly over the top. Ensure each enchilada is generously coated for added moisture and flavor. The vibrant green sauce will blend beautifully with the enchiladas, promising a mouthwatering experience once baked.
Step 6: Sprinkle with Cheese
Sprinkle the shredded cheese evenly over the sauced enchiladas, aiming for a nice, gooey layer on top. The cheese will melt and create a wonderful crust, locking in flavors and textures as the enchiladas bake. Your dish should look inviting and appetizing, ready to go into the oven.
Step 7: Bake the Enchiladas
Place the baking dish in the preheated oven and bake for 25-30 minutes. Keep an eye on the enchiladas; when the cheese is melted and bubbling, they are ready to come out. The golden cheese should be a visual cue that these Spicy Hatch Chile Enchiladas are just about done.
Step 8: Cool Before Serving
Once baked, remove the enchiladas from the oven and allow them to cool for 10-15 minutes. This cooling period makes it easier to serve them without the fillings spilling out. The waiting time will also enhance the flavors, making your enchiladas even more delicious when you dive in!
Step 9: Garnish and Serve
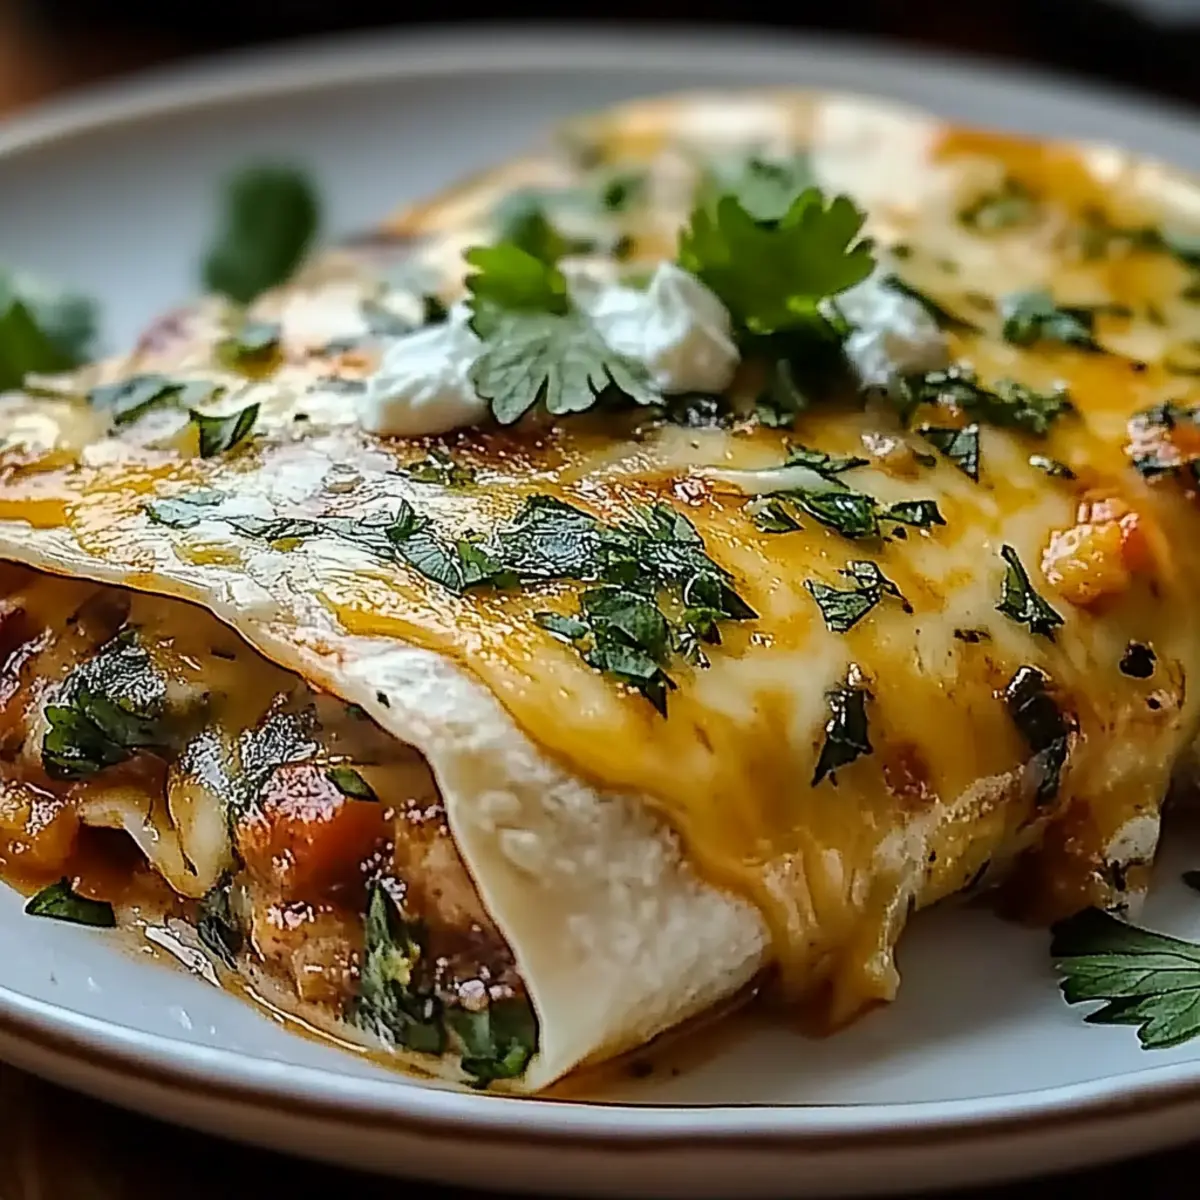
Serve the enchiladas warm, garnishing each plate with a dollop of sour cream and freshly chopped cilantro if desired. This finishing touch not only adds color but balances the heat of the Hatch chiles with a creamy coolness. Your Spicy Hatch Chile Enchiladas are now ready to impress your family and friends!
What to Serve with Spicy Hatch Chile Enchiladas?
Creating a delightful meal is an art, especially when you have these zesty enchiladas at the center of the table.
-
Creamy Guacamole: This luscious dip offers a cool contrast to the spicy enchiladas, enhancing every bite. Perfect for scooping with tortilla chips or spreading on a warm tortilla.
-
Spanish Rice: Fluffy rice flavored with tomatoes and spices complements the bold tastes of your enchiladas, adding a satisfying fiber to each dish. Pairing these two staples together feels like a fiesta on your plate!
-
Fresh Corn Salad: A crunchy salad with sweet corn, red onions, and lime brings brightness to the meal, balancing the heat of the chiles and adding a refreshing element.
-
Refried Beans: Silky and savory, refried beans offer a comforting side that perfectly matches the robust flavors of your enchiladas. Additionally, they deliver extra protein to the table!
-
Zesty Lime Wedges: A squeeze of fresh lime over the enchiladas brightens the flavors, lifting your taste buds with vibrant acidity. It's an essential addition for that zippy kick!
-
Margaritas: These classic cocktails paired with your meal will transport you to Mexico. The tartness and sweetness are a perfect match for the spicy enchiladas, making you feel like you're on vacation!
-
Churros with Chocolate Sauce: Finish off your meal on a sweet note with crispy churros! Their sugary warmth is the ultimate dessert complement to your flavorful dinner.
Spicy Hatch Chile Enchiladas Variations
Feel free to explore these delightful twists that will elevate your homemade enchiladas into new realms of flavor!
-
Vegetarian Option: Substitute chicken or beef with black beans, lentils, or your favorite sautéed vegetables for a hearty meatless meal. This variation offers a wonderful texture that will satisfy even the heartiest of appetites.
-
Cheese Variety: Swap in pepper jack cheese for an extra kick of heat, or use a blend of cheeses for a richer flavor. Mixing mozzarella with sharp cheddar can create a delightful creaminess that just melts in your mouth.
-
Grain-Free: Use lettuce leaves instead of tortillas for a light, refreshing, and gluten-free alternative. This allows the vibrant flavors of the filling to shine and brings a crispness that contrasts beautifully with the warm, spiced ingredients.
-
Extra Spice: Add diced jalapeños or a sprinkle of crushed red pepper flakes into the filling for those who love things fiery. A touch of spicy salsa drizzled on top before serving can add another layer of flavor, making it a true fiesta on a plate!
-
Creamy Sauce: Blend sour cream into the enchilada sauce for a rich and creamy texture. This variation not only enhances the sauce’s flavor but also creates a luscious layer of goodness on top of each enchilada.
-
Toppings Galore: Elevate your dish by adding toppings like crumbled queso fresco, avocado, or chopped green onions. These toppings not only add texture but also bring fresh flavors that beautifully complement the enchiladas.
-
Heat Level Adjustments: For a milder version, use poblano peppers instead of Hatch chiles. They still provide a lovely flavor without overwhelming your taste buds.
-
Shortcuts: Save time by using store-bought rotisserie chicken instead of cooking your own. This not only cuts your prep time but also offers a delicious, seasoned base for your enchiladas, keeping the homemade feel intact.
To dig deeper into fun and creative meal ideas, be sure to check out how to create the perfect enchilada sauce or discover the best variations on classic Mexican dishes to keep your dinner time as exciting as possible!
Make Ahead Options
These Spicy Hatch Chile Enchiladas are perfect for meal prep enthusiasts! You can prepare the filling mixture (chicken, Hatch chiles, spices) up to 3 days in advance, storing it in an airtight container in the refrigerator to keep it fresh and flavorful. Additionally, you can roll the enchiladas and place them in the baking dish 24 hours before cooking, covering them tightly with foil to prevent drying out. When you're ready to serve, simply pour the green enchilada sauce and cheese on top, and bake from the refrigerator, adding an extra 5-10 minutes to the cooking time. This way, you’ll have a delicious, homemade dinner on the table with minimal effort!
Expert Tips for Spicy Hatch Chile Enchiladas
Warm Tortillas: Always warm your corn tortillas in a skillet before filling. This prevents them from cracking and makes rolling easier.
Control the Heat: If you're sensitive to spice, start with fewer Hatch chiles. You can always add more for those who enjoy a kick!
Use Good Cheese: Choose high-quality cheddar or Monterey Jack for melty goodness. Avoid pre-shredded cheese, as it may not melt as well in your Spicy Hatch Chile Enchiladas.
Arrange Tightly: Ensure the rolled tortillas are snug in the baking dish. This helps them stay together and soak up the sauce while baking.
Let It Rest: Allow your enchiladas to cool for a few minutes after baking. This firms up the dish and makes serving much easier without mess!
How to Store and Freeze Spicy Hatch Chile Enchiladas
Fridge: Store leftover enchiladas in an airtight container in the fridge for up to 3 days. Reheat in the microwave or oven until heated through.
Freezer: For longer storage, you can freeze the assembled but unbaked enchiladas. Wrap tightly in foil or plastic wrap and freeze for up to 2 months.
Reheating: When ready to enjoy, bake the frozen enchiladas at 350°F (175°C) for about 45-60 minutes, covered with foil until hot and bubbly.
Wrap Carefully: If freezing leftovers after baking, cool completely first, then wrap tightly to prevent freezer burn and preserve the delightful flavors of your Spicy Hatch Chile Enchiladas.
Spicy Hatch Chile Enchiladas Recipe FAQs
How do I choose the right Hatch chiles?
Absolutely! When selecting Hatch chiles, look for those that are firm, with smooth skin and no dark spots all over. Fresh chiles should be a vibrant green color. You want to check for ripeness; chiles that are turning slightly yellow can be a bit sweeter and milder, while deep green ones will bear more heat.
What’s the best way to store leftover enchiladas?
Very! To store leftover Spicy Hatch Chile Enchiladas, place them in an airtight container in the refrigerator. They’ll stay fresh for up to 3 days. Reheat them in the oven at 350°F (175°C) for about 15-20 minutes, or until they’re heated through. Microwaving is quicker but can result in a slightly less crispy texture.
Can I freeze enchiladas?
Absolutely! If you want to freeze the enchiladas, wrap the assembled (but unbaked) enchiladas tightly in plastic wrap or aluminum foil. They can be kept in the freezer for up to 2 months. When you're ready to enjoy them, bake them straight from the freezer at 350°F (175°C) for 45-60 minutes, covered with foil until hot and bubbly.
What should I do if my enchiladas are dry?
Oh no! If your enchiladas turn out dry, it might be due to not enough sauce or they baked a bit too long. For a fix, add extra enchilada sauce either on top before serving or by mixing in with the filling next time. Also, make sure to cover the baking dish with foil while baking until the last few minutes, which helps retain moisture.
Are there any dietary considerations for this recipe?
Yes! If you're cooking for people with dietary restrictions, consider using gluten-free corn tortillas for those with gluten sensitivities. For lactose intolerance, opt for a dairy-free cheese alternative and use a dairy-free sour cream. Additionally, if you're prepping for pets, avoid any added ingredients like garlic that can be harmful in large amounts.
Can I use other meats or make this vegetarian?
Absolutely! The beauty of Spicy Hatch Chile Enchiladas is their versatility. Feel free to substitute chicken with shredded beef, or even try beans and vegetables for a delightful vegetarian option. Black beans or sautéed zucchini work wonderfully when mixed with the spices for a flavorful filling.

Savor the Heat with Spicy Hatch Chile Enchiladas Recipe
Equipment
- Oven
- skillet
- mixing bowl
- baking dish
Ingredients
For the Enchiladas
- 12 pieces corn tortillas Essential for rolling and holding all those delicious fillings.
- 2 cups cooked shredded chicken (or beef) Can substitute with beans for a vegetarian option.
- 1 cup shredded cheese (cheddar or Monterey Jack) Adds a melty, gooey goodness.
- 2 cups Hatch green chiles, roasted and chopped The star of the dish.
- 1 cup sour cream For topping.
- 1 cup green enchilada sauce Ties everything together.
- 1 teaspoon ground cumin Offers a warm, earthy note.
- 1 teaspoon garlic powder For aromatic depth.
- 1 teaspoon onion powder Adds another layer of flavor.
- to taste salt
- to taste pepper
- Fresh cilantro for garnish Adds a pop of freshness.
Instructions
Step-by-Step Instructions
- Preheat your oven to 350°F (175°C) and set the oven rack to the middle position.
- Combine shredded chicken (or beef), roasted Hatch green chiles, ground cumin, garlic powder, onion powder, salt, and pepper in a mixing bowl.
- Warm each corn tortilla in a dry skillet for about 30 seconds on each side.
- Place about three tablespoons of the filling mixture in the center of each tortilla, roll it tightly, and place seam-side down in a greased baking dish.
- Pour green enchilada sauce evenly over the filled tortillas.
- Sprinkle shredded cheese evenly over the enchiladas.
- Bake in the preheated oven for 25-30 minutes, until the cheese is melted and bubbling.
- Allow the enchiladas to cool for 10-15 minutes before serving.
- Garnish with sour cream and chopped cilantro before serving warm.


Leave a Reply