
Stumbling into the kitchen post-Halloween, I couldn't help but feel a mix of excitement and challenge. With a mountain of leftover candy just waiting to be transformed, I knew it was the perfect opportunity to whip up some delightful Halloween Candy Cookie Bars. This recipe not only helps you repurpose those sweet treats but also allows for a fun, whimsical twist on traditional cookie bars that everyone will adore. Packed with goodies like Reese's Pieces and M&M's, these bars are a quick crowd-pleaser that brings smiles and nostalgia in every bite. Plus, they’re easy enough to make that you can invite your friends or kids to join the fun! So, grab that treasure trove of Halloween candy and let’s dive into these delicious bars—what are your favorite candies to add?
Why are Halloween Candy Cookie Bars a Must?
Irresistible Taste: These bars combine sugary goodness with chewy textures, making them an instant hit!
Quick to Prepare: In just 33 minutes, you’ll have a magical treat ready, perfect for whipping up on a whim.
Candy Versatility: Customize with your favorite leftover treats, allowing everyone to join in the fun and make their unique version.
Perfect Party Treat: These cookie bars are a guaranteed crowd-pleaser, ideal for post-Halloween gatherings or cozy family nights.
Fun Activity: Get friends or kids involved in mixing in treats like Pistachio Cream Cookies adding to the fun of baking!
Elevate your dessert game with these delightful bars—you won’t regret it!
Halloween Candy Cookie Bar Ingredients
For the Cookie Bars
- 2¼ cups unbleached all-purpose flour – provides the perfect chewy base for your Halloween Candy Cookie Bars.
- 1 teaspoon baking soda – helps the bars to rise and creates a fluffy texture.
- ¾ teaspoon kosher salt – enhances the sweetness of the sugars and balances flavors.
- ¾ cup unsalted butter, room temperature – ensures a creamy mixture that binds all ingredients beautifully.
- ¾ cup dark brown sugar – adds rich, caramel-like flavor and moisture to the bars.
- ¾ cup granulated sugar – sweetens the bars while ensuring they develop a lovely golden crust.
- 2 large eggs – act as a binding agent, keeping your cookie bars together.
- 1½ teaspoons real vanilla extract – infuses a warm, comforting flavor that enhances all the other ingredients.
For the Mix-Ins
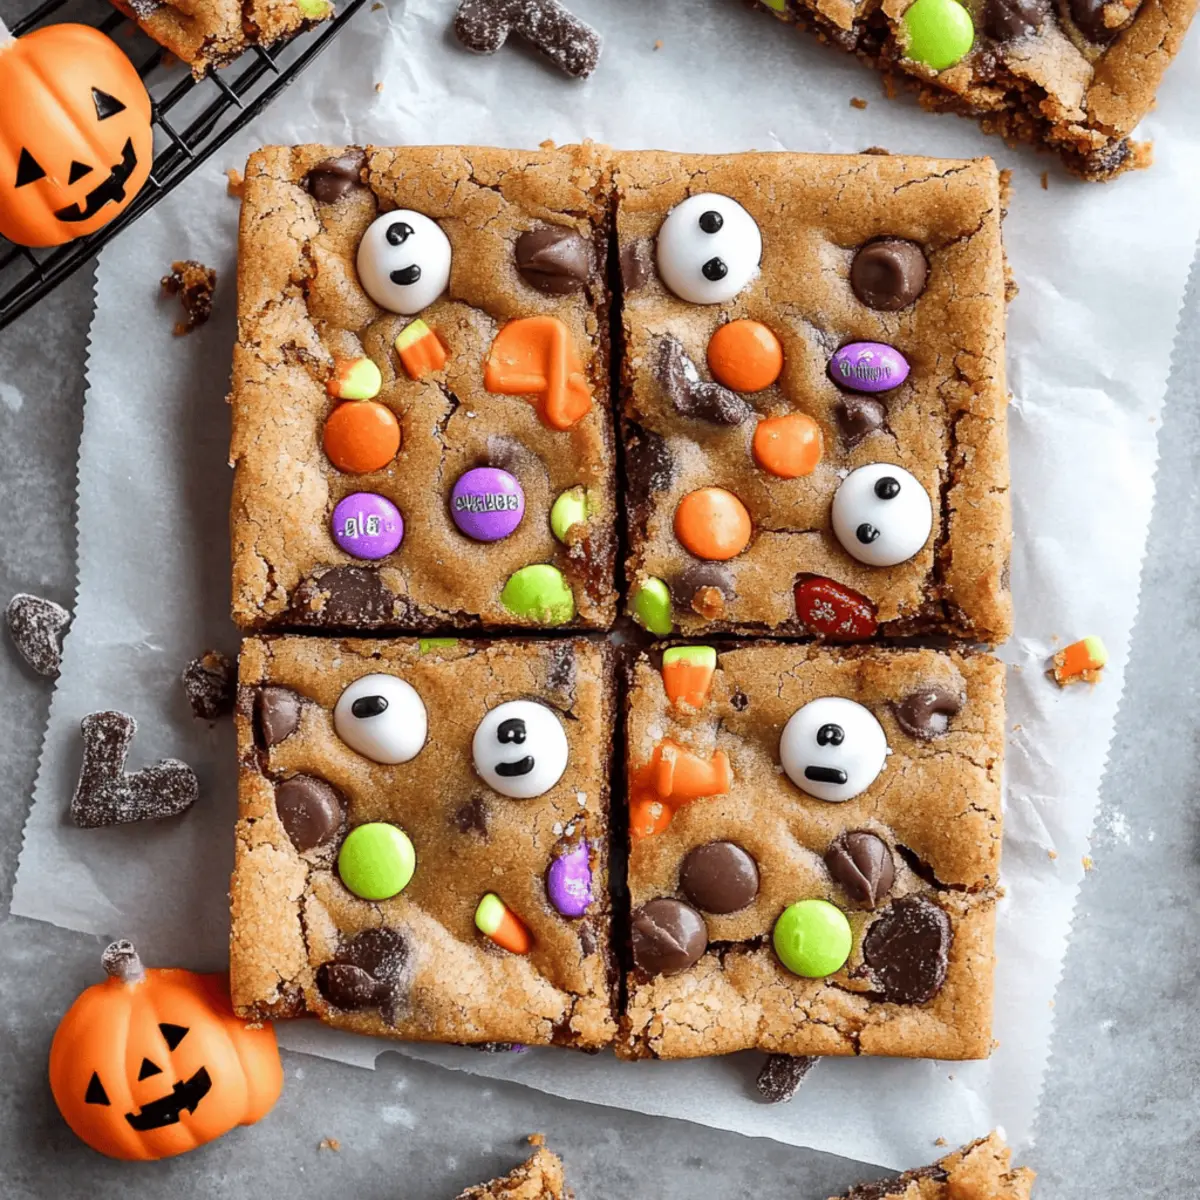
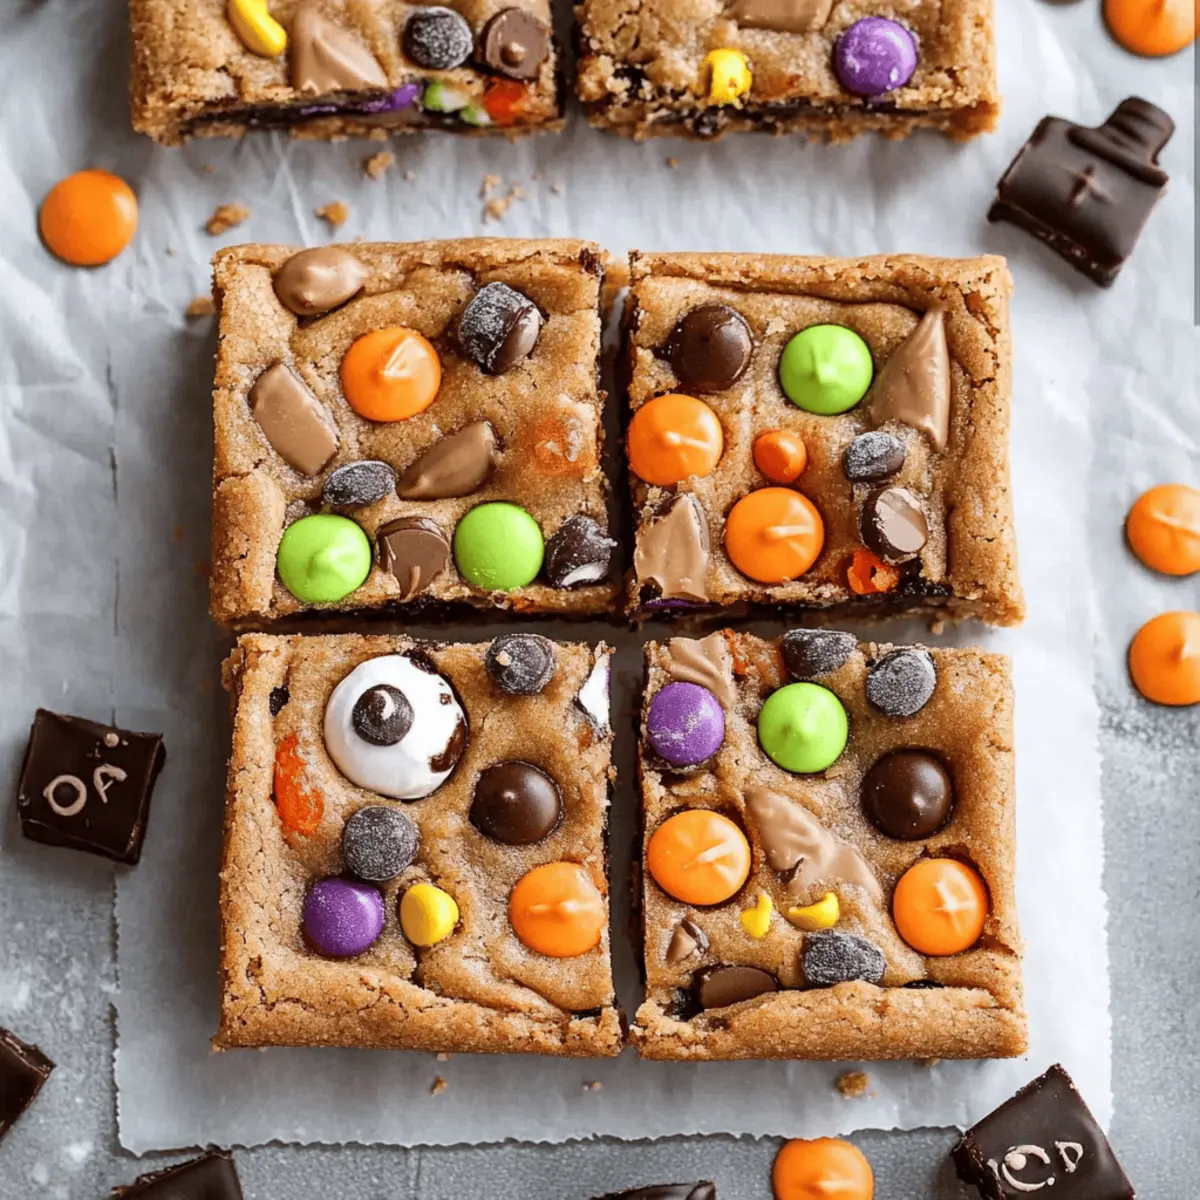
- ½ cup Reese's Pieces – offers a delightful peanut butter punch to each chewy bite.
- ½ cup chocolate M&M's – adds vibrant colors and bursts of chocolatey goodness.
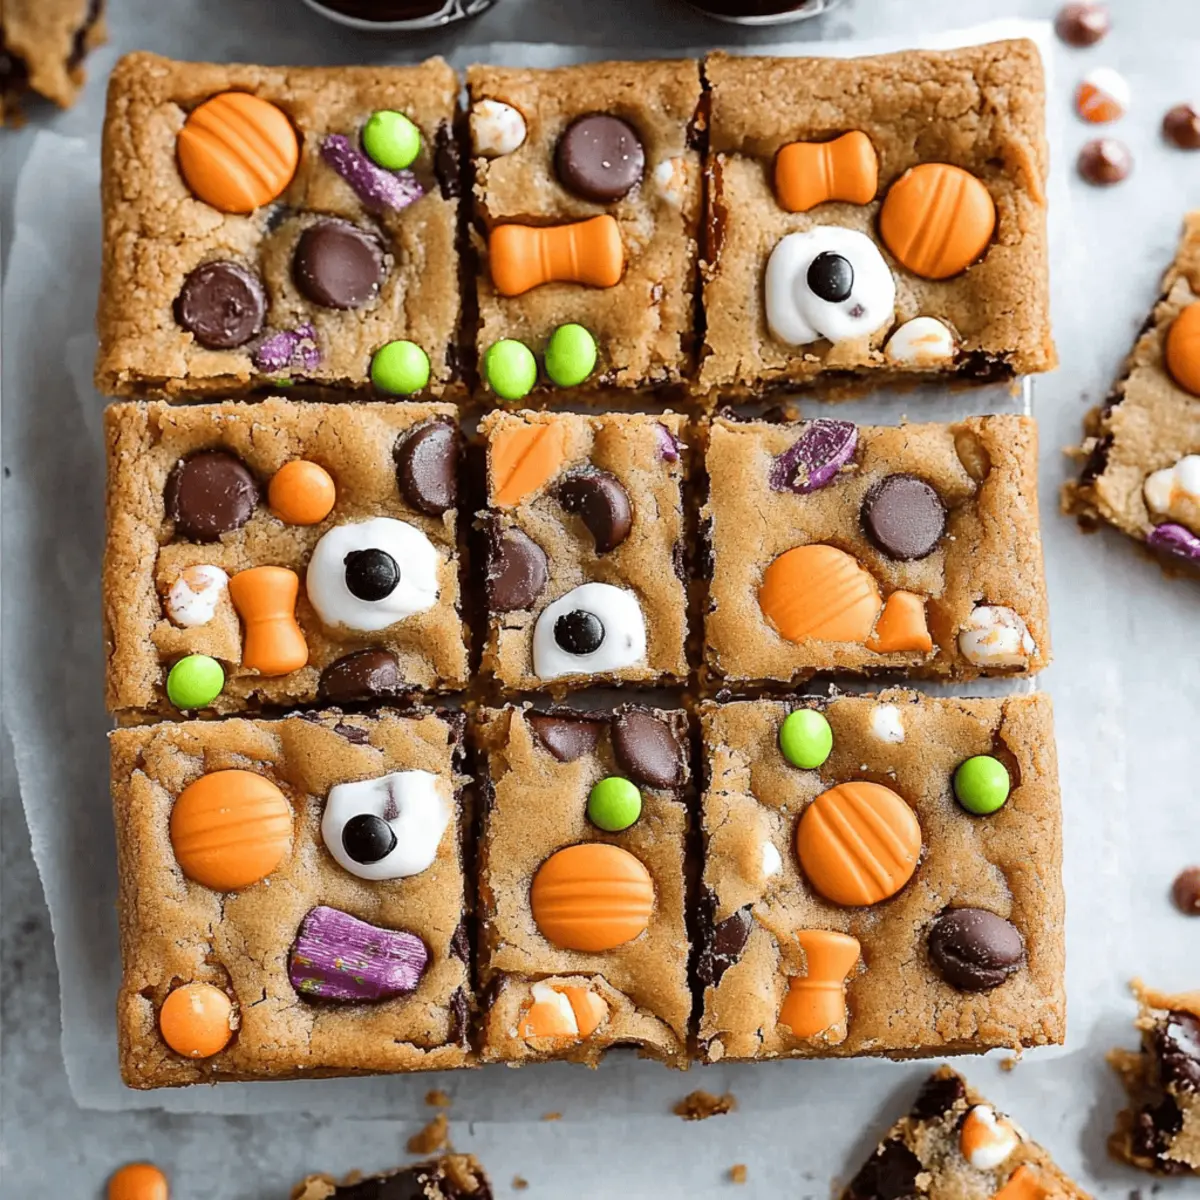
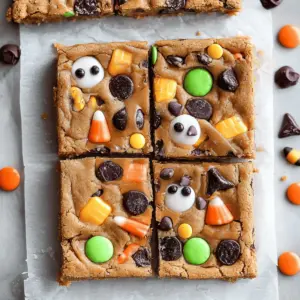
- leftover Halloween candy (optional) – perfect for customizing your bars; just chop them up and toss them in!
- candy eyes (optional) – these whimsical additions make your bars even more fun and festive!
Let the magic of baking transport you as you prepare these Halloween Candy Cookie Bars, transforming simple ingredients into a spectacular treat!
Step‑by‑Step Instructions for Halloween Candy Cookie Bars
Step 1: Preheat the Oven
Begin by preheating your oven to 350℉ (or 180℃). This step is essential for ensuring that your Halloween Candy Cookie Bars bake evenly and achieve that lovely golden hue. While the oven warms up, gather your baking pan and prepare it with parchment paper and a light spray of nonstick spray, creating the perfect nonstick environment for your cookie bars.
Step 2: Mix the Dry Ingredients
In a medium bowl, combine the 2¼ cups of unbleached all-purpose flour, 1 teaspoon of baking soda, and ¾ teaspoon of kosher salt. Stir gently to blend these dry ingredients thoroughly, then set the mixture aside. This step helps incorporate the leavening agent evenly, setting up your Halloween Candy Cookie Bars for a fantastic rise.
Step 3: Cream the Sugars and Butter
Using the bowl of a stand mixer, add ¾ cup of unsalted butter and both sugars: ¾ cup of dark brown sugar and ¾ cup of granulated sugar. Mix on medium speed until you achieve a creamy, light texture, which should take about 2-3 minutes. This blending creates a rich foundation that will give your bars their chewy consistency.
Step 4: Add Eggs and Vanilla
Crack two large eggs into the creamy mixture, adding them one at a time while mixing well to incorporate each thoroughly. With the last egg, pour in 1½ teaspoons of real vanilla extract. Take a moment to scrape the sides of the bowl with a spatula, ensuring no sugary goodness is left behind in this key step for flavor.
Step 5: Combine Flour Mixture
Once the eggs and vanilla are well integrated, introduce half of the previously prepared flour mixture to the wet ingredients. Mix on low speed just until incorporated; then add the remaining flour mixture, continuing to mix until fully combined. This careful addition ensures that your Halloween Candy Cookie Bars have a luscious texture and avoid excessive gluten formation.
Step 6: Fold in the Candies
Now it’s time to add the fun! Gently fold in ½ cup of Reese's Pieces and ½ cup of chocolate M&M's using a spatula. Mix by hand until the candies are evenly distributed throughout the dough. This step adds bursts of sweetness and color that will make your cookie bars irresistible, showcasing that festive Halloween flair.
Step 7: Prepare to Bake
Transfer the cookie dough into the prepared 9 x 13 x 2 baking pan. Using lightly greased fingers or a piece of parchment paper, press the dough evenly across the bottom of the pan. Make sure to pack it down lightly to create a uniform layer for baking, ensuring that your Halloween Candy Cookie Bars have a delightful chewy texture.
Step 8: Bake the Cookie Bars
Place the baking pan on the middle rack of your preheated oven and bake for 18 to 20 minutes. Remember to rotate the pan halfway through to promote even cooking. You'll know your bars are ready when they turn a golden brown around the edges and the center is just set, creating a tantalizing aroma that fills your kitchen.
Step 9: Add Extra Candy
While the cookie bars are baking, take the time to prepare any additional leftover Halloween candy by breaking it into smaller pieces, if desired. This step adds an exciting mix of flavors and textures, allowing you to personalize your Halloween Candy Cookie Bars even more.
Step 10: Press the Candy into Bars
As soon as the cookie bars come out of the oven, immediately press the prepared candy pieces into the warm surface of the bars. This will help the candy to stick beautifully as they cool, enhancing both the look and taste of your delightful treats.
Step 11: Cool and Slice
Finally, allow your Halloween Candy Cookie Bars to cool completely in the pan. This will take about 30 minutes to an hour, during which they will set up properly. Once cooled, slice them into squares and serve these festive treats that bring joy and nostalgia with every delicious bite!
Expert Tips for Halloween Candy Cookie Bars
-
Proper Measurement: Use a kitchen scale if you have one for precise measurements. Accurate flour amounts prevent dry or crumbly cookie bars.
-
Room Temperature Ingredients: Make sure your butter and eggs are at room temperature. This ensures they blend smoothly and gives your Halloween Candy Cookie Bars a lovely, consistent texture.
-
Mixing Technique: Avoid overmixing when incorporating the flour; stop as soon as it’s combined to keep the bars tender and chewy.
-
Candy Placement: Press your candies into the bars right after they come out of the oven for better adherence. This technique enhances both presentation and flavor.
-
Cooling Time: Allow your bars to cool completely in the pan before slicing. This helps them set and ensures clean cuts and perfect squares.
Enjoy baking these delightful Halloween Candy Cookie Bars and happy indulging!
Make Ahead Options
These Halloween Candy Cookie Bars are perfect for meal prep enthusiasts! You can prepare the cookie dough up to 24 hours in advance by mixing all the wet and dry ingredients, then refrigerate it in an airtight container. Additionally, you can chop any leftover Halloween candy ahead of time and store it in a separate container to keep it fresh. When you're ready to bake, simply allow the dough to sit at room temperature for about 15 minutes before pressing it into the pan, add the candy pieces on top, and follow the baking instructions. This clever preparation allows you to enjoy delicious, homemade bars with minimal effort on busy days!
What to Serve with Halloween Candy Cookie Bars
Indulging in Halloween Candy Cookie Bars is not just about the sweet treat; it's about creating a fun, memorable experience at the table!
-
Vanilla Ice Cream: A scoop of creamy vanilla ice cream complements the chewy texture, creating a delightful contrast with each mouthful. It’s a classic pairing that enhances the overall sweetness.
-
Caramel Sauce: Drizzling warm caramel over the bars adds a layer of rich, buttery goodness. The gooeyness of the caramel blends beautifully with the chocolate and candy pieces.
-
Pumpkin Spice Latte: The warm spices in this popular fall drink harmonize wonderfully with the sweetness of the cookie bars. It’s like a hug in a mug during cozy Autumn gatherings.
-
Milk: A cold glass of milk is the ultimate classic companion for any dessert. It balances the sweetness of the cookie bars and is a nostalgic favorite for all ages.
-
Chocolate Chip Cookie Dough Dip: This fun dip brings an exciting twist to your dessert table. Pair it with fruit or mini pretzels for delightful dippable fun, allowing everyone to get creative!
-
Hot Apple Cider: The warm, spiced flavors of apple cider enhance the festive spirit, making it a perfect match for your Halloween Candy Cookie Bars at a chilly gathering.
-
Cheesecake Bites: The creamy, rich texture of cheesecake bites adds a decadent touch, providing contrasting flavors that keep dessert time exciting and adventurous.
Pair your Halloween Candy Cookie Bars with these delightful options and watch your dessert table transform into a warm, inviting haven.
How to Store and Freeze Halloween Candy Cookie Bars
-
Room Temperature: Store your Halloween Candy Cookie Bars in an airtight container at room temperature for up to 3 days to maintain their freshness and chewy texture.
-
Fridge: For longer shelf life, keep the cookie bars in the fridge in a tightly sealed container. They will stay fresh for up to a week, allowing you to enjoy them slowly!
-
Freezer: To freeze, wrap the bars individually in plastic wrap and then place them in a freezer-safe bag. They can be stored for up to 3 months; just thaw at room temperature when you're ready to indulge again.
-
Reheating: For that freshly-baked taste, warm the bars in the microwave for about 10-15 seconds before serving. This will revive the gooeyness of the candies and the overall joy of your Halloween Candy Cookie Bars!
Halloween Candy Cookie Bars Variations
Feel free to embrace your creativity and make these cookie bars your own!
- Nut-Free: Substitute peanut butter cups with caramel candies or any other nut-free chocolate for a delightful twist.
- Brown Butter: For a rich, nutty flavor, brown your butter before mixing it in, creating a lovely depth in taste.
- Oatmeal Crunch: Add 1 cup of quick oats to the dough for a chewy, hearty texture that contrasts beautifully with the candies.
- Spicy Kick: Incorporate a pinch of cayenne pepper or cinnamon for a surprising, spicy flavor that will awaken your taste buds.
- Dairy-Free: Use coconut oil or a dairy-free butter substitute in place of regular butter, ensuring inclusivity without losing flavor.
- Chocolate Lover's Paradise: Swap out M&M’s for chocolate chips—the melty goodness will take these bars to a whole new level of indulgence.
- Festive Touch: Top your cookie bars with crushed candy canes or seasonal sprinkles for a fun and festive flair!
- Cookie Dough Layer: Before baking, layer half of the dough in the pan, add your candies, and top with the remaining dough for an added surprise!
Think of these variations as ways to tell your story through baking. Each twist allows you to share your personality and tastes with friends and family, making your Halloween Candy Cookie Bars even more special. Enjoy the process, and don't forget to check out other delightful treats like Black Raspberry Cookies and Matcha Crinkle Cookies for more kitchen adventures!
Halloween Candy Cookie Bars Recipe FAQs
What kind of leftover Halloween candy can I use?
Absolutely! You can use any kind of candy that you have on hand. Popular choices are Snickers, Milky Way, or even gummy candies, just chop them into smaller pieces before mixing. The more creative, the merrier!
How should I store my Halloween Candy Cookie Bars?
For the best freshness, store your bars in an airtight container at room temperature for up to 3 days. If you want them to last longer, keep them in the fridge for up to a week. Just make sure they’re sealed tightly to maintain that delightful chewy texture!
Can I freeze the cookie bars? If so, how?
Yes, you can definitely freeze your Halloween Candy Cookie Bars! Wrap each bar individually in plastic wrap, then place them inside a freezer-safe bag or container. They’ll stay fresh for up to 3 months. When you're ready to enjoy, simply thaw them at room temperature or microwave for about 10-15 seconds for that fresh-baked taste.
What if my bars are too crumbly?
If your bars turn out crumbly, it could be due to too much flour or not mixing the wet ingredients enough. To prevent this, ensure you measure your flour accurately—using a kitchen scale can help! Also, don’t overmix after adding the flour; mix just until incorporated to keep them chewy.
Are these cookie bars suitable for kids?
Absolutely! These Halloween Candy Cookie Bars are a great treat for kids. Just be cautious of any allergies to the candies you include, such as peanuts or gluten. If you're unsure, you can always customize the candies to avoid allergens that apply to your family or friends!
Can I use alternative ingredients for dietary restrictions?
Very much so! If you're looking to make these bars gluten-free, use almond flour or a gluten-free all-purpose flour blend. For vegan options, substitute the butter with coconut oil and replace the eggs with flaxseed meal (1 tablespoon of flaxseed meal mixed with 2.5 tablespoons of water per egg). Enjoy the customization!
Indulge in Chewy Halloween Candy Cookie Bars Today
Equipment
- stand mixer
- Baking pan
- parchment paper
- spatula
Ingredients
For the Cookie Bars
- 2.25 cups unbleached all-purpose flour provides the perfect chewy base
- 1 teaspoon baking soda helps the bars to rise
- 0.75 teaspoon kosher salt enhances sweetness
- 0.75 cup unsalted butter, room temperature ensures a creamy mixture
- 0.75 cup dark brown sugar adds rich flavor
- 0.75 cup granulated sugar sweetens the bars
- 2 large eggs acts as a binding agent
- 1.5 teaspoons real vanilla extract infuses a warm flavor
For the Mix-Ins
- 0.5 cup Reese's Pieces offers a delightful peanut butter punch
- 0.5 cup chocolate M&M's adds vibrant colors
- leftover Halloween candy (optional) customize your bars
- candy eyes (optional) adds fun and festive touch
Instructions
Step-by-Step Instructions
- Preheat your oven to 350℉ (or 180℃). Prepare your baking pan with parchment paper and a light spray of nonstick spray.
- In a medium bowl, combine flour, baking soda, and salt. Stir gently and set aside.
- Cream together butter, dark brown sugar, and granulated sugar in a stand mixer on medium speed for 2-3 minutes until light and fluffy.
- Add eggs one at a time, mixing well after each. Pour in vanilla extract and scrape the bowl.
- Gradually add half the flour mixture, mixing on low speed, followed by the remaining flour mixture until just combined.
- Fold in Reese's Pieces and chocolate M&M's until evenly distributed.
- Transfer dough to prepared baking pan and press evenly across the bottom.
- Bake for 18 to 20 minutes, rotating halfway through, until golden brown.
- Prepare additional leftover candy while baking, if desired.
- Press prepared candy into the bars as soon as they come out of the oven.
- Allow to cool completely in the pan for about 30 minutes to an hour. Slice and serve.


Leave a Reply