
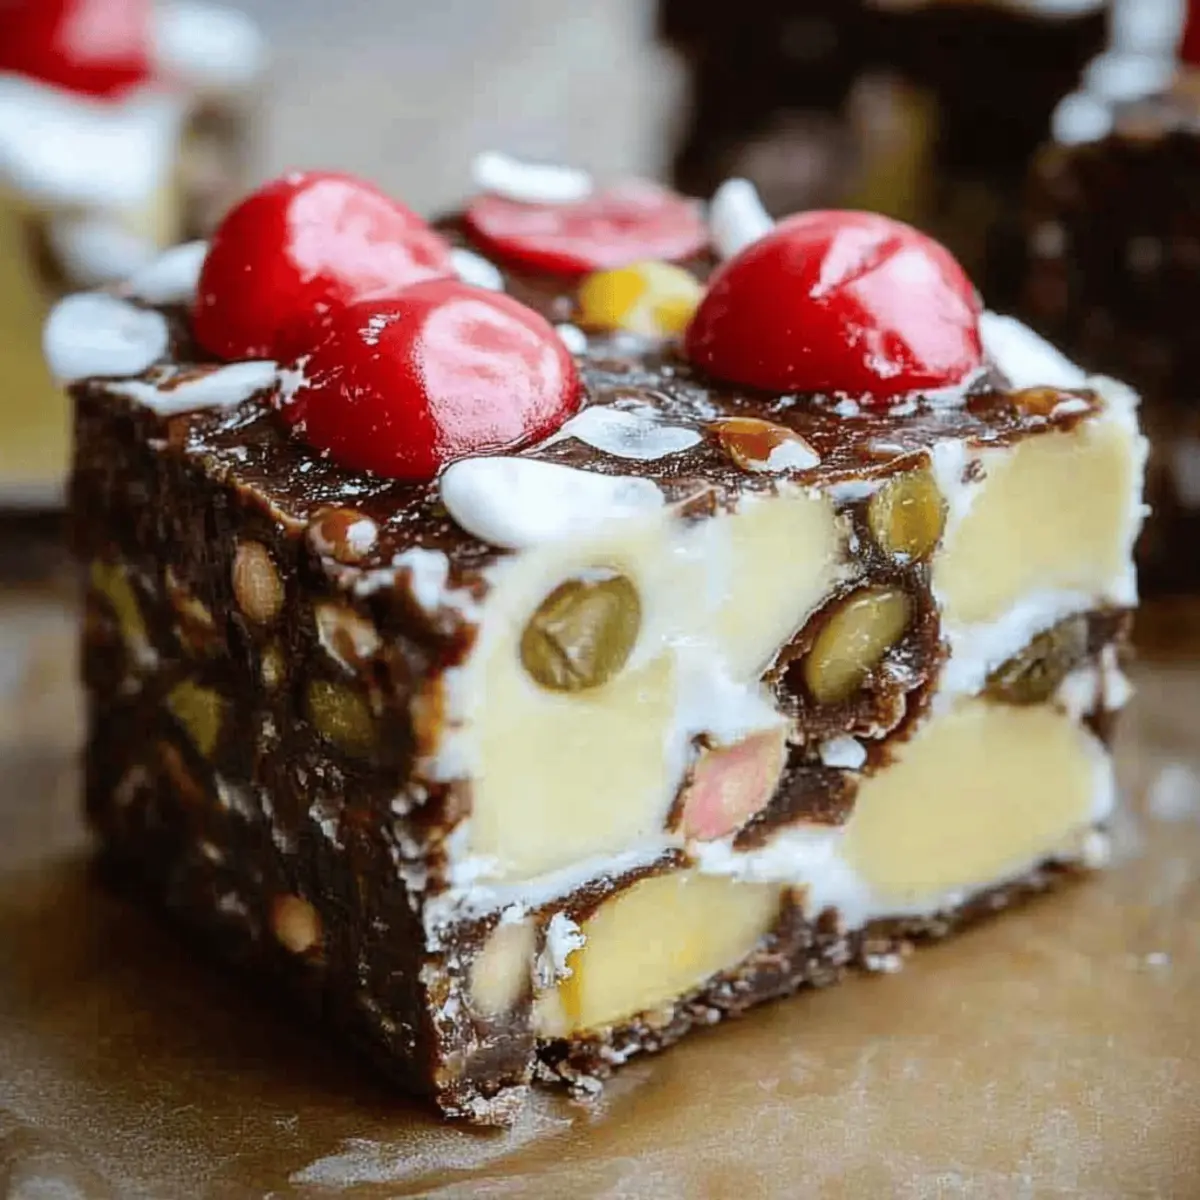
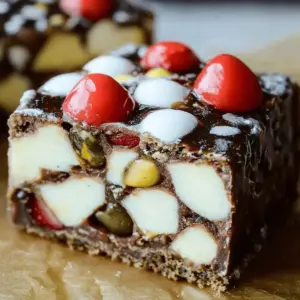
It was the brisk December afternoon when I realized I needed a chocolate fix that didn’t involve turning the oven on. That’s when I stumbled upon the delightful world of no-bake Christmas treats, and let me tell you, my first batch of Christmas Rocky Road was an absolute revelation. This easy no-bake recipe is perfect for everyone, packed with textures and flavors that evoke holiday cheer. Not only can you whip it up in a flash, but it also offers flexible options—think gluten-free or vegan variations to cater to all your friends and family! So, are you ready to get your hands a little messy while creating an edible masterpiece that will leave everyone reaching for seconds? Let’s dive into the magic of no-bake Christmas treats together!
Ready for a Sweet Holiday Adventure?
Irresistible, indeed! No-bake Christmas Rocky Road is a delightful fusion of textures and flavors that everyone will love. Flexibility shines through, as this recipe easily adapts to vegan and gluten-free diets. Quick and easy to make, it saves you time during the bustling holiday season, leaving plenty of room for other festive preparations. Perfect for sharing, this treat is a hit at parties, making it the ultimate crowd-pleaser. Plus, it’s an excellent way to get the kids involved in the kitchen. So gather your ingredients and join in the fun of creating delicious memories!
Christmas Rocky Road Ingredients
• Get ready to create a delicious no-bake treat!
For the Base
- Dark chocolate – Perfectly melty, it forms the rich foundation of your Rocky Road.
- Butter – Helps the chocolate set while adding a creamy texture.
- Mini marshmallows – These sweet bites add fluffiness and a hint of nostalgia to your treats.
- Crunchy nuts – Choose walnuts or almonds for an extra satisfying crunch.
For the Mix-ins
- Dried fruits – Consider adding cranberries or cherries to give a festive twist and chewy texture.
- Biscuit pieces – Adds a delightful crunch, giving the Rocky Road a traditional touch.
Optional Toppings
- Drizzle of melted white chocolate – Provides a beautiful contrast and additional sweetness.
- Sprinkles – Festive colors not only enhance the look but also add extra joy to each bite!
Gather these ingredients to start your wonderful journey of making Christmas Rocky Road, a no-bake delight everyone will cherish!
Step‑by‑Step Instructions for Christmas Rocky Road
Step 1: Gather Your Ingredients
Start by collecting all your ingredients for the Christmas Rocky Road. You will need dark chocolate, butter, mini marshmallows, crunchy nuts, dried fruits, and biscuit pieces. Assemble a heatproof bowl, a saucepan, a spatula, and a baking dish lined with parchment paper. Ensure your ingredients are at room temperature so that everything combines smoothly, setting the stage for a delightful no-bake treat.
Step 2: Melt Chocolate and Butter
Place the heatproof bowl over a saucepan filled with simmering water to create a double boiler. Add in the dark chocolate and butter, stirring frequently until completely melted and smooth, which should take about 5-7 minutes. Avoid boiling the water, as you want gentle heat to prevent the chocolate from seizing. Once melted, remove the bowl from heat and allow to cool slightly.
Step 3: Mix in Marshmallows and Nuts
Incorporate the mini marshmallows and crunchy nuts into the melted chocolate mixture. Use the spatula to fold them in carefully, ensuring each marshmallow gets coated with chocolate. The mixture should feel thick and glossy. Continue mixing until fully combined, which takes about 2-3 minutes, unleashing the irresistible charm of your Christmas Rocky Road.
Step 4: Add Dried Fruits and Biscuit Pieces
Now it's time to elevate your Christmas Rocky Road! Gently fold in the dried fruits and biscuit pieces, which will add delightful texture and chewiness. Ensure everything is evenly distributed through the mixture—this part is crucial for those lovely flavors. The blend should appear festive and colorful, ready to be molded into a delicious, no-bake masterpiece.
Step 5: Transfer to the Baking Dish
Carefully spoon the mixture into the lined baking dish, using the spatula to spread it into an even layer. Press down gently to compact the ingredients, ensuring the Rocky Road holds together once set. Leave a little height for a luscious texture. Make sure the edges are neat and tidy, providing a beautiful foundation for this festive treat.
Step 6: Chill Until Set
Place the baking dish in the refrigerator and allow the Christmas Rocky Road to chill for at least 2-3 hours or until firm. This is the perfect time to tidy up your kitchen or plan how you will slice and present your delicious creation. The chocolate should be set but still soft enough to slice easily, giving a smooth and glossy finish.
Step 7: Slice and Serve
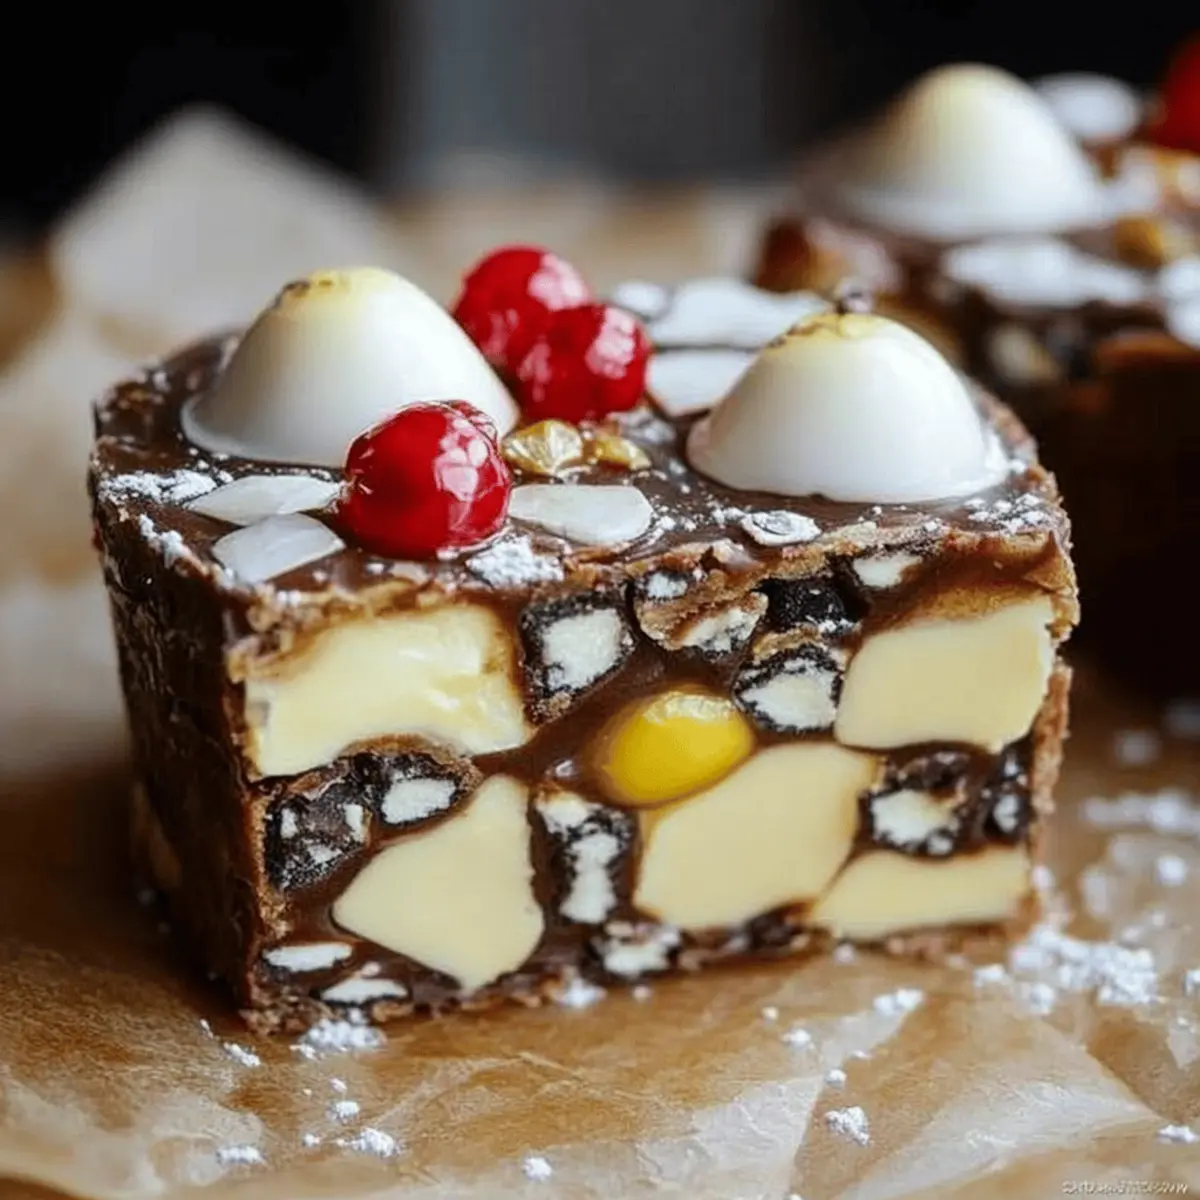
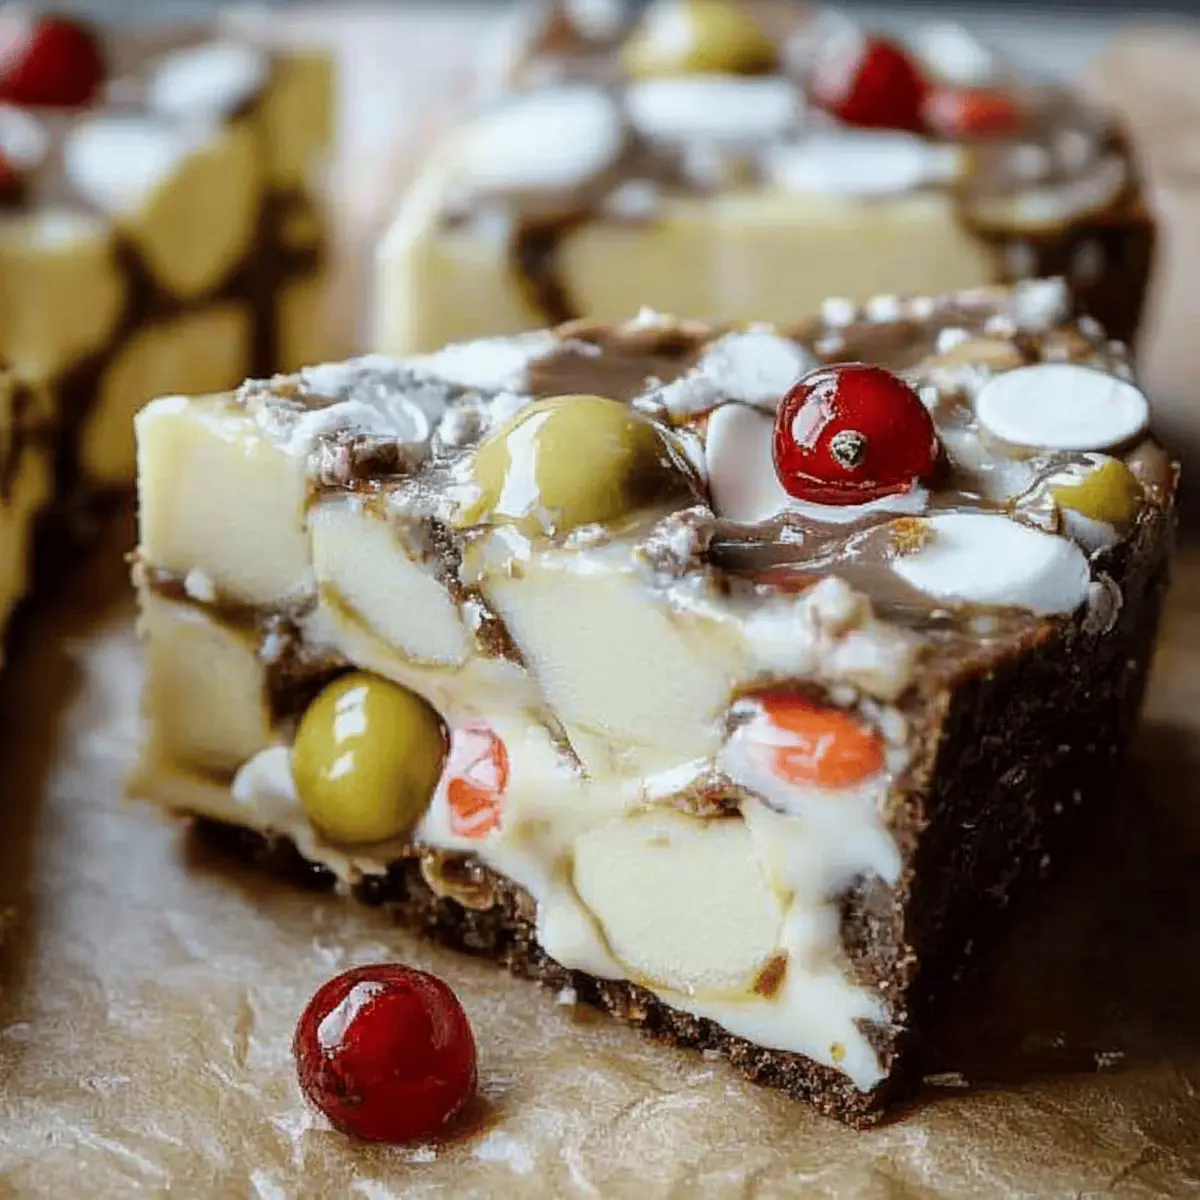
Once the Rocky Road has chilled and set, remove it from the refrigerator and lift it out of the baking dish using the parchment paper. Use a sharp knife to cut it into squares or rectangles, presenting them on a festive platter. Optionally, melt some white chocolate and drizzle it over the pieces for an extra touch of sweetness and elegance, making your Christmas Rocky Road simply irresistible!
What to Serve with No-Bake Christmas Rocky Road?
Indulging in the rich, chocolatey bliss of no-bake Christmas Rocky Road opens the door to delightful pairings that enhance your festive experience.
- Peppermint Hot Chocolate: The festive minty flavor complements the sweetness of Rocky Road, creating a warm and cozy treat for the holidays.
- Gingerbread Cookies: These spicy cookies provide a lovely contrast to the rich flavors of Rocky Road, making for a charming holiday dessert spread.
- Fruit Fondue: Fresh, juicy fruits dipped in chocolate fondue balance the sweetness of Rocky Road, adding a fresh element to your dessert table.
Pairing sweet Rocky Road with these treats allows for creative combinations. A hot chocolate bar with peppermint flavors can easily become the highlight of your gathering!
- Spiced Wine: The warm, aromatic notes of mulled wine can elevate the indulgent experience of your Rocky Road, perfect for toasting.
- Christmas Fruitcake: Its dense texture and dried fruits playfully contrast with the fluffy marshmallows in Rocky Road, creating a festive medley of treats.
- Cinnamon Sugar Tortilla Chips: Crunchy, warm chips sprinkled with cinnamon sugar offer a delightful crunch alongside rich Rocky Road bites, enhancing the experience beautifully.
Make Ahead Options
These Christmas Rocky Road treats are perfect for meal prep enthusiasts! You can prepare the entire mixture up to 24 hours in advance, which not only saves precious time during the bustling holiday season but also ensures all those delightful flavors meld together beautifully. Simply follow the recipe through Step 5, then press the mixture into your baking dish and refrigerate it. If you're aiming to make it even earlier, you can also freeze the assembled Rocky Road for up to 3 days; just ensure it's tightly wrapped to prevent freezer burn. When you're ready to serve, let it thaw in the refrigerator overnight and then slice into pieces for a delicious, crowd-pleasing treat that tastes just as fresh as the day you made it!
Christmas Rocky Road Variations & Substitutions
Feel free to customize your Christmas Rocky Road to suit your tastes and dietary needs—let the creativity flow!
-
Vegan Option: Substitute butter with coconut oil and use dairy-free chocolate for a delightfully rich treat.
For an added twist, use maple syrup for natural sweetness, giving your Rocky Road a unique flavor you won’t forget! -
Gluten-Free: Swap out traditional biscuits for gluten-free graham crackers or rice crisps.
This adjustment maintains that beloved crunch, ensuring everyone can enjoy your delicious creation without worry. -
Nut-Free: Use seeds like sunflower or pumpkin instead of nuts to keep your treats safe for nut allergies.
This keeps your Rocky Road just as satisfying and crunchy while accommodating dietary restrictions! -
Fruit Explosion: Add chopped dried apricots or figs alongside cranberries for a festive touch.
The sweetness from these fruits complements the chocolate perfectly, making every bite a delightful surprise! -
Spicy Kick: Incorporate a pinch of cayenne pepper or chili powder for a surprising heat.
This unique twist will elevate your Rocky Road and intrigue your taste buds—perfect for adventurous eaters! -
Caramel Swirl: Drizzle in some caramel sauce before chilling for a luscious, gooey texture.
This adds a new level of indulgence that will transform your Rocky Road into a truly decadent treat. -
Coconut Flakes: Stir in shredded coconut for a tropical flavor that pairs beautifully with chocolate.
Coconut adds not just texture but also a unique taste that feels festive and fun for the holidays! -
Minty Fresh: Incorporate crushed peppermint candies or a few drops of peppermint extract for a refreshing twist.
This creates a seasonal flavor that’s perfect for the holidays, leaving your crowd wanting more!
To enhance your holiday treats even further, consider checking out some vegan options or exploring delicious gluten-free alternatives!
Expert Tips for Christmas Rocky Road
-
Use Quality Chocolate: The better the chocolate, the richer your Rocky Road will taste. Don't skimp on quality; it makes all the difference!
-
Room Temperature Ingredients: Ensure all your ingredients, especially butter and chocolate, are at room temperature for easier mixing and a smooth texture.
-
Parchment Paper: Lining your baking dish with parchment paper helps prevent sticking, making it easy to lift out the Rocky Road for slicing.
-
Customize Add-Ins: Feel free to swap out nuts or dried fruits based on your family’s preferences. Just remember to keep the balance of crunchy and chewy for the best Christmas Rocky Road.
-
Watch the Chilling Time: While you can chill overnight, aim for a minimum of 2-3 hours to ensure your treats hold their shape when sliced.
-
Aesthetic Presentation: For that extra festive touch, drizzle with melted white chocolate and sprinkle colorful toppings, enhancing both flavor and visual appeal!
How to Store and Freeze Christmas Rocky Road
Fridge: Store your Christmas Rocky Road in an airtight container; it will remain fresh for up to 1 week. This keeps it deliciously chewy and ready for snacking!
Freezer: For longer storage, wrap each piece in plastic wrap and place them in a freezer bag. They can be frozen for up to 3 months, perfect for making holiday treats ahead of time.
Reheating: There's no need to reheat; simply let the frozen pieces thaw at room temperature for 15-20 minutes before enjoying their sweet, chocolatey goodness.
Christmas Rocky Road Recipe FAQs
How do I choose the best chocolate for my Rocky Road?
Absolutely! For the richest flavor, I recommend using high-quality dark chocolate. Aim for a cocoa content of around 70% for that perfect balance of sweetness and bitterness, making your Christmas Rocky Road truly irresistible.
How should I store leftover Rocky Road?
You can store your Christmas Rocky Road in an airtight container in the fridge for up to 1 week. This method keeps it chewy and fresh, ready for those late-night cravings or holiday gatherings!
Can I freeze Christmas Rocky Road?
Yes, you can! Wrap each piece of your delicious Christmas Rocky Road in plastic wrap, then place them in a freezer bag. They’ll stay fresh in the freezer for up to 3 months. When you’re ready to enjoy them, simply thaw at room temperature for about 15-20 minutes.
What if my Rocky Road doesn't set properly?
No worries! If you notice that your Christmas Rocky Road hasn’t set properly after chilling for 2-3 hours, it may need more time in the fridge. Try leaving it for another hour or so, ensuring it’s fully firm but still soft enough to slice easily. If it's still a bit gooey, next time consider adding more biscuits or nuts for additional structure.
Are there any allergy considerations I need to keep in mind?
Very much so! If you're making Christmas Rocky Road for a crowd, be mindful of nut allergies. You can substitute the nuts with seeds, like pumpkin or sunflower seeds, to keep that delightful crunch without the allergy risk. Always double-check labels when using pre-packaged ingredients like chocolate or marshmallows, as they can contain hidden allergens.
Irresistible Christmas Rocky Road: A Sweet No-Bake Delight
Equipment
- Heatproof bowl
- saucepan
- spatula
- baking dish
- parchment paper
Ingredients
For the Base
- 200 g dark chocolate Perfectly melty
- 100 g butter Helps chocolate set
- 150 g mini marshmallows Adds fluffiness
- 100 g crunchy nuts (walnuts or almonds) For extra crunch
For the Mix-ins
- 100 g dried fruits (cranberries or cherries) For a festive twist
- 100 g biscuit pieces For delightful crunch
Optional Toppings
- 50 g melted white chocolate For drizzling
- 50 g sprinkles For festive colors
Instructions
Step-by-Step Instructions
- Gather all your ingredients, including dark chocolate, butter, mini marshmallows, crunchy nuts, dried fruits, and biscuit pieces.
- Melt dark chocolate and butter in a heatproof bowl over simmering water until smooth.
- Fold in mini marshmallows and crunchy nuts into the melted mixture.
- Gently add dried fruits and biscuit pieces, ensuring even distribution.
- Transfer the mixture to a lined baking dish, pressing down gently.
- Chill in the refrigerator for 2-3 hours until set.
- Slice into squares and optionally drizzle with melted white chocolate and add sprinkles before serving.


Leave a Reply