
As I sifted through my pantry one afternoon, a vision of whimsical treats danced through my mind—enter Ghost Cookies! These delightful, hauntingly adorable snacks are not just a feast for the eyes; they offer a fun twist on traditional baking that’s perfect for spooking up any occasion. With their playful shapes and simple preparation, they're the ultimate crowd-pleasers that will have everyone asking for seconds, whether it’s Halloween or just a cozy family gathering. Plus, they’re easy to customize, allowing you to get creative with flavors and decorations! So, are you ready to conjure up some magic in your kitchen? Let's get whisking!
What makes Ghost Cookies irresistible?
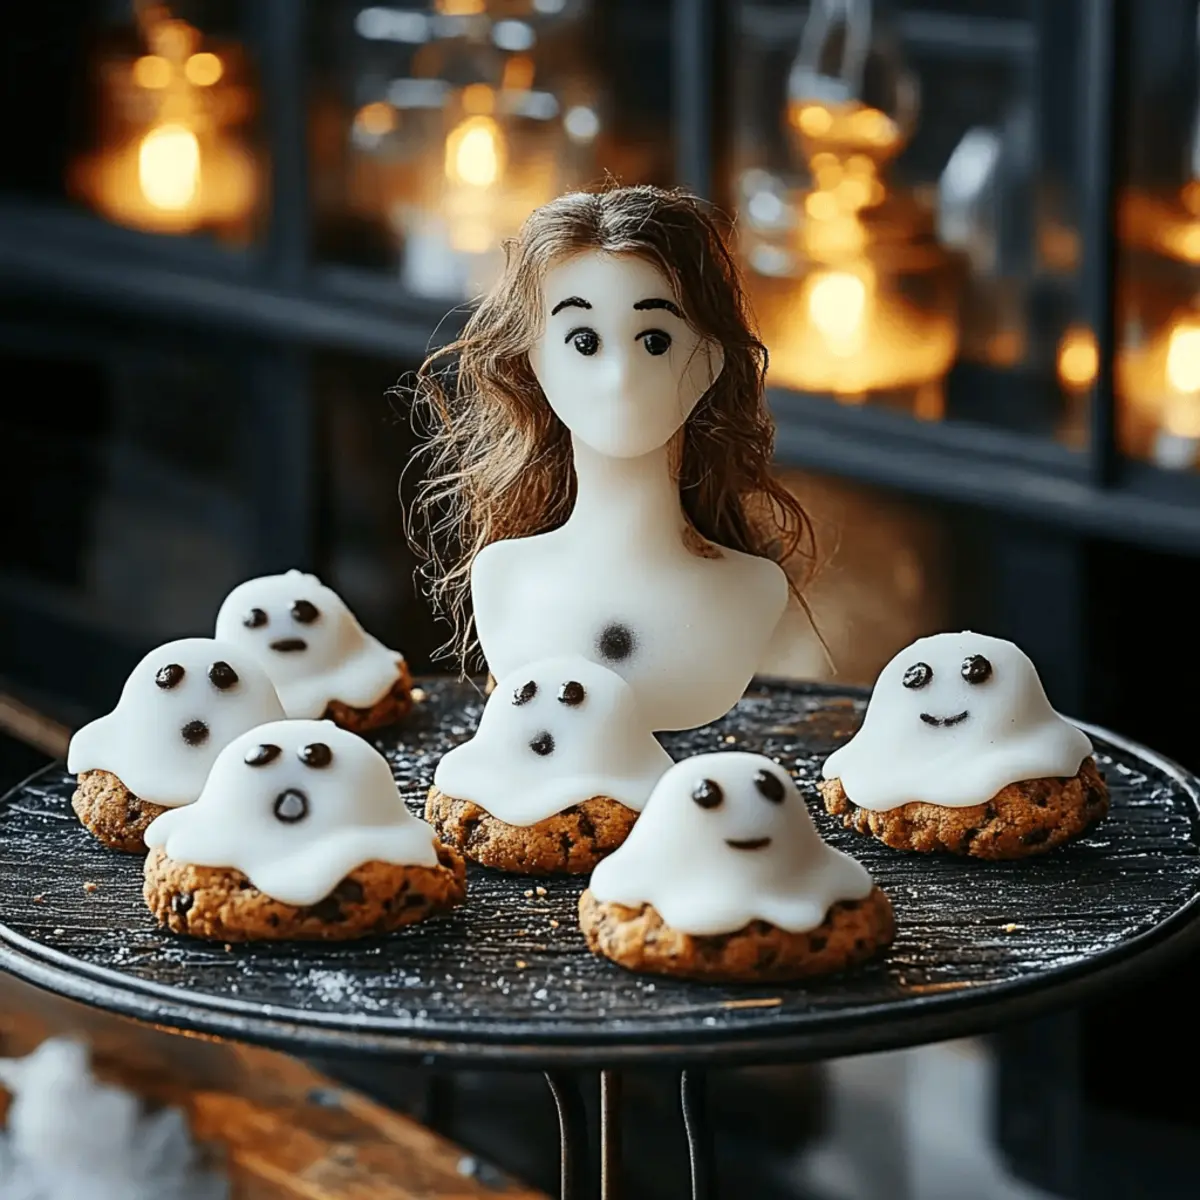
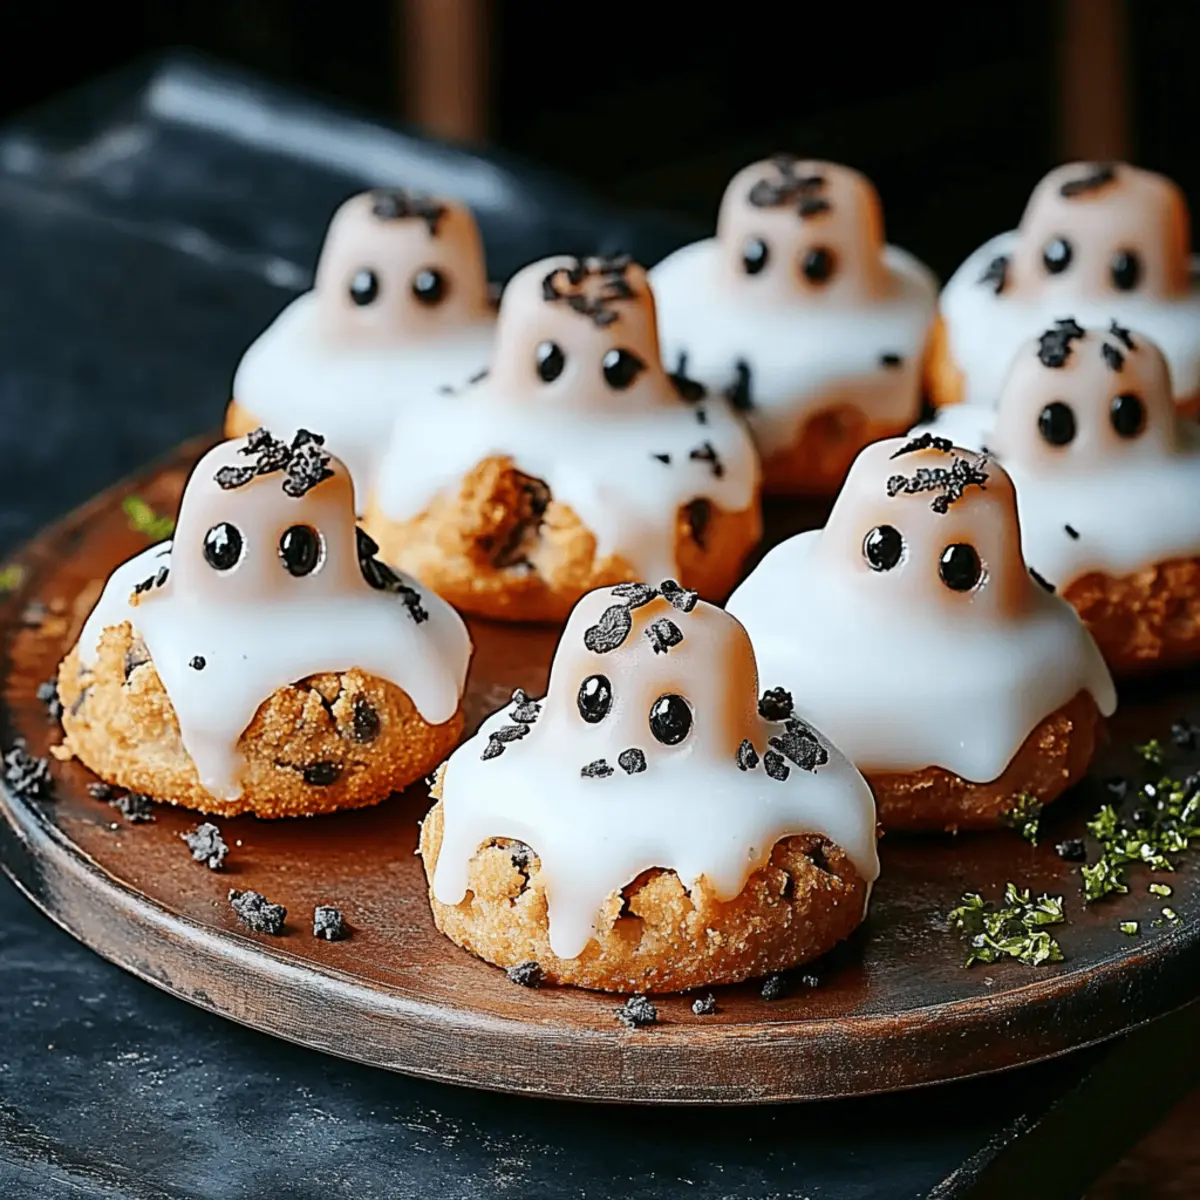
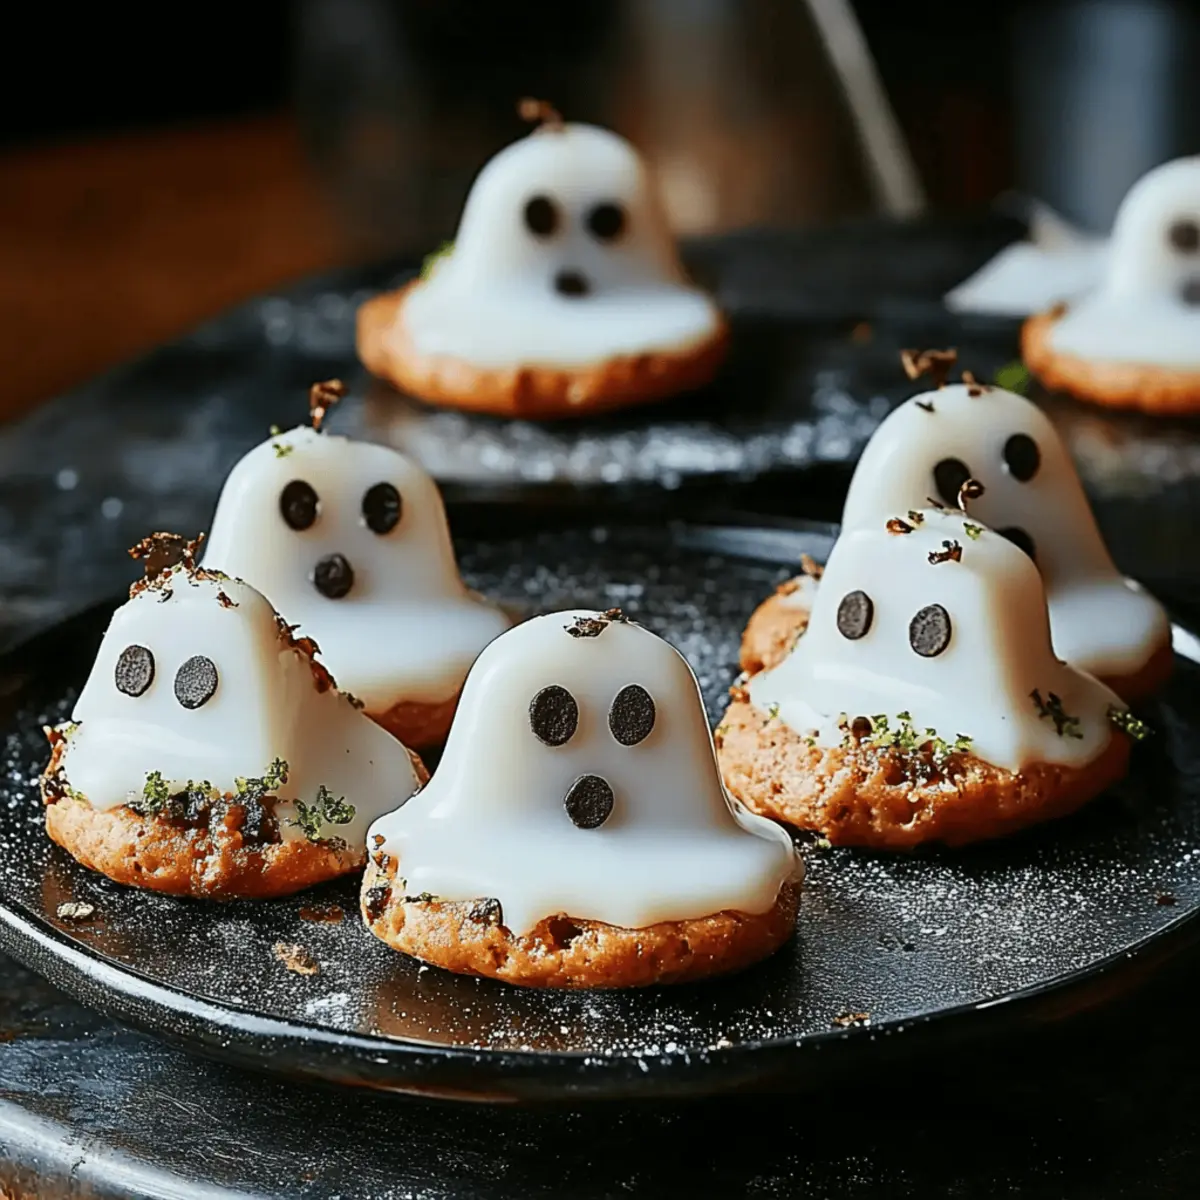
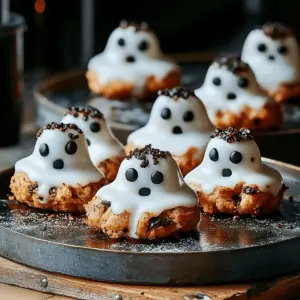
Whimsical designs: These cookies are not only delicious but also boast charming ghost shapes that bring smiles to the table.
Easy to customize: Use your favorite flavors and decorations to make each batch uniquely yours—perfect for personalizing treats for every gathering.
Quick features: With simple preparation methods, you'll be whipping these up in no time, leaving you plenty of time to enjoy the festivities.
Great for sharing: Watch as your friends and family dive into these spooky delights, making them an instant hit at any occasion.
Kid-friendly fun: Get the little ones involved in the decorating process, creating memorable moments while fostering their love for baking!
Ready to dive deeper into holiday baking? Check out our tips for creative decorating ideas to take your treats to the next level!
Ghost Cookies Ingredients
• Whip up these hauntingly delightful treats!
For the Cookie Base
- All-purpose flour – serves as the foundation for a perfectly chewy texture.
- Granulated sugar – adds sweetness that balances the other flavors beautifully.
- Butter – use unsalted for better control over the overall saltiness of the cookies.
- Eggs – these help bind the cookie together, making it nice and fluffy.
- Baking powder – ensures your Ghost Cookies rise to spooky perfection.
- Vanilla extract – adds a lovely depth of flavor that enhances the sweetness.
For the Ghostly Decoration
- Powdered sugar – creates a smooth, sweet icing perfect for ghostly faces.
- Milk – thins the icing for an easily spreadable consistency, but adjust as needed.
- Chocolate chips – use mini chips for cute eyes that make your ghosts come alive!
- Candy corn or sprinkles – optional for adding extra festive flair to your spooky treats.
With these Ghost Cookies ingredients, you’re one step closer to creating a delightfully eerie addition to your holiday table! Happy baking!
Step‑by‑Step Instructions for Ghost Cookies
Step 1: Preheat the Oven
Start by preheating your oven to 350°F (175°C). This ensures that your Ghost Cookies will bake evenly and achieve that perfect golden hue. While the oven heats up, grab a baking sheet and line it with parchment paper to prevent sticking, setting the stage for these delightful treats.
Step 2: Mix the Cookie Dough
In a large mixing bowl, cream together 1 cup of softened unsalted butter and 1 cup of granulated sugar until the mixture is light and fluffy, about 3-5 minutes. Add in 2 eggs and 1 teaspoon of vanilla extract, beating well to combine. Gradually sift in 2 cups of all-purpose flour and 1 teaspoon of baking powder, mixing until just combined to maintain that chewy texture.
Step 3: Shape the Cookies
Using a tablespoon or cookie scoop, portion out the dough and roll it into balls. Place them approximately 2 inches apart on your prepared baking sheet. For that iconic ghost shape, gently flatten each ball slightly with your palm while ensuring they still have height. This step will help them retain some shape as they bake.
Step 4: Bake the Cookies
Slide the baking sheet into your preheated oven and bake the Ghost Cookies for 8-10 minutes, or until the edges begin to turn a light golden brown. Keep an eye on them to avoid over-baking, as you want them to remain soft in the center. Once done, remove the baking sheet from the oven and let the cookies cool on it for 5 minutes before transferring them to a wire rack.
Step 5: Prepare the Icing
While the cookies cool, whisk together 2 cups of powdered sugar and a few tablespoons of milk in a bowl until you achieve a smooth, spreadable consistency. The icing should be thick enough to hold its shape but thin enough to drizzle. Adjust with more sugar or milk as needed to suit your desired texture for decorating your Ghost Cookies.
Step 6: Decorate the Ghost Cookies
Once the cookies are fully cooled, it's time to bring your ghosts to life! Spread a generous layer of icing over each cookie, ensuring it reaches the edges. Use mini chocolate chips to create cute eyes and, if desired, add candy corn or sprinkles for a festive touch. Have fun customizing each ghost to make them uniquely yours!
Step 7: Serve and Share
Allow the decorated Ghost Cookies to set for a few minutes so the icing can harden slightly. Once ready, present these charming treats on a festive platter. Gather your friends and family for a spooky snack, and watch as these delightful Ghost Cookies disappear in no time!
Ghost Cookies Variations & Substitutions
Feel free to let your creativity shine in the kitchen with these delightful tweaks!
-
Gluten-Free: Substitute all-purpose flour with a 1:1 gluten-free blend for a gluten-free version everyone can enjoy. This will still give you that sweet, chewy texture!
-
Dairy-Free: Use coconut oil or a plant-based butter substitute in place of regular butter, keeping your cookies deliciously dairy-free. They’ll still be just as soft and flavorful!
-
Chocolate Lovers: Mix in ½ cup of cocoa powder to the dough for rich, chocolatey Ghost Cookies. Feeling adventurous? You can also add chocolate chips for extra yummy bites!
-
Spicy Kick: Add a pinch of cinnamon or nutmeg to the dough for a cozy, warm flavor twist that’s perfect for autumn. It adds a little spark to each ghostly bite!
-
Nutty Flavor: Incorporate ½ cup of finely chopped nuts like walnuts or pecans into your dough for delightful texture and flavor. The crunch brings a new layer to your cookies!
-
Colorful Icing: Use gel food coloring to tint your icing for a fun rainbow of ghostly shades. The kids will love helping out with this vibrant twist!
-
Twisted Faces: Instead of chocolate chips, use mini marshmallows for eyes that add a fun, fluffy touch to your decorated cookies. They’ll give your ghosts a lighter, whimsical appeal!
For more inventive ideas, don’t miss our suggestions for creative decorating ideas to make your treats visually stunning, or explore some fun scented spices you can incorporate into your baking!
Make Ahead Options
Ghost Cookies are perfect for meal prep enthusiasts looking to save time in the kitchen! You can prepare the cookie dough up to 24 hours in advance; simply wrap it tightly in plastic wrap and refrigerate to keep it fresh. Additionally, you can bake the cookies and store them in an airtight container for up to 3 days at room temperature, maintaining their delightful softness. When you're ready to decorate, simply whip up the icing and get creative with the toppings! This way, you’ll have whimsical Ghost Cookies that are just as delicious as if they were freshly made, allowing you to enjoy the treats without the last-minute scramble.
Expert Tips for Ghost Cookies
• Chill the Dough: Refrigerate the dough for about 30 minutes before baking to enhance the flavor and prevent spreading.
• Consistent Sizing: Use a cookie scoop for uniform cookie sizes, ensuring even baking and presentation for your Ghost Cookies.
• Watch the Bake Time: Overbaking can lead to crunchy cookies. Keep an eye on them and remove when edges are golden but centers are still soft.
• Icing Consistency: Adjust the icing with more sugar or milk to achieve your desired thickness; thicker icing holds details better for your ghostly faces.
• Creative Decorations: Experiment with various candies and sprinkles to personalize your cookies—a fun way to make them extra special for gatherings!
Enjoy the delights of baking these adorable Ghost Cookies!
How to Store and Freeze Ghost Cookies
Room Temperature: Store your Ghost Cookies in an airtight container at room temperature for up to 3 days to maintain their delightful softness and flavor.
Fridge: For longer freshness, keep Ghost Cookies in the refrigerator in an airtight container for up to 1 week. Just remember to let them come to room temperature before serving for the best taste.
Freezer: If you’d like to prepare ahead, freeze unbaked cookie dough balls for up to 3 months. Just thaw in the fridge overnight before baking as per the recipe.
Reheating: For a warm treat, reheat baked cookies in the microwave for about 10-15 seconds, enjoying that freshly-baked taste with every bite!
What to Serve with Ghost Cookies?
Serve these charming treats alongside festive sides and drinks to elevate your holiday experience and delight your guests.
- Pumpkin Spice Latte: This warm beverage captures the spirit of the season, providing a comforting balance to the sweet cookies.
- Apple Cider Donuts: Their soft, spiced texture complements the sweetness of the Ghost Cookies very well, creating a delightful snack pairing.
- Chocolate Milk: A classic favorite, rich and creamy chocolate milk offers a fun contrast to the cookies' playful design—perfect for kids!
- Caramel Popcorn: The crunch of caramel popcorn brings a delightful texture that enhances the chewy nature of the cookies.
- Crispy Apple Slices: Fresh and tart apple slices add a bright crunch, cutting through the sweetness for a refreshing palate cleanser.
- Vanilla Ice Cream: Serve your cookies warm with a scoop of creamy vanilla ice cream; the melting ice cream transforms the experience into pure bliss!
- Milkshake: A flavored milkshake, such as strawberry or cookies and cream, pairs wonderfully, making for a delicious, nostalgic treat.
- Halloween Fruit Salad: Brighten your table with a fruit salad that includes oranges, grapes, and blackberries, reminiscent of the holiday's colors.
- Spiced Hot Chocolate: Cozy up with a mug of spiced hot chocolate, perfect for dipping your Ghost Cookies while enjoying a cozy evening.
- Brownie Bites: Fudgy brownie bites provide a decadent addition to your dessert table, allowing a rich chocolate balance alongside your Ghost Cookies.
Ghost Cookies Recipe FAQs
What should I look for in ripe ingredients?
Absolutely! When selecting ingredients for your Ghost Cookies, it's crucial to choose fresh and ripe components. For butter, ensure it's soft (but not melted) to help with the creaming process. Granulated sugar should be dry and free of clumps. Eggs should be fresh; the best way to check is by doing a float test—if they sink in water, they're good!
How should I store Ghost Cookies?
Very! Keep your Ghost Cookies in an airtight container at room temperature to maintain their delightful softness and flavor for up to 3 days. If you want them to last longer, refrigerate them in the same type of container for up to 1 week. Remember, once you're ready to serve, let them come to room temperature for the best taste!
Can I freeze Ghost Cookies? If so, how?
Absolutely! To freeze your Ghost Cookies, I recommend freezing the unbaked cookie dough balls. Simply scoop the dough into balls and place them on a baking sheet in the freezer. Once frozen, transfer them to a freezer-safe bag or container for up to 3 months. When you're ready to bake, thaw them overnight in the fridge, then bake according to the recipe instructions for a fresh treat!
What if my cookies spread too much while baking?
Don't worry, this happens! If your Ghost Cookies spread too much, it could be due to soft butter or wet dough. To remedy this, try chilling the dough for 30 minutes before baking. This helps firm up the butter and makes the dough easier to work with. Additionally, be careful not to overmix after adding the flour; gently fold until just combined!
Are Ghost Cookies safe for pets or people with allergies?
Very! While Ghost Cookies are a delightful treat for humans, be sure to keep them away from pets as chocolate can be toxic to dogs and cats. Also, for those with dietary restrictions, you can easily customize the recipe. Substitute gluten-free flour for the all-purpose flour or use egg replacers for a vegan version. Always double-check ingredient labels for potential allergens!
Spooky-Sweet Ghost Cookies: Your New Favorite Holiday Treat
Equipment
- Oven
- baking sheet
- parchment paper
- mixing bowl
- cookie scoop
- whisk
Ingredients
For the Cookie Base
- 2 cups all-purpose flour
- 1 cup granulated sugar
- 1 cup unsalted butter, softened
- 2 large eggs
- 1 teaspoon baking powder
- 1 teaspoon vanilla extract
For the Ghostly Decoration
- 2 cups powdered sugar
- 3 tablespoons milk adjust as needed
- 1 cup mini chocolate chips for eyes
- candy corn or sprinkles optional
Instructions
Step‑by‑Step Instructions
- Preheat your oven to 350°F (175°C) and line a baking sheet with parchment paper.
- In a large mixing bowl, cream together 1 cup of softened unsalted butter and 1 cup of granulated sugar until light and fluffy, about 3-5 minutes. Add in 2 eggs and 1 teaspoon of vanilla extract, beating well to combine. Gradually sift in 2 cups of all-purpose flour and 1 teaspoon of baking powder, mixing until just combined.
- Portion out the dough and roll it into balls, placing them 2 inches apart on the prepared sheet. Gently flatten each ball slightly.
- Bake for 8-10 minutes until the edges turn light golden brown. Let cool for 5 minutes on the sheet before transferring to a wire rack.
- Whisk together 2 cups of powdered sugar and a few tablespoons of milk in a bowl until smooth. Adjust with more sugar or milk as needed.
- Spread icing over each cooled cookie and decorate with mini chocolate chips for eyes and optional candy corn or sprinkles.
- Allow cookies to set before serving on a festive platter.

Leave a Reply