
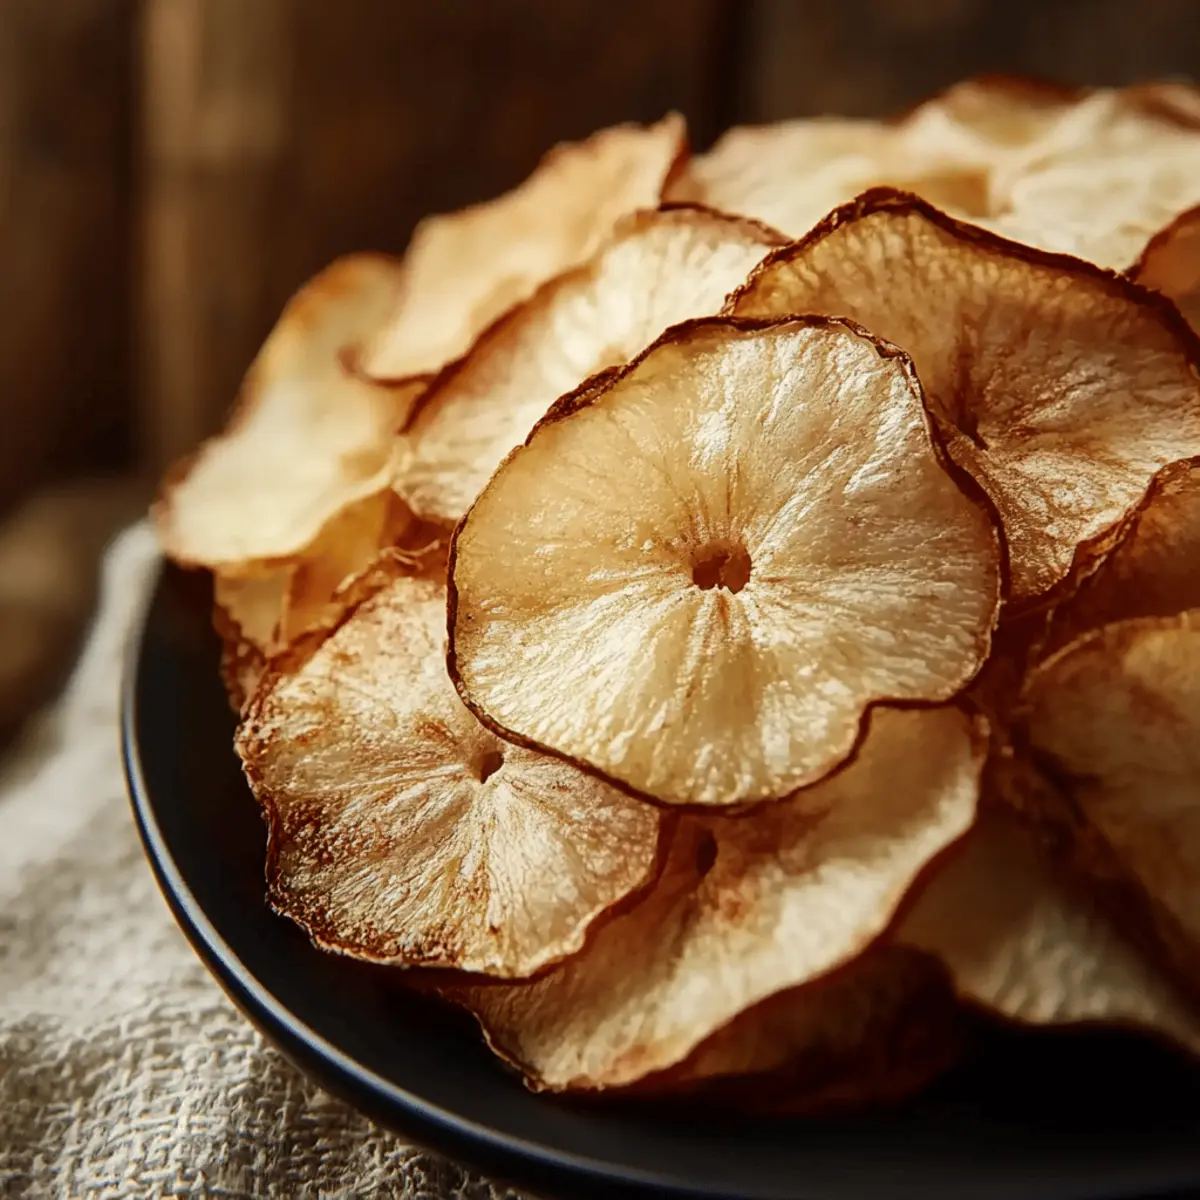
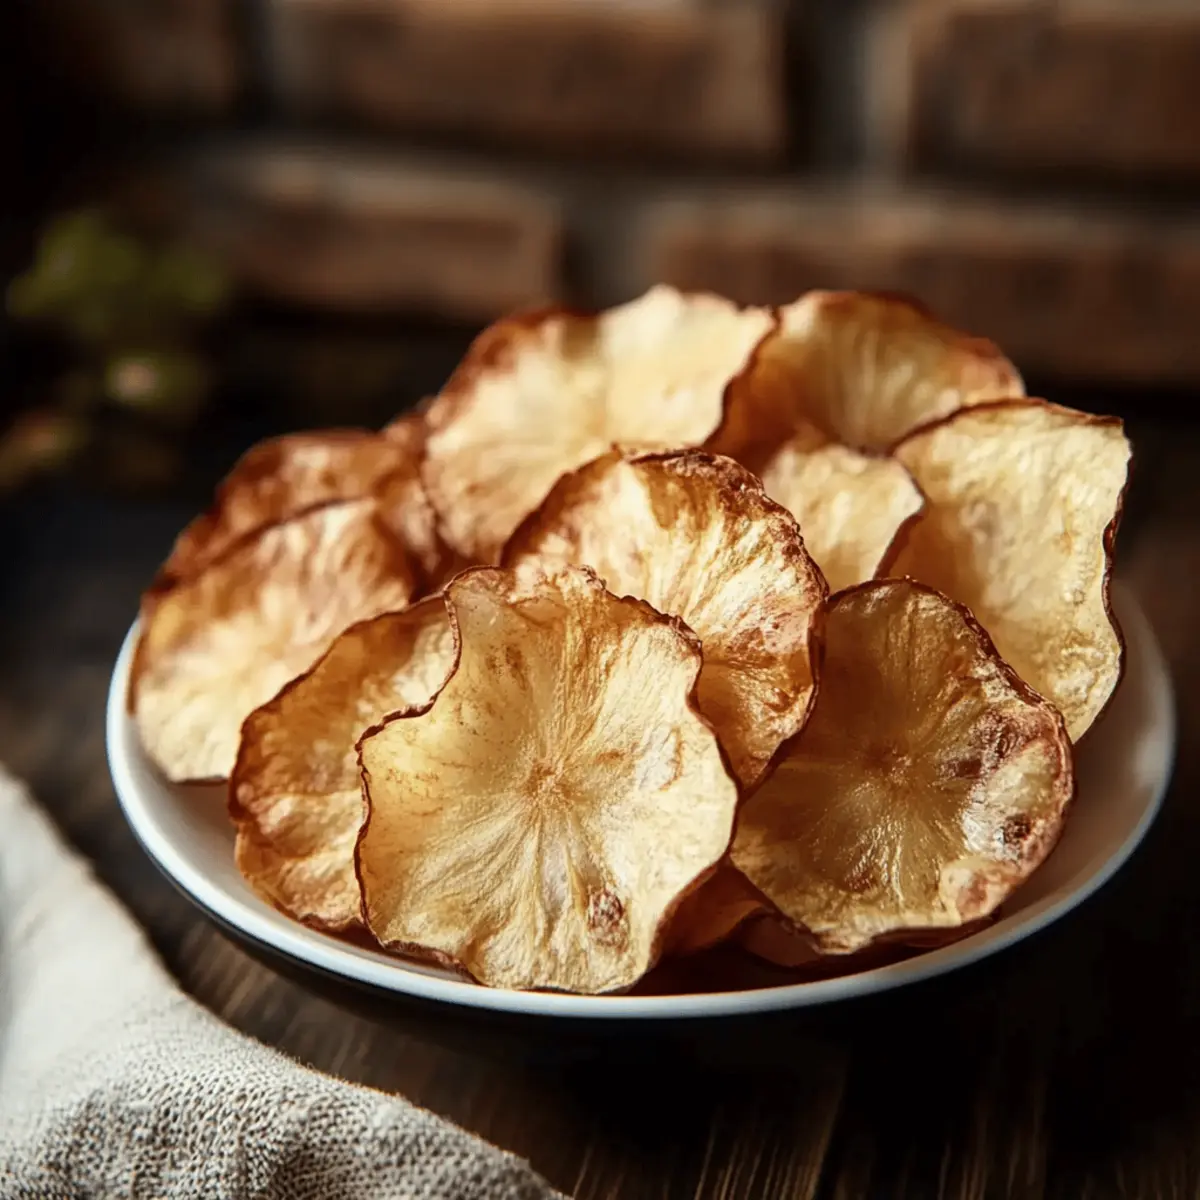
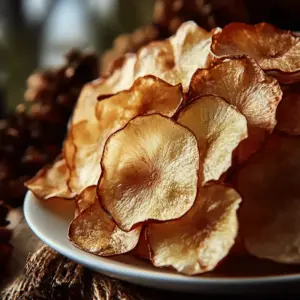
As the sweet aroma of apples fills my kitchen, I'm reminded of crisp autumn days and the joy of homemade snacks. Today, I’m sharing my go-to recipe for Baked Apple Chips—an easy, healthier alternative to store-bought munchies that brings the warmth of fall right into your home. With only a handful of ingredients, including juicy Fuji or Honeycrisp apples, you'll discover how simple it is to create a delicious treat that not only satisfies your cravings but also makes for a delightful gift. The best part? These chips are a guilt-free snack option that can be ready in just a few hours! Curious about how to transform fresh apples into crunchy bites of goodness? Let’s dive into the recipe together!
Why are Baked Apple Chips amazing?
Healthier Snacking: These baked apple chips provide a guilt-free alternative to traditional chips, ensuring you satisfy your cravings without the extra calories.
Simple Preparation: Just a few steps and minimal ingredients are all you need to create this crunchy delight.
Flavorful Twist: The hint of cinnamon, plus optional sugar, enhances the apples' natural sweetness, making every bite a taste sensation.
Versatile Treat: Enjoy them as a snack, a topping for your yogurt, or even in salads for an added crunch.
Homemade Goodness: Ditch the store-bought options and experience the fresh, wholesome flavor of homemade snacks.
Perfect for Gifting: Package them in a decorative jar for a delightful homemade gift, ideal for friends and family!
Baked Apple Chips Ingredients
• Ready to create your own crunchy delights? Here’s what you’ll need!
For the Chips
- Large apples – Choose Fuji or Honeycrisp for their perfect sweetness and crispness.
- Cinnamon – Adds a warm, cozy flavor that complements the apples beautifully.
- Granulated sugar (optional) – Sweeten to taste; this enhances the natural flavors of the baked apple chips.
- Lemon juice (optional) – A light brush prevents browning, keeping your apple slices vibrant and fresh!
Step‑by‑Step Instructions for Baked Apple Chips
Step 1: Preheat the Oven
Start by preheating your oven to 200 degrees Fahrenheit (95 degrees Celsius). This low temperature ensures that the apple slices dehydrate rather than cook, resulting in perfectly crispy Baked Apple Chips. While the oven warms up, you can tackle the next steps to streamline the process.
Step 2: Prepare Your Baking Sheets
Line your baking sheets with parchment paper, providing a non-stick surface for the apple slices. This will make cleanup easier and ensure your delicious Baked Apple Chips don’t stick. Having everything ready will help you assemble the chips swiftly once the apples are prepped.
Step 3: Slice the Apples
Using a mandoline or a sharp knife, carefully thinly slice the apples crosswise to about ⅛ inch thick. Aim for consistency so that all slices will bake evenly. As you slice, be sure to remove any seeds for a delightful chip experience. Set the slices aside as you prepare for the next step.
Step 4: Prevent Browning
If you choose to prevent browning, lightly brush the apple slices with a small amount of lemon juice. This step not only enhances the appearance of your Baked Apple Chips but also adds a subtle tang that complements the sweetness of the apples. Now your slices are ready for the oven!
Step 5: Arrange the Slices
Carefully arrange the apple slices in a single layer on the prepared baking sheets, ensuring they don’t overlap. This spacing allows for even baking and crisping of your Baked Apple Chips. The presentation matters too—this step ensures a delicious outcome as they turn golden-brown in the oven.
Step 6: Mix and Sprinkle
In a small mixing bowl, combine the cinnamon and granulated sugar if you’re using it. Then, sprinkle this flavorful mixture evenly over the apple slices. This blend will infuse your chips with a warm sweetness as they bake, creating delightful bites that are hard to resist.
Step 7: Bake the Chips
Place the baking sheets in the preheated oven and bake for 1 hour. Keep a close watch on the apple slices, checking occasionally to ensure they’re not browning too quickly. This initial baking will begin to dry out the apples, allowing them to start transforming into crunchy Baked Apple Chips.
Step 8: Flip for Even Crispness
After the first hour, remove the baking sheets and carefully flip each apple slice using tongs. Return the trays to the oven and continue baking for another hour, or until the slices are completely dry and crisp. The patience will pay off as you look forward to the aroma wafting through your kitchen!
Step 9: Cool the Chips
Once the baking time is complete and your Baked Apple Chips are perfectly crisp, remove them from the oven. Allow the apple chips to cool on the baking sheets for a few minutes, where they will continue to harden slightly. This step ensures the best texture for snacking.
Step 10: Store Your Treats
After cooling completely, transfer the Baked Apple Chips to an airtight container to keep them fresh and crunchy. Enjoy nibbling on these delicious snacks throughout the week, or gift them to friends and family to share the joy of homemade goodness!

Tips for the Best Baked Apple Chips
-
Choose the Right Apples: Fuji and Honeycrisp are ideal for their sweetness and crispness, ensuring your Baked Apple Chips are delectable.
-
Slice Evenly: Aim for uniform ⅛ inch slices using a mandoline or sharp knife. Even thickness guarantees all chips bake at the same rate, preventing some from burning while others remain chewy.
-
Mind the Oven Temperature: Keep that oven at 200°F (95°C) to dehydrate the apples slowly. Higher temperatures can lead to burnt edges while leaving the centers soggy.
-
Spacing is Key: Arrange apple slices in a single layer without overlap. This ensures that your chips crisp up nicely without steaming each other.
-
Cool Completely: Let your Baked Apple Chips cool on the baking sheets before storing. This cooling period helps maintain the perfect crunch—don’t skip this step!
-
Enjoy and Store Right: Keep stored in an airtight container to prolong the freshness and crunchiness of your homemade chips. Enjoy them as a snack or on top of your favorite dishes!
What to Serve with Baked Apple Chips?
Complement your crunchy treats with delicious accompaniments that enhance their delightful flavors and textures.
-
Creamy Yogurt: A dollop of Greek yogurt adds a rich, tangy contrast to the sweetness of the apple chips. Perfect for a refreshing snack!
-
Cheese Platter: Pair with a selection of cheeses like sharp cheddar or brie. The savory notes balance the sweet crunch, making it an irresistible combination.
-
Nuts and Dried Fruit Mix: Add a handful of mixed nuts and dried fruits for an energizing snack. The varying textures and flavors create a delightful medley.
-
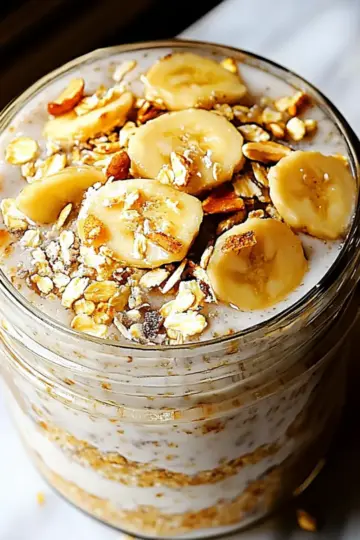
Cinnamon Oatmeal: Serve alongside a warm bowl of cinnamon oatmeal for a wholesome breakfast. The spices harmonize beautifully for a comforting start to your day.
-
Salsa Verde: A zesty salsa brings a refreshing kick that contrasts perfectly with the iffy sweetness of the apple chips. This unexpected pairing has everyone coming back for more!
-
Chai Tea: A warm cup of fragrant chai tea enhances the cinnamon flavors, creating a cozy atmosphere perfect for snacking.
-
Caramel Sauce: Drizzle with a bit of caramel for a sweet indulgence. This rich, smooth addition elevates your apple chips to a whole new level of deliciousness.
Make Ahead Options
These Baked Apple Chips are perfect for meal prep enthusiasts looking to save time in the kitchen. You can slice the apples and apply the lemon juice up to 24 hours in advance, keeping them refrigerated in an airtight container to prevent browning. When you're ready to enjoy your healthy snack, simply arrange the prepared slices on baking sheets and sprinkle with the cinnamon-sugar mixture. Bake as directed, and you'll find that your Baked Apple Chips turn out just as delicious and crispy, giving you freshly made snacks with minimal effort, perfect for those busy weeknights!
How to Store and Freeze Baked Apple Chips
Airtight Container: Store your cooled baked apple chips in an airtight container at room temperature for up to 1 week to maintain their crispness.
Fridge: If you prefer a longer shelf life, place the container in the fridge where they can last for up to 2 weeks. However, expect a slight change in texture.
Freezer: For longer storage, freeze your baked apple chips in a freezer-safe bag or container for up to 6 months. Simply thaw at room temperature before enjoying.
Reheating: To restore some crunch, reheat the baked apple chips in a warm oven (around 200°F) for about 10 minutes after thawing if necessary.
Baked Apple Chips Variations
Feel free to get creative and customize these delightful Baked Apple Chips to suit your taste!
-
Spiced Up: Add ¼ teaspoon of nutmeg for a deeper flavor profile that warms the soul. A sprinkle of nutmeg alongside cinnamon brings cozy vibes and pairs perfectly with the apples.
-
Maple Glaze: Drizzle pure maple syrup on the apple slices before baking for a sweet upgrade. The syrup caramelizes beautifully, giving a rich, autumnal sweetness that can’t be resisted.
-
Crunchy Coating: Dip the apple slices in a mixture of crushed nuts before baking for added crunch. This twist not only enhances texture but also infuses delicious nutty flavors that work wonders with the apples.
-
Coconut Flakes: Sprinkle unsweetened coconut flakes on the slices for a tropical twist. The coconut adds a delightful chewiness while beautifully complementing the sweet apple slices.
-
Salted Caramel: Use a light sprinkle of sea salt after the chips come out of the oven to mimic a salted caramel experience. The salty-sweet combination makes these apple chips irresistible.
-
Herbal Infusion: Add dried rosemary or thyme before baking for a savory twist. This unexpected herbaceous flavor brightens the sweetness of the apples, opening up a world of savory-sweet snacking.
-
Spicy Kick: Sprinkle cayenne pepper or chili flakes for a hint of heat. This variation offers a surprising burst of spice that pairs surprisingly well with the sweetness of the baked apples.
-
Cinnamon Sugar Glaze: Mix extra cinnamon and sugar to make a crispy glaze and sprinkle it on midway through baking. This results in a sweet, crisp finish that will have your tastebuds buzzing.
Enjoy experimenting with these variations and feel free to incorporate them into your perfect snack, whether you’re enjoying them by themselves or pairing them with yogurt or in salads! For more delightful homemade treats, consider trying out simple preparation tips or explore the wonders of healthier snacking to elevate your kitchen adventures.
Baked Apple Chips Recipe FAQs
How do I select the best apples for Baked Apple Chips?
Absolutely! For the best results, opt for Fuji or Honeycrisp apples. These varieties are naturally sweet and remain crisp even after baking, making them perfect for your chips. Look for apples that are firm to the touch without any bruises or dark spots.
How should I store my Baked Apple Chips?
To keep your Baked Apple Chips crispy, store them in an airtight container at room temperature for up to 1 week. If you want them to last longer, place the container in the refrigerator, which can extend their life to about 2 weeks, though they may lose some crunch.
Can I freeze Baked Apple Chips?
Yes! To freeze, place your cooled Baked Apple Chips in a freezer-safe bag or container, ensuring as much air as possible is removed. They can be stored in the freezer for up to 6 months. When you're ready to enjoy them, simply thaw at room temperature. For added crispness, you can reheat them in a warm oven at 200°F for about 10 minutes.
What if my apple chips aren’t crisp after baking?
Very! If your Baked Apple Chips aren’t crisp after the suggested baking time, it’s possible they were sliced too thick or the oven temperature was too high. To troubleshoot, simply return them to the oven, flipping each slice, and bake for an additional 15-30 minutes. Keep a close eye on them to avoid burning; the goal is a nice, dry crispness!
Are Baked Apple Chips safe for pets?
Yes, generally speaking! Baked Apple Chips are safe for dogs in moderation, as apples are healthy for them. However, avoid using any sugar or cinnamon if you’re sharing with pets. Always check for allergies before sharing any new snacks with your furry friends.
Crispy Baked Apple Chips That Make Snacking a Delight
Equipment
- Oven
- baking sheets
- parchment paper
- Mandoline or sharp knife
Ingredients
For the Chips
- 4 large Fuji or Honeycrisp apples Choose for their sweetness and crispness.
- 1 teaspoon Cinnamon Adds warm flavor.
- 1 tablespoon Granulated sugar Optional, sweeten to taste.
- 1 tablespoon Lemon juice Optional, prevents browning.
Instructions
Step‑by‑Step Instructions for Baked Apple Chips
- Preheat the oven to 200°F (95°C).
- Line baking sheets with parchment paper.
- Thinly slice the apples crosswise to about ⅛ inch thick.
- Lightly brush apple slices with lemon juice to prevent browning.
- Arrange apple slices in a single layer on baking sheets.
- Combine cinnamon and sugar, then sprinkle over apple slices.
- Bake for 1 hour, checking occasionally.
- Flip each apple slice and continue baking for another hour.
- Cool on baking sheets for a few minutes.
- Transfer to an airtight container for storage.


Leave a Reply