
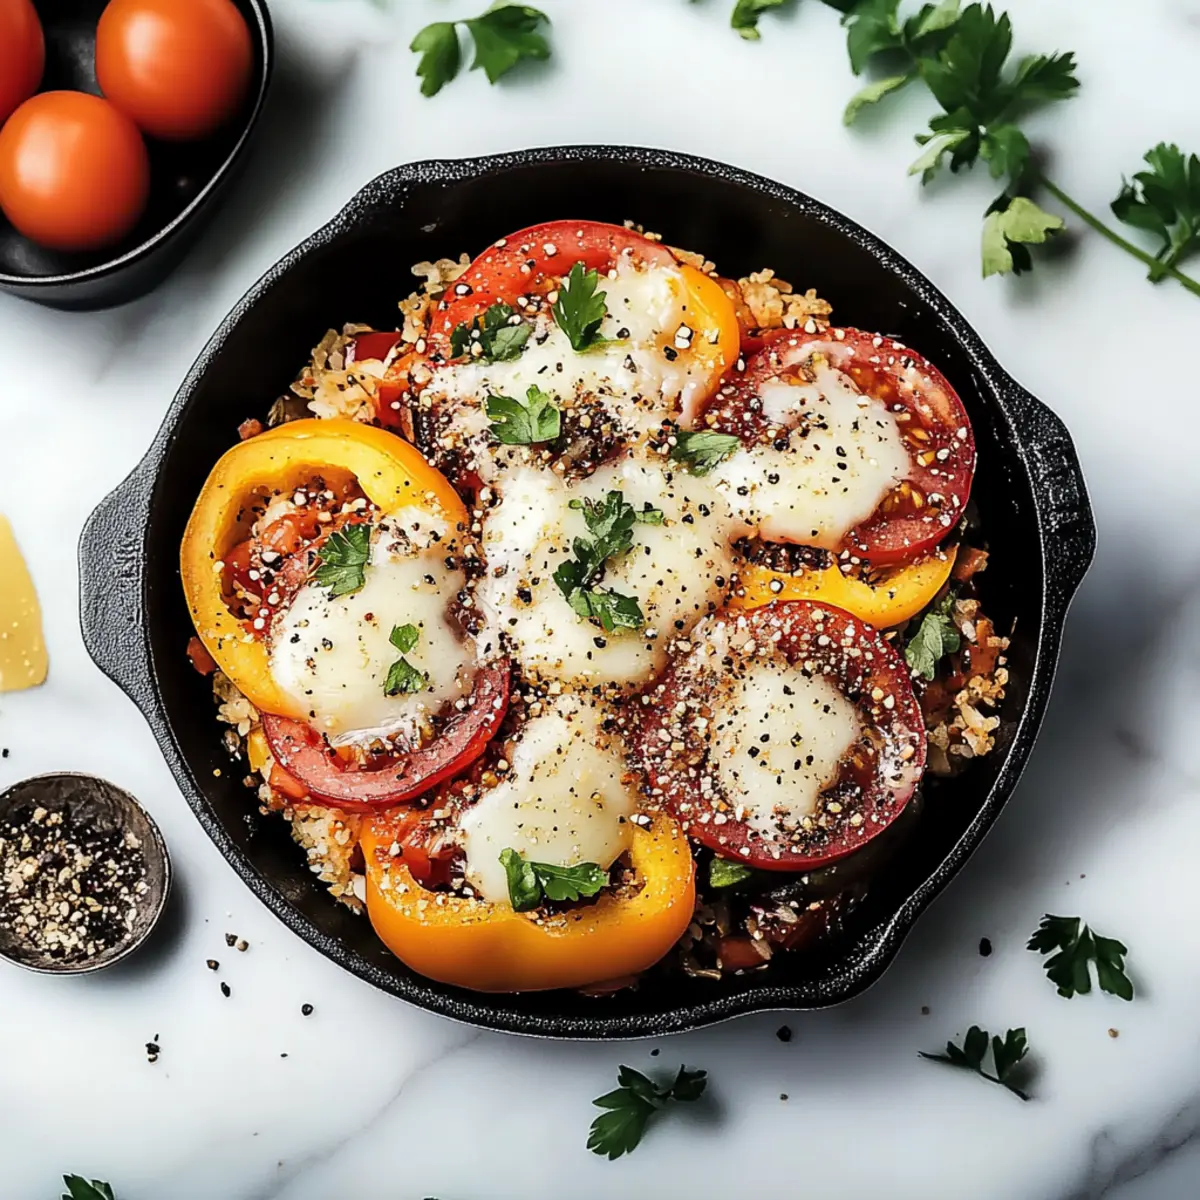
As I lifted the lid of my baking dish, an irresistible aroma wafted through the kitchen, transporting me straight back to family dinners filled with laughter and warmth. Stuffed Bell Peppers have a way of turning an ordinary night into something special, and I can’t wait to share this delightful recipe with you. This dish not only brings comfort with its vibrant colors and hearty filling but also makes for an effortless weeknight meal that even the busiest of us can whip up in just over an hour. With minimal prep time and the option to customize your fillings, these peppers are the perfect canvas for culinary creativity. Are you ready to join me in making a delicious meal that will become a staple in your home?
Why Do Stuffed Bell Peppers Delight?
Hearty Comfort: Stuffed bell peppers are the perfect comfort food, offering a warm and filling meal for any night of the week.
Flavor Explosion: Each bite bursts with rich flavors from seasoned beef, tangy tomato sauce, and gooey cheese.
Versatile Filling Options: Easily customize with your favorite ingredients, whether it's quinoa for a healthier twist or different meats to please your family.
Easy Prep and Bake: With just 20 minutes of prep time, you can pop these in the oven and kick back while they bake—perfect for busy nights!
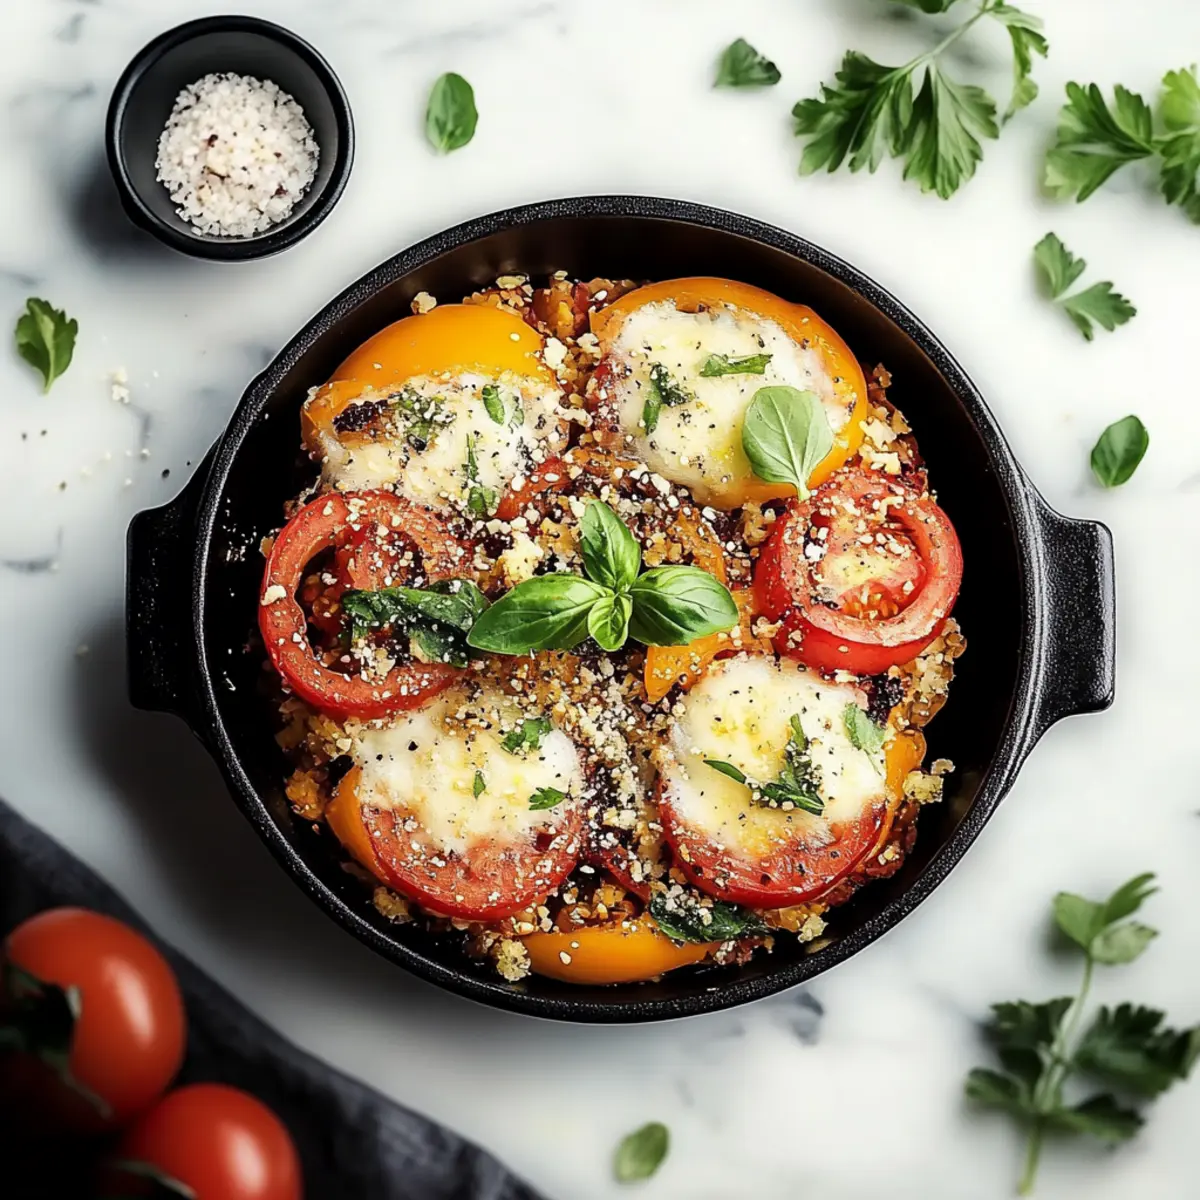
Stunning Presentation: Their vibrant colors make for an eye-catching dish, sure to impress family and friends.
Get ready to savor and enjoy, perhaps next to a refreshing salad or alongside some homemade garlic bread for a complete meal experience!
Stuffed Bell Peppers Ingredients
For the Filling
• Cooked rice – a hearty base that helps absorb delicious flavors.
• Ground beef – provides that savory richness that makes this dish so satisfying.
• Diced onion – adds a sweet, aromatic layer to the filling.
• Minced garlic – enhances the flavor profile with its aromatic charm.
• Shredded cheddar cheese – melts beautifully, creating a gooey, comforting topping.
• Tomato sauce – brings moisture and acidity, balancing the richness of the beef.
• Dried oregano – infuses a hearty herbal note, perfect for this stuffed bell pepper dish.
• Dried basil – contributes a sweet, slightly peppery flavor that complements the ingredients.
• Salt – essential for enhancing all the flavors in the filling.
• Black pepper – adds just a hint of warmth and depth.
For the Peppers
• Large bell peppers – the star of the dish, holding all that delicious filling while offering a sweet crunch.
• Olive oil – drizzled for roasting, ensuring that the peppers become perfectly tender.
• Beef broth – adds moisture and intensifies the meatiness of the filling.
Step‑by‑Step Instructions for Stuffed Bell Peppers
Step 1: Preheat the Oven
Begin by preheating your oven to 375°F (190°C). This ensures that as you prepare your stuffed bell peppers, the oven will be ready to go when it's time to bake them. A properly heated oven enhances the cooking process, resulting in perfectly tender peppers with melted cheese.
Step 2: Prepare the Bell Peppers
While the oven is heating, cut the tops off the large bell peppers and remove the seeds and membranes inside. Rinse the peppers under cold water to clean them, then set them aside. You're creating delightful edible cups to hold that savory filling!
Step 3: Sauté the Aromatics
In a large skillet over medium heat, add two tablespoons of olive oil. Once hot, toss in the diced onion, stirring occasionally for about 3-4 minutes until softened and translucent. This will add a sweet, aromatic base to your stuffed bell peppers, making them even more enticing.
Step 4: Add Garlic and Beef
Next, add the minced garlic to the skillet and cook for an additional minute, letting it release its fragrant aroma. Following this, add 1 pound of ground beef, breaking it up with a spoon. Cook for about 7-8 minutes until browned and no longer pink, ensuring a flavorful filling for your peppers.
Step 5: Combine Filling Ingredients
Once the beef is cooked through, drain any excess grease from the skillet and return it to the heat. Stir in the cooked rice, tomato sauce, beef broth, oregano, basil, salt, and black pepper. Cook the mixture for about 5 minutes, stirring occasionally, until well combined and heated through—this will be the heart of your stuffed bell peppers.
Step 6: Cool the Filling
Remove the skillet from the heat and let the beef and rice mixture cool slightly. This step is crucial for safely handling the filling and allows the flavors to meld beautifully. Make sure everything is well combined and ready to stuff those peppers!
Step 7: Stuff the Peppers
Carefully spoon the savory filling into each hollowed-out bell pepper, packing it gently to ensure they are filled completely. Each pepper should be brimming with that hearty mixture, making them look vibrant and inviting, ready for baking.
Step 8: Arrange in Baking Dish
Place the stuffed bell peppers upright in a baking dish. This not only makes for a stunning presentation but also ensures even cooking. You want those vibrant colors to shine as they roast.
Step 9: Add Cheese and Oil
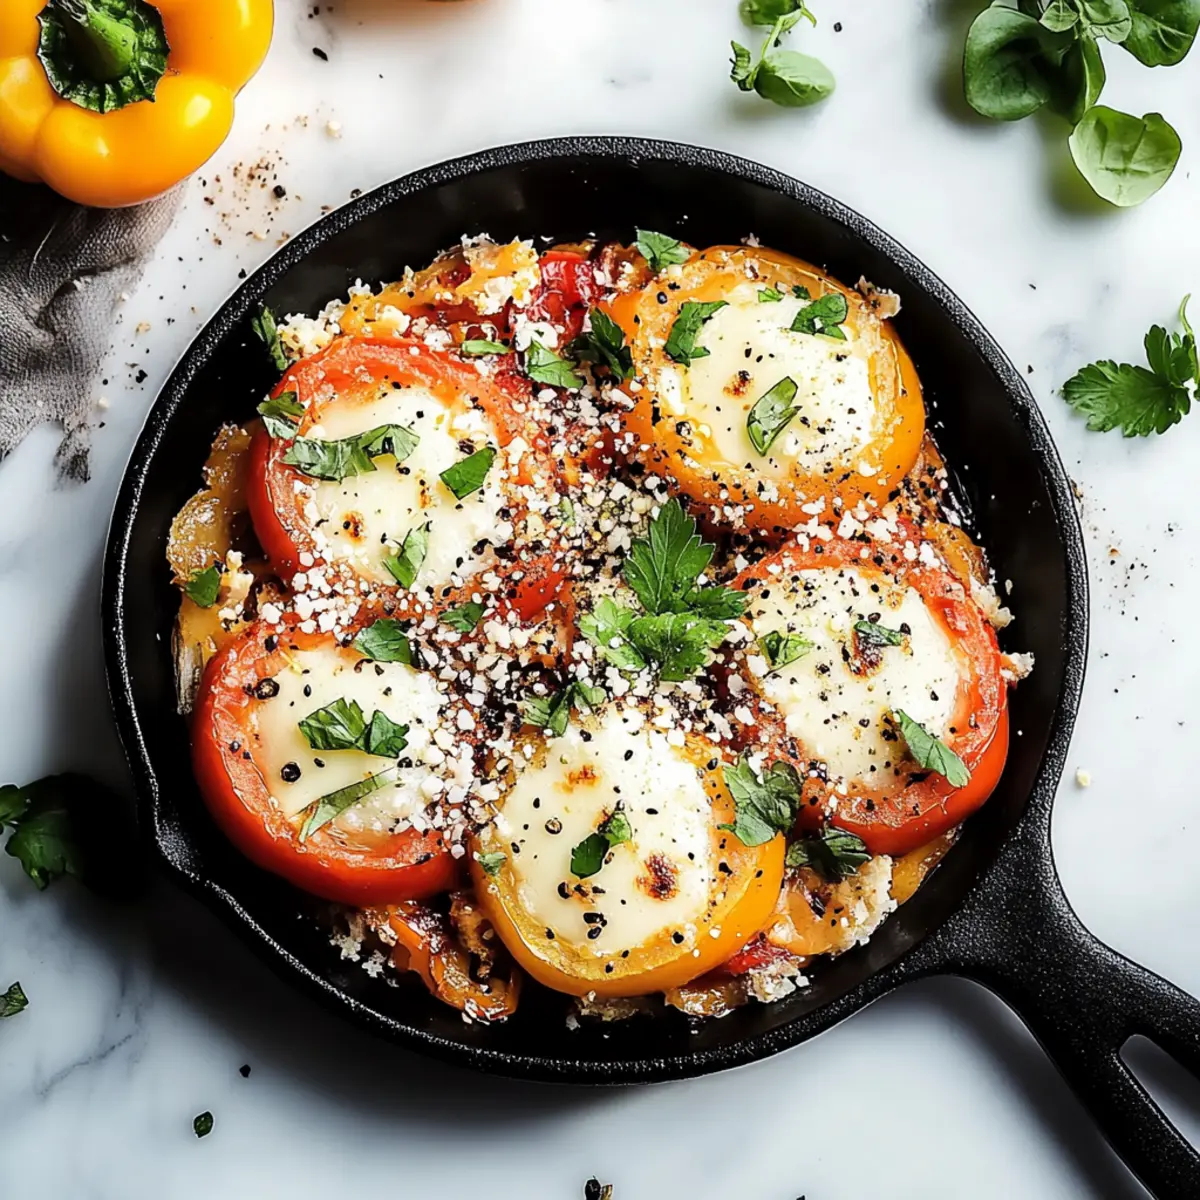
Generously sprinkle shredded cheddar cheese over the top of each stuffed pepper, allowing for a melting, gooey finish. Drizzle a bit more olive oil over the peppers to promote even roasting, ensuring they are perfectly tender by the end of baking.
Step 10: Cover and Bake
Cover the baking dish loosely with aluminum foil. Bake the stuffed bell peppers in the preheated oven for 25-30 minutes. This steaming process helps cook the peppers thoroughly while keeping the filling moist and delicious.
Step 11: Uncover and Finish Baking
After 30 minutes, carefully remove the foil and bake for an additional 10-15 minutes. You want to see the cheese bubbling and the peppers turning tender—a mouthwatering sight signifying that your stuffed bell peppers are nearly ready to serve.
Step 12: Cool and Serve
Remove the stuffed bell peppers from the oven and allow them to cool for a few minutes. This pause not only protects your hands but enhances the flavors, making for a delightful family meal you can savor together.
What to Serve with Stuffed Bell Peppers
A delightful harmony of colors and flavors that can elevate any weeknight dinner, these stuffed beauties deserve a spectacular accompaniment.
-
Fresh Garden Salad: A crisp salad with mixed greens and a zesty vinaigrette cuts through the richness, adding a refreshing contrast to the hearty peppers. Pairing the warmth of baked stuffed bell peppers with cool vegetables enriches the dining experience.
-
Garlic Bread: The fragrant, buttery goodness of homemade garlic bread is perfect for mopping up any juices left behind, making every bite even more satisfying. Each slice of toasted bread with garlic and parsley brings an irresistible crunch that complements the tender peppers.
-
Creamy Mashed Potatoes: The velvety texture of creamy mashed potatoes pairs beautifully, helping to balance the bold flavors of the stuffed peppers. Infuse with roasted garlic for an extra layer of flavor that’ll leave everyone reaching for seconds!
-
Roasted Vegetables: A medley of roasted seasonal vegetables adds vibrant colors and a slight smokiness that enhances the overall meal. The natural sweetness from caramelized veggies provides a delightful contrast, nurturing both body and soul.
-
Quinoa Salad: A light and nutty quinoa salad tossed with fresh herbs, diced cucumbers, and tangy feta adds a nutritious element while complementing the flavors of the stuffed peppers. This salad brings a wholesome burst of texture, elevating your dinner to another level.
-
Chili: A warm, hearty chili can serve as a comforting side dish that complements the flavors in the stuffed peppers. The warmth and spices in the chili can amplify the experience of digging into the savory filled peppers.
-
Wine Pairing: A medium-bodied red wine, such as a Merlot or Chianti, enriches the flavors of your meal, enhancing the savory notes of the beef and cheese while inviting a celebratory touch to your evening.
-
Chocolate Mousse: Wrap up the meal with a decadent chocolate mousse, offering a luxuriously sweet end to your dinner. The richness of chocolate harmonizes wonderfully after the savory stuffed bell peppers, leaving everyone with a satisfying smile!
How to Store and Freeze Stuffed Bell Peppers
Fridge: Store your cooked stuffed bell peppers in an airtight container for up to 3 days. Ensure they are completely cool before sealing to maintain freshness.
Freezer: To freeze stuffed bell peppers, wrap each pepper tightly in plastic wrap and then aluminum foil. They can be stored in the freezer for up to 3 months, making them ideal for meal prep.
Reheating: When ready to enjoy, thaw the peppers overnight in the fridge. Reheat in the oven at 350°F (175°C) for about 20-25 minutes or until heated through to ensure the filling stays juicy and flavors are revived.
Stuffed Bell Peppers Variations
Feel free to unleash your creativity with these delightful twists on the classic stuffed bell peppers!
-
Quinoa Twist: Substitute cooked rice with quinoa for a protein-packed, gluten-free option that adds a nutty flavor and lovely texture.
-
Veggie Delight: Replace the ground beef with lentils or mushrooms for a wholesome vegetarian version that’s just as filling and delicious.
-
Spicy Kick: Add chopped jalapeños or a dash of hot sauce to the filling for those who crave a bit of heat in their meal. The spices will dance on your tongue, transforming this dish into a sassy affair!
-
Cheese Variations: Experiment with different cheeses such as mozzarella or pepper jack for a unique flavor twist. Each choice brings its own personality, making every bite a surprise.
-
Herb Infusion: Incorporate fresh herbs like cilantro or parsley to elevate the flavor profile. Their freshness can brighten up the dish, adding layers of taste that’ll have your family asking for seconds.
-
Sweet & Savory: Mix in some raisins or dried cranberries for a sweet contrast to the savory filling. This playful touch will bring a unique complexity to the classic dish.
-
Smoky Flavor: Add smoked paprika or a sprinkle of chipotle powder for a delightful, smoky richness that adds depth and warmth. You’ll love the subtle twist it gives to your peppers!
-
Protein Boost: Swap out ground beef for ground turkey, chicken, or even tofu to diversify your protein intake without sacrificing flavor. These alternatives let you play with different textures and tastes!
Enjoy creating your own version of these lovely stuffed bell peppers, and perhaps pair them with a refreshing side salad or some homemade garlic bread for an extra treat!
Expert Tips for Stuffed Bell Peppers
-
Rice Choices: Opt for fluffy rice: Ensure your rice is cooked properly; overcooked rice can make the filling mushy and affect stuffed bell peppers' texture.
-
Flavor Infusion: Season to taste: Feel free to adjust herbs and spices; tasting as you go prevents under-seasoning, maximizing flavor in your delicious stuffed bell peppers.
-
Juiciness Secret: Use beef broth wisely: Don’t skip the beef broth, as it keeps the filling moist; too little can lead to a dry mixture.
-
Cheese Perfection: Bake uncovered last: Removing the foil during the final bake allows the cheese to bubble and brown beautifully without becoming rubbery.
-
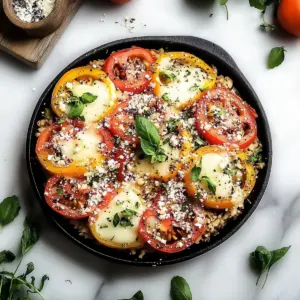
Pepper Selection: Color matters: Choose a mix of colored bell peppers for visual appeal; each color adds a subtle difference in sweetness.
-
Make-ahead Magic: Prep in advance: Stuffed bell peppers can be prepared ahead and stored in the fridge; just bake when you're ready for a hot, fresh meal!
Make Ahead Options
These Stuffed Bell Peppers are perfect for meal prep and can save you time during busy weeks! You can prepare the filling up to 3 days in advance by cooking the rice, browning the ground beef with onions and garlic, and mixing in the remaining ingredients. Once the filling is cooled, store it in an airtight container in the refrigerator. If you want to go a step further, you can also stuff the bell peppers ahead of time and refrigerate them for up to 24 hours. When you're ready to serve, simply bake them straight from the fridge, adding an extra 5-10 minutes to the baking time for a satisfying, home-cooked meal that tastes just as delicious!
Stuffed Bell Peppers Recipe FAQs
What kind of bell peppers should I use for stuffing?
I recommend using large bell peppers for stuffing, as they hold the filling beautifully. Red, yellow, and orange varieties are sweeter, while green ones offer a more savory taste. Mixing colors also adds a vibrant touch to your meal!
How should I store leftover stuffed bell peppers?
Store your cooked stuffed bell peppers in an airtight container in the refrigerator for up to 3 days. Make sure they are completely cool before sealing them to maintain their freshness and prevent sogginess.
Can I freeze stuffed bell peppers?
Absolutely! To freeze, wrap each stuffed bell pepper tightly in plastic wrap, then cover them with aluminum foil before placing them in a freezer-safe bag. They can be stored this way for up to 3 months. When you're ready to enjoy, thaw them in the refrigerator overnight.
What if my filling is too dry?
If you find the filling a bit dry, add a splash more beef broth or tomato sauce to moisten it. Incorporating a little extra cheese also helps enhance moisture and adds flavor. If you prefer a bit of a kick, consider mixing in some diced tomatoes or jalapeños for a zestier filling!
Are stuffed bell peppers suitable for a gluten-free diet?
Yes, stuffed bell peppers can easily be made gluten-free! Just ensure that the products you use, such as sauces or seasonings, do not contain gluten. You can also substitute traditional rice for quinoa or cauliflower rice for a healthy twist.
How can I customize my stuffed bell peppers?
There are endless possibilities! You can substitute ground beef with ground turkey, chicken, or even beans for a vegetarian option. Feel free to add vegetables like corn, zucchini, or spinach to the filling for added nutrition and flavor. Just remember to cook any raw ingredients beforehand to ensure everything is perfectly tender!
Delicious Stuffed Bell Peppers: A Hearty Dinner Delight
Equipment
- baking dish
- skillet
- Cutting Board
- Knife
Ingredients
For the Filling
- 1 cup Cooked rice a hearty base that helps absorb delicious flavors.
- 1 pound Ground beef provides that savory richness that makes this dish so satisfying.
- 1 medium Diced onion adds a sweet, aromatic layer to the filling.
- 2 cloves Minced garlic enhances the flavor profile with its aromatic charm.
- 1 cup Shredded cheddar cheese melts beautifully, creating a gooey, comforting topping.
- 1 cup Tomato sauce brings moisture and acidity, balancing the richness of the beef.
- 1 teaspoon Dried oregano infuses a hearty herbal note, perfect for this stuffed bell pepper dish.
- 1 teaspoon Dried basil contributes a sweet, slightly peppery flavor that complements the ingredients.
- 1 teaspoon Salt essential for enhancing all the flavors in the filling.
- 1 teaspoon Black pepper adds just a hint of warmth and depth.
For the Peppers
- 4 large Large bell peppers the star of the dish, holding all that delicious filling.
- 2 tablespoons Olive oil drizzled for roasting, ensuring that the peppers become perfectly tender.
- 1 cup Beef broth adds moisture and intensifies the meatiness of the filling.
Instructions
Step‑by‑Step Instructions
- Preheat the oven to 375°F (190°C).
- Cut the tops off the large bell peppers and remove the seeds and membranes inside. Rinse under cold water.
- In a large skillet, add two tablespoons of olive oil over medium heat. Sauté the diced onion for 3-4 minutes until softened.
- Add the minced garlic and cook for an additional minute. Then, add 1 pound of ground beef and cook for about 7-8 minutes until browned.
- Stir in the cooked rice, tomato sauce, beef broth, oregano, basil, salt, and black pepper. Cook for 5 minutes until well combined.
- Remove from heat and let the mixture cool slightly.
- Stuff each bell pepper with the filling, packing it gently.
- Place the stuffed bell peppers upright in a baking dish.
- Sprinkle shredded cheddar cheese over the top and drizzle with olive oil.
- Cover loosely with aluminum foil and bake for 25-30 minutes.
- Remove the foil and bake for an additional 10-15 minutes until cheese is bubbling.
- Let cool for a few minutes before serving.
Leave a Reply