
As I pulled the tray of vibrant treats from the oven, a wave of nostalgia swept over me. These Ruler Rice Krispies bars take me back to the carefree days of childhood, where simple sweets brought joy during long afternoons. Not only do these colorful snacks resonate with memories, but they also shine as a quick and whimsical dessert that everyone will adore. With just 25 minutes of prep time, you can whip up a batch that’s perfect for parties, school lunches, or even a fun family activity. Plus, aside from being a visual delight, they are a delightful way to involve kids in the kitchen while making new memories together. So, are you ready to create a snack that’s both playful and delicious? Let's dive into the recipe!
Why are Ruler Rice Krispies a must-try?
Nostalgic Fun: Channel your inner child with these playful treats that bring back delightful memories.
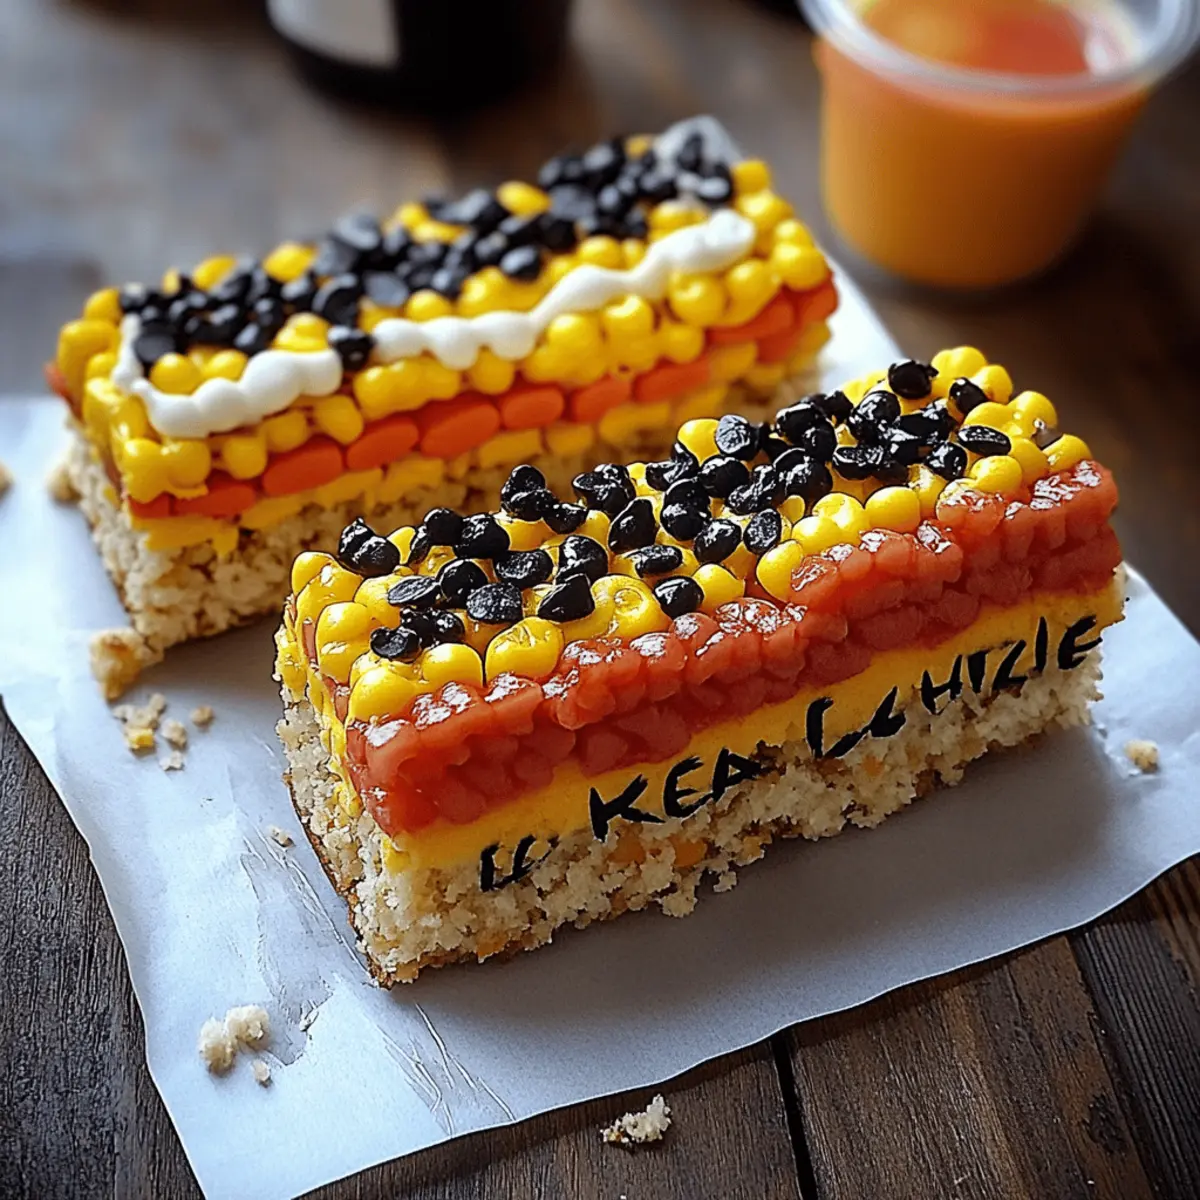
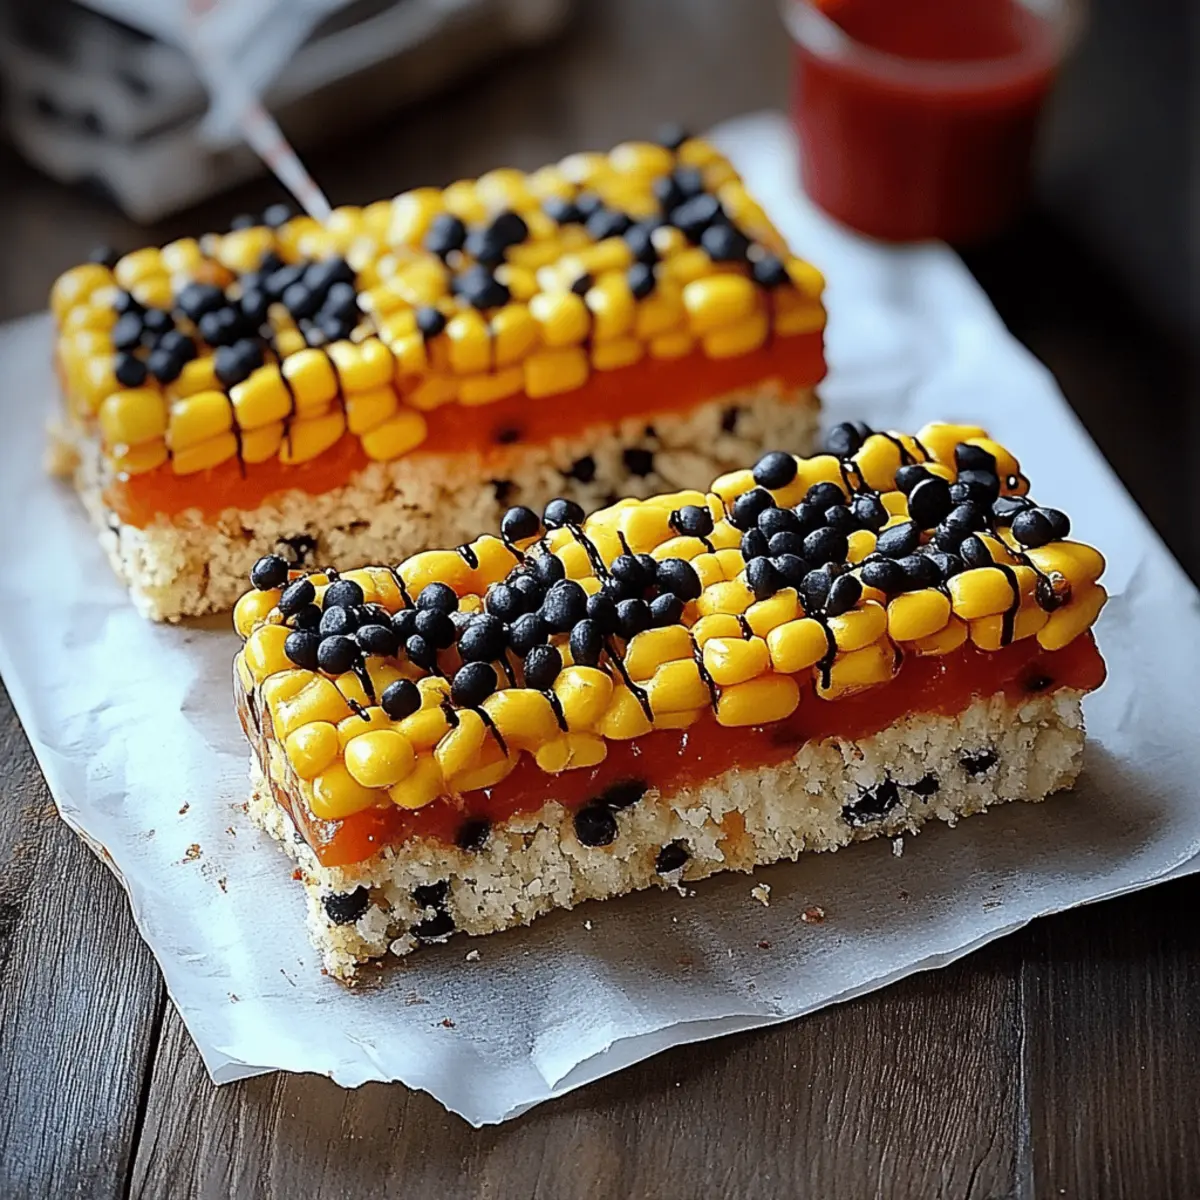
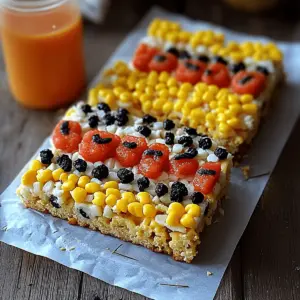
Vibrant Colors: The red, yellow, and plain layers create an eye-catching presentation that’s perfect for parties.
Easy to Make: With just 25 minutes from start to finish, you’ll have a homemade treat that impresses.
Versatile Design: Get creative with the ruler markings or embellishments, making each batch uniquely yours.
Crowd-Pleasing Appeal: Ideal for both kids and adults, these bars are bound to be a hit at any gathering!
Ruler Rice Krispies Ingredients
For the Base
• Rice Krispies cereal – gives that crunchy texture that everyone loves!
• Mini marshmallows – the key to that ooey-gooey sweetness.
• Butter – adds richness and helps the marshmallows melt beautifully.
For the Color
• Red gel food coloring – brighten up the bottom layer for a bold look.
• Yellow gel food coloring – adds a cheerful sunshiny layer!
• Black gel food coloring – perfect for adding depth and detail.
For the Decoration
• White candy melts – create a shiny, metallic edge for an authentic ruler look.
• Chocolate chips (or brown candy melts) – pipe on realistic markings with a rich chocolatey flavor.
• Black decorating gel or black edible marker – for detailing your ruler works of art!
For Assembly
• Non-stick cooking spray – prevents sticking and makes clean-up a breeze.
• Parchment paper – helps you lift the treats out effortlessly for cutting.
These Ruler Rice Krispies are not just a treat, but a creative way to bring a smile and flavor to any occasion!
Step‑by‑Step Instructions for Ruler Rice Krispies
Step 1: Prepare the Baking Dish
Start by preheating your kitchen to get in the mood for these fun Ruler Rice Krispies. Line a 9×13 inch baking dish with parchment paper, ensuring it hangs over the edges for easy removal later. Then, generously spray the parchment with non-stick cooking spray to prevent any sticky mishaps.
Step 2: Melt the Butter and Marshmallows
In a large saucepan, place 3 tablespoons of butter over low heat, letting it melt gently. Once melted, add the entire 10 oz bag of mini marshmallows and stir continuously for about 5-7 minutes. Keep stirring until the mixture is completely smooth and glossy, resembling liquid silk ready for your Rice Krispies.
Step 3: Combine Rice Krispies with Marshmallow Mixture
When the marshmallow mix is smooth, remove the saucepan from heat and quickly add the 6 cups of Rice Krispies cereal. Stir with a spatula for about 2-3 minutes, ensuring every piece of cereal is coated in the marshmallow mixture. This will create that beloved sticky texture that makes Ruler Rice Krispies so delicious.
Step 4: Divide the Mixture
Carefully turn the mixture out onto a clean surface or a large bowl. Divide it into three equal portions: one for the red layer, one for yellow, and one plain. This will allow you to create those vibrant layers that make your Ruler Rice Krispies visually appealing and fun for everyone.
Step 5: Add Food Coloring
In one portion, add a generous amount of yellow gel food coloring and mix until fully incorporated. In the second portion, add red gel food coloring and stir until the color is uniform. Leave the last portion plain, allowing for a classic Ruler Rice Krispies look atop your colorful layers.
Step 6: Press the Mixtures into the Dish
Begin layering the colored mixtures in the prepared baking dish. Start by pressing the red mixture evenly into the bottom third of the dish using a spatula. Next, add the yellow mixture to the center third and press down firm but gentle. Finally, layer the plain mixture on top, ensuring an even and smooth finish. Let the layers cool completely, about 30 minutes.
Step 7: Cut into Ruler Bars
Once your layered Ruler Rice Krispies have set, gently lift them out of the dish using the parchment paper edges. Place on a cutting board and, using a sharp knife, cut them into long rectangle bars that mimic the shape of a ruler. Aim for 12 bars to ensure they’re perfect for sharing!
Step 8: Melt the Candy and Chocolate
In microwave-safe bowls, separately melt ½ cup of white candy melts and ½ cup of chocolate chips for about 30-45 seconds. Stir them every 15 seconds to avoid burning. These melted toppings will be used to create the markings and metallic edge on your vibrant Ruler Rice Krispies.
Step 9: Decorate the Ruler Rice Krispies
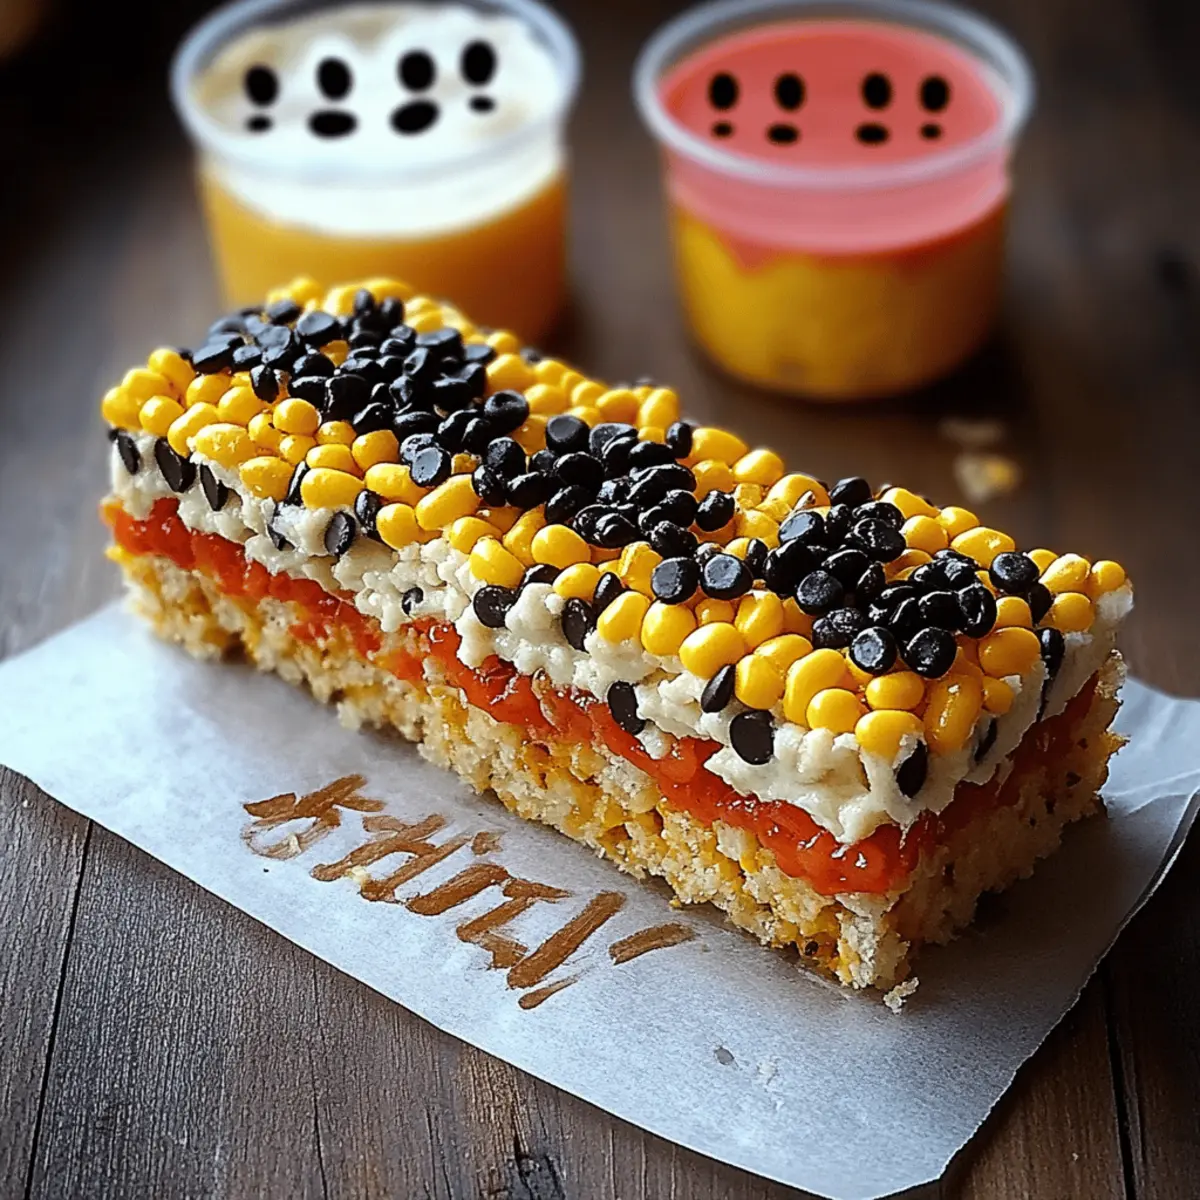
Using a piping bag or a spoon, pipe chocolate markings onto each Rice Krispie treat to represent the ruler's measurements. Then, with the melted white candy melts, create a “metal edge” along one side of each bar. This step is where your creativity can shine, making each ruler unique!
Step 10: Finishing Touches
Finally, embellish your creations by adding numbers and small lines with black decorating gel or a black edible marker. This attention to detail will make the Ruler Rice Krispies pop! Allow the decorations to fully set before serving your delightful treats or wrapping them up for later enjoyment.
Make Ahead Options
These Ruler Rice Krispies bars are perfect for meal prep enthusiasts! You can prepare the layered cereal mixture up to 24 hours in advance. Simply follow the steps through pressing the colored mixtures into the baking dish, and then let them cool completely. Once set, cut the bars into their ruler shapes, but wait to decorate them until just before serving to keep the colorful designs vibrant and appealing. Store the cut pieces in an airtight container at room temperature to maintain their texture and taste. When it’s time to serve, simply melt the candy melts and chocolate, decorate, and enjoy this whimsical snack without the hassle of starting from scratch!
What to Serve with Ruler Rice Krispies?
These colorful and playful treats are a delightful addition to any gathering, offering both nostalgia and sweetness.
-
Fresh Fruit Salad: A medley of vibrant fruits adds a refreshing contrast to the sweetness, making it a perfect palate cleanser.
-
Chocolate Milkshake: Creamy and rich, this shake echoes the chocolate in the Ruler Rice Krispies, creating a fun, childhood-inspired combination.
-
Vanilla Ice Cream: A scoop of velvety vanilla ice cream enhances the overall sweetness while adding a comforting creaminess to each bite.
-
Popcorn Bar: Serve a variety of popcorn flavors alongside the treats for a fun, crunchy contrast in textures that guests will love.
-
Nutty Trail Mix: The crunch of nuts and dried fruits complements the chewy texture of the Ruler Rice Krispies, creating a satisfying snack mix.
-
Lemonade: This tangy, refreshing drink brightens the experience and balances the sweetness, making for a perfect pairing.
-
Caramel Dipping Sauce: A drizzle of rich caramel can elevate the flavor experience, allowing guests to dip and enjoy an extra touch of sweetness.
Ruler Rice Krispies Variations
Feel free to let your creativity shine by customizing your Ruler Rice Krispies with these fun twists!
- Gluten-Free: Substitute the Rice Krispies with gluten-free cereal for a safe, tasty treat everyone can enjoy.
- Chocolatey Delight: Mix in cocoa powder with the Rice Krispies to create a rich chocolate version that’s irresistible.
- Nutty Crunch: Add chopped nuts like pecans or almonds into the marshmallow mixture for an added crunch and protein boost.
- Fruit Flavored: Use flavored gelatin instead of food coloring to tantalize taste buds with different fruity flavors in each layer.
- Sprinkles Galore: Top your decorations with colorful sprinkles before the chocolate sets for an extra festive touch that appeals to kids.
- Spicy Twist: Add a pinch of cayenne pepper to the marshmallow mixture for an unexpected kick, balancing sweet and spicy perfectly.
- Plant-Based: Swap the butter for coconut oil and use vegan marshmallows to create a plant-based version that’s still delicious.
- Chewy Version: Instead of pressing the layers down firmly, leave them slightly puffed for a chewier texture, giving a delightful twist to every bite!
These creative variations allow you to make each batch uniquely yours! You can play around with flavors and textures, possibly even pairing your Ruler Rice Krispies with a delightful milkshake or a platter of fresh fruit skewers to elevate snack time. Enjoy experimenting!
How to Store and Freeze Ruler Rice Krispies
Room Temperature: Keep Ruler Rice Krispies in an airtight container at room temperature for up to 3 days to maintain their delightful texture and flavor.
Fridge: If you prefer a firmer treat, store them in the fridge for up to a week. Just be sure to wrap them tightly to prevent drying out.
Freezer: For longer storage, freeze Ruler Rice Krispies for up to 3 months. Layer them between parchment paper in an airtight container to avoid sticking.
Reheating: If frozen, thaw in the fridge overnight, then bring to room temperature before serving to enjoy their original gooeyness!
Helpful Tricks for Ruler Rice Krispies
Perfect Layering: Ensure even distribution of each color mixture by pressing down firmly and evenly to create distinct layers that shine!
Temperature Matters: Use low heat for melting marshmallows to avoid burning; stirring continuously ensures a smooth blend perfect for coating Rice Krispies.
Avoid Sticking: Don’t skip the non-stick spray! It’s essential to prevent your Ruler Rice Krispies from clinging to the pan and making cleanup difficult.
Decorating Precision: For neat markings, use a piping bag with a small tip for chocolate; it gives your treats a professional finish without the mess.
Wait to Cool: Allow the layered mixture to cool completely before cutting; this step ensures clean edges and prevents crumbling when you slice your Ruler Rice Krispies.
Ruler Rice Krispies Recipe FAQs
How do I choose the best ingredients for Ruler Rice Krispies?
Absolutely! For the best flavor and texture, select fresh mini marshmallows without any dark spots or hard pieces. The Rice Krispies should be crunchy and unopened for maximum freshness, while gel food coloring should be vibrant and not expired for the best visual appeal.
What’s the best way to store Ruler Rice Krispies, and how long do they last?
You can keep Ruler Rice Krispies in an airtight container at room temperature for up to 3 days. If you want to extend their life, they can be stored in the fridge for up to a week, but make sure to wrap them tightly to maintain their delightful texture.
Can I freeze Ruler Rice Krispies, and how should I do it?
Yes, you can freeze Ruler Rice Krispies for up to 3 months! To freeze, layer the bars between pieces of parchment paper in an airtight container, ensuring each layer is separated. This method will prevent them from sticking together, allowing you to enjoy a tasty treat whenever you want.
What should I do if my Rice Krispies are too sticky or crumbling?
If your Ruler Rice Krispies are too sticky, it might be because of excess moisture in the marshmallows. To troubleshoot, try adding a bit more Rice Krispies to absorb some moisture. If they’re crumbling when cutting, ensure the layers have cooled completely before slicing. A sharp knife can also help achieve cleaner cuts!
Are Ruler Rice Krispies safe for my pets or those with allergies?
Be cautious, as Ruler Rice Krispies contain butter, marshmallows, and chocolate, which can be harmful to pets like dogs and cats. Always keep these treats out of reach. Additionally, check ingredient labels for allergens, as some brands may contain gluten, dairy, or soy. If you need an alternative for dietary considerations, consider using allergy-friendly marshmallows and cereals.
Ruler Rice Krispies: Fun Treats for Creative Snacking
Equipment
- 9×13-inch baking dish
- large saucepan
- spatula
- Piping bag
- sharp knife
Ingredients
For the Base
- 6 cups Rice Krispies cereal gives that crunchy texture that everyone loves!
- 10 oz Mini marshmallows the key to that ooey-gooey sweetness
- 3 tablespoons Butter adds richness and helps the marshmallows melt beautifully
For the Color
- 1 bottle Red gel food coloring brighten up the bottom layer for a bold look
- 1 bottle Yellow gel food coloring adds a cheerful sunshiny layer
- 1 bottle Black gel food coloring perfect for adding depth and detail
For the Decoration
- ½ cup White candy melts create a shiny, metallic edge for an authentic ruler look
- ½ cup Chocolate chips (or brown candy melts) pipe on realistic markings with a rich chocolatey flavor
- 1 tube Black decorating gel or black edible marker for detailing your ruler works of art
For Assembly
- 1 can Non-stick cooking spray prevents sticking and makes clean-up a breeze
- 1 sheet Parchment paper helps you lift the treats out effortlessly for cutting
Instructions
Step-by-Step Instructions for Ruler Rice Krispies
- Step 1: Prepare the Baking Dish - Preheat your kitchen and line a 9×13 inch baking dish with parchment paper, sprayed with non-stick cooking spray.
- Step 2: Melt the Butter and Marshmallows - In a large saucepan, melt 3 tablespoons of butter over low heat then add the mini marshmallows and stir until smooth.
- Step 3: Combine Rice Krispies with Marshmallow Mixture - Remove from heat and add 6 cups of Rice Krispies cereal; stir to coat.
- Step 4: Divide the Mixture - Turn the mixture onto a surface and divide into three equal portions for red, yellow, and plain layers.
- Step 5: Add Food Coloring - Mix yellow gel food coloring into one portion, red into another, and leave the last portion plain.
- Step 6: Press the Mixtures into the Dish - Layer the colored mixtures in the dish, starting with red at the bottom, followed by yellow, then plain.
- Step 7: Cut into Ruler Bars - Once set, lift out and cut the layered treats into 12 ruler-shaped bars.
- Step 8: Melt the Candy and Chocolate - Melt white candy melts and chocolate chips in separate bowls.
- Step 9: Decorate the Ruler Rice Krispies - Pipe chocolate markings onto the bars and add a white metallic edge.
- Step 10: Finishing Touches - Use black gel to add numbers and lines for detail, then let sit until set.


Leave a Reply