
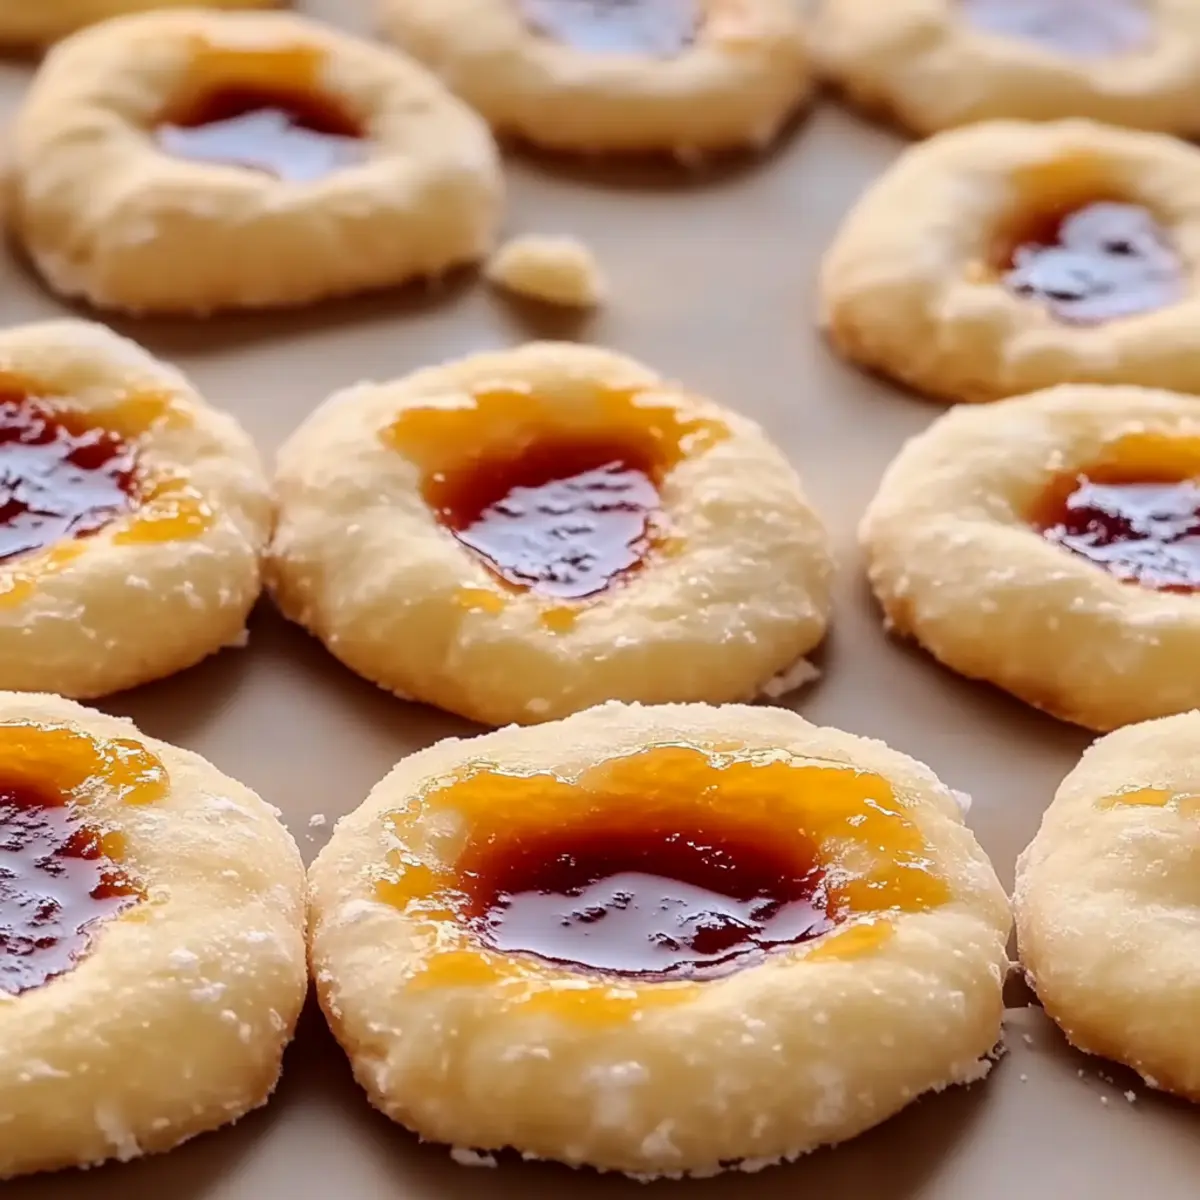
As I stood in my kitchen, the aroma of freshly baked cookies swept me back to childhood afternoons filled with laughter and sticky hands. That's when I decided it was time to whip up a batch of Classic Thumbprint Cookies. This delightful treat not only brings the nostalgia of home baking but also embraces an inviting simplicity that's perfect for any occasion. With just a little prep time and some chillin' in the fridge, you'll create a crowd-pleaser that's sure to impress friends and family. Plus, the versatility of fillings—whether you choose sweet fruit preserves or decadent chocolate ganache—lets you tailor each cookie to your heart’s desire. Who can resist a cookie that’s both fun to make and even more pleasurable to eat? Are you ready to embark on this delicious journey with me?
Why Are Thumbprint Cookies So Irresistible?
**Nostalgic **: These cookies evoke the warmth of homemade treats, perfect for reminiscing on cozy childhood afternoons.
Simple Process: With just a handful of ingredients and straightforward steps, anyone can master this delightful recipe.
Versatile Fillings: Customize with your favorite jams or chocolate—sweet options for every palate!
Time-Saving: Ready in just 30 minutes, including chilling time, these cookies are a breeze for last-minute gatherings.
Crowd-Pleasing: Whether at a party or a family gathering, these mouthwatering bites will disappear in no time! Embrace the joy of baking with this easy dessert that will surely become a favorite in your home.
Thumbprint Cookies Ingredients
For the Dough
• Unsalted butter – 1 cup, softened; adds richness and a creamy texture.
• Granulated sugar – 1 cup; sweetens the dough and helps it to become light and fluffy.
• Egg yolk – 1 large; contributes to the tenderness and richness of the cookies.
• Vanilla extract – 1 teaspoon; elevates the flavor with its warm, aromatic notes.
• All-purpose flour – 2 ¼ cups; provides the structure needed for these classic Thumbprint Cookies.
• Salt – ½ teaspoon; enhances the overall flavor of the cookies.
For the Filling
• Fruit preserves or chocolate ganache – ½ cup; either option creates a delicious surprise in the center of each cookie!
Optional Topping
• Powdered sugar – for dusting; adds a touch of sweetness and elegance to your finished cookies.
Step‑by‑Step Instructions for Thumbprint Cookies
Step 1: Cream Butter and Sugar
In a large mixing bowl, use a hand mixer to cream together 1 cup of softened unsalted butter and 1 cup of granulated sugar. Beat on medium speed until the mixture is light and fluffy, about 3-4 minutes. This crucial step will ensure that your Thumbprint Cookies have a tender texture that melts in your mouth.
Step 2: Incorporate Egg and Vanilla
Next, add 1 large egg yolk and 1 teaspoon of vanilla extract to the creamed mixture. Continue to mix on low speed until well combined, scraping down the sides of the bowl as needed to incorporate all ingredients. The warm aroma of vanilla will fill your kitchen, creating excitement for these delightful cookies.
Step 3: Combine Flour and Salt
In a separate bowl, whisk together 2 ¼ cups of all-purpose flour and ½ teaspoon of salt. This ensures that the salt is evenly distributed throughout the flour. Gradually add the dry ingredients to the butter mixture, stirring gently with a spatula until a soft dough forms. You'll see the dough coming together into a cohesive ball.
Step 4: Chill the Dough
Cover the dough with plastic wrap and refrigerate for at least 30 minutes. Chilling the dough helps to firm it up, making it easier to shape into the thumbprint cookie balls later. As you wait, preheat your oven to 350°F (175°C) so that it’s ready for baking once the dough is chilled.
Step 5: Shape the Cookies
Once the dough has chilled, scoop tablespoon-sized portions and roll them into balls. Place each ball on a lined baking sheet, spacing them about 2 inches apart to allow for spreading. Visualize the delicious Thumbprint Cookies on your tray, ready for the next step in their creation.
Step 6: Create Indentations
Using your thumb or the back of a spoon, gently press down on each cookie ball to create a small indentation. This is the perfect spot for your filling! Take care not to press too hard; you want enough of an impression to hold the fruit preserves or chocolate ganache later.
Step 7: Add the Filling
Spoon a small amount of fruit preserves or chocolate ganache into each indentation, filling them generously but not overflowing. The choice of filling will bring a delightful surprise in every bite of your Thumbprint Cookies, so feel free to experiment with your favorites!
Step 8: Bake the Cookies
Place the baking sheet in the preheated oven and bake the cookies for 12-15 minutes. Keep an eye on them; the edges should turn lightly golden when they're ready. The tempting aroma of baked cookies will fill your kitchen, making it hard to wait for them to cool!
Step 9: Cool and Dust
Once baked, allow the Thumbprint Cookies to cool on the baking sheet for a few minutes before transferring them to a wire rack. Dust them with powdered sugar if desired, adding a touch of sweetness and elegance. These cookies will soon be ready to share and enjoyed by everyone!
Make Ahead Options
These Classic Thumbprint Cookies are perfect for busy home cooks looking to save time without sacrificing flavor! You can prepare the dough up to 24 hours in advance by following the first four steps and then covering it tightly with plastic wrap before refrigerating. If you'd like, you can also scoop and shape the cookie balls ahead of time—simply freeze them for up to 3 months. When you're ready to bake, let them thaw in the fridge overnight before creating the indentations, filling them with preserves or ganache, and baking as instructed. This approach ensures that your cookies will be just as delicious and fresh, making your baking experience smooth and enjoyable!
What to Serve with Classic Thumbprint Cookies
Indulge in a sweet symphony of flavors and textures that perfectly complement these melt-in-your-mouth cookies.
-
Rich Hot Chocolate: A warm cup of rich hot chocolate creates a cozy pairing, enhancing the sweetness of your cookies.
-
Vanilla Ice Cream: A scoop of vanilla ice cream adds creamy smoothness, balancing the cookies' texture and bringing a delightful chill.
-
Fruit Salad: A vibrant fruit salad with seasonal berries brings a refreshing contrast to the sweetness, making each bite feel light and bright.
-
Coffee or Espresso: A strong brew of coffee or espresso cuts through the cookies' sweetness while elevating their flavors, perfect for a comforting dessert moment.
-
Cheese Platter: A selection of soft cheeses, like brie or goat cheese, provides a savory counterpoint to your sweet thumbprints, creating an enticing balance on the table.
-
Chocolate Dipping Sauce: For the chocolate lovers, serving a warm chocolate dipping sauce amplifies the indulgence and invites everyone to enjoy a delightful twist.
-
Milk or Nut Milk: A classic glass of cold milk or a nut milk alternative quenches your thirst while complementing the cookies' flavor in a nostalgic way.
-
Nutty Granola Parfait: Layering nutty granola, yogurt, and fresh fruit brings a textural delight that makes an elegant, bite-sized side to your cookies.
Thumbprint Cookies Variations
Feel free to get creative with your Thumbprint Cookies; customizing them can elevate your baking experience!
- Gluten-Free: Substitute all-purpose flour with a gluten-free blend for a delicious alternative that everyone can enjoy.
- Nutty Delight: Add chopped nuts like almonds or walnuts to the dough for a satisfying crunchy texture that complements the sweetness.
- Citrus Zest: Stir in some lemon or orange zest to the dough for a refreshing citrus twist that brightens up your cookies.
- Spicy Kick: Mix in a pinch of cinnamon or nutmeg to the dough for a warm, cozy flavor that pairs perfectly with any filling.
- Vegan-Friendly: Replace the egg yolk with flaxseed meal mixed with warm water and use dairy-free butter for a plant-based version.
- Chili Chocolate: Add a sprinkle of cayenne pepper to the chocolate ganache for a fiery surprise that will delight adventurous taste buds.
- Caramel Surprise: Swap jam or chocolate for a drizzle of caramel in the middle, creating a sweet, gooey center.
- Mini Thumbprints: Make smaller versions of these cookies for bite-sized treats that are perfect for parties or a sweet snack!
These variations let you explore new flavors while keeping the whimsical charm of the original recipe. For a pop of fun, consider pairing them with a warm cup of tea or some classic hot chocolate for the ultimate indulgent treat!
Tips for the Best Thumbprint Cookies
Chill the Dough: Always chill your dough for at least 30 minutes; this prevents the cookies from spreading too much while baking.
Don’t Overfill: When adding the filling, avoid overfilling the indents; a small spoonful is enough for a delightful surprise without spilling.
Watch the Baking Time: Keep an eye on your cookies during the final baking stages; they should be lightly golden at the edges for the perfect texture.
Use a Measuring Spoon: For uniformity, use a tablespoon to measure out cookie dough portions; this ensures even baking and a beautiful presentation.
Experiment with Flavors: Feel free to mix things up with different fruit preserves or chocolate ganache; personalizing your Thumbprint Cookies makes them uniquely yours!
How to Store and Freeze Thumbprint Cookies
Room Temperature: Store your thumbprint cookies in an airtight container at room temperature for up to 3 days to maintain freshness and flavor.
Fridge: If you prefer a longer storage option, keep the cookies in the fridge for up to 1 week. Just be sure to seal them well to prevent them from drying out.
Freezer: For extended storage, freeze the cookies in a single layer on a baking sheet, then transfer to an airtight freezer bag. They can last up to 3 months in the freezer!
Reheating: To enjoy warm cookies, reheat from frozen in the oven at 350°F (175°C) for about 5-10 minutes, or until warmed through. Enjoy the delightful taste of freshly baked thumbprint cookies!
Classic Thumbprint Cookies Recipe FAQs
How do I choose the best fruit preserves for my Thumbprint Cookies?
Absolutely! When selecting fruit preserves, look for ones that have a vibrant color and a glossy finish. Check the label for real fruit content; higher fruit content means better flavor. Avoid preserves that have dark spots all over, as this indicates spoilage. Some popular choices include raspberry, apricot, or strawberry for a sweet and tangy contrast to the buttery cookie.
How should I store my Thumbprint Cookies to keep them fresh?
The best way to store your thumbprint cookies is in an airtight container at room temperature for up to 3 days. If you prefer a longer storage method, they can last up to 1 week in the refrigerator, just make sure they're well-sealed to prevent drying out. If you're looking to save them for later, follow the freezing instructions below!
Can I freeze Thumbprint Cookies, and how should I do it?
Yes, you can! To freeze your thumbprint cookies, first place them in a single layer on a baking sheet to ensure they don’t stick together. Freeze for about 2 hours, then transfer them to an airtight freezer bag. They can be frozen for up to 3 months. When you’re ready to enjoy, simply reheat them from frozen in the oven at 350°F (175°C) for about 5-10 minutes until warmed through.
What can I do if my dough is too sticky?
If you find your dough is too sticky to handle, don't worry! Simply add a tablespoon of flour at a time while mixing until the dough firms up and is manageable. Remember, chilling the dough helps a lot too, so make sure to adhere to the chilling time of at least 30 minutes. This will make it easier to roll and shape into balls for your delightful thumbprint cookies!
Are these cookies safe for pets or those with allergies?
It’s essential to be cautious! Thumbprint cookies contain ingredients like butter, sugar, and egg yolks, which are not safe for pets (especially dogs) to consume. If you’re serving these to someone with allergies, ensure they’re not allergic to eggs or gluten since they are pivotal components in the recipe. For those with nut allergies, just be aware of the fillings you choose for the cookies, as some fruit preserves may have cross-contamination risks. Always double-check labels for a safe treat!
Can I use alternative sweeteners in my Thumbprint Cookies?
Very much so! If you want to reduce sugar intake, consider using alternatives like coconut sugar or monk fruit sweetener in place of granulated sugar. Adjust the quantity as needed since these sweeteners can have different sweetness levels compared to regular sugar. Enjoy experimenting with flavors while keeping your cookies as delightful as ever!

Melt-in-Your-Mouth Thumbprint Cookies You Can't Resist
Equipment
- mixing bowl
- Hand mixer
- baking sheet
- spatula
- plastic wrap
Ingredients
For the Dough
- 1 cup Unsalted butter softened
- 1 cup Granulated sugar
- 1 large Egg yolk
- 1 teaspoon Vanilla extract
- 2 ¼ cups All-purpose flour
- ½ teaspoon Salt
For the Filling
- ½ cup Fruit preserves or chocolate ganache for filling
Optional Topping
- Powdered sugar for dusting
Instructions
Step-by-Step Instructions for Thumbprint Cookies
- Cream together 1 cup of softened unsalted butter and 1 cup of granulated sugar using a hand mixer on medium speed until light and fluffy, about 3-4 minutes.
- Add 1 large egg yolk and 1 teaspoon of vanilla extract to the creamed mixture and mix on low speed until well combined.
- In a separate bowl, whisk together 2 ¼ cups of all-purpose flour and ½ teaspoon of salt. Gradually incorporate into the butter mixture until a soft dough forms.
- Cover the dough with plastic wrap and refrigerate for at least 30 minutes.
- Scoop tablespoon-sized portions and roll into balls, placing them on a lined baking sheet spaced about 2 inches apart.
- Gently press down on each cookie ball to create a small indentation for the filling.
- Fill each indentation with a small amount of fruit preserves or chocolate ganache.
- Bake the cookies in a preheated oven at 350°F (175°C) for 12-15 minutes until edges are lightly golden.
- Allow cookies to cool on the baking sheet for a few minutes before transferring to a wire rack. Dust with powdered sugar if desired.


Leave a Reply