
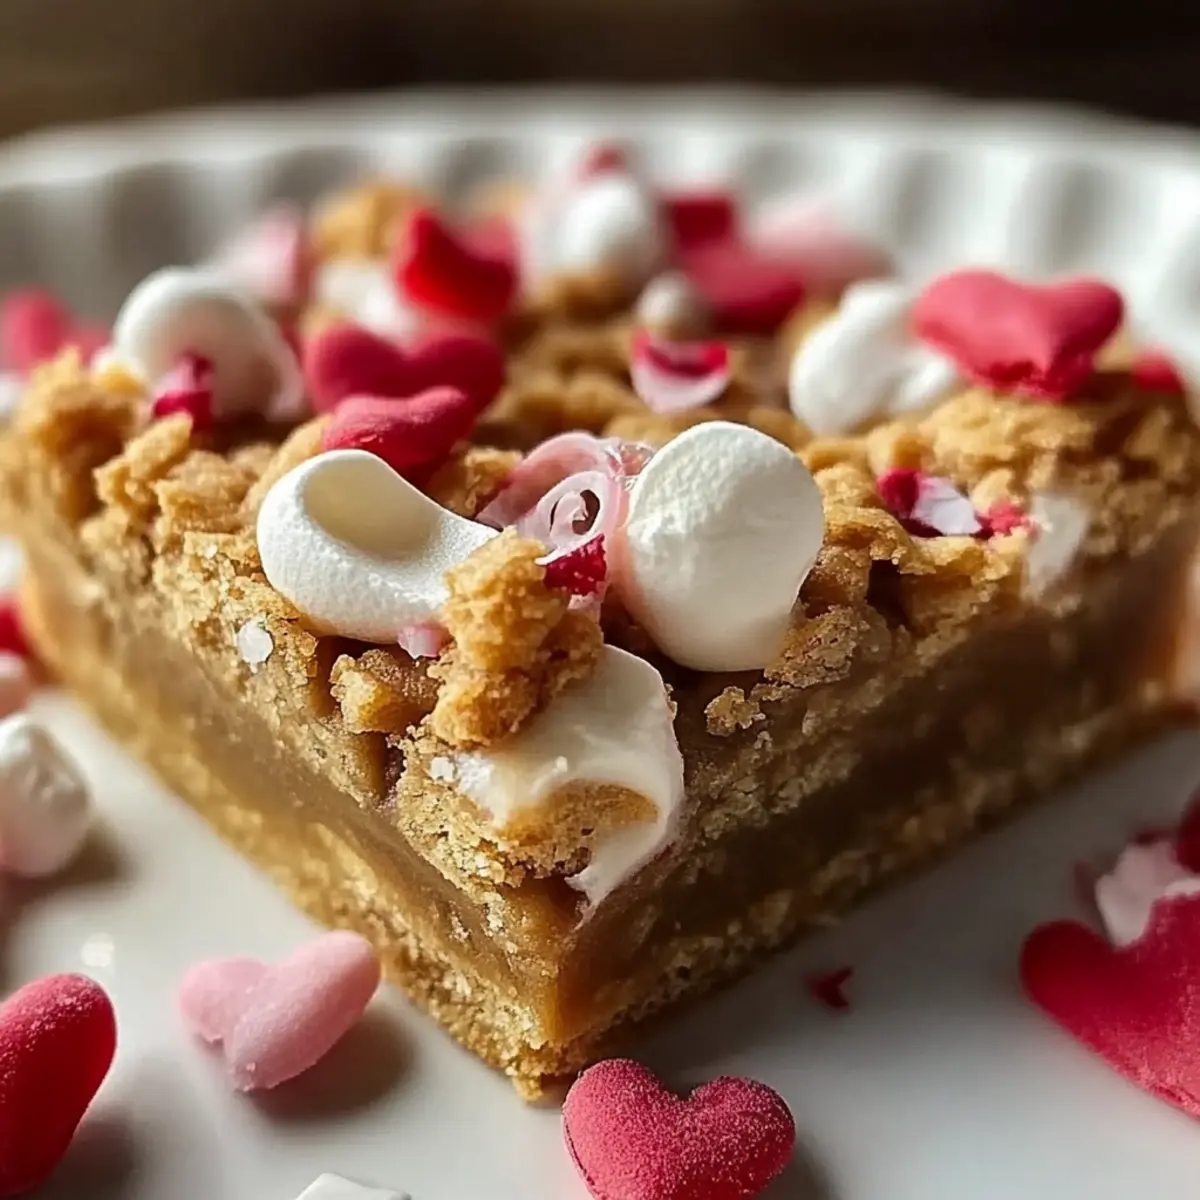
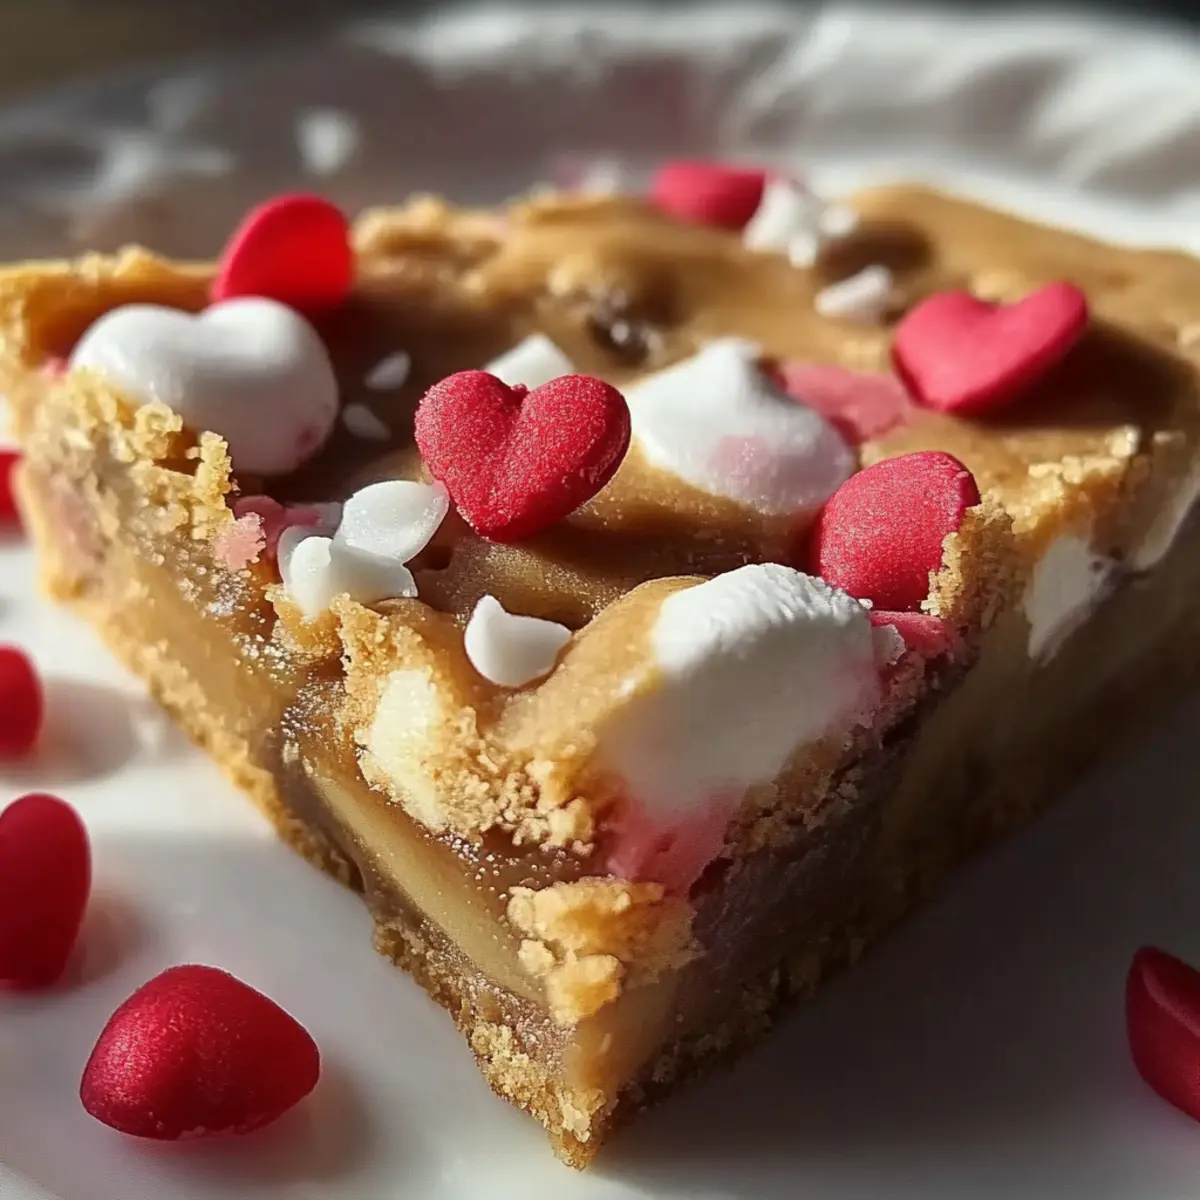
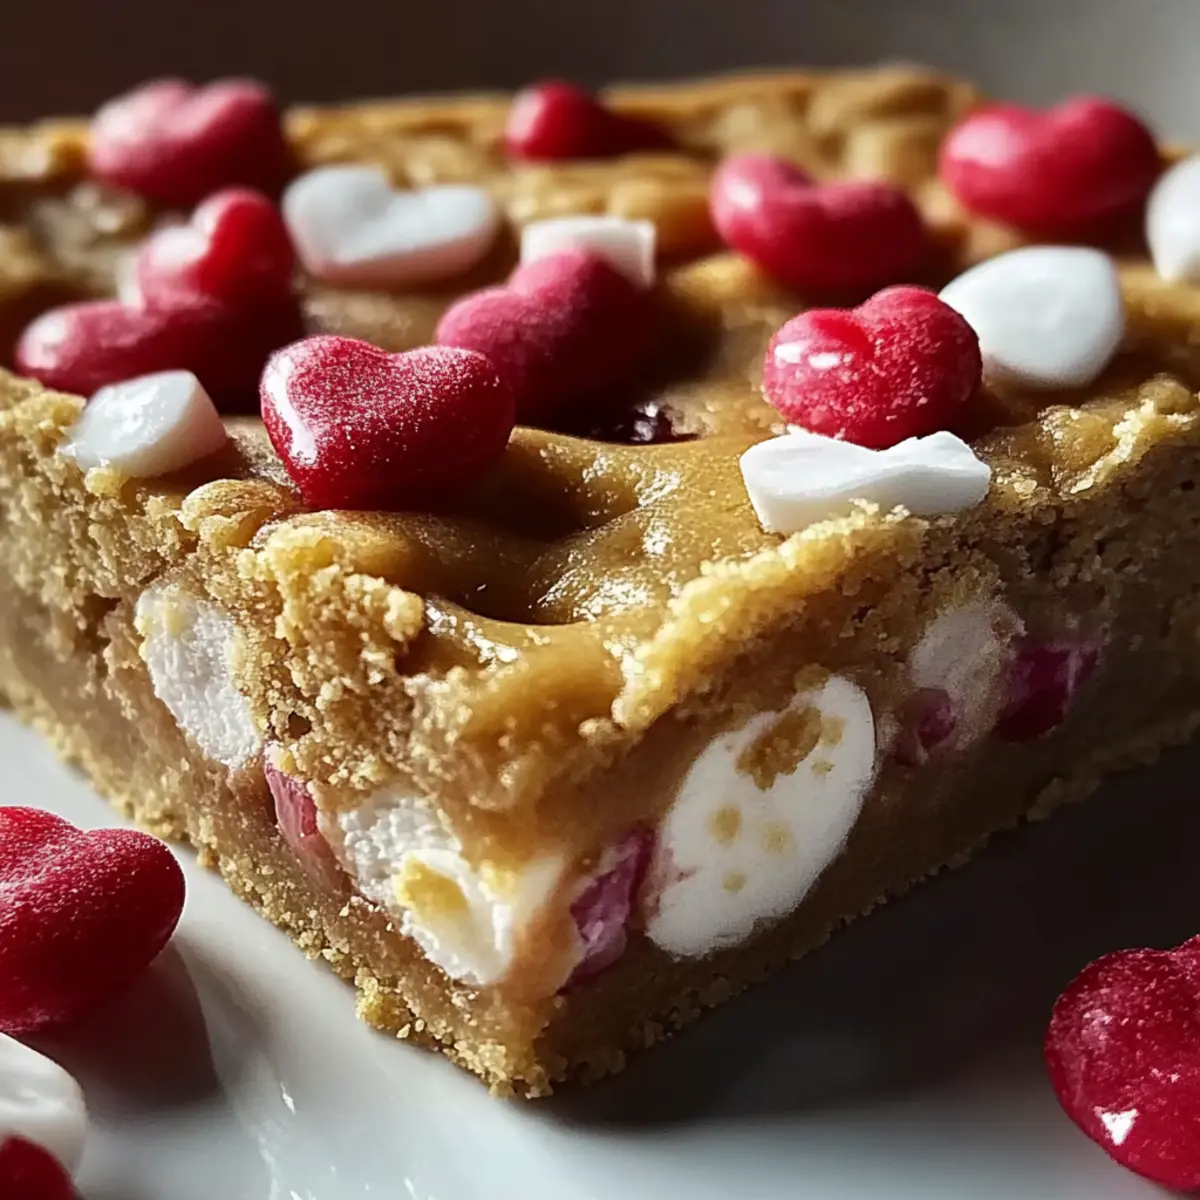
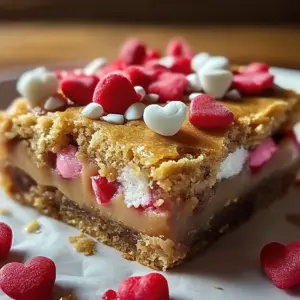
With the aroma of melting chocolate and creamy peanut butter swirling in the air, it’s hard not to feel a sense of joy when baking. Today, I’m thrilled to share my Valentine Peanut Butter Cookie Bars that effortlessly blend nostalgia and romance in every bite. These delightful treats are simple to whip up, making them perfect for a last-minute dessert without skipping on flavor. Not only do they charm hearts, but they also satisfy that sweet tooth in a beautiful way, especially with those colorful M&M's sprinkled throughout. So, whether you’re planning a cozy night in or a festive gathering, these cookie bars are a sweet twist on classic comfort food. What’s your favorite way to spice up a simple treat?
Why Are These Peanut Butter Cookie Bars Irresistible?
Decadent flavors meld together as creamy peanut butter and chocolate create an indulgent treat. Festively fun, the Valentine-themed M&M's and sprinkles add a pop of color, making these bars perfect for any celebration. Quick to prepare and bake, they save you time while satisfying cravings — a true win-win! Whether for a romantic evening or just a sweet treat at home, these bars are bound to impress. Easy to store or gift, you can enjoy them fresh or savor them later. Plus, if you love casual baking, check out more ideas like these delightful cookie variations.
Peanut Butter Cookie Bars Ingredients
Get ready to create the ultimate sweet treat!
For the Bars
• Unsalted butter – ½ cup, melted and slightly cooled for a rich flavor.
• Creamy peanut butter – ¾ cup, well-stirred for that divine creaminess.
• Light brown sugar – 1 cup, packed for added moisture and depth of sweetness.
• Granulated sugar – ¼ cup, to balance the caramel notes of brown sugar.
• Large eggs – 2, at room temperature to ensure even mixing.
• Pure vanilla extract – 1 ½ teaspoons, adding warmth and aroma.
• All-purpose flour – 1 ¼ cups, spooned and leveled for the perfect texture.
• Baking powder – ½ teaspoon, to give the bars a delightful lift.
• Baking soda – ¼ teaspoon, enhancing the tenderness of the cookie bars.
• Fine sea salt – ½ teaspoon, to balance sweetness and elevate flavors.
For the Mix-ins
• Semi-sweet chocolate chips – 1 cup, or use milk chocolate for a sweeter twist.
• White chocolate chips – ½ cup, for extra richness and contrast.
• Valentine-colored M&M’s – ¾ to 1 cup, adding festive color and crunch.
• Valentine sprinkles – 2 tablespoons, because celebrations deserve a touch of whimsy.
For the Drizzle (Optional)
• White chocolate chips – ½ cup, for an elegant finishing touch.
• Neutral oil – 1 teaspoon, to help the chocolate melt smoothly.
Final Touches
• Flaky sea salt – for sprinkling on top, enhancing the overall flavor profile.
Mix these ingredients to create your fabulous Peanut Butter Cookie Bars that are sure to make hearts swoon!
Step‑by‑Step Instructions for Peanut Butter Cookie Bars
Step 1: Prepare the pan
Begin by lightly greasing a 9 x 13 inch baking pan with butter or nonstick spray. Next, line the bottom and long sides with parchment paper, allowing some to overhang for easy removal later. Lightly grease the parchment as well, then set the prepared pan aside, ready for your delicious Peanut Butter Cookie Bars.
Step 2: Preheat the oven
Preheat your oven to 350°F (175°C), ensuring the oven rack is positioned in the center. This temperature is perfect for baking the bars to achieve that irresistible golden finish on the edges while keeping the center soft and chewy.
Step 3: Combine the wet ingredients
In a large mixing bowl, whisk together the melted butter and creamy peanut butter until you achieve a smooth, cohesive mixture. Add the light brown sugar and granulated sugar, whisking until thick and glossy. Incorporate the eggs one at a time, mixing well after each, then stir in the pure vanilla extract to blend all the flavors beautifully.
Step 4: Mix the dry ingredients
In a separate bowl, whisk the all-purpose flour, baking powder, baking soda, and fine sea salt together until fully combined. This step ensures that your Peanut Butter Cookie Bars rise perfectly and have even flavor distribution throughout the dough.
Step 5: Combine wet and dry
Gently fold the dry ingredients into the wet mixture, being careful not to overmix. Stir until just combined, ceasing as soon as you no longer see any dry streaks in the batter. This technique ensures your cookie bars are light and tender while retaining rich flavor.
Step 6: Fold in the chocolate
Now, sprinkle the semi-sweet and white chocolate chips over the dough. Gently fold them in, distributing the chocolate evenly throughout the mixture, so each bite of your Peanut Butter Cookie Bars has a delightful surprise of melty chocolate.
Step 7: Press the dough into the pan
Transfer the dough into your prepared pan, using a spatula to press it evenly into all corners, smoothing the top for an even bake. Make sure the surface is well-packed, which will help the bars hold together nicely after baking.
Step 8: Add the Valentine candies and sprinkles
Press about half to two-thirds of the Valentine-colored M&M’s into the surface of the dough, then sprinkle Valentine sprinkles over the top for that festive flair. This colorful addition will make your Peanut Butter Cookie Bars visually appealing and enticing.
Step 9: Bake
Place the pan in the preheated oven and bake for 18 to 24 minutes. Start checking at the 18-minute mark when the edges are lightly golden, and the center has a slight jiggle. This is the perfect window to ensure your cookie bars are deliciously chewy rather than overbaked.
Step 10: Add remaining candies
Once baked, immediately press the reserved M&M’s into any sparse areas on the surface of the bars. Optionally, sprinkle flaky sea salt on top for an extra burst of flavor that enhances the sweetness of the cookie bars.
Step 11: Cool completely
Let the bars cool in the pan for at least 1 to 1½ hours. For cleaner cuts, refrigerate them for 30 to 45 minutes before slicing. This cooling step is crucial to ensure perfect, structured bars that hold their shape when cut.
Step 12: Optional white chocolate drizzle
For the optional drizzle, combine ½ cup of white chocolate chips with 1 teaspoon of neutral oil in a microwave-safe bowl. Heat in 15–20 second bursts, stirring until smooth, then drizzle over the cooled bars, adding charm and decadence to your Peanut Butter Cookie Bars.
Step 13: Slice and serve
Utilize the parchment overhang to lift the cooled bars out of the pan onto a cutting board. Slice into squares or rectangles, using a clean knife for neat edges. This presentation will make your Peanut Butter Cookie Bars irresistible to anyone who sees them.
Step 14: Storage
Store your delectable treats in an airtight container at room temperature for up to 3–4 days. Alternatively, keep in the fridge for up to a week or freeze them individually wrapped for up to 2 months, allowing you to enjoy these delicious bars whenever you crave a sweet treat.
Expert Tips for Peanut Butter Cookie Bars
Use Room Temperature Eggs: Ensure your eggs are at room temperature for better mixing, which helps create the ideal texture in your Peanut Butter Cookie Bars.
Don’t Overmix: Combine the wet and dry ingredients until just blended to avoid tough bars. Overmixing can lead to dense cookie bars instead of the desired chewy texture.
Check for Doneness: Keep an eye on the baking time. The edges should be lightly golden with a slight jiggle in the center—this indicates they're perfectly baked and chewy!
Cool Before Cutting: Allow the bars to cool completely or refrigerate them before slicing. This helps them hold their shape and makes for cleaner cuts.
Experiment with Mix-ins: Feel free to swap out M&M’s or add your favorite nuts and chocolates. Customize these Peanut Butter Cookie Bars to suit your personal taste!
Store Properly: To keep your cookie bars fresh, store them in an airtight container. They can also be frozen individually for indulgence whenever cravings strike!
How to Store and Freeze Peanut Butter Cookie Bars
Room Temperature: Store your Peanut Butter Cookie Bars in an airtight container at room temperature for up to 3–4 days, keeping them fresh and delicious for daily indulgence.
Fridge: If you want to extend their life, refrigerate the bars in an airtight container for up to one week. This helps maintain their softness and flavor.
Freezer: For longer storage, individually wrap the bars in plastic wrap and place them in a freezer bag. They can be frozen for up to 2 months, allowing you to enjoy a sweet treat anytime!
Reheating: To refresh your frozen bars, thaw them in the fridge overnight and then bring them to room temperature before enjoying. You can even pop them in the microwave for a few seconds to melt the chocolate slightly for that fresh-baked taste!
What to Serve with Valentine Peanut Butter Cookie Bars
With their rich peanut butter and chocolate goodness, these delightful bars create a perfect centerpiece for any gathering or cozy night in.
-
Cold Glass of Milk: A classic pairing, milk complements the rich flavors, making each bite even more indulgent.
-
Fresh Berries: A handful of juicy strawberries or raspberries adds a refreshing tartness to balance the sweetness of the bars, enhancing the overall dessert experience.
-
Vanilla Ice Cream: Warm bars paired with creamy vanilla ice cream create a delicious contrast in temperature and texture, perfect for satisfying that sweet tooth.
-
Caramel Sauce: Drizzling warm caramel over the top brings a luscious, gooey richness that elevates the flavors and makes your presentation truly stunning.
-
Coffee or Espresso: A cup of coffee not only brings warmth but also balances the sweetness, making it an ideal pairing for those late-night cravings.
-
Chocolate Ganache: A drizzle of rich chocolate ganache takes these peanut butter cookie bars to the next level, ensuring every bite is decadently satisfying.
-
Honeyed Greek Yogurt: For a lighter option, serving cookie bars alongside honeyed Greek yogurt adds creaminess and a hint of tartness, complementing the sweetness beautifully.
Make Ahead Options
These Peanut Butter Cookie Bars are perfect for busy home cooks who love meal prep! You can prepare the dough up to 24 hours in advance; simply follow the steps up to pressing it into the baking pan, then cover it tightly with plastic wrap and refrigerate. For the freshest taste, bake and store in an airtight container at room temperature for 3–4 days or refrigerate for up to a week. If you need to keep them longer, freeze the baked bars (individually wrapped) for up to 2 months. When you’re ready to serve, let the frozen bars thaw at room temperature or warm them in the oven for a few minutes for that just-baked flavor, ensuring they're just as delicious as when freshly made!
Peanut Butter Cookie Bars Variations
Feel free to get creative with these cookie bars and make them your own!
- Gluten-Free: Substitute all-purpose flour with a gluten-free blend to accommodate dietary needs.
- Nut-Free: Swap peanut butter for sun butter or almond butter to ensure allergy-friendly treats.
- Extra Crunchy: Add ½ cup of chopped nuts like walnuts or pecans for delightful texture.
- Vegan: Use flax eggs (1 tablespoon ground flaxseed mixed with 2.5 tablespoons water) instead of eggs and coconut oil in place of butter.
- Spicy Twist: Toss in a pinch of cinnamon or a dash of cayenne pepper for a surprising kick that complements the sweetness beautifully.
- Fruit-Flavored: Fold in ½ cup of dried cranberries or cherries for a burst of fruity flavor that contrasts wonderfully with the rich chocolate.
- Caramel Swirl: Drizzle homemade or store-bought caramel sauce into the batter before baking for a decadent treat that’s hard to resist. Each bite reveals a luscious gooey surprise.
- Minty Fresh: Add peppermint extract instead of vanilla for a refreshing, minty version that’s perfect for the holidays or St. Patrick’s Day.
Explore these variations to create a unique twist on the classic cookie variations we all love!
Valentine Peanut Butter Cookie Bars Recipe FAQs
What kind of peanut butter should I use?
Absolutely! For the best results, use creamy peanut butter that’s well-stirred but avoid natural varieties as they can separate and alter the texture. A brand like Jif or Skippy works wonders and delivers that signature sweetness we all love!
How should I store my Peanut Butter Cookie Bars?
You can store your Peanut Butter Cookie Bars in an airtight container at room temperature for up to 3-4 days. If you keep them in the fridge, they'll last about a week while maintaining their deliciousness. Just make sure they’re well-wrapped to avoid drying out!
Can I freeze Peanut Butter Cookie Bars?
Certainly! For freezing, wrap each bar individually in plastic wrap and place them in a freezer-safe bag. They’ll stay fresh for up to 2 months. To enjoy, simply thaw in the fridge overnight or pop them in the microwave for a few seconds for that warm, gooey feel again.
What if my bars are too crumbly or dry?
Oh no! If your bars come out too crumbly, it could be from overmixing or not using sufficient moisture in your ingredients. Make sure to mix the wet and dry mixtures just until combined. If they’re dry, they may have been baked too long, so check for the lightly golden edges and that slight jiggle in the center next time!
Can I make substitutions for dietary restrictions?
Yes, indeed! If you are vegan, you can substitute the eggs with flaxseed eggs (1 tablespoon ground flaxseed + 2.5 tablespoons water for each egg) and use dairy-free chocolate chips. For nut allergies, sunflower seed butter is a fantastic alternative that still provides that creamy texture and taste.
How can I ensure my cookie bars are cut neatly?
For clean cuts, allow your Peanut Butter Cookie Bars to cool completely in the pan for at least 1 to 1½ hours. For even neater results, chill them in the refrigerator for 30 to 45 minutes before slicing. Wipe the knife with a cloth between cuts for perfectly shaped pieces!
Irresistible Peanut Butter Cookie Bars with Sweet Surprises
Equipment
- 9 x 13 inch baking pan
- mixing bowl
- whisk
- spatula
- parchment paper
Ingredients
For the Bars
- ½ cup unsalted butter melted and slightly cooled
- ¾ cup creamy peanut butter well-stirred
- 1 cup light brown sugar packed
- ¼ cup granulated sugar
- 2 large eggs at room temperature
- 1 ½ teaspoons pure vanilla extract
- 1 ¼ cups all-purpose flour spooned and leveled
- ½ teaspoon baking powder
- ¼ teaspoon baking soda
- ½ teaspoon fine sea salt
For the Mix-ins
- 1 cup semi-sweet chocolate chips
- ½ cup white chocolate chips
- ¾ to 1 cup Valentine-colored M&M’s
- 2 tablespoons Valentine sprinkles
For the Drizzle (Optional)
- ½ cup white chocolate chips
- 1 teaspoon neutral oil
Final Touches
- flaky sea salt for sprinkling on top
Instructions
Step-by-Step Instructions
- Prepare the pan by lightly greasing a 9 x 13 inch baking pan with butter or nonstick spray and lining with parchment paper.
- Preheat your oven to 350°F (175°C).
- Combine the wet ingredients by whisking together melted butter and creamy peanut butter until smooth, then adding sugars, eggs, and vanilla extract.
- Mix the dry ingredients by whisking together flour, baking powder, baking soda, and sea salt in a separate bowl.
- Combine wet and dry ingredients until just mixed.
- Fold in semi-sweet and white chocolate chips.
- Press the dough into the prepared pan evenly.
- Add Valentine candies and sprinkles on top of the dough.
- Bake for 18 to 24 minutes, checking for doneness at 18 minutes.
- Press reserved M&M’s into bars after baking, and sprinkle flaky sea salt on top if desired.
- Cool the bars in the pan for 1 to 1½ hours before slicing.
- Optionally drizzle with melted white chocolate.
- Slice and serve using parchment overhang for easy removal.
- Store in an airtight container at room temperature or refrigerate/freeze for longer storage.

Leave a Reply