
As I pulled up to the local pumpkin patch last fall, the vibrant colors and cozy atmosphere whisked me back to my childhood. The incredible plates of Pumpkin Patch Dirt Cups spinning in my mind soon came to life. This delightful treat combines rich chocolate pudding with layers of crushed Oreos, creating a dessert that’s as fun to look at as it is to eat. Plus, it’s a breeze to whip up with just a few simple ingredients, making it perfect for those busy weekdays or last-minute gatherings. Whether you’re hosting a Halloween party or simply craving a sweet escape, these Pumpkin Patch Dirt Cups are sure to impress. Curious about how to bring this playful dessert to your table? Let’s dig in!
Why Are Pumpkin Patch Dirt Cups So Fun?
Playful presentation: The vibrant colors and fun layers create a visual feast that kids and adults alike will adore.
Quick preparation: With just 15 minutes of prep time, you can whip up these treats in a flash, making them great for those busy weeknights.
Rich flavor: The creamy chocolate pudding paired with crunchy Oreos offers an irresistible combination that will have everyone coming back for seconds.
Versatile options: Customize your cups with various toppings, like gummy worms or seasonal sprinkles, to fit any occasion or warm weather gathering.
Crowd-pleaser: Whether it's a birthday party, Halloween gathering, or potluck, these Pumpkin Patch Dirt Cups will surely wow your guests and spark joy!
Pumpkin Patch Dirt Cups Ingredients
For the Pudding Mix
• Chocolate pudding mix – the heart of your Pumpkin Patch Dirt Cups, offering a rich and creamy base.
• Milk – necessary for mixing with the pudding, ensuring a smooth consistency.
For the Creamy Layer
• Whipped cream – adds a luscious texture and lightness that balances the dessert's richness.
For the Crunchy Layer
• Crushed Oreos – brings delightful crunch and a chocolaty flavor, acting as the “dirt” in your cups.
For the Garnish
• Candy pumpkins – these cute decorations bring a festive flair, making your cups even more inviting.
• Gummy worms (optional) – for an extra dose of fun, these add a whimsical touch that kids will love!
Dive into this easy-to-follow recipe, and soon, you'll have the most adorable and delicious Pumpkin Patch Dirt Cups ready for your next get-together!
Step‑by‑Step Instructions for Pumpkin Patch Dirt Cups
Step 1: Prepare the Pudding
In a mixing bowl, combine the chocolate pudding mix with 2 cups of milk. Using a whisk, blend until fully incorporated, ensuring there are no lumps. Allow the mixture to sit for about 5 minutes, during which it will thicken to a smooth, creamy texture that will serve as the delicious base for your Pumpkin Patch Dirt Cups.
Step 2: Fold in Whipped Cream
Once your pudding has thickened, gently add 1 cup of whipped cream to the bowl. Using a spatula, fold the whipped cream into the pudding mixture, careful not to deflate it. This will create a light and airy texture in your Pumpkin Patch Dirt Cups, enhancing the overall creaminess of this delightful treat.
Step 3: Start Layering
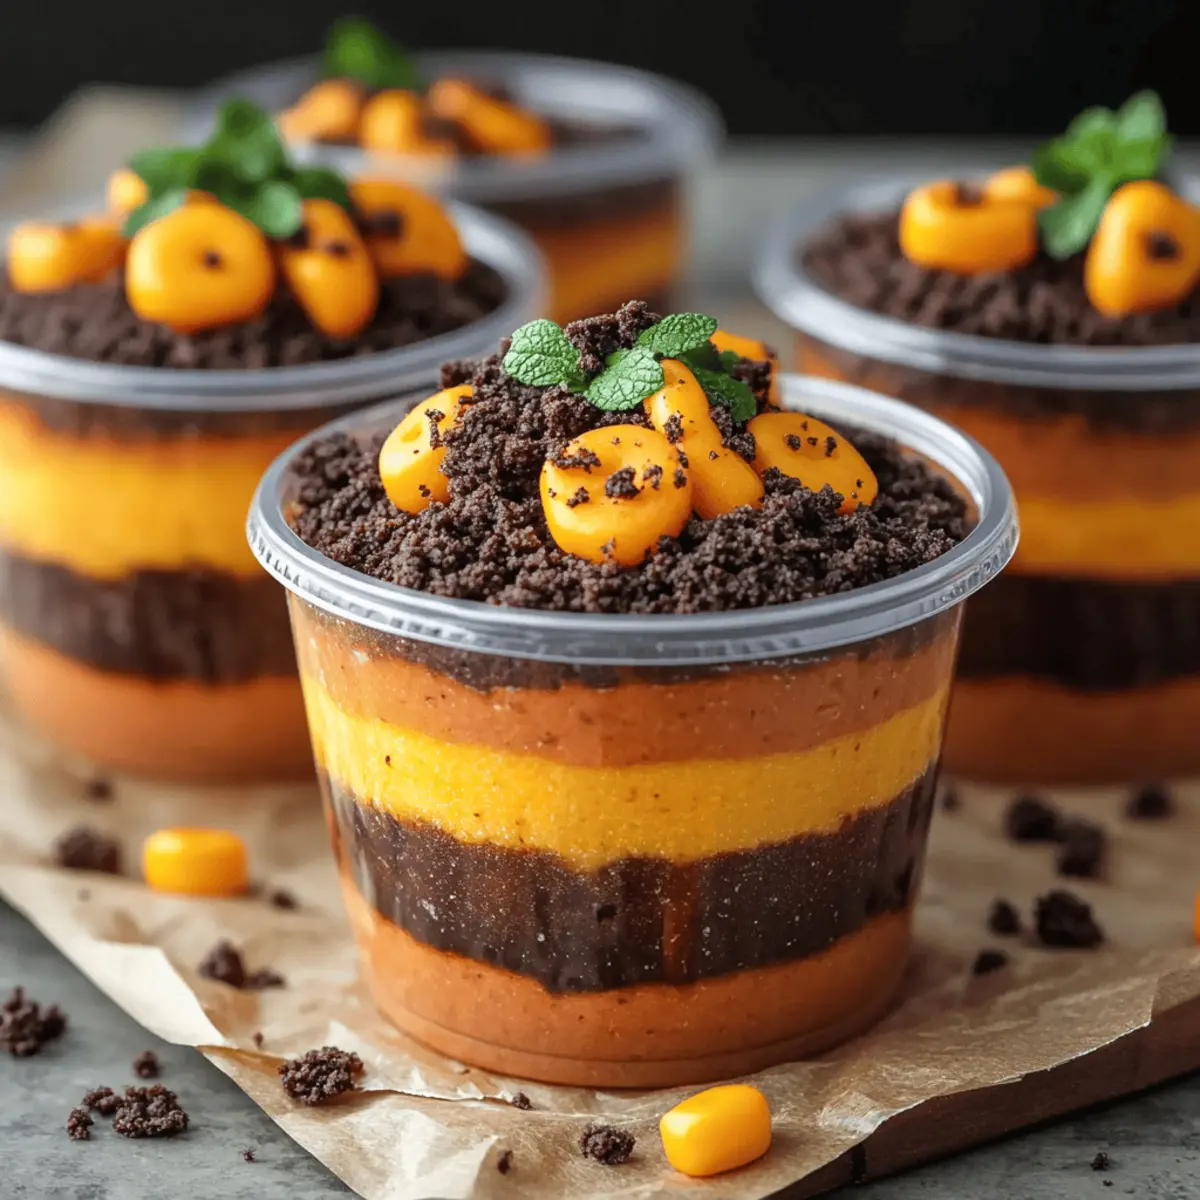
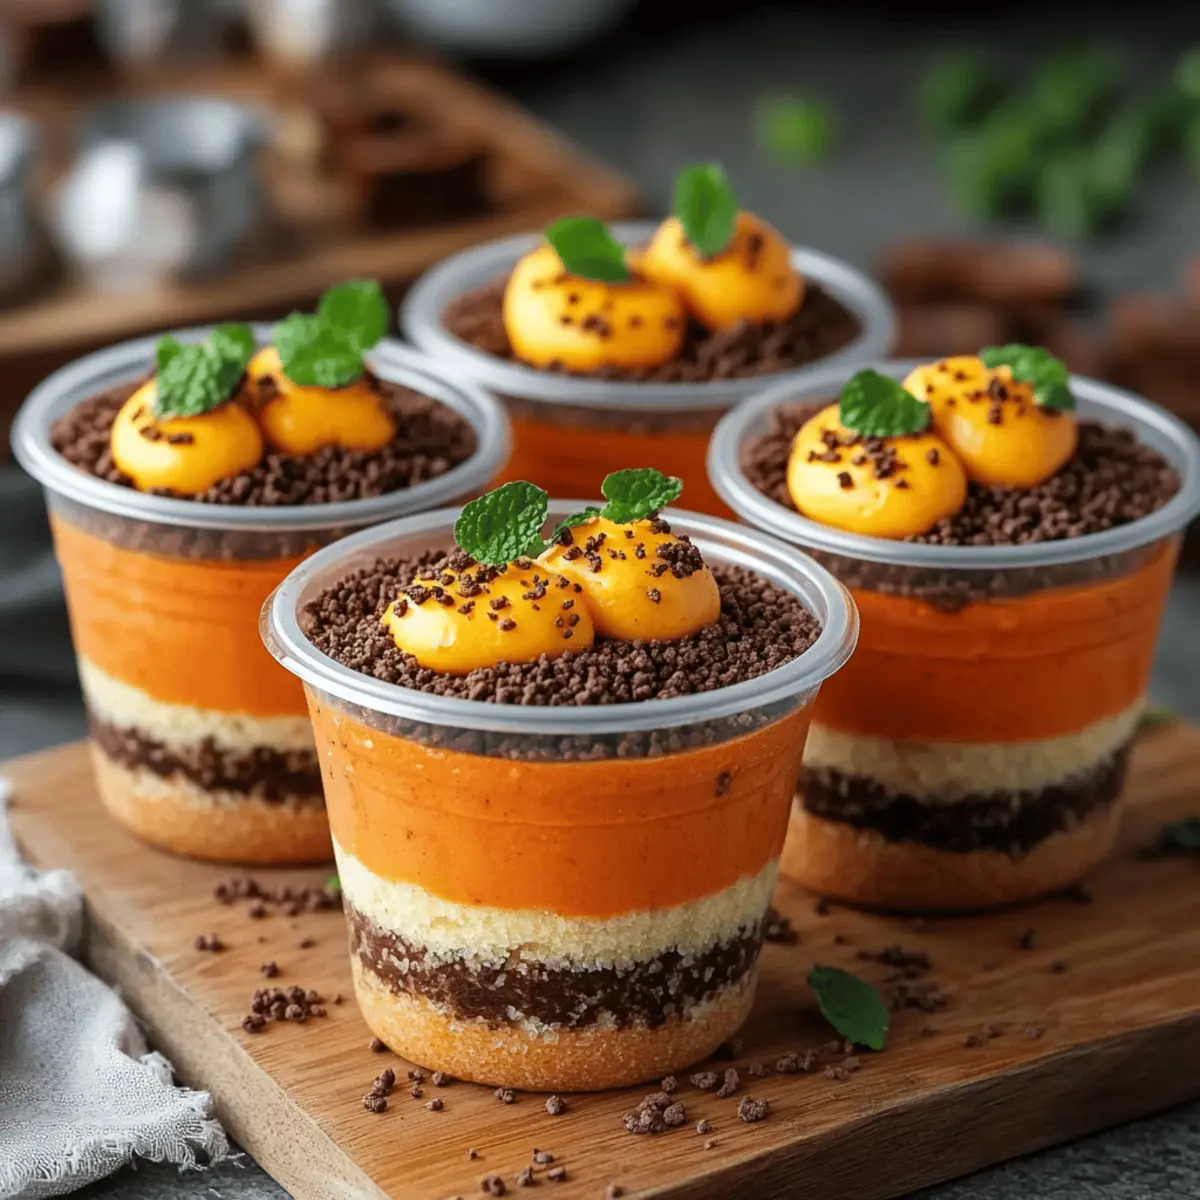
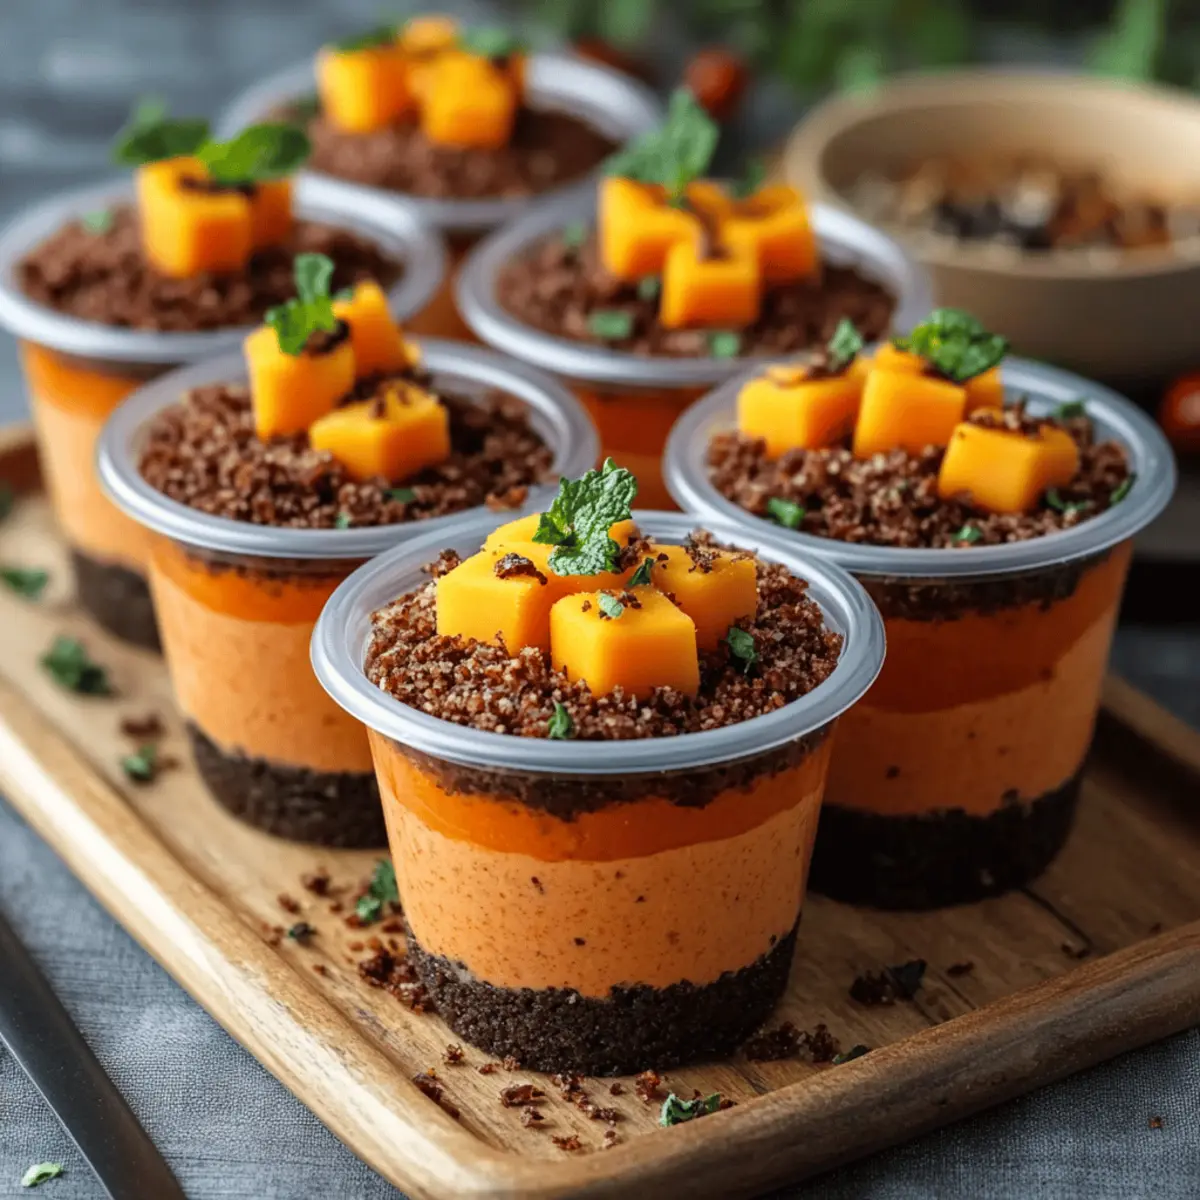
Take clear plastic cups or dessert glasses and spoon in a layer of the pudding mixture. Aim for about one-third of the cup to be filled, ensuring a nice foundation for your layers. The vibrant chocolate color of the pudding will make a beautiful backdrop for the crushed Oreos, enticing your guests with a preview of the delicious layers to come.
Step 4: Add Crushed Oreos
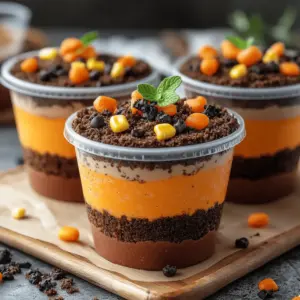
Next, sprinkle a generous layer of crushed Oreos over the pudding. This layer should mimic the “dirt” theme of your Pumpkin Patch Dirt Cups, providing a delightful crunch. Press down slightly to secure the Oreos, and enjoy watching how the layers start to form, creating that fun, textured look that will impress your family and friends.
Step 5: Continue Layering
Repeat the layering process, adding another spoonful of pudding on top of the Oreos, followed by another layer of crushed Oreos. Keep building until your cups are filled to the top, finishing with a final layer of crushed Oreos for a decadent and appealing finish. This method will give each of your Pumpkin Patch Dirt Cups a stunning multi-layered appearance.
Step 6: Garnish and Chill
Once your cups are assembled, top each with a generous dollop of whipped cream, creating a beautiful peak on top. Decorate with candy pumpkins and optional gummy worms for an extra touch of whimsy. Refrigerate the cups for at least 30 minutes to allow the flavors to meld, ensuring a delightful experience when served chilled.
What to Serve with Pumpkin Patch Dirt Cups
Indulging in these delightful cups sparks creativity for a full meal that pleases everyone at the table.
-
Classic Vanilla Ice Cream: A scoop of creamy vanilla ice cream complements the rich chocolate pudding, adding an extra layer of indulgence.
-
Fresh Fruit Salad: The tartness of mixed berries brightens the dessert, balancing the sweetness of the cups with a refreshing contrast.
-
Mini Pumpkin Muffins: These lovely muffins carry the pumpkin spice theme further, making for a cute and cozy addition that everyone will love.
-
Caramel Drizzled Apples: Crisp apple slices coated in caramel add a sweet crunch, perfect for dipping into the rich layers of your dirt cups.
-
Hot Chocolate: Serve a warm mug alongside for a cozy treat, enhancing the chocolate experience with flavors of creamy cocoa.
-
Autumn Spice Cookies: These spicy delights echo the seasonal flavors, offering a harmonious pairing that calls back to fall festivities.
-
Sparkling Cider: A glass of bubbly non-alcoholic cider provides a festive touch, adding a fruity effervescence that pairs beautifully with dessert.
-
Gingerbread cookies: These warm-flavored cookies provide a spicy contrast, creating a lovely palate with the sweetness of the cups.
-
Cheese Platter: A mild cheese option brings a touch of sophistication, cutting through the sweetness and offering a savory note to your spread.
Expert Tips for Pumpkin Patch Dirt Cups
-
Chill Time Matters: Refrigerating the cups for at least 30 minutes enhances the flavor, making the dessert even more enjoyable when served chilled.
-
Layering Technique: Ensure an even distribution of pudding and Oreos to prevent sogginess. Use equal portions for each layer to maintain structure.
-
Whipped Cream Folding: When adding whipped cream, fold gently to keep the mixture light and airy. Avoid over-mixing, as this can deflate the texture.
-
Garnishing Joy: Add candy pumpkins and gummy worms just before serving to keep them fresh and visually appealing—this will excite your guests!
-
Customize Creatively: Feel free to tweak the toppings based on the season or your theme. Try adding festive sprinkles or even different flavored puddings for fun variations.
Make Ahead Options
These Pumpkin Patch Dirt Cups are a fantastic choice for busy home cooks looking to save time! You can prepare the pudding and whipped cream mixture up to 24 hours in advance, storing it in the refrigerator to maintain its delightful creaminess. The layers of crushed Oreos can also be prepped ahead; simply keep them in an airtight container to preserve their crunch. When you're ready to serve, layer the pudding and Oreos in cups, top with whipped cream, and add the garnishes just before serving to ensure they look as festive as they taste. This way, you'll have a delicious dessert ready with minimal effort on your special occasion!
How to Store and Freeze Pumpkin Patch Dirt Cups
Fridge: Store any leftover Pumpkin Patch Dirt Cups in the refrigerator for up to 2 days. Make sure to cover them with plastic wrap to maintain their freshness and prevent absorbing any odors.
Freezer: For longer storage, you can freeze the pudding mixture (without the whipped cream and Oreos) in an airtight container for up to 1 month. Just remember, thaw and reassemble it with fresh Oreos and whipped cream when you're ready to enjoy!
Garnish Tips: If you’ve topped your cups with candy pumpkins or gummy worms, it’s best to add these just before serving to keep them looking fresh and delightful, enhancing the overall presentation.
Reheating (if applicable): Since this dessert is served chilled, no reheating is necessary. Just remove it from the fridge, garnish, and serve right away for the best experience!
Pumpkin Patch Dirt Cups Variations
Feel free to get creative and make these Pumpkin Patch Dirt Cups your own with some fun substitutions and twists!
- Dairy-Free: Swap the milk with almond or oat milk and use coconut whipped cream for a creamy, non-dairy delight.
- Gluten-Free: Use gluten-free Oreo cookies to ensure everyone can enjoy this delicious dessert without worry.
- Nutty Boost: Add crushed nuts, like walnuts or pecans, between the layers for an extra crunchy texture and delightful nutty flavor.
- Seasonal Twist: Incorporate pumpkin spice or a dash of cinnamon into the pudding mixture for a warm, autumnal flavor boost.
- Fruity Addition: Toss in layers of fresh berries or banana slices for a fruity surprise that pairs beautifully with the rich chocolate.
- Chocolate Lovers: Use chocolate-flavored whipped cream or drizzles of chocolate syrup to intensify that chocolaty goodness!
- Extra Crunch: Layer in some crushed graham crackers or chocolate cereal for a different crunchy experience that kids will love.
- Spicy Kick: For those who enjoy a bit of heat, sprinkle in a touch of cayenne or chili powder to your chocolate pudding for a surprising twist!
Let your creativity flow, and soon, you’ll have a dazzling array of Pumpkin Patch Dirt Cups that will impress your friends and family! And if you want to explore more festive options, check out these gummy worms to sprinkle on top or even consider swapping in some decorations for a holiday surprise!
Pumpkin Patch Dirt Cups Recipe FAQs
What is the best way to select ripe ingredients for Pumpkin Patch Dirt Cups?
Absolutely! When choosing your ingredients, look for a high-quality chocolate pudding mix that offers a rich flavor. For the whipped cream, select a brand that contains minimal additives for a fresher taste. If you're using candy pumpkins, check for any that look vibrant and free from cracks or dark spots, which indicate freshness.
How long can I store leftover Pumpkin Patch Dirt Cups in the fridge?
You can store your leftover Pumpkin Patch Dirt Cups in the refrigerator for up to 2 days. I recommend covering them tightly with plastic wrap or placing them in an airtight container to maintain freshness and prevent them from absorbing any unwanted odors.
Can I freeze Pumpkin Patch Dirt Cups?
Certainly! To freeze, you'll want to separate the pudding mixture from layer components. Freeze the pudding (without whipped cream and Oreos) in an airtight container for up to 1 month. When you're ready to indulge again, simply thaw the pudding in the fridge overnight, then reassemble with fresh whipped cream and crushed Oreos for maximum texture and flavor.
What should I do if my pudding mixture doesn’t thicken?
If your pudding mixture isn't thickening after whisking for about 5 minutes, it could be due to not whisking enough or the temperature of milk being too low. Make sure you're whisking vigorously and consider warming the milk slightly before combining it with the pudding mix. If you’ve let it set and it’s still too runny, you can try adding a bit more pudding mix to absorb the excess liquid—just be sure to whisk it thoroughly!
Are there any dietary concerns to consider with Pumpkin Patch Dirt Cups?
Very! If you're serving these delicious cups at a gathering, keep in mind potential allergies—specifically to milk or gluten, as Oreos and some pudding mixes may contain allergens. You can always opt for gluten-free Oreos or a dairy-free whipped cream and pudding mix to accommodate guests with these dietary needs. Don't leave your furry friends unattended with the treats, as chocolate can be toxic to pets!
How can I make Pumpkin Patch Dirt Cups more festive?
I love this question! Get creative with toppings and presentations. You can swap out the candy pumpkins for themed sprinkles or use different seasonal candies to match your event. For an extra layer of fun, consider adding a layer of vibrant fruit puree, like strawberry or mango, in between layers of pudding and Oreos—it will not only add color but also a refreshing flavor contrast!
Indulge in Pumpkin Patch Dirt Cups That Wow Your Taste Buds
Equipment
- mixing bowl
- whisk
- spatula
- clear plastic cups
Ingredients
For the Pudding Mix
- 1 box chocolate pudding mix
- 2 cups milk
For the Creamy Layer
- 1 cup whipped cream
For the Crunchy Layer
- 10 cookies crushed Oreos
For the Garnish
- 10 pieces candy pumpkins
- optional gummy worms for an extra dose of fun
Instructions
Step-by-Step Instructions
- In a mixing bowl, combine the chocolate pudding mix with 2 cups of milk. Whisk until fully incorporated and smooth.
- Once the pudding has thickened, gently add 1 cup of whipped cream and fold it into the pudding.
- Spoon in a layer of the pudding mixture into clear plastic cups, filling about one-third of each cup.
- Sprinkle a generous layer of crushed Oreos over the pudding layer, resembling dirt.
- Repeat the layering process with more pudding and Oreos until the cups are filled, finishing with Oreos.
- Top with whipped cream, add candy pumpkins and gummy worms, then refrigerate for at least 30 minutes.


Leave a Reply