
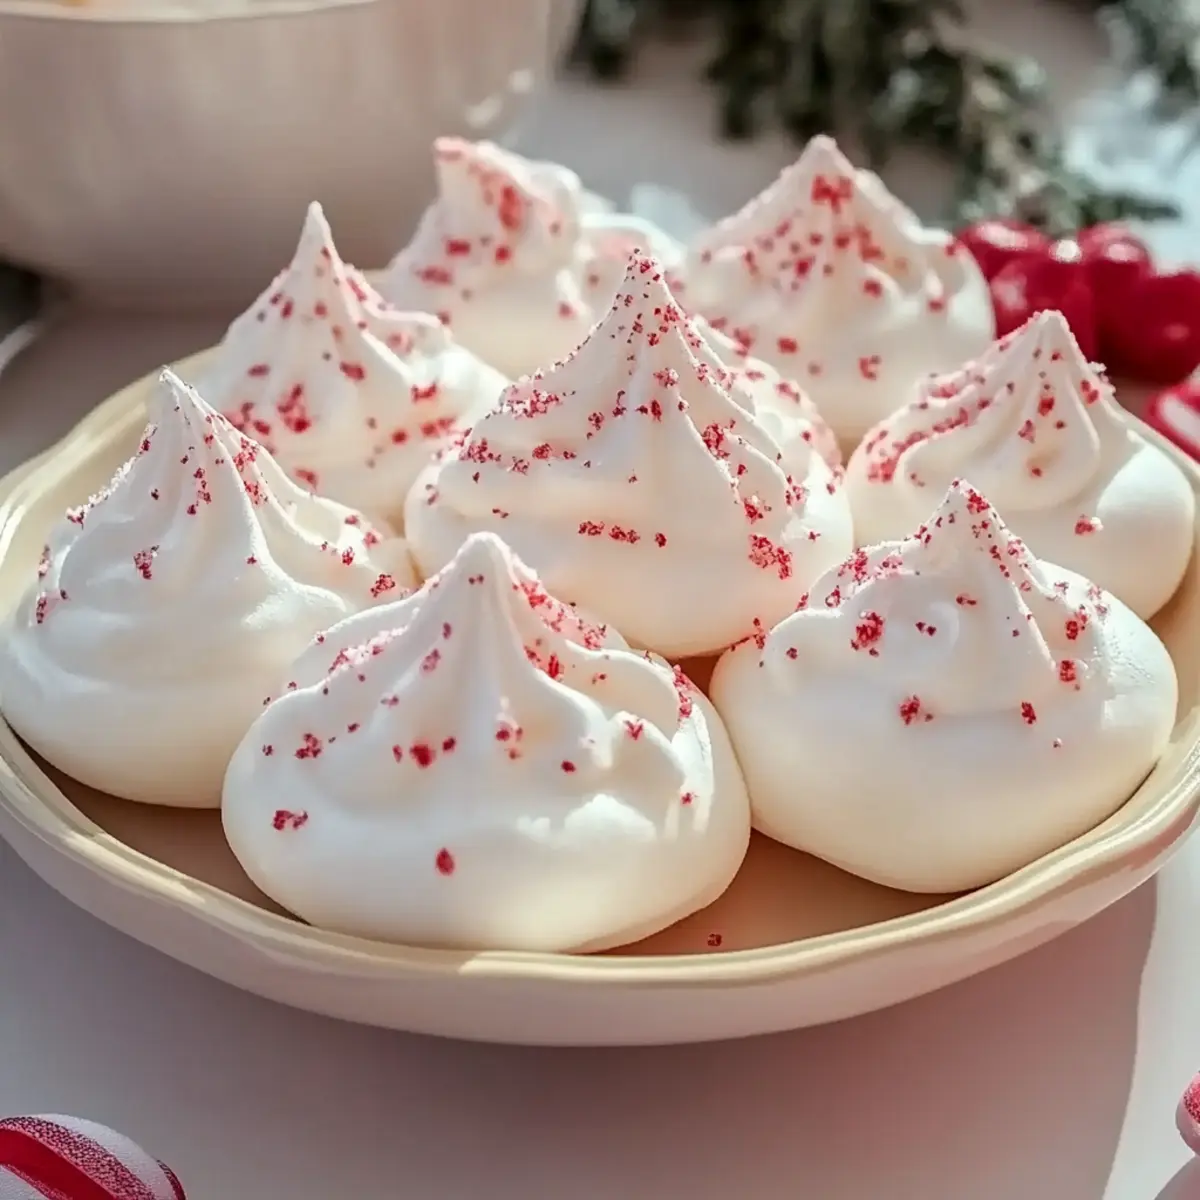
As I stood in my kitchen surrounded by the sweet scent of peppermint, a delightful idea took shape—making Peppermint Meringues. These light, airy confections offer a refreshing twist that's perfect for any holiday gathering or cozy afternoon treat. What I love most about these meringues is their surprisingly simple preparation and the joy they bring to anyone who takes a bite. Plus, they’re a fantastic way to use up extra egg whites, making them both resourceful and delicious! With just a few basic ingredients, this recipe will have you creating impressive desserts that are not only visually stunning but also freezer-friendly for future cravings. Curious how to whip up this festive delight? Let’s dive in!
Why are Peppermint Meringues a must-try?
Light and Airy: These Peppermint Meringues are incredibly easy to whip up, making them perfect for bakers of all skill levels.
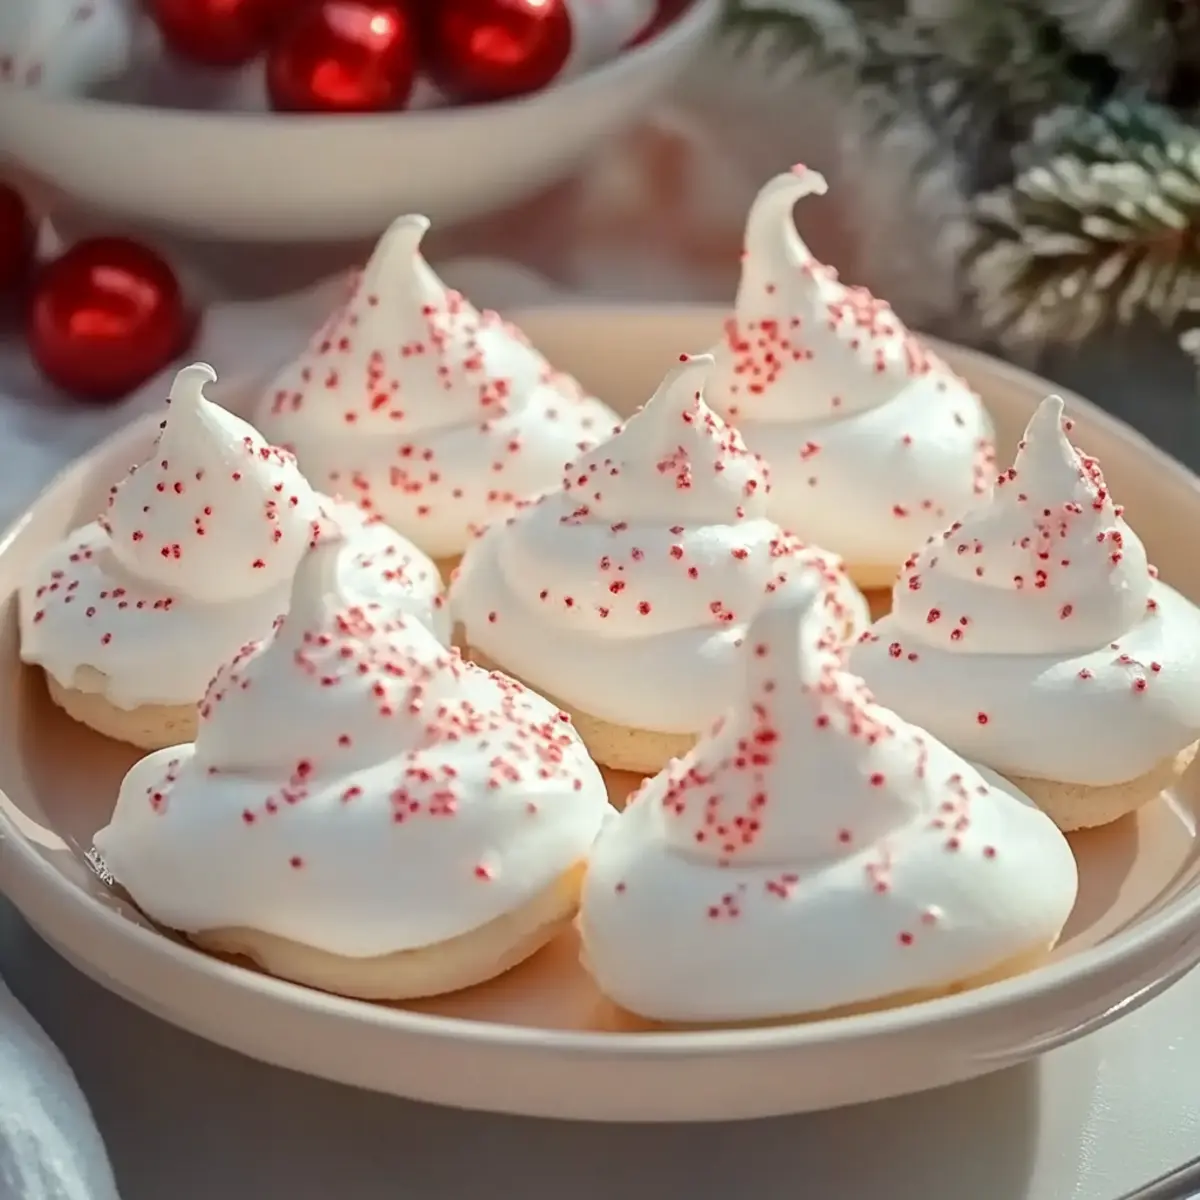
Festive Appeal: Their crisp texture, combined with a refreshing peppermint flavor, makes them an irresistible addition to any holiday dessert table.
Versatile Treat: Enjoy them on their own, use them to decorate cakes, or serve them alongside hot cocoa for a cozy experience.
Batch-Friendly: With about 24 servings, they store well in the freezer, so you can have a delightful treat ready whenever cravings strike.
Minimal Ingredients: Using just a handful of pantry staples means you can whip these up anytime without a trip to the store.
For more delightful ways to elevate your baking, check out our guide on using egg whites.
Peppermint Meringues Ingredients
For the Meringue
- Egg whites – 4 large eggs whipped to perfection are the key to that light texture.
- Cream of tartar – ¼ teaspoon helps stabilize the egg whites and keep them fluffy.
- Salt – ¼ teaspoon enhances the sweetness of the meringues.
- Granulated sugar – 1 cup, added gradually, is crucial for achieving those stiff peaks that define peppermint meringues.
- Vanilla extract – 1 teaspoon adds a comforting depth to balance the peppermint flavor.
- Peppermint extract – 1 teaspoon brings that refreshing twist that makes these meringues truly delightful.
For the Topping
- Crushed peppermint candies – A sprinkle on top not only adds a festive touch but also an extra crunch and burst of peppermint flavor.
Step‑by‑Step Instructions for Peppermint Meringues
Step 1: Preheat the Oven
Begin by preheating your oven to 200°F (93°C). While it warms up, line a baking sheet with parchment paper, ensuring a smooth surface for your Peppermint Meringues to bake on. This gentle temperature will help them dry out slowly, resulting in a light and airy texture.
Step 2: Whisk the Egg Whites
In a clean mixing bowl, beat the 4 large egg whites on medium speed until they become foamy and begin to increase in volume. This should take about 2-3 minutes. You'll know you're ready for the next step when they appear frothy and are starting to form soft bubbles.
Step 3: Add Cream of Tartar and Salt
Next, add ¼ teaspoon of cream of tartar and ¼ teaspoon of salt to the egg whites. Continue beating at medium speed until soft peaks form, which typically takes around 2-3 minutes. The mixture should look slightly glossy and fluffy, setting the foundation for your meringues.
Step 4: Gradually Incorporate Sugar
Slowly add 1 cup of granulated sugar, one tablespoon at a time, while increasing the mixer speed to high. Beat the egg white mixture for about 5-7 minutes until stiff peaks form. The final texture should be glossy and hold its shape firmly—this is what gives your Peppermint Meringues their delightful structure.
Step 5: Mix in Flavoring
Once the sugar is fully incorporated, gently fold in 1 teaspoon of vanilla extract and 1 teaspoon of peppermint extract using a rubber spatula. This careful folding ensures you retain the airiness of the meringue while introducing those festive flavors that make your Peppermint Meringues truly special.
Step 6: Pipe the Meringues
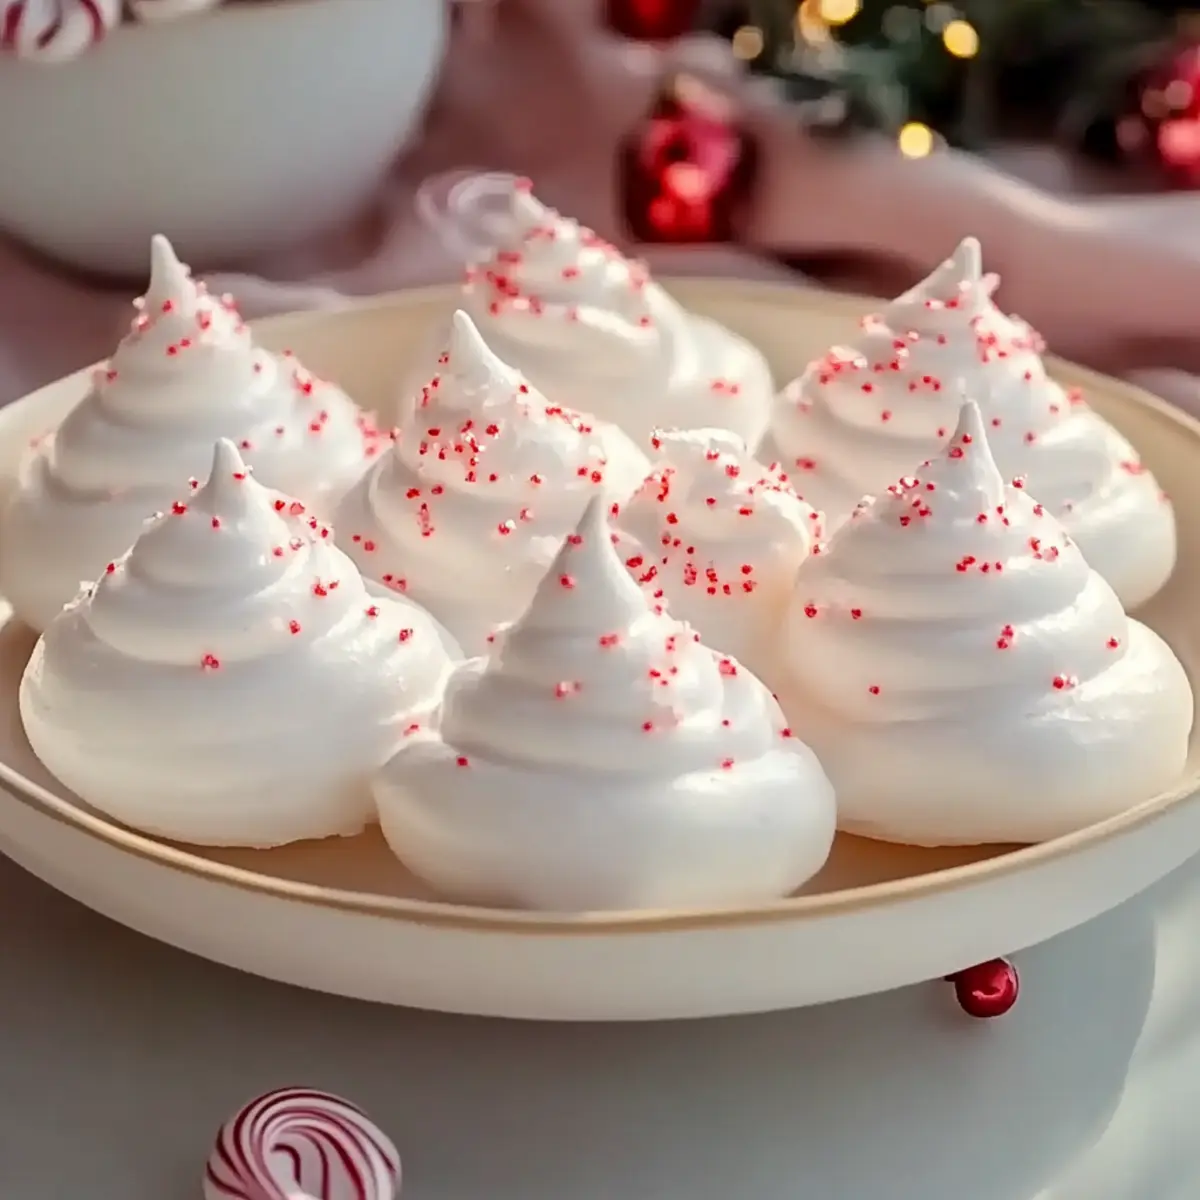
Transfer the meringue mixture into a piping bag fitted with a large star tip. Pipe small mounds onto the lined baking sheet, leaving about an inch of space between each one. Aim for uniform shapes as this will help them bake evenly, adding a charming touch to your holiday dessert spread.
Step 7: Bake the Meringues
Place the baking sheet in the preheated oven and bake for 90 minutes. The meringues should become dry and crisp on the outside, but soft and cloud-like on the inside. Avoid opening the oven door during baking to maintain a steady temperature, which is crucial for achieving the perfect Peppermint Meringues.
Step 8: Cool Down in the Oven
After baking, turn off the oven and leave the meringues inside for an additional cool-down period of 1-2 hours. This gradual cooling process helps to prevent any cracks and allows the meringues to set properly, ensuring they’re perfectly light and airy.
Step 9: Add the Finishing Touch
Once they are completely cool, take the meringues out of the oven and sprinkle crushed peppermint candies on top of each one. This decorative touch not only enhances the village aesthetic but also adds an extra crunch and burst of flavor, elevating your Peppermint Meringues into a festive delight.
Helpful Tricks for Peppermint Meringues
Perfect Egg Whites: Use fresh egg whites at room temperature for better volume and stability. Avoid any yolk contamination, which can hinder peak formation.
Gradual Sugar Addition: Slowly adding sugar while whisking is crucial. If added too quickly, the meringue may not reach stiff peaks, resulting in a less stable meringue.
Oven Door Caution: Resist the urge to open the oven door during baking. This can disrupt the low heating environment, leading to uneven drying and potential collapse of your Peppermint Meringues.
Humidity Check: Meringues love dry conditions! Avoid baking on humid days, as moisture can affect the texture and lead to sticky, chewy meringues.
Cool in the Oven: Allowing the meringues to cool in the oven after baking helps them to dry out fully and prevents cracking, ensuring they remain beautifully light and airy.
Peppermint Meringues Variations & Substitutions
Feel free to get creative with your Peppermint Meringues using these delightful variations that will tickle your taste buds!
- Dairy-Free: Replace the vanilla extract with a dairy-free alternative to keep your meringues friendly for lactose-sensitive friends.
- Sugar-Free: Substitute granulated sugar with a sugar alternative like erythritol to create a lighter version for those watching their sugar intake.
- Flavor Boost: Add a dash of cocoa powder or espresso powder to the mixture for a mocha-flavored surprise. The rich contrast makes each bite even more indulgent.
- Nutty Crunch: Fold in finely chopped nuts like almonds or hazelnuts before piping for an added layer of crunch. These nuts offer a lovely texture and flavor, perfect for the nut lovers among us.
- Spice it Up: Incorporate a pinch of cinnamon or nutmeg to the meringue for a warm, spiced twist that elevates the holiday spirit. It's a cozy adaptation that will leave everyone guessing the surprise flavor.
- Colorful Swirls: Add a few drops of food coloring to your meringue before piping for a festive visual flair. Just ensure to swirl lightly to create beautiful marbling without over-mixing.
- Mint Chocolate: Drizzle melted dark chocolate over the cooled meringues to combine peppermint with a classic pairing. The rich chocolate adds a decadent finish to the light meringue.
- Fruity Touch: Crush freeze-dried fruits like strawberries or raspberries and sprinkle them on top instead of peppermint candies for a refreshing twist of flavor and color.
Explore these delightful variations and let your Peppermint Meringues reflect your unique taste!
How to Store and Freeze Peppermint Meringues
Room Temperature: Store Peppermint Meringues in an airtight container at room temperature for up to 3 days to retain their crisp texture.
Fridge: While not ideal, if needed, you can keep them in the fridge for up to 2 days. Be sure to use an airtight container to prevent moisture accumulation.
Freezer: For longer storage, freeze meringues in a single layer on a baking sheet, then transfer to an airtight container for up to 3 months. Allow them to thaw at room temperature before serving.
Reheating: There’s no need to reheat meringues, as their delightful crispness should remain intact when stored properly. Perfect for a quick sweet treat anytime!
Make Ahead Options
These Peppermint Meringues are a fantastic option for meal prep, allowing you to focus on other holiday festivities! You can prepare the meringue mixture up to 24 hours in advance and keep it refrigerated in an airtight container to maintain its fluffy texture. When you're ready to enjoy them, simply pipe the meringue onto the baking sheet and bake as directed, ensuring they’re equally delightful. For added convenience, the finished meringues can be stored in an airtight container at room temperature for up to 3 days, allowing you to enjoy their light, airy texture without the stress of last-minute preparation. Just wait to sprinkle crushed peppermint candies on top until right before serving to keep them fresh and vibrant!
What to Serve with Peppermint Meringues?
Elevate your festive gatherings with delicious pairings that complement the light, airy sweetness of these delightful meringues.
-
Rich Hot Chocolate: The smooth, creamy texture of rich hot chocolate balances the meringue's crispness, creating a comforting duo perfect for chilly evenings.
-
Vanilla Ice Cream: A scoop of vanilla ice cream provides a delightful temperature contrast, and the creaminess harmonizes with the refreshing peppermint flavor.
-
Spiced Apple Cider: Warm spiced apple cider offers a fragrant and cozy backdrop, enhancing the meringues' sweetness while adding a seasonal touch.
-
Chocolate Fondue: Dip these meringues into silky chocolate fondue for a whimsical treat, where the contrasting textures and flavors create pure indulgence.
-
Berry Compote: A tart berry compote provides a refreshing and fruity counterpoint to the sugary sweetness of meringues, making for an elegant dessert plate.
-
Coffee or Espresso: The bold flavors of coffee or espresso cut through the sweetness, making for a sophisticated pairing that enhances each sweet bite.
-
Fruit Salad: A zesty fruit salad filled with citrus and seasonal fruits adds freshness and a delightful contrast to the light meringues, balancing the dessert beautifully.
Serve these delightful combinations for a memorable culinary experience that leaves your guests in awe!
Peppermint Meringues Recipe FAQs
What is the best way to select fresh egg whites for Peppermint Meringues?
Absolutely! When selecting egg whites, choose large eggs that are free from any cracks. Freshness is key—look for eggs that have been refrigerated as they whip better than older ones. I often recommend purchasing eggs with a far-off expiration date to ensure vitality for your meringues.
How should I store Peppermint Meringues to maintain their crispness?
To keep your Peppermint Meringues crispy, store them in an airtight container at room temperature for up to 3 days. If you need to keep them longer, avoid the fridge as moisture can ruin their texture. Instead, store them in a cool, dry place away from humidity.
Can I freeze Peppermint Meringues, and how do I do it properly?
Absolutely! To freeze your Peppermint Meringues, spread them in a single layer on a baking sheet and place them in the freezer for about 1 hour until frozen solid. Once firm, transfer the meringues to an airtight container with parchment paper between layers, and store for up to 3 months. When you're ready to enjoy, let them thaw at room temperature without unsealing the container to prevent condensation.
What should I do if my meringue doesn’t form stiff peaks?
If your meringue isn't reaching stiff peaks, check that your mixing bowl and whisk are completely clean and free of grease or yolks, as these can hinder the whipping process. Ensure you’re also gradually adding the sugar over several minutes instead of all at once to stabilize the mixture. If it still won’t hold, you can try adding a pinch more cream of tartar.
Are there any dietary considerations I should be aware of when making Peppermint Meringues?
While Peppermint Meringues are free from gluten and dairy, they do contain egg whites, which might pose a risk for those with egg allergies. For a festive twist suitable for more dietary restrictions, consider using a vegan egg alternative such as aquafaba (the liquid from chickpeas) in a similar meringue process for a delightful egg-free version.
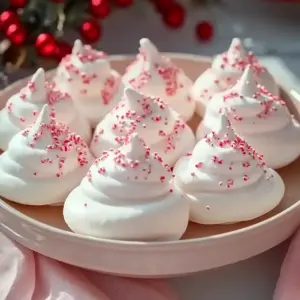
Delightful Peppermint Meringues for a Festive Treat
Equipment
- mixing bowl
- whisk
- Piping bag
- baking sheet
- parchment paper
Ingredients
For the Meringue
- 4 large Egg whites whipped to perfection
- ¼ teaspoon Cream of tartar helps stabilize the egg whites
- ¼ teaspoon Salt enhances sweetness
- 1 cup Granulated sugar added gradually
- 1 teaspoon Vanilla extract adds depth
- 1 teaspoon Peppermint extract brings refreshing twist
For the Topping
- Crushed peppermint candies for festive touch
Instructions
Step‑by‑Step Instructions for Peppermint Meringues
- Preheat your oven to 200°F (93°C) and line a baking sheet with parchment paper.
- Beat the egg whites on medium speed until foamy and increased in volume, about 2-3 minutes.
- Add cream of tartar and salt to the egg whites, and continue beating until soft peaks form, about 2-3 minutes.
- Gradually add sugar, one tablespoon at a time, and beat until stiff peaks form, about 5-7 minutes.
- Gently fold in vanilla extract and peppermint extract using a rubber spatula.
- Transfer the meringue mixture into a piping bag and pipe small mounds onto the lined baking sheet.
- Bake for 90 minutes until the meringues are dry and crisp on the outside.
- Turn off the oven and leave the meringues inside to cool for 1-2 hours.
- Once cool, sprinkle crushed peppermint candies on top of each meringue.


Leave a Reply