As the autumn leaves start to dance along the ground, I find myself daydreaming about the delightful treats that come with the Halloween season. This year, I’m excited to whip up a batch of Halloween Pretzels—a fun and playful twist on a classic snack. Not only are these sweet-and-salty bites a breeze to prepare, taking just 25 minutes from start to finish, but they also bring a burst of color to your festive gatherings. With candy melts in vibrant hues and a sprinkle of Halloween spirit, these pretzels are perfect for parties, lunchboxes, or even as unique gifts. Curious about how to make them? Let’s dive in and create some spooky fun together!
Why are Halloween Pretzels a must-try?
Fun and Festive: These Halloween Pretzels are a whimsical treat that instantly brighten up any gathering with their vibrant colors and playful designs.
Quick Prep: With only 10 minutes of active prep time, you can whip up your spooky snacks in a flash.
Versatile Toppings: Customize these pretzels with your favorite toppings, like crushed Oreos for a delicious twist or a mix of candy eyes to give them character!
Crowd-Pleaser: Whether for kids or adults, these bites are sure to be a hit at any Halloween party or festive soirée.
Perfect for Gifting: Package them in cellophane bags tied with a ribbon to share your spooky creations as unique gifts—there’s magic in homemade treats!
Ready to indulge in some deliciously fun Halloween spirit? Make your pretzels today and delight your friends and family!
Halloween Pretzel Ingredients
• Let’s gather the essentials for crafting these spooky snacks!
For the Pretzels
- 3 cups mini pretzels – Choose twists or rods depending on your texture preference.
For the Coating
- 2 cups candy melts – Opt for white, orange, and black to capture the Halloween spirit perfectly.
For Decoration
- 1 cup Halloween sprinkles – A dazzling way to add festive flair to your pretzels.
- 1 cup candy eyes – These fun additions will give your pretzels a playful personality!
- ½ cup crushed Oreos (optional) – Sprinkle on top for an extra crunch that pairs wonderfully with the sweetness.
For Preparation
- Parchment paper – Essential for lining your baking sheet and making cleanup a breeze.
Gather these ingredients, and you’ll be all set to create your deliciously fun Halloween Pretzels!
Step‑by‑Step Instructions for Halloween Pretzels
Step 1: Line the Baking Sheet
Begin by laying parchment paper on a baking sheet to prepare for your Halloween Pretzels. This will not only prevent sticking but also make clean-up effortless later. Make sure the parchment is smooth and flat, so your creations have a solid base to rest on while they cool.
Step 2: Melt the Candy Melts
In a microwave-safe bowl, add your chosen candy melts—white, orange, and black—and microwave them in 30-second intervals. Stir between each interval until the candy is completely smooth and melted, which should take about 1 to 2 minutes total. Be careful not to overheat! The melted candy should have a glossy, pourable consistency.
Step 3: Dip the Pretzels
Now for the fun part! Take your mini pretzels and dip them into the melted candy, ensuring they’re fully coated. Allow any excess candy to drip off back into the bowl before placing them on the parchment-lined baking sheet. If you prefer, you can also drizzle the melted candy over the pretzels for an artistic touch.
Step 4: Add Festive Toppings
Before the melted candy sets, it’s time to elevate your Halloween Pretzels with festive decorations. Sprinkle a generous amount of Halloween sprinkles, place candy eyes for a playful look, or add crushed Oreos for a delicious crunch. Work quickly to ensure the toppings stick before the coating hardens!
Step 5: Let the Pretzels Harden
Allow your decorated pretzels to cool and set on the baking sheet. This should take about 15 minutes at room temperature. You’ll know they’re ready when the candy coating feels firm to the touch and no longer sticky, ensuring your Halloween Pretzels are perfectly solidified.
Step 6: Store Your Treats
Once your Halloween Pretzels have set and are completely cool, carefully transfer them to an airtight container. They can be stored at room temperature for up to seven days, staying fresh for your Halloween celebrations or gifting. Enjoy your delightful treats!
Expert Tips for Halloween Pretzels
-
Choose Quality Candy: Use high-quality candy melts for a smoother coating. This will help prevent clumping and ensure your Halloween Pretzels have a glossy finish.
-
Timing is Key: Work quickly after dipping to add toppings. The melted candy sets fast, so be prepared with sprinkles and eyes at the ready before you start.
-
Avoid Overheating: When melting candy melts, do it in short intervals. Overheating can cause the candy to seize, making it unusable for your Halloween Pretzels.
-
Experiment with Flavors: Don't hesitate to mix flavors or colors of candy melts for a unique twist. Just remember to keep the color theme in mind for that Halloween spirit!
-
Proper Storage: Let the pretzels harden completely before storing them in an airtight container. They will remain fresh for up to a week—perfect for extending the Halloween fun!
Make Ahead Options
These Halloween Pretzels are perfect for meal prep enthusiasts looking to save time during the busy Halloween season! You can prepare the pretzels by melting the candy and dipping them up to 24 hours in advance, allowing you to decorate them just before the party. To maintain their festive flair and taste, store the dipped pretzels in a single layer between sheets of parchment paper in an airtight container. When it's time to enjoy, simply add the sprinkles, candy eyes, or crushed Oreos before serving, ensuring they look just as delightful and delicious as if made fresh. By prepping ahead, you'll have more time to enjoy the spooky festivities!
How to Store and Freeze Halloween Pretzels
Room Temperature: Store your Halloween Pretzels in an airtight container for up to 7 days to maintain their freshness and crunch.
Fridge: If you prefer a colder treat, you can refrigerate them; however, they’re best enjoyed at room temperature for optimal flavor.
Freezer: For longer storage, freeze the pretzels in a single layer on a baking sheet, then transfer to an airtight container for up to 3 months. Thaw at room temperature before serving.
Reheating: These playful pretzels are best enjoyed as is, but if they lose some crispness after freezing, quickly warm them in the oven at 200°F for a few minutes to revitalize.
What to Serve with Halloween Pretzels
Elevate your festive treat experience with delightful accompaniments that complement the magic of Halloween.
- Apple Slices with Caramel Dip: The crispness of fresh apples and sweet caramel adds a refreshing contrast to the sweetness of pretzels.
- Cheese Board: Include sharp cheddar and creamy brie for a savory balance that enhances the sweet flavors of your pretzels.
- Pumpkin Spice Hot Chocolate: Rich and creamy, this drink brings warm autumn spice that pairs perfectly with the whimsical pretzels.
- Popcorn Mix: Create a festive blend by tossing popcorn with candy corn and nuts, adding crunch and chewy sweetness.
- Spooky Cupcakes: Decorated with Halloween motifs, these cupcakes are a fun way to keep the festive theme alive and satisfy a sweet tooth.
- Candy Apples: Tart apples coated in a crunchy caramel glaze provide a delightful texture and a nostalgic Halloween vibe.
- Gummy Worms and Spiders: Add a playful touch to your snack table, enhancing the spooky atmosphere with a classic Halloween treat.
- Vanilla Yogurt Dip: A smooth and creamy dip brings a unique twist that harmonizes with the flavors for a delightful dipping experience.
- Sparkling Cider: The bubbles and light sweetness of sparkling cider provide a festive drink option that complements the fun atmosphere.
- Chocolate-Covered Marshmallows: Soft, chewy marshmallows enrobed in chocolate offer a rich flavor that pairs well with your Halloween Pretzels.
Halloween Pretzels: Creative Variations
Feel free to get playful and personalize your Halloween Pretzels with these fun and exciting twists!
-
Gluten-Free: Substitute mini pretzels with gluten-free pretzel options to keep everyone included in the festive fun.
-
Nutty Delight: Drizzle almond or peanut butter on top for an extra layer of flavor that adds a creamy texture perfect for nut lovers.
-
Spicy Kick: Mix a pinch of cayenne pepper into your melted candy for an unexpected heat that’ll surprise and delight adventurous eaters!
-
Dark Chocolate Drizzle: Swap candy melts for melted dark chocolate for a rich, decadent option that pairs well with Oreos and adds a sophisticated touch.
-
Fruit Flavors: Use flavored candy melts like raspberry or lemon for a fruity twist that adds a refreshing flavor profile to your Halloween treats.
-
Sprinkle Swap: Go beyond Halloween sprinkles! Try using edible glitter or seasonal-themed sprinkles to create even more whimsical designs that dazzle and amaze.
-
Candy Corn Layer: Add layers of candy corn between chocolate-coated pretzels for a crunchy, sweet surprise that honors a Halloween classic.
-
Mini Marshmallows: Top with mini marshmallows before the coating sets for a sweet campfire-inspired twist that evokes nostalgic fall memories.
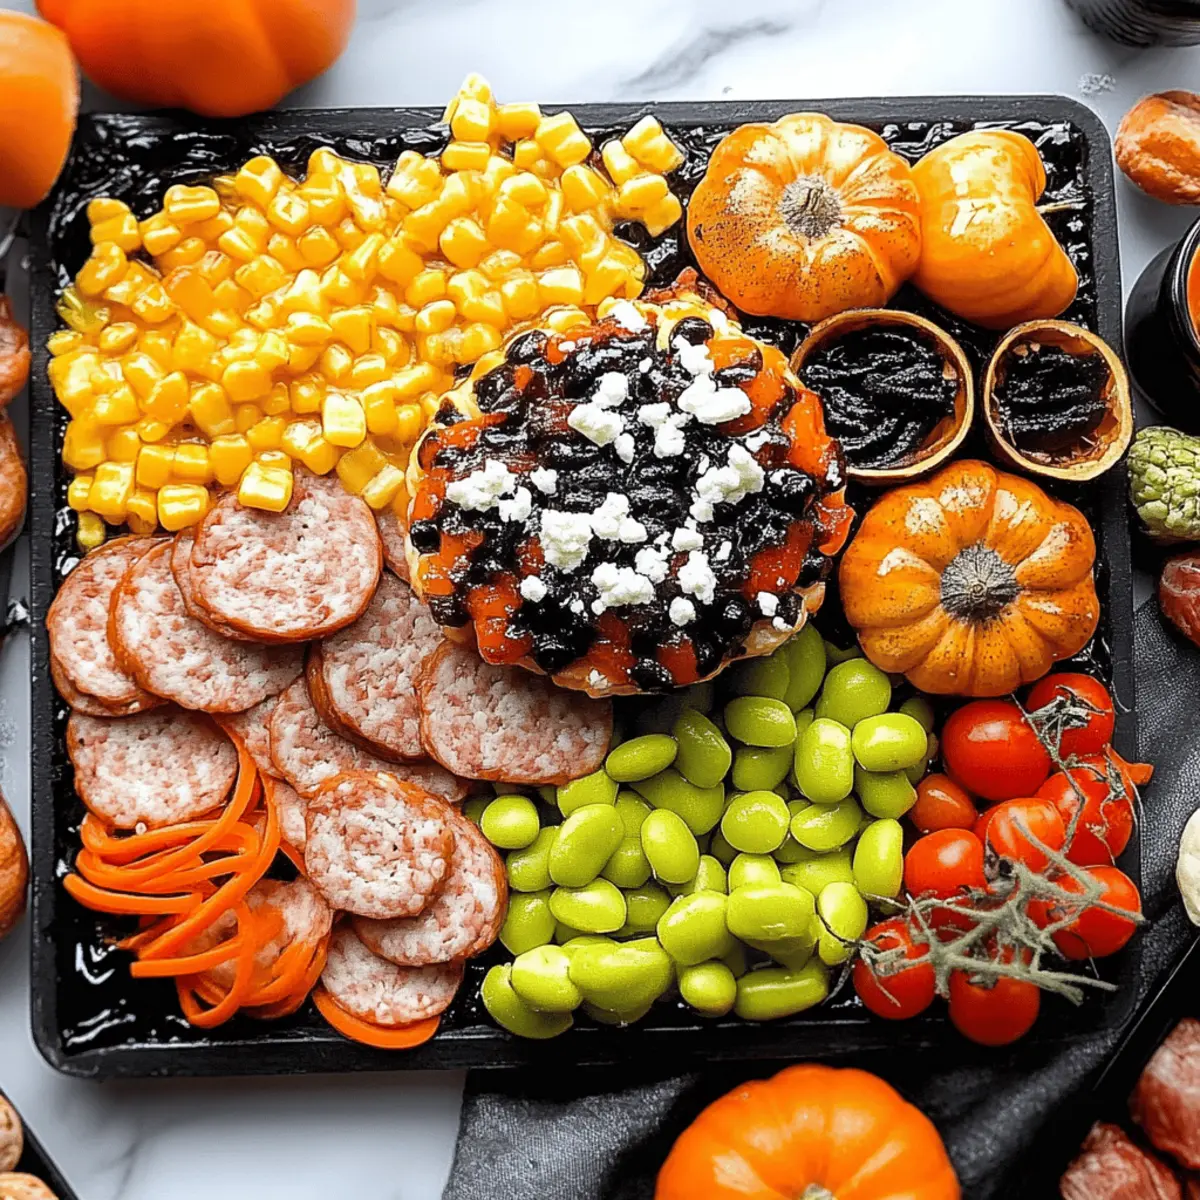
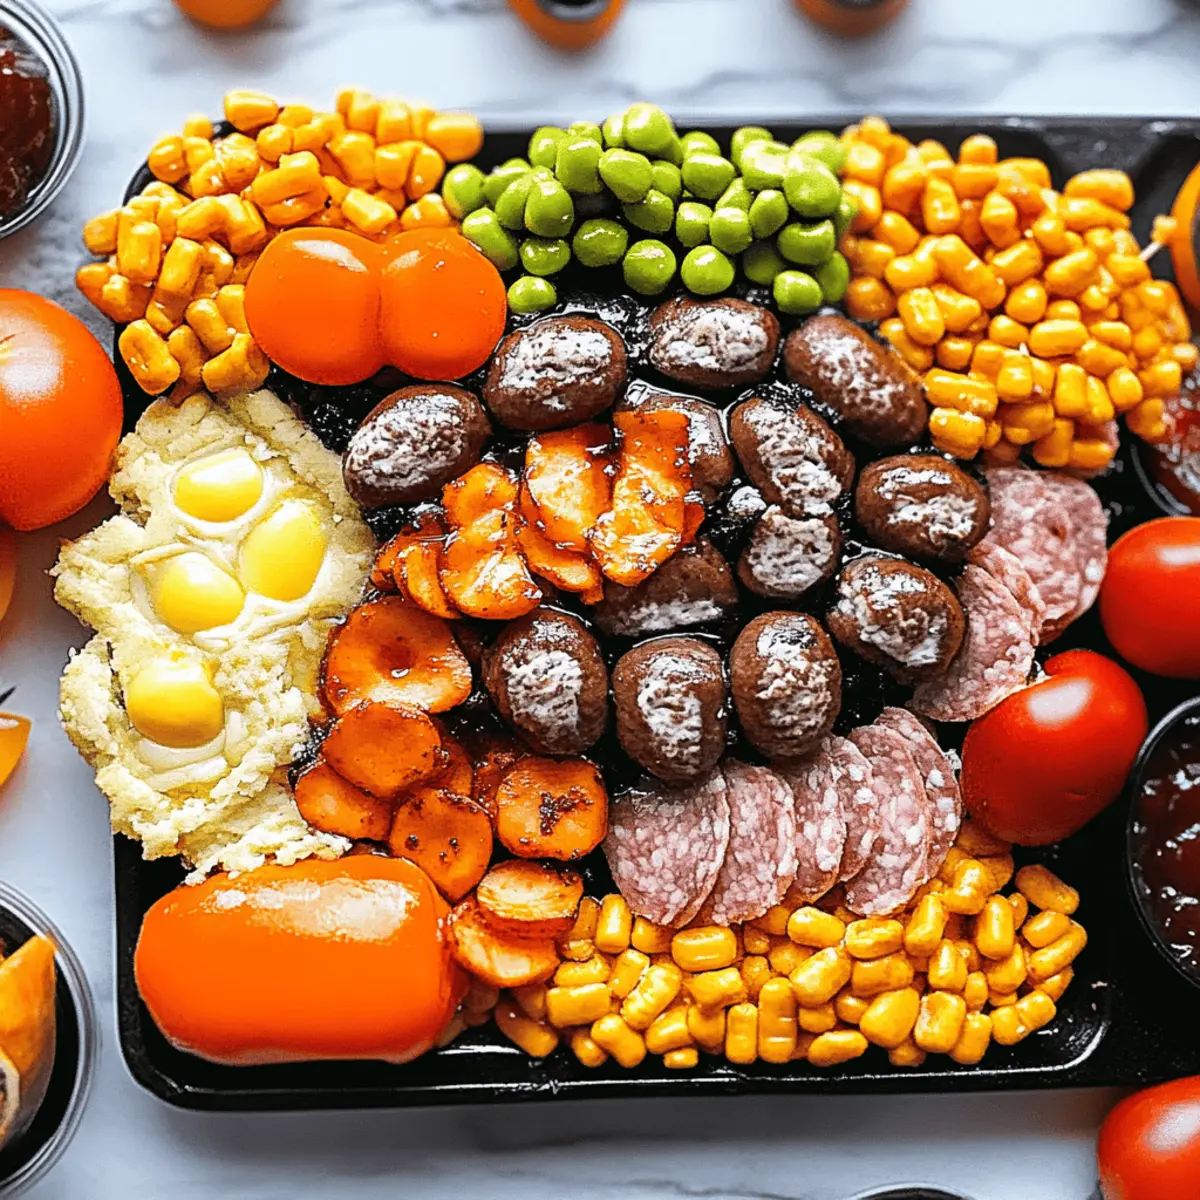
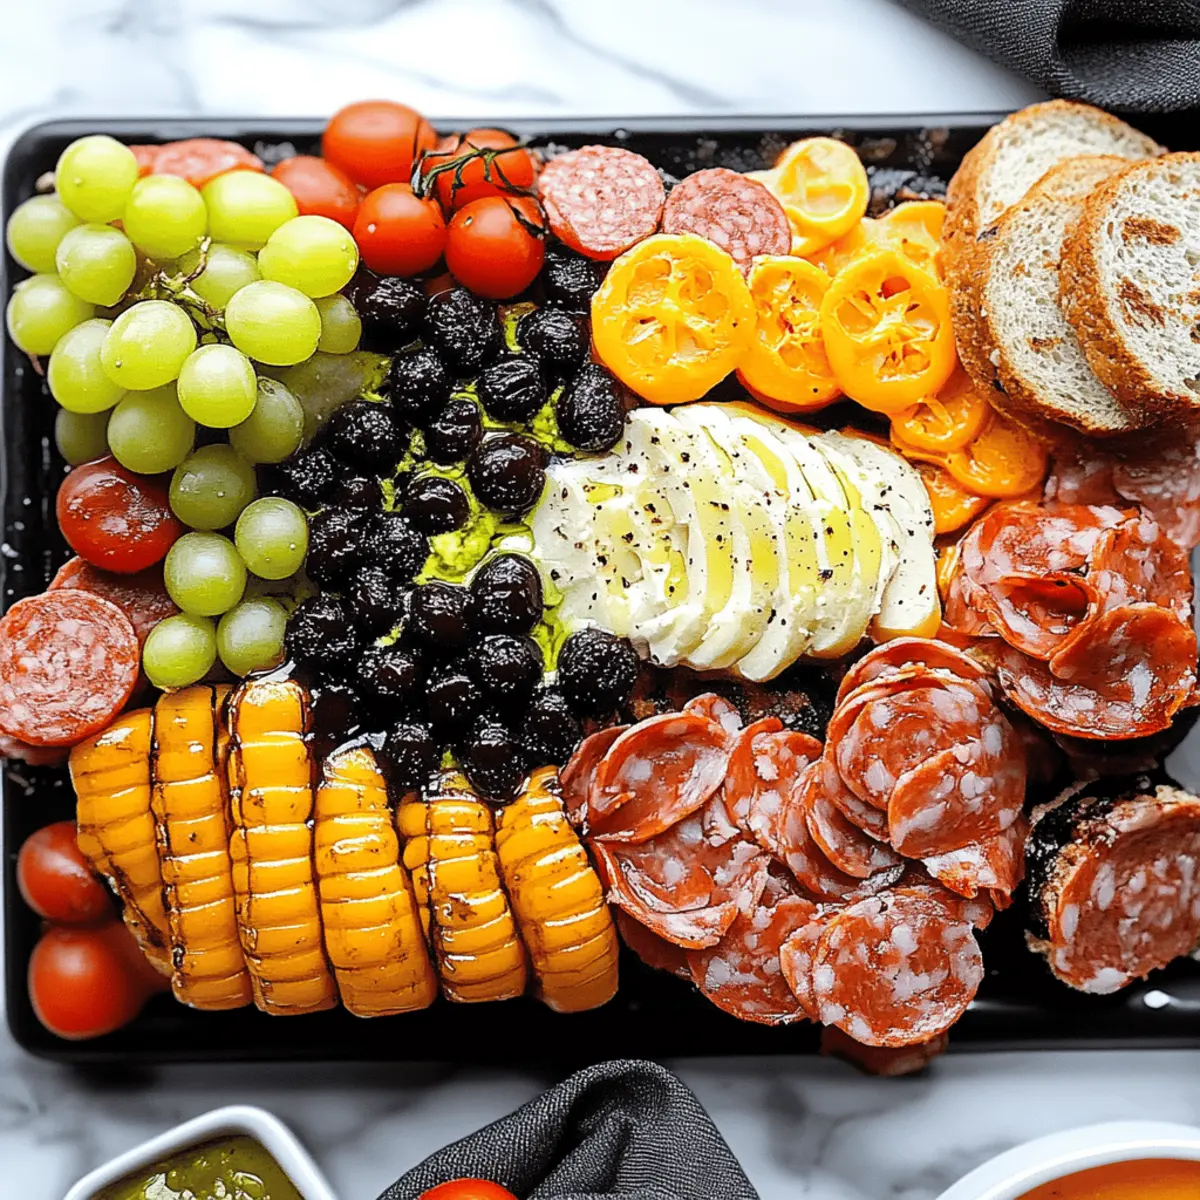
Want more inspiration? Check out these delicious ideas: try pairing these pretzels with a spooky charcuterie board for a delightful party spread, or create a festive treat bag that includes your favorite Halloween treats! The colorful possibilities are endless this spooky season!
Halloween Pretzels Recipe FAQs
How do I choose the right pretzels for Halloween Pretzels?
Absolutely! You can either opt for twists or rods, depending on your personal preference. Twists provide a fun bite, while rods offer a great surface area for coating and toppings. Just make sure they’re fresh—look for any signs of staleness, like a dry texture.
What’s the best way to store Halloween Pretzels?
For optimal freshness, store your Halloween Pretzels in an airtight container at room temperature for up to 7 days. If you want to prep them ahead of time, they can be made and stored for up to 5 days in advance. Always keep them sealed tight to maintain that delicious crunch!
Can I freeze my Halloween Pretzels? If so, how?
Certainly! If you want to store them longer, freezing is a great option. First, lay the pretzels in a single layer on a baking sheet and freeze them until solid, about 1-2 hours. Then, transfer them to an airtight container or freezer bag, separating layers with parchment paper. They can stay fresh for up to 3 months! When you're ready to enjoy them, simply thaw at room temperature.
What should I do if my melted candy isn't smooth?
Very common! If your melted candy melts appear lumpy or thick, try adding a small amount of vegetable oil or coconut oil, about a teaspoon, and stir well. This can help thin it out and create a smoother consistency. Just be careful not to use too much—halt the melting process if you see any separation.
Are Halloween Pretzels safe for pets or those with nut allergies?
Absolutely! This recipe is typically safe for pets unless they have specific allergies to the ingredients used. However, avoid sharing any sweet treats with pets, as ingredients like chocolate can be harmful. Plus, all our ingredients are nut-free, making these pretzels suitable for most individuals with nut allergies, but always check labels to ensure you're safe!
Can I customize the toppings for my Halloween Pretzels?
Very much so! The more, the merrier! Feel free to get creative—add your favorite candies, crushed nuts, or colorful sprinkles. Just ensure that the toppings complement the sweet and salty flavors of the pretzels, and have fun making them uniquely yours!
Deliciously Fun Halloween Pretzels for Spooky Treats
Equipment
- microwave
- baking sheet
- parchment paper
- Microwave-safe bowl
Ingredients
For the Pretzels
- 3 cups mini pretzels Choose twists or rods depending on your texture preference.
For the Coating
- 2 cups candy melts Opt for white, orange, and black to capture the Halloween spirit perfectly.
For Decoration
- 1 cup Halloween sprinkles A dazzling way to add festive flair to your pretzels.
- 1 cup candy eyes These fun additions will give your pretzels a playful personality!
- ½ cup crushed Oreos Optional - Sprinkle on top for an extra crunch.
For Preparation
- 1 parchment paper Essential for lining your baking sheet.
Instructions
Step-by-Step Instructions
- Line the Baking Sheet: Begin by laying parchment paper on a baking sheet to prepare for your Halloween Pretzels. This will not only prevent sticking but also make clean-up effortless later.
- Melt the Candy Melts: In a microwave-safe bowl, add your chosen candy melts and microwave them in 30-second intervals, stirring in between until smooth and glossy.
- Dip the Pretzels: Take your mini pretzels and dip them into the melted candy, ensuring they’re fully coated. Allow any excess to drip before placing on the parchment.
- Add Festive Toppings: Before the melted candy sets, sprinkle Halloween sprinkles, place candy eyes, or add crushed Oreos for crunch.
- Let the Pretzels Harden: Allow the pretzels to cool and set for about 15 minutes until the coating feels firm.
- Store Your Treats: Transfer the cool pretzels to an airtight container and store at room temperature for up to 7 days.

Leave a Reply