
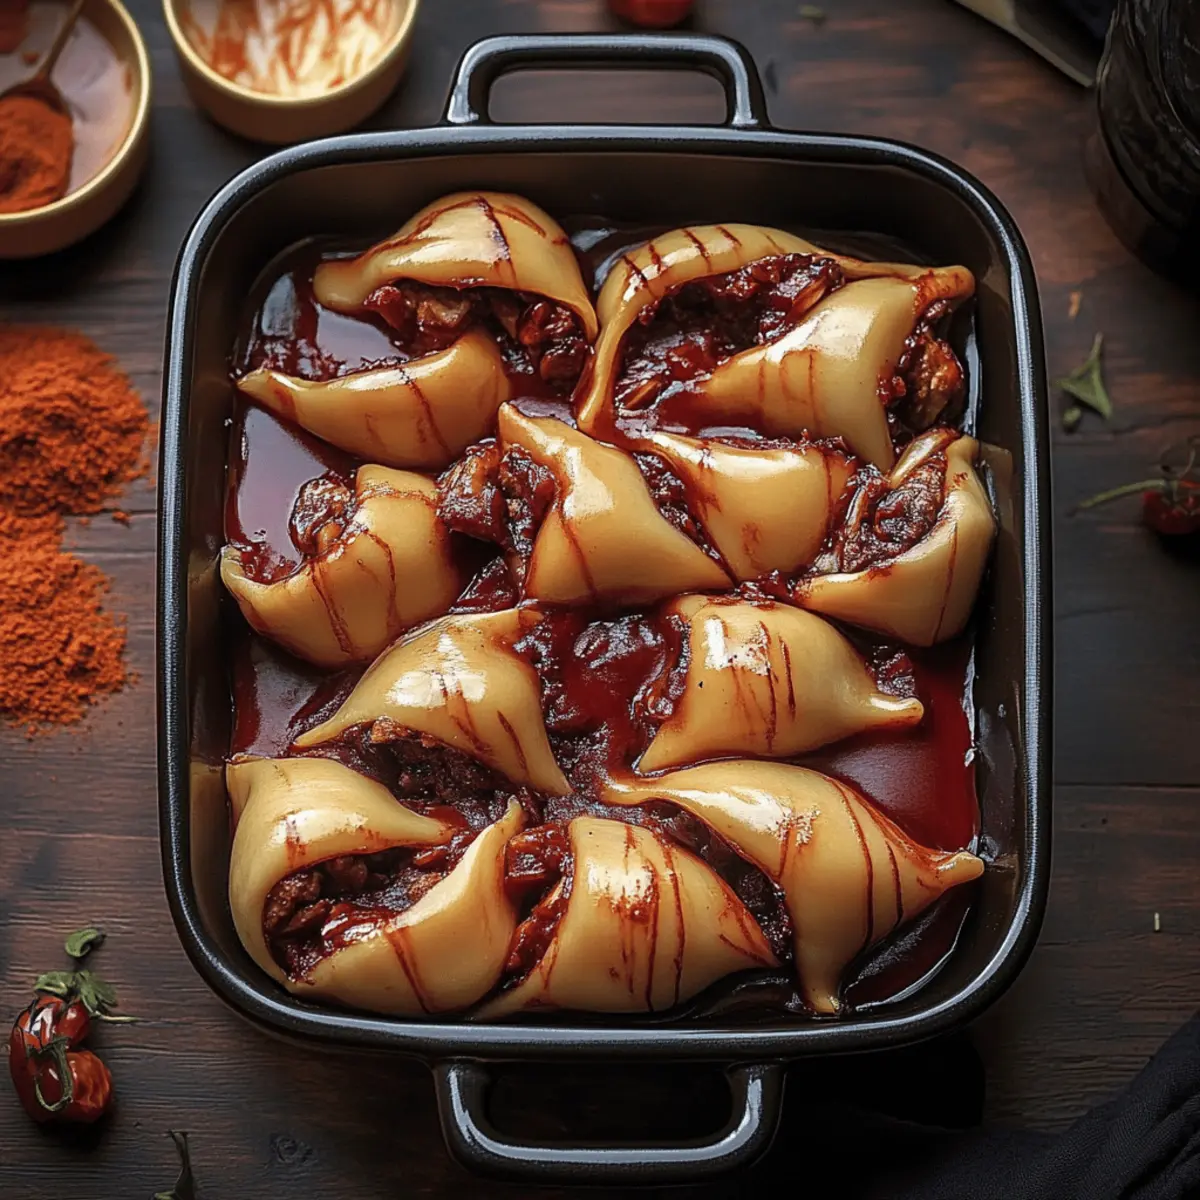
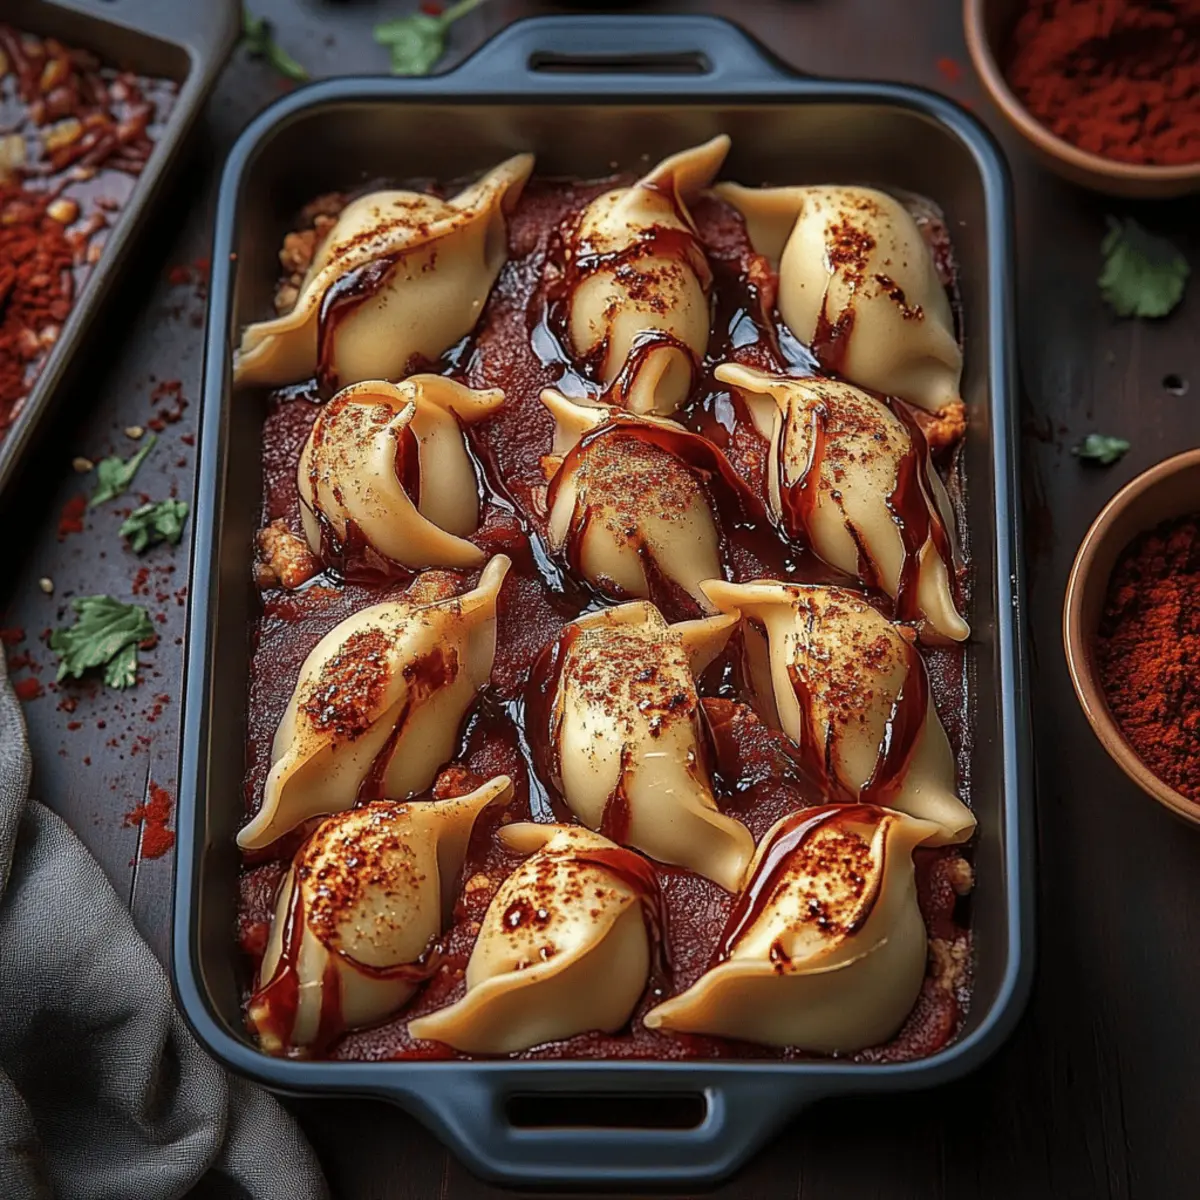
As Halloween approaches, the thought of serving up something playful and spooky in the kitchen strikes me as a delightfully thrilling idea. Meet my Zombie Guts Stuffed Shells—a fun and delicious twist on a classic dish that’s perfect for all ages! Not only are these stuffed shells packed with creamy ricotta and savory mozzarella, but the vibrant beet-tomato sauce brings a nutritious kick that’s bound to impress guests and family alike. With just 20 minutes of prep time, you’ll have this crowd-pleaser ready to bake in no time, making it ideal for busy weeknights or festive gatherings. Who knew that a little whimsy in your cooking could lead to such satisfaction? Are you ready to uncover the secrets of these ghoulishly good shells?
Why are these Zombie Guts Stuffed Shells irresistible?
Playful presentation: The spooky vibes of these shells make dinner fun, especially around Halloween.
Creamy richness: The combination of ricotta, mozzarella, and Parmesan creates a luscious filling that everyone loves.
Vibrant sauce: The beet-tomato sauce not only adds a pop of color but also a unique flavor twist that elevates the dish.
Quick and easy: With just 20 minutes of prep, you'll have a wholesome dinner ready for busy weeknights.
Crowd-pleaser: Perfect for gatherings, these shells are sure to impress both kids and adults alike. If you're looking for more inventive meal ideas, don’t miss out on exploring our easy stuffed veggies for a delightful side dish!
Zombie Guts Stuffed Shells Ingredients
• Get ready to concoct a deliciously spooky meal!
For the Filling
- Jumbo pasta shells – 12 shells are perfect for holding all that cheesy goodness!
- Ricotta cheese – 1 cup adds a creamy, milky flavor to the filling.
- Shredded mozzarella cheese – 1 cup melts beautifully for a gooey texture that pulls perfectly.
- Grated Parmesan cheese – ½ cup contributes a deliciously nutty flavor and richness.
- Fresh parsley, chopped – ¼ cup gives a fresh herbal note, balancing the richness of the cheeses.
- Fresh basil, chopped – ¼ cup enhances the dish with sweet, aromatic flavors.
- Garlic, minced – 1 clove infuses the filling with a warm, savory kick.
- Salt and pepper – to taste, season the mixture for the perfect flavor harmony.
For the Sauce
- Beet-tomato sauce – 2 cups of homemade or store-bought adds a colorful twist and enhances the dish's flavor while making it more nutritious.
For the Drizzle
- Balsamic glaze – 1 tablespoon adds a sweet-tart finishing touch that complements the other flavors.
- Black garlic oil – 1 tablespoon provides a unique depth with its sweet, earthy notes.
Unleash your culinary creativity with these Zombie Guts Stuffed Shells!
Step‑by‑Step Instructions for Zombie Guts Stuffed Shells
Step 1: Preheat the Oven
Begin by preheating your oven to 375°F (190°C). This will ensure a perfectly baked dish. While the oven warms, gather your baking dish and prepare it for the Zombie Guts Stuffed Shells, creating a cozy space for your delicious creation.
Step 2: Cook the Pasta Shells
Cook the jumbo pasta shells in a large pot according to the package directions until they are al dente. This usually takes about 8-10 minutes. Once cooked, drain them and set aside to cool. They should be firm yet tender, ready to hold your lovely filling.
Step 3: Mix the Filling
In a mixing bowl, combine the ricotta, mozzarella, and Parmesan cheeses along with chopped parsley, basil, minced garlic, salt, and pepper. Stir well until the ingredients are fully blended into a creamy and fragrant filling. This will be the heart of your Zombie Guts Stuffed Shells, so make sure it's flavorful!
Step 4: Stuff the Shells
Generously fill each cooked pasta shell with the prepared cheese mixture. Use a spoon or a piping bag for ease. Ensure each shell is well-packed, ready to burst with cheesy goodness when baked. Place them side by side in the baking dish as you fill.
Step 5: Assemble the Dish
Spread half of your beet-tomato sauce evenly across the bottom of the baking dish. This vibrant sauce not only adds flavor but also prevents the shells from sticking. Arrange the stuffed shells on top of the sauce, ensuring they're snug but not overcrowded.
Step 6: Add the Remaining Sauce
Pour the remaining beet-tomato sauce over the stuffed shells, making sure each shell is generously coated. This will enhance the overall flavor and ensure that your Zombie Guts Stuffed Shells stay moist during baking.
Step 7: Drizzle the Finish
Drizzle the balsamic glaze and black garlic oil over the top of the assembled dish. This step adds a delightful layer of flavor and an inviting shine to your shells. The combination of the sauces will complement the cheesy filling perfectly.
Step 8: Bake
Cover the baking dish with foil and pop it into the preheated oven. Bake for 25 minutes, allowing the flavors to meld and the cheese to warm through. The foil will trap the steam, ensuring the shells stay moist and delicious.
Step 9: Crisp the Cheese
After 25 minutes, remove the foil and bake for an additional 10 minutes. This will allow the cheese on top to bubble and turn golden brown, creating a delightful crust. Keep an eye on them for that perfect golden hue—it’s an inviting sight!
Step 10: Serve and Savor
Once baked, remove your Zombie Guts Stuffed Shells from the oven and let them sit for a few minutes. This resting time will help everything settle, making it easier to serve. Now, gather your loved ones and dig into this ghoulishly delicious dish!
Zombie Guts Stuffed Shells Variations
Feel free to unleash your creativity and personalize these ghoulishly delicious shells with these fun twists!
-
Vegetarian Delight: Substitute the mushrooms with drained spinach or sautéed zucchini for a fresh veggie boost. They’ll lighten the dish without sacrificing flavor, bringing a vibrant taste to your plate.
-
Meat Lovers: Add cooked ground beef or Italian sausage to the cheese filling for a hearty, protein-packed twist. The richness of the meat perfectly complements the creamy cheese, making each bite satisfying.
-
Spicy Kick: Incorporate red pepper flakes into the filling for a spicy surprise! It’s an easy way to turn up the heat if you enjoy a bit more fire in your dish.
-
Gluten-Free: Swap out the jumbo pasta shells for gluten-free alternatives, such as rice or quinoa-stuffed peppers. The flavor continues to shine, and you cater to gluten sensitivities beautifully.
-
Herb Infusion: Experiment with different herbs like cilantro or dill instead of parsley and basil. Each herb brings its distinctive flavor profile, changing the whole feel of your Zombie Guts!
-
Nutty Crunch: Top with toasted pine nuts or chopped walnuts before serving for that satisfying crunch. The nuttiness adds a delightful texture contrast that keeps things interesting.
-
Cheesy Upgrade: For a gourmet twist, try adding a variety of cheeses like goat cheese or feta into the filling. Their tangy notes will complement the richness of ricotta, making it even more unique.
-
Veggie Sauce: Swap out beet-tomato sauce for a creamy pesto or a roasted red pepper sauce. The vibrant colors and refreshing flavors will give your Zombie Guts a whole new vibe!
Feel free to dive into these variations, and don’t forget to check out our easy stuffed veggies for a delightful companion dish that brings colorful nutrition to the table!
Make Ahead Options
These Zombie Guts Stuffed Shells are perfect for meal prep, saving you time during busy weeknights! You can prepare the stuffed shells up to 24 hours in advance by following these easy steps: After assembling the dish, cover it tightly with foil and refrigerate. To maintain the delicious quality, add a little extra beet-tomato sauce before baking if the shells appear dry. When you’re ready to serve, simply bake them straight from the fridge—add an extra 5-10 minutes to the baking time for best results. You can also freeze the unbaked shells for up to 3 months. Just remember to thaw them overnight in the fridge before baking for a delightful, hassle-free dinner!
Expert Tips for Zombie Guts Stuffed Shells
-
Perfect Pasta: Cook pasta shells just until al dente; they’ll finish cooking in the oven without getting mushy.
-
Cheese Balance: Use a blend of fresh cheeses for flavor. Avoid pre-shredded cheese, as it can contain anti-caking agents that affect melting.
-
Sauce Layering: Don’t skip spreading sauce in the baking dish first; it prevents sticking and adds moisture to your Zombie Guts Stuffed Shells.
-
Flavor Boost: Let the filling sit for 10 minutes after mixing. This allows the flavors to mingle beautifully before stuffing.
-
Crispy Topping: For an extra crispy layer, broil for a minute after baking. Watch closely to avoid burning!
-
Storing Leftovers: If you have leftovers, store them in an airtight container in the fridge for up to three days. Reheat gently for the best taste.
What to Serve with Zombie Guts Stuffed Shells?
Build a feast that enhances the whimsical delight of your dinner with these vibrant pairings.
-
Garlic Bread: Crispy, buttery bread filled with garlic goodness is perfect for soaking up that delicious beet-tomato sauce. Every bite melds flavor and texture beautifully!
-
Side Salad: A fresh mix of greens, tomatoes, and cucumbers drizzled with a tangy vinaigrette adds a refreshing crunch that balances the hearty stuffed shells.
-
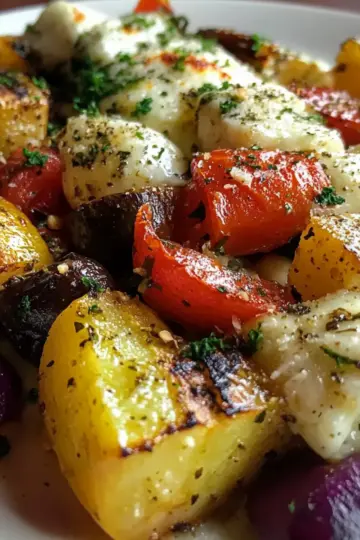
Roasted Vegetables: Seasonal veggies drizzled with olive oil and roasted to perfection provide a crispy texture, adding depth and color to your plate.
-
Creamy Polenta: Soft, creamy polenta can be spooned alongside your shells, offering a comforting and smooth texture that complements the cheesy stuffing.
-
Sparkling Lemonade: A fizzy, citrusy drink that brings zest and a refreshing contrast, making every bite of the rich, cheesy shells come alive.
-
Chocolate Mousse: End the meal on a sweet note with a light and airy dessert that melts in your mouth, creating a lovely finish after the savory main course.
How to Store and Freeze Zombie Guts Stuffed Shells
Fridge: Store your leftover Zombie Guts Stuffed Shells in an airtight container for up to 3 days. Reheat in the oven at 350°F (175°C) until warmed through.
Freezer: For longer storage, freeze the stuffed shells before baking. Wrap them tightly in plastic wrap and then foil for up to 2 months. Bake straight from the freezer, adding extra time to ensure they're heated completely.
Reheating: If frozen, thaw in the fridge overnight before baking. If baked and then frozen, reheat in the oven at 350°F (175°C) until bubbly and golden.
Zombie Guts Stuffed Shells Recipe FAQs
How do I select ripe ingredients for my Zombie Guts Stuffed Shells?
Absolutely! When it comes to selecting fresh herbs like parsley and basil, look for vibrant green leaves without any wilting or browning. For the beet-tomato sauce, choose tomatoes with no dark spots or blemishes. If you're using fresh garlic, ensure the cloves are firm and plump.
How should I store leftover Zombie Guts Stuffed Shells?
For optimal freshness, place your leftover Zombie Guts Stuffed Shells in an airtight container and refrigerate. They'll stay good for up to 3 days. When reheating, I recommend warming them in the oven at 350°F (175°C) until heated through, ensuring they maintain their cheesy goodness.
Can I freeze Zombie Guts Stuffed Shells?
Yes, you can! For best results, freeze the stuffed shells before baking. Wrap each shell tightly in plastic wrap, then in aluminum foil, and freeze for up to 2 months. When you're ready to enjoy them, bake straight from the freezer. Just remember to add about 10-15 extra minutes to the baking time to ensure they're heated all the way through.
What if my shells burst while cooking?
Very! If you find your shells are bursting, try cooking them for a slightly shorter time next time—just until al dente—this prevents them from becoming too soft. If it happens, just be gentle when stuffing and transferring them to the baking dish, and cover any breaks with extra sauce to keep everything moist.
Are there any dietary considerations for Zombie Guts Stuffed Shells?
Of course! This dish contains dairy, so those with lactose intolerance may need to substitute the cheeses or use a plant-based alternative. Additionally, for a gluten-free version, you can use gluten-free jumbo shells available at most grocery stores. Just check the packaging for cooking instructions as they may differ from regular pasta.
How can I enhance the flavor of my stuffing mixture?
I often let my cheese filling sit for about 10 minutes after mixing—this allows the flavors, including the herbs and garlic, to blend beautifully. Adding a pinch of red pepper flakes can also give it a subtle kick!
Deliciously Cheesy Zombie Guts Stuffed Shells for Dinner Fun
Equipment
- baking dish
- large pot
- mixing bowl
Ingredients
For the Filling
- 12 shells jumbo pasta shells
- 1 cup ricotta cheese
- 1 cup shredded mozzarella cheese
- ½ cup grated Parmesan cheese
- ¼ cup fresh parsley, chopped
- ¼ cup fresh basil, chopped
- 1 clove garlic, minced
- salt and pepper to taste
For the Sauce
- 2 cups beet-tomato sauce
For the Drizzle
- 1 tablespoon balsamic glaze
- 1 tablespoon black garlic oil
Instructions
Step-by-Step Instructions
- Preheat your oven to 375°F (190°C).
- Cook the jumbo pasta shells in a large pot according to the package directions until al dente, about 8-10 minutes. Drain and set aside.
- In a mixing bowl, combine ricotta, mozzarella, and Parmesan cheeses with parsley, basil, minced garlic, salt, and pepper. Stir until blended.
- Generously fill each cooked pasta shell with the cheese mixture and place them in a baking dish.
- Spread half of the beet-tomato sauce on the bottom of the baking dish. Arrange the stuffed shells on top.
- Pour the remaining beet-tomato sauce over the shells to coat them well.
- Drizzle balsamic glaze and black garlic oil on top.
- Cover the dish with foil and bake for 25 minutes.
- Remove foil and bake for an additional 10 minutes until the cheese is bubbly and golden brown.
- Let the dish sit for a few minutes before serving.

Leave a Reply