
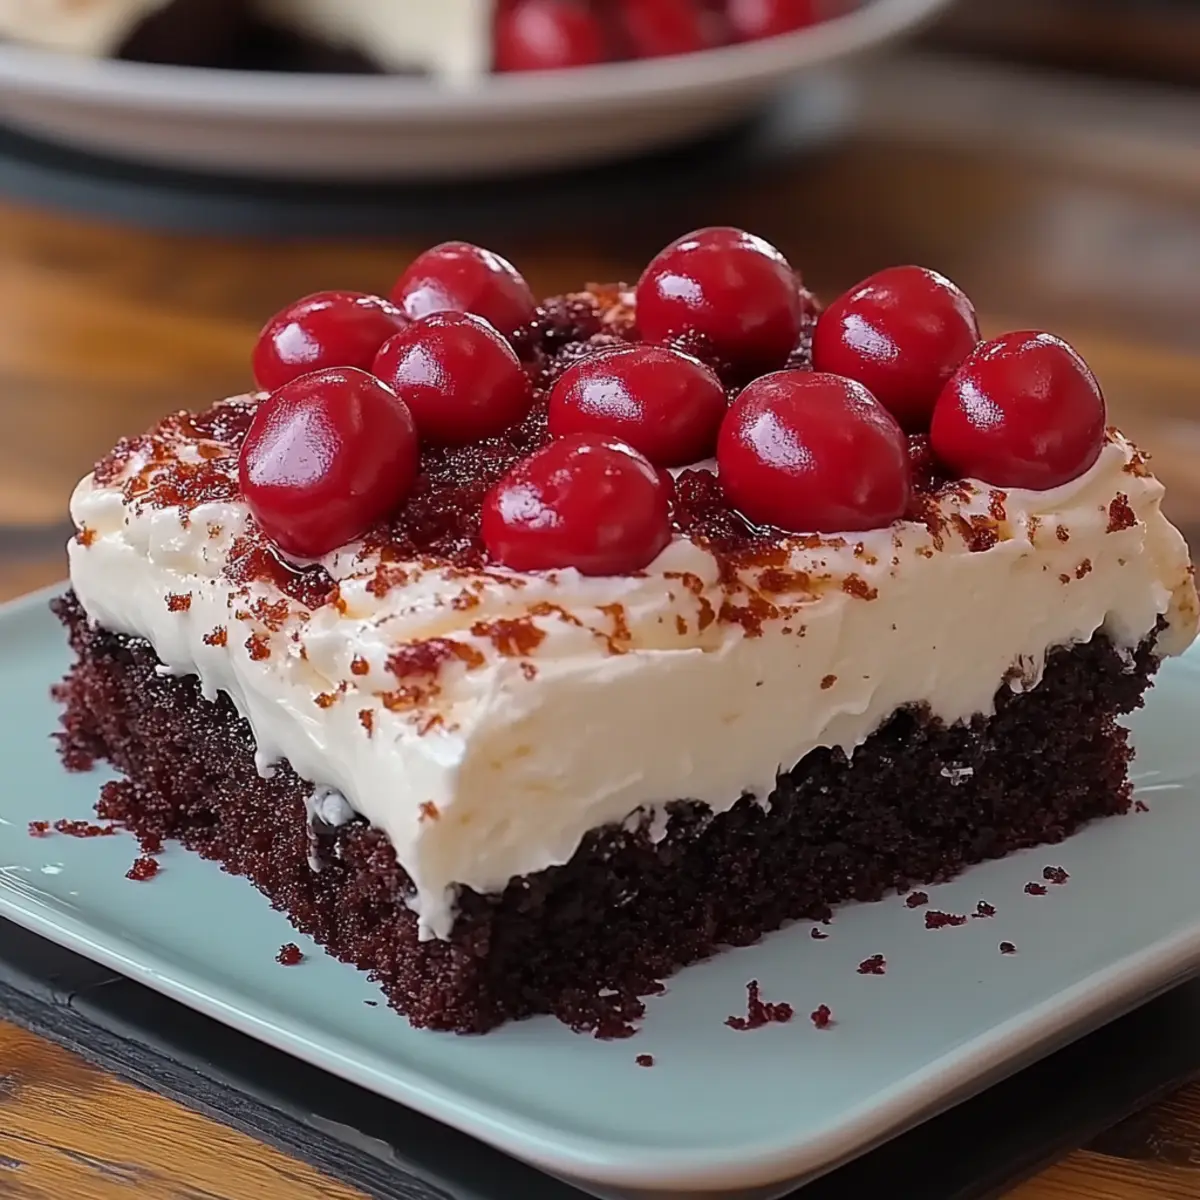
There's something so enchanting about the richness of a classic Black Forest Cake—just the thought of it can transport me straight to my happiest culinary memories. This loving twist on the traditional chocolate sponge showcases the perfect balance between indulgent chocolate, fluffy whipped cream, and tart cherries, making it a true crowd-pleaser. What's even better? This recipe is not only a delightful indulgence; it’s also surprisingly quick to whip up, ensuring you can impress guests without spending all day in the kitchen. Plus, it’s a stunning centerpiece for any gathering, making it a showstopper on your dessert table. Are you ready to dive into layers of chocolatey goodness and cherry heaven? Let's bake some magic together!
Why is Black Forest Cake a Must-Try?
Irresistible Flavor: This cake is a heavenly combination of rich chocolate, sweet cherries, and luscious whipped cream that makes every bite a delightful experience.
Perfect for Any Occasion: Whether it's a birthday, anniversary, or just a Sunday dinner, this Black Forest Cake is sure to impress.
Quick and Easy: With roughly 1 hour of total time, you can have a stunning dessert ready to go, allowing you to spend more time enjoying the festivities.
Stunning Presentation: Decorated with chocolate shavings and cherries, it's not just delicious; it’s also a feast for the eyes!
Crowd-Pleasing Delight: Everyone loves a classic, and this indulgent treat will have your family and friends asking for seconds.
So, are you ready to explore more delectable indulgences? Check out our guide on how to bake like a pro for tips that will elevate your baking skills!
Black Forest Cake Ingredients
For the Cake
• All-purpose flour – provides the structure and fluffiness to the cake.
• Granulated sugar – adds sweetness and helps with moisture retention.
• Unsweetened cocoa powder – gives your Black Forest Cake its rich, chocolate flavor.
• Baking powder – helps the cake rise for a light, airy texture.
• Baking soda – complements the baking powder for a perfect rise.
• Salt – enhances the overall flavors, balancing the sweetness.
• Large eggs – binds ingredients together and adds richness.
• Whole milk – contributes to the moisture and creaminess of the cake.
• Vegetable oil – ensures the cake remains moist and tender.
• Vanilla extract – adds a touch of warmth and depth to the flavor profile.
• Boiling water – helps dissolve the cocoa powder for a smoother batter.
For the Whipped Cream
• Heavy whipping cream – ensures a fluffy and luscious frosting.
• Powdered sugar – sweetens the whipped cream and helps stabilize it.
• Vanilla extract – adds a hint of flavor to the whipped cream.
For the Decoration
• Cherries – both for layering and decoration, providing a burst of tartness.
• Chocolate shavings – create an elegant finish and enhance the chocolate flavor.
With these ingredients ready, you’re just a step away from creating an unforgettable Black Forest Cake!
Step‑by‑Step Instructions for Black Forest Cake
Step 1: Preheat and Prepare
Begin by preheating your oven to 350°F (175°C). While it's warming up, grease and flour two 9-inch round cake pans to ensure your Black Forest Cake layers slide out easily once they’re baked. Set these pans aside as you prepare your cake batter.
Step 2: Mix Dry Ingredients
In a large mixing bowl, combine 2 cups of all-purpose flour, 2 cups of granulated sugar, ¾ cup of unsweetened cocoa powder, 1½ teaspoons of baking powder, 1½ teaspoons of baking soda, and 1 teaspoon of salt. Use a whisk or electric mixer on low speed to mix thoroughly until well blended, ensuring there are no lumps in your dry mixture.
Step 3: Combine Wet Ingredients
Add in 2 large eggs, 1 cup of whole milk, ½ cup of vegetable oil, and 2 teaspoons of vanilla extract to your dry ingredients. Beat the mixture on medium speed for 2 minutes until it's smooth and well combined, showcasing a beautiful chocolate batter that’s ready for the next step.
Step 4: Incorporate Boiling Water
Carefully stir in 1 cup of boiling water to the cake batter. The batter will be thin, but that’s perfect for creating a moist Black Forest Cake. Make sure everything is mixed well; you want a silky, smooth consistency before transferring to the cake pans.
Step 5: Bake the Cake Layers
Divide the batter evenly between the prepared cake pans. Place them in the preheated oven and bake for about 30–35 minutes. Your cakes are done when a toothpick inserted in the center comes out clean. Let them cool in the pans for about 10 minutes before transferring to wire racks.
Step 6: Slice the Cake Layers
Once the cakes have cooled completely, carefully slice each layer in half horizontally, creating a total of four layers. While you’re at it, drain your cherries and reserve the juice for moistening the cake layers, ensuring a burst of flavor in every bite.
Step 7: Whip the Cream
In a large mixing bowl, combine 3 cups of heavy whipping cream, ½ cup of powdered sugar, and 1 teaspoon of vanilla extract. Use an electric mixer and whip on high speed until stiff peaks form, resulting in a fluffy, rich whipped cream that will beautifully complement your Black Forest Cake layers.
Step 8: Assemble the Cake
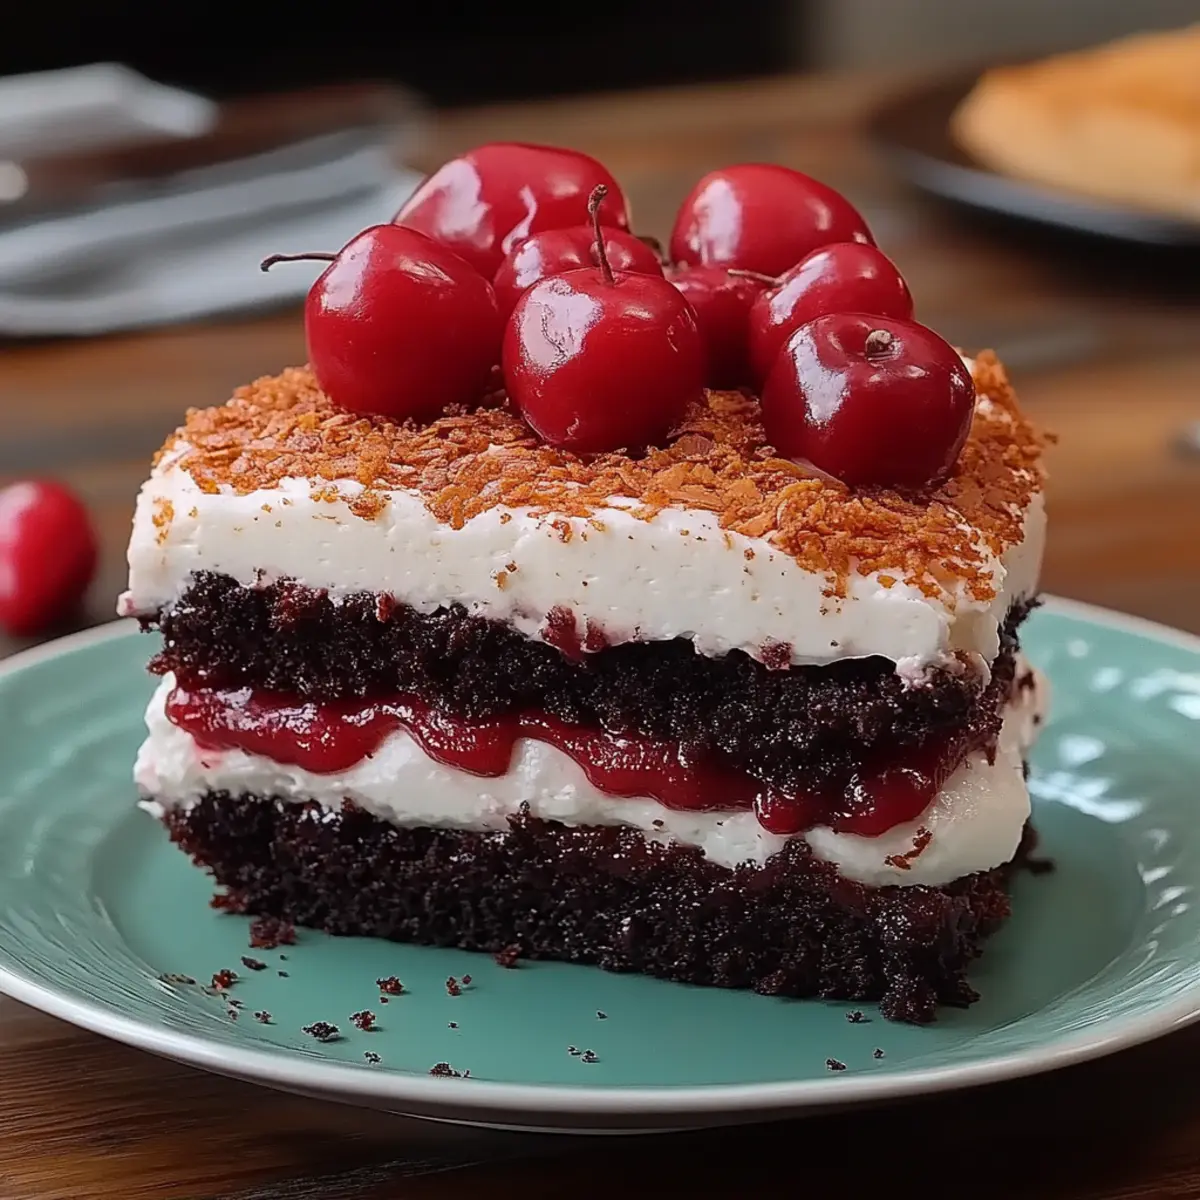
Start by placing one layer of cake on a serving platter. Moisten it generously with the reserved cherry juice, then spread a layer of whipped cream on top followed by some cherries. Repeat this process for the next layer, building a delicious tower of chocolate, cream, and fruit with each addition.
Step 9: Final Touches
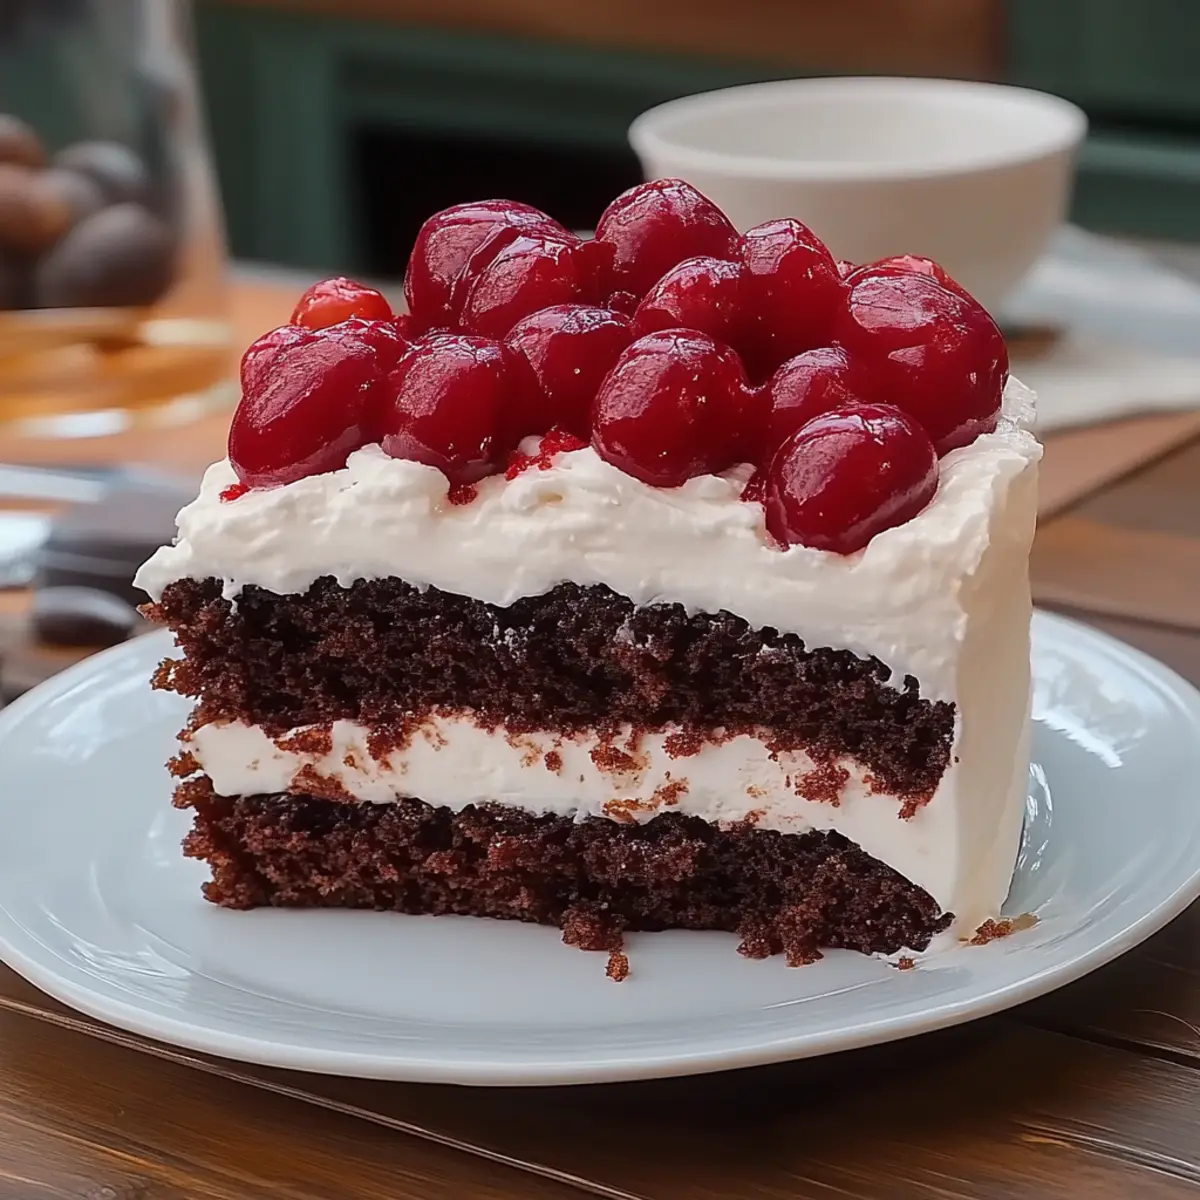
After stacking your layers, place the final layer of cake on top and cover the entire cake with the remaining whipped cream, smoothing it out for an elegant finish. Dot the top with additional cherries and generously sprinkle chocolate shavings over the whipped cream for that classic aesthetic.
Step 10: Chill and Serve
To let the flavors meld together beautifully, chill your assembled Black Forest Cake in the refrigerator for at least 30 minutes. This wait will make each slice a delightful experience, blending the chocolate, cherries, and cream for a truly unforgettable dessert!
Make Ahead Options
Preparing a delightful Black Forest Cake in advance is a breeze and perfect for busy home cooks! You can bake the cake layers up to 3 days ahead; once cooled, wrap them tightly in plastic wrap and refrigerate to maintain their moisture. Additionally, you can whip the cream a day in advance and store it in the fridge, covered, to keep it fresh and fluffy. For assembly, just moisten each layer with the reserved cherry juice, stack them with the whipped cream and cherries, and refrigerate again for 30 minutes before serving. This way, your Black Forest Cake will be just as delicious and stunning, ready to impress with minimal effort!
Black Forest Cake Variations
Embrace your inner chef by personalizing this recipe to suit your tastes and dietary needs!
- Gluten-Free: Substitute all-purpose flour with a 1:1 gluten-free baking blend for a gluten-free indulgence.
- Dairy-Free: Use almond milk or coconut milk in place of whole milk, and opt for coconut cream as a whipped topping for a dairy-free treat.
- Reduced Sugar: Cut down sugar by half or use a sugar substitute for a lighter version without sacrificing sweetness.
- Nutty Twist: Fold in crushed hazelnuts or walnuts into the batter for added texture and flavor, bringing a delightful crunch to every slice.
- Boozy Boost: Add a splash of cherry liqueur or rum to your cherry juice for a lovely adult twist that enhances the cake's rich flavors.
- Fruit Fusion: Swap out cherries for strawberries or raspberries for a fruity variation bursting with bright colors and flavors.
- Extra Decadence: Layer in some chocolate ganache between the cake layers for a rich, chocolatey surprise that chocolate lovers will adore.
- Spiced Version: Sprinkle in a teaspoon of cinnamon or instant coffee granules to your batter for a cozy depth that complements the chocolate beautifully.
Let your imagination soar, and don’t hesitate to explore more delicious adventures in baking by joining our community on how to bake like a pro!
Expert Tips for Black Forest Cake
• Use Fresh Cherries: Opt for fresh cherries when possible for a more vibrant flavor and texture. Frozen cherries can be used but may release more moisture.
• Cool Layers Completely: Ensure your cake layers are fully cooled before slicing and assembling. This prevents the whipped cream from melting and the layers from sagging.
• Stabilize Whipped Cream: If you're not serving the cake right away, add a little cornstarch or gelatin to your whipped cream to help it hold its shape longer.
• Avoid Overmixing: When combining wet and dry ingredients, mix just until combined. Overmixing can lead to a dense cake rather than the light, fluffy texture you want in your Black Forest Cake.
• Layer with Intention: Don’t skimp on the cherry juice! Moisten each cake layer well to infuse the cake with flavor and ensure every bite is moist and delicious.
• Chill Time is Key: Allowing your assembled Black Forest Cake to chill for at least 30 minutes helps the flavors meld and makes serving easier. Enjoy!
What to Serve with Black Forest Cake
Imagine a delightful gathering where each dish enhances the luscious layers of chocolate, cream, and cherries, creating an unforgettable meal experience.
-
Vanilla Ice Cream: A scoop of smooth vanilla ice cream adds a creamy contrast to the rich flavors of the cake. This classic pairing enhances each bite, making indulgence even sweeter.
-
Fresh Berries Salad: A refreshing medley of strawberries, blueberries, and raspberries provides a light, fruity complement, balancing the sweetness and richness of the Black Forest Cake.
-
Coffee or Espresso: The bold flavors of coffee or a rich espresso serve as a perfect contrast, enhancing the cake's chocolate notes while providing a delightful pick-me-up.
-
Chocolate Mousse: For true chocolate lovers, a light and airy chocolate mousse creates a luxurious experience that pairs wonderfully with the cake's dark chocolate layers.
-
Whipped Cream Topping: Extra whipped cream on the side allows for a fun, interactive element, letting guests customize their slices, making each bite a little more indulgent.
-
Red Wine: A glass of sweet red wine or a fruity rosé beautifully complements the Black Forest Cake’s flavors, elevating the entire dining experience and adding a touch of elegance.
-
Almond Biscotti: Crunchy almond biscotti offers a delightful textural contrast, serving as a delightful dipper and adding a nutty flavor that harmonizes with the cake's cherries.
-
Chocolate-Covered Strawberries: Juicy strawberries enveloped in smooth chocolate create a decadent side treat that matches the cake’s indulgence, making the dessert table even more inviting.
-
Mint Tea: A cup of soothing mint tea serves as a refreshing palate cleanser, enhancing the flavors of the cake while providing a calming, aromatic finish to the meal.
Creating the perfect meal alongside your Black Forest Cake will ensure a delightful occasion filled with flavors that harmonize beautifully!
How to Store and Freeze Black Forest Cake
Room Temperature: If you plan to serve your Black Forest Cake the same day, it's best stored at room temperature for up to 1 day. Cover it loosely with a clean kitchen towel to keep it fresh.
Fridge: For longer-lasting freshness, store your Black Forest Cake in the refrigerator for up to 3 days. Place it in an airtight container to prevent it from drying out or absorbing odors.
Freezer: To freeze, wrap each slice in plastic wrap, then foil, and store in an airtight container. Enjoy your Black Forest Cake for up to 3 months. Thaw in the fridge overnight before serving.
Reheating: If you prefer your cake slightly warm, remove it from the fridge and let it sit at room temperature for about 15 minutes before enjoying.
Black Forest Cake Recipe FAQs
How do I choose ripe cherries for my Black Forest Cake?
Absolutely! When selecting cherries, look for ones that are firm, bright in color, and free from dark spots or blemishes. The best cherries have a sweet aroma and should feel plump and juicy. Avoid any that appear shriveled or have soft patches.
What’s the best way to store leftovers of my Black Forest Cake?
For up to 3 days of freshness, keep your Black Forest Cake in the refrigerator. Simply place it in an airtight container to prevent it from drying out and to protect its delicate layers from absorbing any odors. This way, it stays moist and delicious for whenever your sweet tooth strikes!
Can I freeze my Black Forest Cake?
Yes, indeed! To freeze, slice your cake and wrap each piece tightly in plastic wrap, followed by a layer of aluminum foil to protect it from freezer burn. Store the wrapped slices in an airtight container, and they will stay good for up to 3 months. When you're ready to enjoy it, simply transfer the slices to the fridge overnight to thaw, and they'll taste just as delightful as freshly made!
What if my whipped cream doesn’t hold its shape?
Very! If your whipped cream isn’t stabilizing well, it could be that it wasn’t whipped long enough or the cream was too warm. To fix this, make sure to chill your mixing bowl and beaters thoroughly before whipping. For added stability, consider adding 1-2 teaspoons of cornstarch or gelatin (dissolved in a little cold water) during the whipping process to keep it firm and fluffy longer.
Can I make this Black Forest Cake gluten-free?
Absolutely! To make a gluten-free version of your Black Forest Cake, simply substitute the all-purpose flour with a 1:1 gluten-free flour blend. Additionally, double-check that your baking powder and chocolate cocoa powder are gluten-free. This way, everyone can enjoy the heartwarming delight of this scrumptious cake!
Is there a way to make this recipe suitable for those with dairy allergies?
Yes! For a dairy-free adaptation, you can substitute whole milk with almond milk or coconut milk, and the heavy whipping cream with a dairy-free whipped topping. It's essential to check labels to ensure that all ingredients are dairy-free, allowing everyone to indulge in the rich chocolate and cherry goodness without worry.
Decadent Black Forest Cake Recipe for Any Celebration
Equipment
- Oven
- mixing bowl
- Electric Mixer
- Cake pans
- whisk
- Measuring cups
- Measuring Spoons
- Serving Platter
Ingredients
For the Cake
- 2 cups all-purpose flour
- 2 cups granulated sugar
- ¾ cup unsweetened cocoa powder
- 1½ teaspoons baking powder
- 1½ teaspoons baking soda
- 1 teaspoon salt
- 2 large eggs
- 1 cup whole milk
- ½ cup vegetable oil
- 2 teaspoons vanilla extract
- 1 cup boiling water
For the Whipped Cream
- 3 cups heavy whipping cream
- ½ cup powdered sugar
- 1 teaspoon vanilla extract
For the Decoration
- 1 cup cherries for layering and decoration
- ½ cup chocolate shavings for decoration
Instructions
Preparation Steps
- Preheat your oven to 350°F (175°C) and grease and flour two 9-inch round cake pans.
- In a large mixing bowl, combine all-purpose flour, granulated sugar, unsweetened cocoa powder, baking powder, baking soda, and salt. Mix thoroughly.
- Add eggs, whole milk, vegetable oil, and vanilla extract to the dry ingredients. Beat on medium speed for 2 minutes.
- Carefully stir in boiling water into the batter until smooth.
- Divide the batter between the prepared cake pans and bake for 30–35 minutes until done.
- Once cooled, slice each cake layer in half horizontally to create four layers. Reserve cherry juice.
- In a mixing bowl, whip together heavy whipping cream, powdered sugar, and vanilla extract until stiff peaks form.
- Assemble the cake by alternating layers of cake with moistened cherry juice, whipped cream, and cherries.
- Cover the cake with remaining whipped cream, chocolate shavings, and cherries on top.
- Chill the assembled cake in the refrigerator for at least 30 minutes before serving.


Leave a Reply