
Have you ever craved the perfect fusion of flaky pastry, rich chocolate, and creamy filling? Enter the Chocolate Cream Cheese Danish! This delightful treat not only satisfies your sweet tooth but also adds a touch of elegance to any brunch spread. Imagine stepping into a cozy café, where the warm aroma of buttery pastry mingles with whispers of melting chocolate. Now, you can recreate that experience in your own kitchen with this easy Danish recipe!
The best part? It's a crowd-pleaser that can be whipped up in under 30 minutes, making it ideal for busy mornings or surprise guests. The luscious combination of sweetened cream cheese and decadent chocolate transforms humble puff pastry into an irresistible indulgence. Whether you enjoy it at breakfast or as a delightful brunch centerpiece, this Chocolate Cream Cheese Danish promises to elevate your home cooking game.
Are you ready to impress your family and friends? Let’s dive into the delicious world of homemade chocolate danishes! I promise, once you try this recipe, you’ll never look at store-bought pastries the same way again.
Why is Chocolate Cream Cheese Danish a Showstopper?
Unforgettable Taste: The blend of creamy filling with rich chocolate makes every bite a delight.
Easy to Make: This recipe requires minimal skill and can be ready in under 30 minutes.
Brunch Perfect: Elevate your brunch game with a pastry that looks gourmet but is simple to prepare.
Crowd-Pleasing: Everyone will adore this sweet treat—perfect for family gatherings or surprise guests.
Customizable Delight: Mix it up! Use different chocolates or add fruit for a personal twist.
For a great treat, check out these Chocolate Caramel Cheesecake Bites for more inspiration!
Chocolate Cream Cheese Danish Ingredients
Unleash your baking magic with these essentials!
For the Danish
• Store Bought Puff Pastry – The flaky base that simplifies your baking; remember to thaw it properly!
• Cream Cheese – Use softened for a smooth, luscious filling that’s just heavenly.
• Powdered Sugar – Sweetens the cream cheese mixture, ensuring each bite is blissful.
• Vanilla Extract – A dash adds depth and warmth to your filling.
For the Chocolate Filling
• Chopped Semi-Sweet Bakers Chocolate – This provides a rich, melting chocolate experience; opt for bakers chocolate for the best results.
• Semi-Sweet Chocolate Chips – For topping, they’re perfect for melting and drizzling over your Danish.
For the Egg Wash
• Egg – Mixed with cold water, it helps achieve that beautiful golden brown finish.
Elevate every brunch with this delightful Chocolate Cream Cheese Danish!
Step-by-Step Instructions for Chocolate Cream Cheese Danish
Step 1
Begin by thawing the store-bought puff pastry according to package directions. If you have time, refrigerate it overnight; otherwise, leave it on the counter for about 2 hours until it's pliable yet still cold. This is crucial for achieving that perfect flaky texture that makes the Chocolate Cream Cheese Danish so delightful!
Step 2
Preheat your oven to 400°F. While the oven is warming up, line a baking sheet with parchment paper to ensure nothing sticks to it during the baking process. This step not only makes for easy cleanup but also helps your pastries bake evenly, leading to a beautifully golden brown finish.
Step 3
Coarsely chop the semi-sweet baking chocolate into small pieces. This chocolate will create a rich filling that complements the creamy cream cheese perfectly. If using chocolate chips instead, ensure they are the semi-sweet variety. Set this aside as you prepare the cream cheese mixture.
Step 4
In a mixing bowl, combine the softened cream cheese, powdered sugar, and vanilla extract. Using an electric mixer or whisk, blend until the mixture is light and fluffy, about 2-3 minutes. The aim is to create a smooth filling that’s easy to spread; this stage is crucial for your Chocolate Cream Cheese Danish to achieve its creamy, delicious character.
Step 5
Unfold the thawed puff pastry onto the parchment-lined baking sheet. Gently stretch it into a rectangle if needed, then visually divide it into thirds by folding it in thirds. This will help you know where to place your filling and cut the dough later for that beautiful braided pattern.
Step 6
Spread the cream cheese filling generously in the center section of the dough, leaving about a half-inch border along the edges. Evenly sprinkle the chopped chocolate over the cream cheese filling. This creates an irresistible combination that will be the star of your Chocolate Cream Cheese Danish.
Step 7
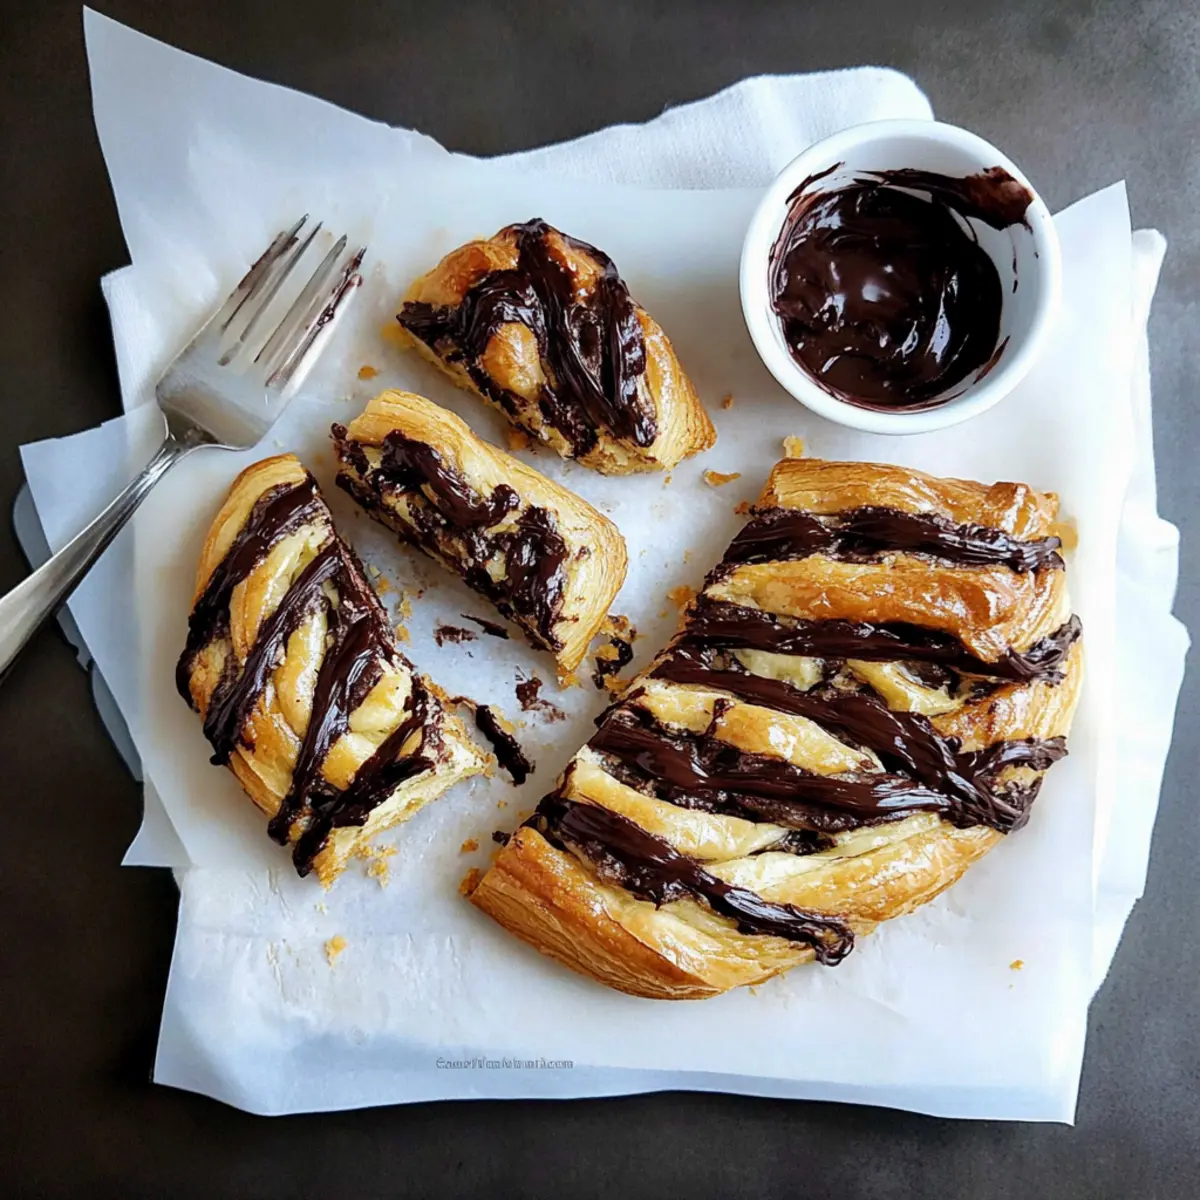
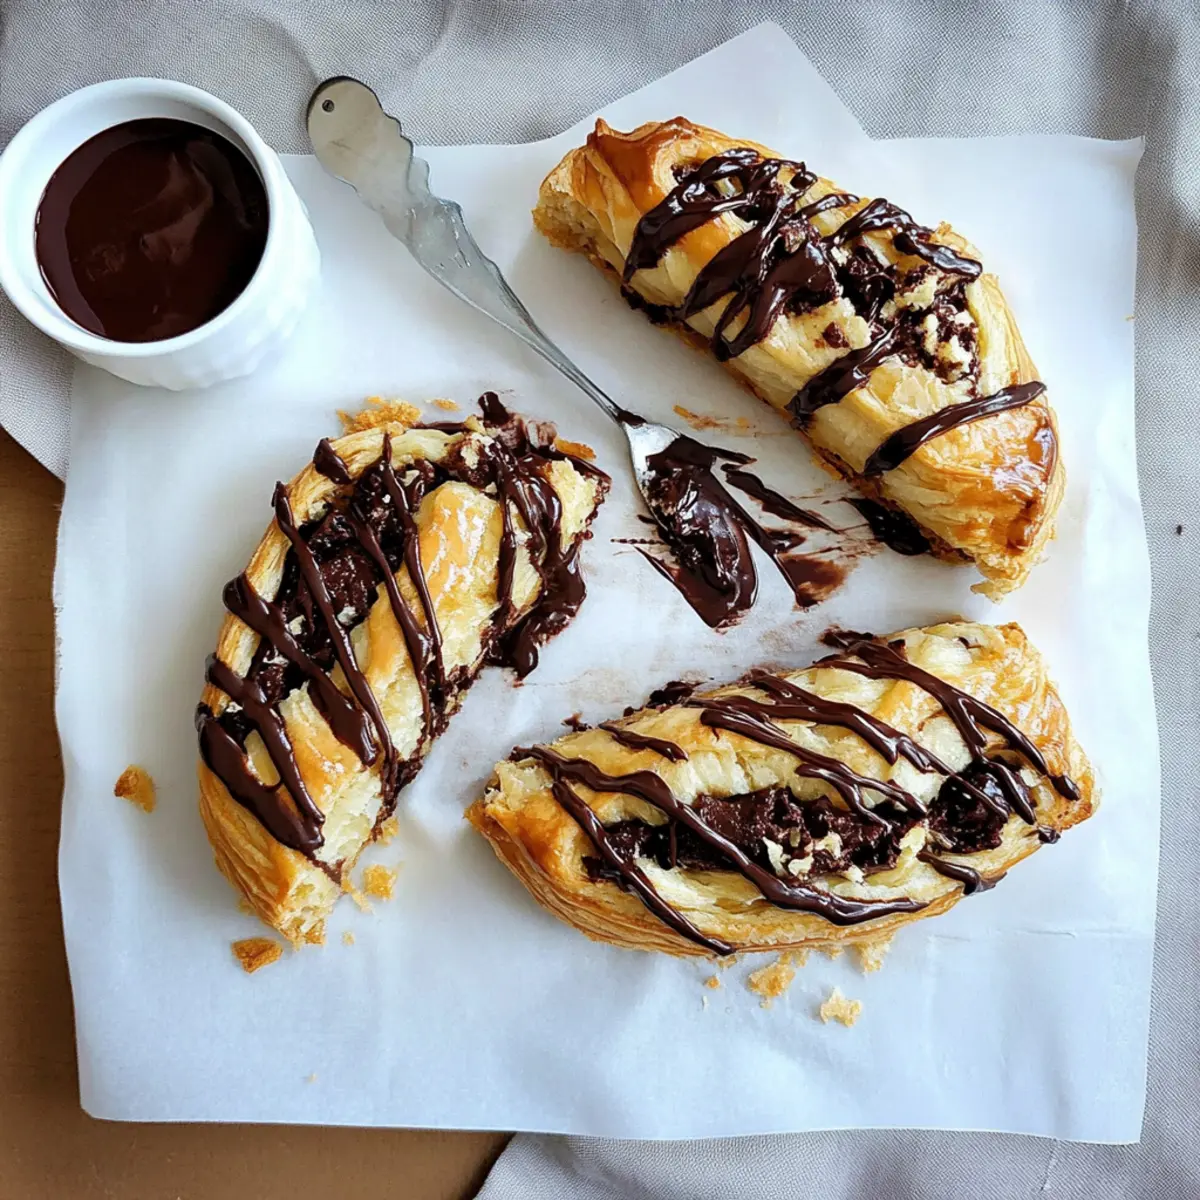
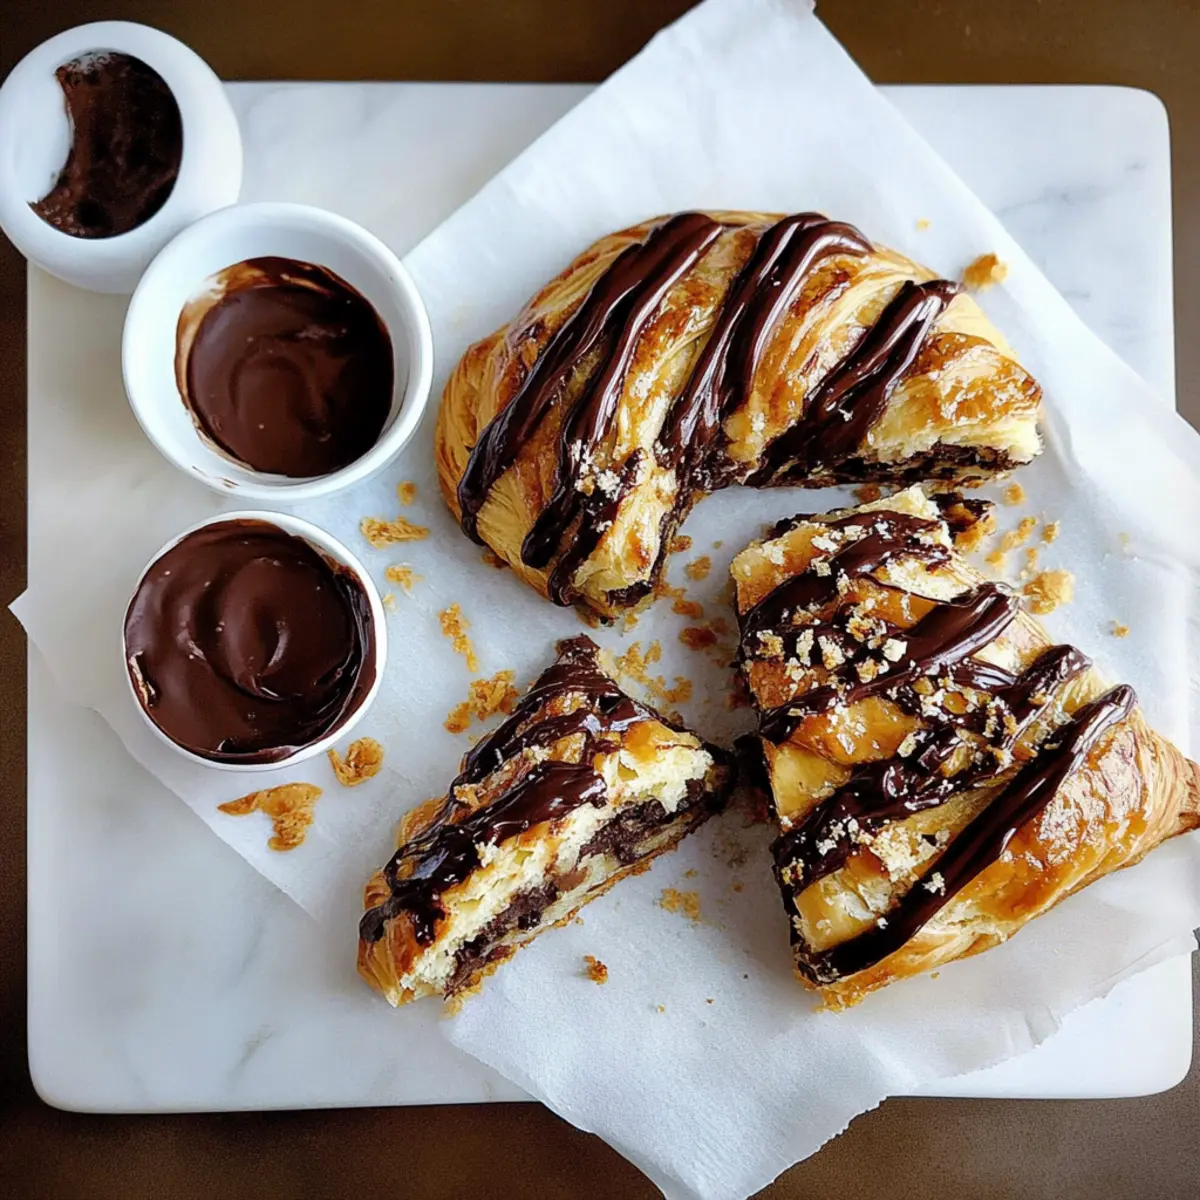
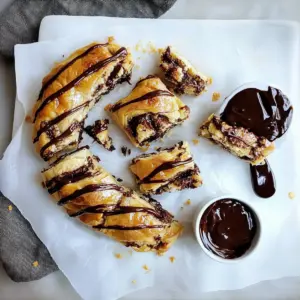
Next, make diagonal cuts, about ½-inch apart, along each side of the pastry up to the filling. These cuts will form strips that you will fold over the filling. Begin folding the top and bottom edges of the pastry inwards, and then alternate folding the strips over the filling, creating a lovely braided pattern. This step adds visual appeal and ensures that every bite is decadent.
Step 8
In a small bowl, whisk together one egg with a teaspoon of cold water to create an egg wash. Using a pastry brush, gently brush the egg wash over the entire Danish. This step is vital for giving your Chocolate Cream Cheese Danish that mouthwatering golden brown finish as it bakes.
Step 9
Carefully place the baking sheet in the preheated oven and bake the Danish for 25-30 minutes, or until it is puffed and deeply golden brown. The visual cue to look for is a beautiful, flaky pastry that’s no longer pale. This is where all the magic happens, transforming your simple ingredients into a stunning treat.
Step 10
Once baked, remove the Chocolate Cream Cheese Danish from the oven, and let it cool on the pan for a few minutes. While it cools, melt the semi-sweet chocolate chips for drizzling. After a brief cool-down, use a spoon to drizzle the melted chocolate over the Danish for that final touch of indulgence. Enjoy your freshly made pastry with a warm cup of coffee or tea!
How to Store and Freeze Chocolate Cream Cheese Danish
Room Temperature: Allow the Chocolate Cream Cheese Danish to cool completely, then store in an airtight container at room temperature for up to 2 days.
Fridge: If you wish to keep it longer, place the Danish in the fridge in an airtight container for up to 4 days. Reheat in the oven for a few minutes to bring back its fresh taste.
Freezer: For extended storage, wrap the cooled Danish tightly in plastic wrap and then aluminum foil. Freeze for up to 2 months. Thaw in the fridge overnight before reheating.
Reheating: When ready to enjoy, reheat the Danish in the oven at 350°F for about 10–15 minutes. This will restore its flakiness and warmth, making it just as delicious as when it was first baked.
Expert Tips for Chocolate Cream Cheese Danish
-
Softened Cream Cheese: Ensure you use softened cream cheese for a easily spreadable filling that leads to a creamy texture in your Chocolate Cream Cheese Danish.
-
Chocolate Choices: Opt for semi-sweet bakers chocolate for filling to achieve melt-in-your-mouth richness; chocolate chips may hold their shape too much.
-
Careful Folding: Fold the puff pastry gently and accurately to prevent tearing, ensuring those lovely braided edges will stand out beautifully.
-
Golden Perfection: Keep an eye on the baking process; your danish should be golden brown for a perfect flaky pastry, signaling it's ready to enjoy.
-
Cool Before Topping: Allow the danish to cool slightly before drizzling with chocolate; this prevents the melted chocolate from sliding off and creates a beautiful presentation.
What to Serve with Chocolate Cream Cheese Danish?
Indulge your senses with the perfect pairings that will elevate your brunch experience to new heights!
-
Fresh Berries: A vibrant mix of strawberries, blueberries, and raspberries adds a refreshing pop of flavor that balances the richness of the Danish. Their natural sweetness complements the chocolate while providing a beautiful visual contrast.
-
Coffee or Espresso: A warm cup of coffee or a shot of robust espresso enhances the chocolate experience. The rich, bold flavors of coffee cut through the sweetness, creating a delightful harmony on your palate.
-
Vanilla Ice Cream: Serve a scoop of creamy vanilla ice cream alongside the Danish for a luscious dessert experience. The cold, velvety texture contrasts beautifully with the warm, flaky pastry.
-
Whipped Cream: Light and airy whipped cream makes for an elegant touch. It adds a creamy element that enhances the overall indulgence and can be flavored with a hint of vanilla for extra delight.
-
Pecan Crumble Topping: For an added crunch, sprinkle a pecan crumble on top of your Danish before serving. The nuttiness beautifully contrasts the sweetness and creates a tasty texture.
-
Mimosa: A refreshing mimosa with fresh-squeezed orange juice and bubbly champagne offers a sparkly contrast to the rich pastries. The fruity notes uplift the chocolate flavors, perfect for a celebratory brunch.
-
Chocolate Drizzle: Add an extra layer of chocolatey goodness by drizzling warm chocolate sauce over the Danish. It immediately elevates this treat into a decadent dessert.
-
Fruit Salad: A light and colorful fruit salad can cleanse the palate between bites, making it an excellent side for brunch. The juicy, sweet fruits add brightness and freshness to your meal.
Chocolate Cream Cheese Danish Variations
Feel free to let your creativity shine and customize the classic Danish to suit your taste!
-
Milk Chocolate: Swap out the semi-sweet baking chocolate for milk chocolate for a sweeter, creamy experience. This variation brings out a childlike delight in every bite!
-
Dark Chocolate: For a richer flavor, use dark chocolate instead. It pairs beautifully with the sweet cream cheese, creating a gourmet experience.
-
Berry Bliss: Add a layer of your favorite berry preserves before the chocolate for a fruity twist. The vibrant burst of flavor perfectly complements the chocolatey richness.
-
Nutty Crunch: Incorporate chopped nuts like almonds or pecans into the filling for added texture. They add a delightful crunch and elevate the overall decadence!
-
Spiced Variation: Add a pinch of cinnamon or nutmeg to the cream cheese mixture. This adds a warm, aromatic depth that is especially cozy during fall and winter.
-
Coconut Dream: Mix shredded coconut into the cream cheese filling for a tropical flair. This gives your Danish a creamy and chewy texture that feels like a sunny getaway!
-
Vegan-Friendly: Replace cream cheese with a vegan cream cheese alternative and use plant-based chocolate. It's just as delicious without the dairy!
-
Caramel Drizzle: Before serving, drizzle salted caramel sauce over the top. This sweet and salty twist will have everyone coming back for seconds!
Make Ahead Options
These Chocolate Cream Cheese Danishes are perfect for meal prep enthusiasts! You can prepare the cream cheese filling up to 3 days in advance, simply mixing softened cream cheese, powdered sugar, and vanilla, then refrigerating it tightly covered. Additionally, you can assemble the entire Danish (steps 5-7) and refrigerate it for up to 24 hours before baking. Make sure to cover it with plastic wrap to prevent drying out. When you're ready to enjoy this delightful treat, simply brush with the egg wash and bake as directed. With these make ahead options, you'll have a delicious, show-stopping brunch centerpiece with minimal hassle!
Chocolate Cream Cheese Danish Recipe FAQs
What creates the flakiness in the Danish dough?
The key to achieving that delightful flakiness in the Danish dough comes from the layering of butter and dough in puff pastry. As the pastry bakes, the water in the butter turns to steam, causing the layers to puff up. Make sure not to skip the chilling stages as this helps in creating those perfect layers.
Should I refrigerate cream cheese Danish?
Absolutely! If you don't plan on consuming the Chocolate Cream Cheese Danish within two days, it's best to refrigerate it. Store it in an airtight container for up to 4 days. Reheat it in the oven for a few minutes to enjoy that freshly baked taste again.
How to freeze Chocolate Cream Cheese Danish?
For freezing, ensure that your Danish has cooled completely. Wrap it tightly in plastic wrap and then in aluminum foil to prevent freezer burn. You can freeze it for up to 2 months. When you're ready to enjoy it, thaw it in the fridge overnight and then reheat in the oven at 350°F for about 10-15 minutes to regain its flaky texture.
What is the filling in a Cheese Danish made of?
The filling typically includes cream cheese blended with sugar and flavorings like vanilla extract. For the Chocolate Cream Cheese Danish, you'll also incorporate chopped semi-sweet bakers chocolate, which adds rich chocolate flavor to the creamy mixture. This combination creates the indulgent filling that makes each bite so special!
What's the difference between puff pastry and Danish dough?
While both pastries are flaky, puff pastry is made from a lean dough with layers of butter and doesn't contain any yeast, resulting in a lighter texture. Conversely, Danish dough includes yeast, which gives it a fluffier and softer inner texture as it rises during baking. This yeast contributes to the slightly sweeter and richer flavor profile often found in danishes.
Indulgent Chocolate Cream Cheese Danish That’s Simply Irresistible
Ingredients
- 1 sheet Store Bought Puff Pastry
- 8 ounces Cream Cheese
- 1 cup Powdered Sugar
- 1 teaspoon Vanilla Extract
- 4 ounces Chopped Semi-Sweet Bakers Chocolate
- ½ cup Semi-Sweet Chocolate Chips
- 1 Egg
Instructions
- Begin by thawing the store-bought puff pastry according to package directions.
- Preheat your oven to 400°F and line a baking sheet with parchment paper.
- Coarsely chop the semi-sweet baking chocolate into small pieces.
- In a mixing bowl, combine the softened cream cheese, powdered sugar, and vanilla extract.
- Unfold the thawed puff pastry onto the parchment-lined baking sheet and divide it visually into thirds.
- Spread the cream cheese filling in the center section of the dough and sprinkle the chopped chocolate over it.
- Make diagonal cuts along each side of the pastry up to the filling and fold the strips over it.
- Whisk together one egg with a teaspoon of cold water to create an egg wash and brush it over the Danish.
- Bake the Danish for 25-30 minutes or until it is puffed and deeply golden brown.
- Let it cool and drizzle melted chocolate over the Danish before serving.
Notes
- Use softened cream cheese for a creamy filling.
- Opt for semi-sweet bakers chocolate for a richer filling.
- Fold the pastry gently to avoid tearing.
- Watch for golden brown color to indicate doneness.
- Allow to cool before drizzling with chocolate.


Leave a Reply