
The comforting aroma of fresh-baked pastries wafts through the air, instantly transforming my kitchen into a cozy bakery. Today, I’m excited to share my take on the Easy Cherry Cheese Danish, a delightful treat that never fails to impress. With its flaky puff pastry and luscious cream cheese filling, this recipe is not only a crowd-pleaser but also offers a quick and effortless way to enjoy homemade goodness. Perfect for brunch or a late-night snack, it can easily be adapted with various fillings, ensuring that there's a version for everyone. Plus, who doesn’t love the idea of indulging in a freshly baked pastry without spending hours in the kitchen? What’s your favorite filling for a pastry like this?
Why is Cherry Cheese Danish Irresistible?
Deliciously Easy: This Cherry Cheese Danish requires minimal effort, making it perfect for bakers of all skill levels.
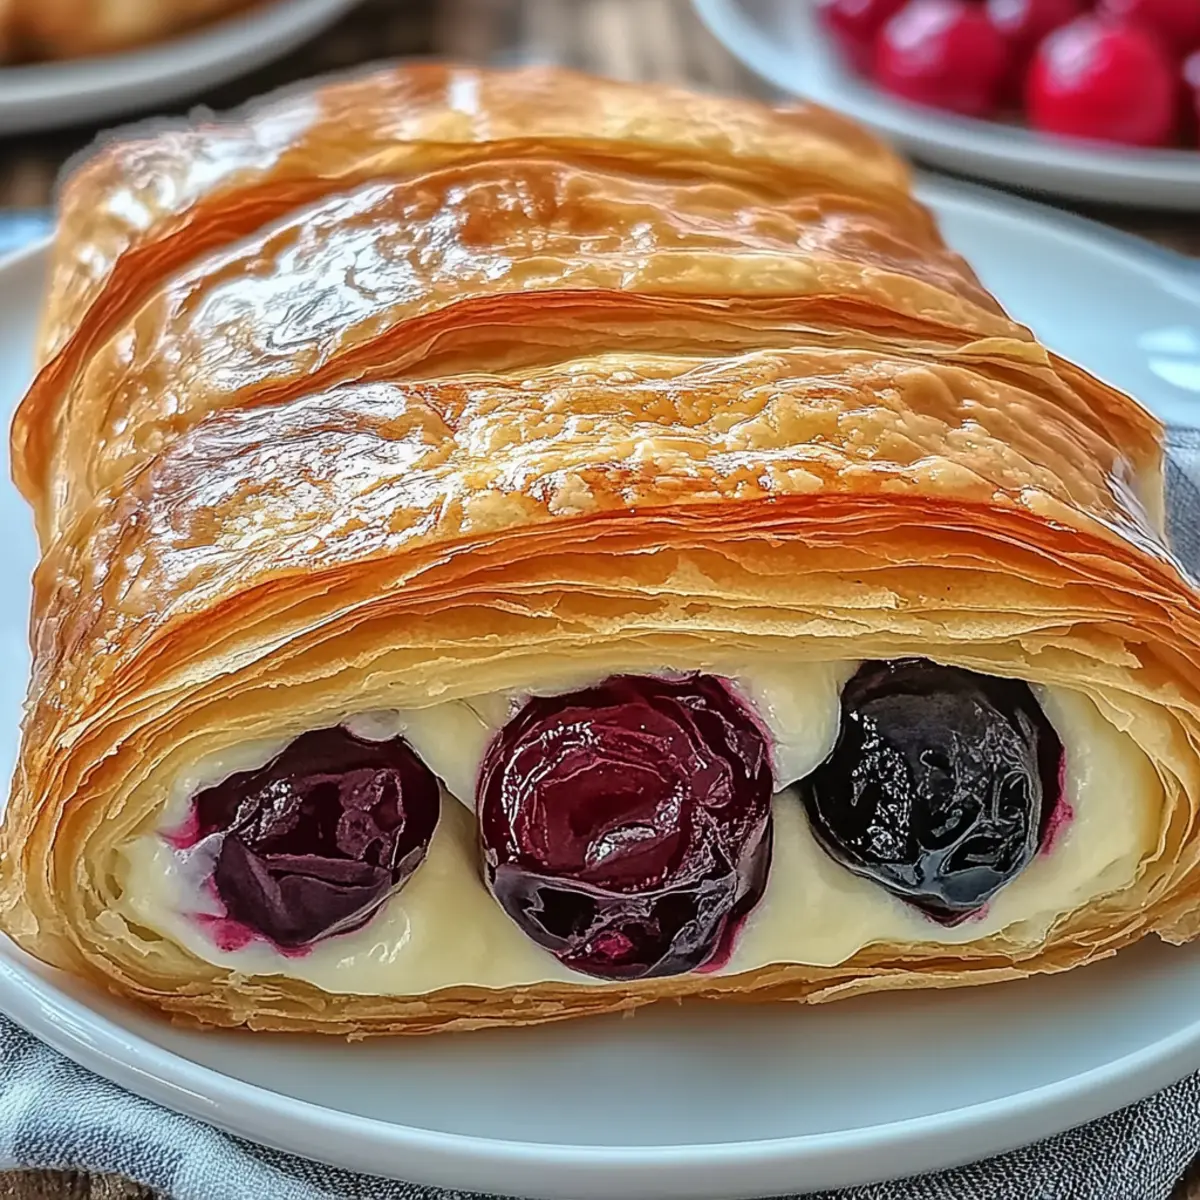
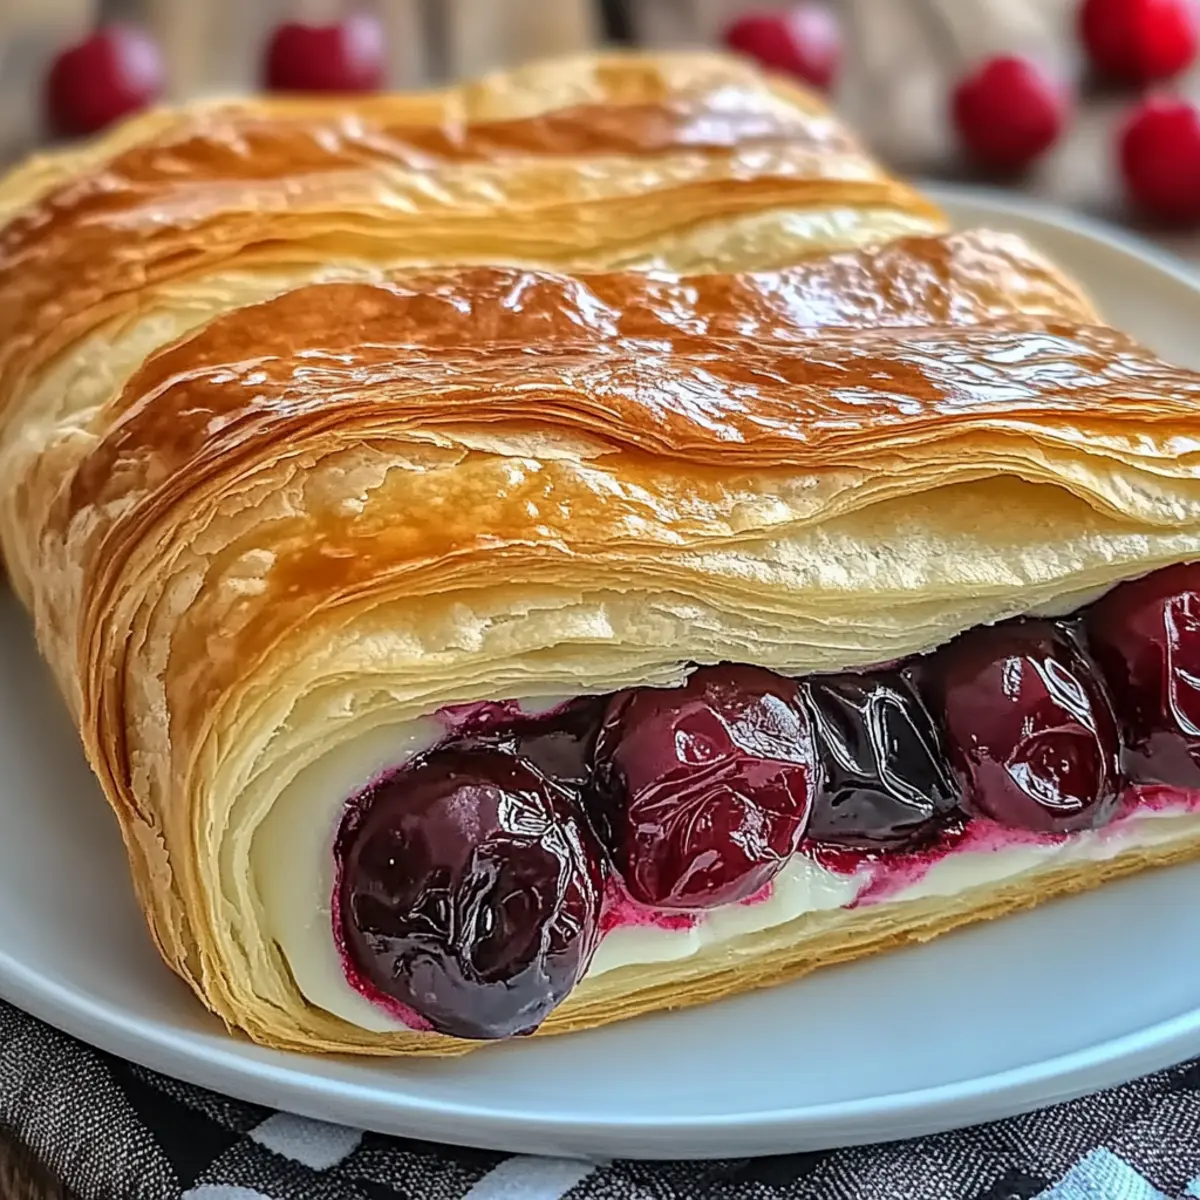
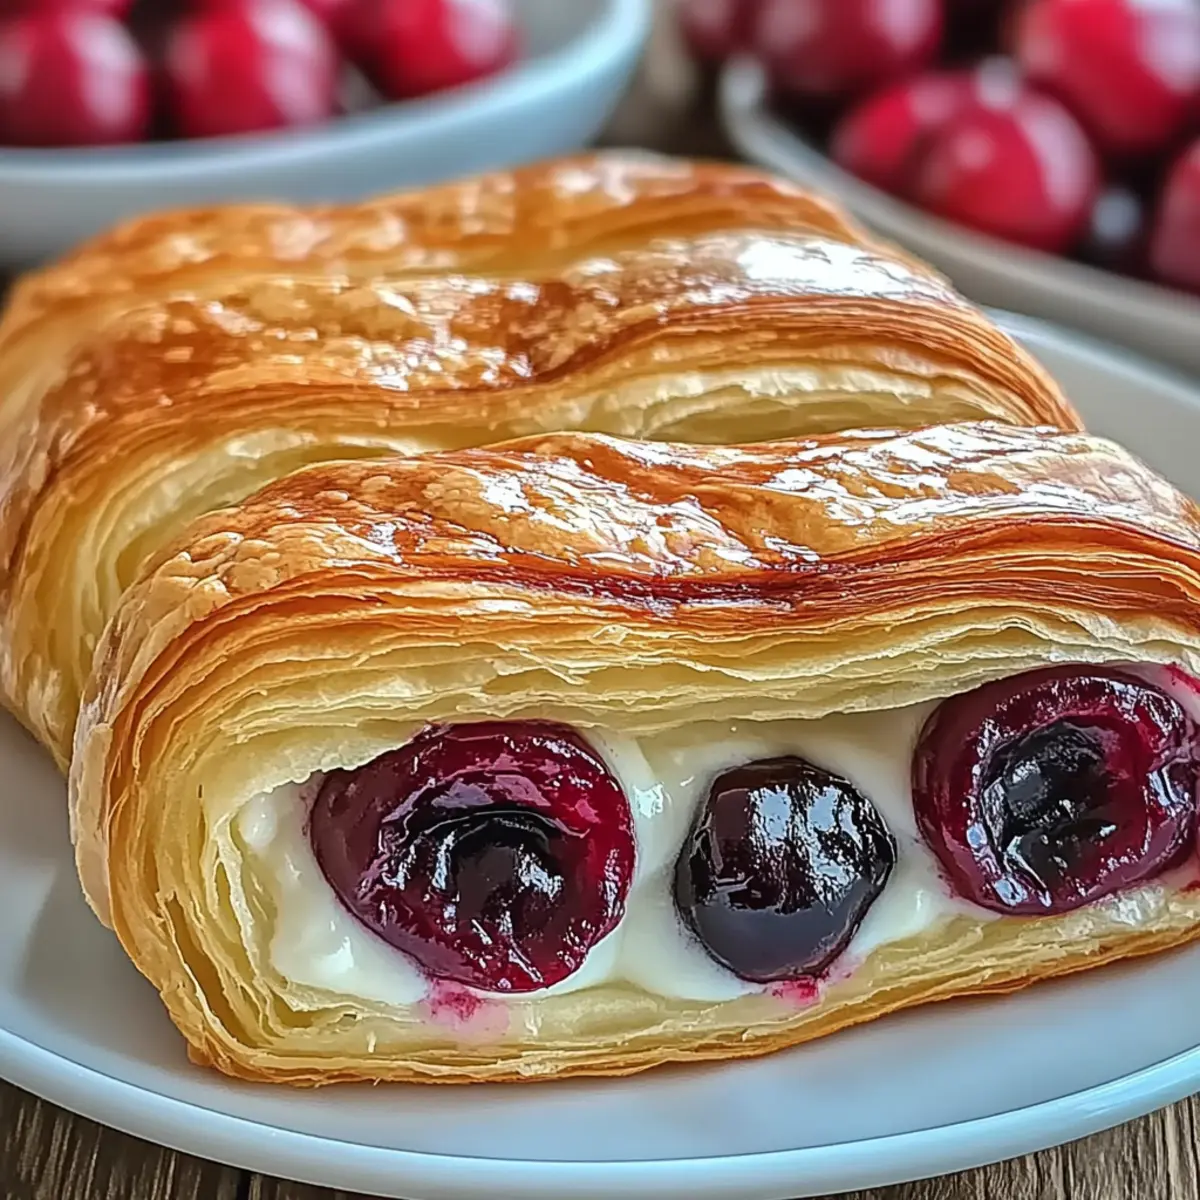
Flaky Perfection: With flaky puff pastry as the base, each bite provides a delightful crunch that pairs beautifully with the creamy filling.
Sweet & Tart Balance: The combination of sweet cherry pie filling and rich cream cheese creates a mouthwatering contrast you'll crave!
Versatile Options: Feel free to get creative! Swap out the cherry filling for your favorite fruit, like blueberries or even a dollop of chocolate, inspired by a Caramel Cheesecake Brownie—there's truly a variation for everyone!
Quick to Satisfy: Ready in just 30 minutes, this treat is perfect for surprise brunch guests or those late-night snack attacks.
Warm & Inviting: Best served warm, the combination of flavors and aromas makes it a comforting choice for any occasion!
Cherry Cheese Danish Ingredients
For the Pastry
- Puff Pastry – This flaky base gives the Danish its beautiful texture; using store-bought saves you time and effort.
For the Filling
- Cream Cheese – Offers a rich creaminess that pairs perfectly with the cherries; consider mascarpone or ricotta as tasty substitutes.
- Granulated Sugar – Sweetens the filling; for those preferring alternatives, a sugar substitute may work, but standard sugar is best.
- Vanilla Extract – Enhances flavor depth, ensuring every bite sings; using vanilla bean amplifies richness even more.
For the Topping
- Cherry Pie Filling – Adds a burst of sweetness and tartness; fresh cherries are a fantastic, healthier alternative, and homemade filling works wonderfully too.
- Egg (for egg wash) – Creates that shiny, golden finish; milk serves as a great non-egg substitute if needed.
Step‑by‑Step Instructions for Cherry Cheese Danish
Step 1: Preheat the Oven
Begin making your Cherry Cheese Danish by preheating your oven to 375°F (190°C). This ensures an even baking process, helping the pastries to puff perfectly and turn a beautiful golden brown. Make sure the oven is fully heated before placing the Danishes inside, as consistent temperature is key for that flaky texture.
Step 2: Prepare the Puff Pastry
While the oven heats up, roll out your thawed puff pastry on a lightly floured surface. Use a rolling pin to gently smooth it out, then cut the pastry into four 4x4-inch squares. The squares will serve as the base for your Cherry Cheese Danishes, so ensure they are evenly shaped for an attractive presentation.
Step 3: Make the Cream Cheese Filling
In a mixing bowl, combine softened cream cheese, granulated sugar, and vanilla extract. Blend these ingredients together with a hand mixer on medium speed for about 2-3 minutes until the mixture is light and fluffy. This creamy filling will provide a rich contrast to the sweet cherry topping of your Cherry Cheese Danish.
Step 4: Assemble the Danishes
Place a generous spoonful of the cream cheese mixture in the center of each pastry square. On top of the cream cheese, add a dollop of cherry pie filling, allowing the colors and flavors to mingle beautifully. Take care not to overfill, as this will help prevent any overflow while baking, keeping your Danishes intact and appealing.
Step 5: Fold the Pastry
Now it’s time to create the signature shape of your Cherry Cheese Danishes. Fold the corners of each pastry square towards the center, pinching the edges securely to seal them. This step crafts a delightful pocket for all the flavors, ensuring both the cream cheese and cherries are hidden away until you take that first bite.
Step 6: Apply the Egg Wash
In a small bowl, whisk an egg until fully combined for the egg wash. Using a pastry brush, gently brush the egg wash over the top of each Danish, giving them a lovely shiny, golden appearance while baking. This final touch adds an enticing visual appeal that makes your Cherry Cheese Danishes look professionally made.
Step 7: Bake the Danishes
Place the assembled pastries on a parchment-lined baking sheet, ensuring they are spaced apart for even baking. Slide the tray into your preheated oven and bake for 20-25 minutes, or until the Danishes are puffed up and golden brown. Keep an eye on them, especially in the last few minutes, to achieve that perfect flaky texture.
Step 8: Cool and Serve
Once baked, remove the Cherry Cheese Danishes from the oven and let them cool on the baking sheet for about 5 minutes. This cooling step allows the filling to set slightly, enhancing the overall flavor. Serve them warm to fully enjoy the comforting flavors and delightful textures brought together in this delicious treat.
How to Store and Freeze Cherry Cheese Danish
Fridge: Store any leftover Cherry Cheese Danish in an airtight container for up to 3 days. Simply reheat in the microwave for a warm treat.
Freezer: Freeze unbaked assembled Danishes in an airtight container for up to 2 months. Bake from frozen, adding an additional 5-10 minutes to the baking time.
Reheating: To reheat baked Danishes, place them in the oven at 350°F (175°C) for about 10 minutes to restore their flaky texture.
Covering: If storing leftovers, wrap each Danish individually in plastic wrap to maintain freshness and prevent drying out.
Expert Tips for Cherry Cheese Danish
-
Thaw Puff Pastry Properly: Ensure the puff pastry is completely thawed; otherwise, it may tear during assembly, making it difficult to work with.
-
Don’t Overfill: Avoid sogginess by using just the right amount of filling. Overfilling can lead to messy, collapsing pastries.
-
Chill for Flakiness: For extra flaky texture, briefly chill the assembled, unbaked Danishes before popping them into the oven.
-
Watch the Baking Time: Keep an eye on the pastries during the last few minutes of baking; each oven is different, and you want them golden brown without burning.
-
Use Fresh Ingredients: Fresh cream cheese and high-quality cherry pie filling make a noticeable difference in the taste of your Cherry Cheese Danish.
-
Experiment with Variations: Don’t hesitate to try different fillings, such as berries or chocolate, to suit your taste and enjoy a new twist on the classic!
What to Serve with Easy Cherry Cheese Danish
The delightful blend of sweet cherries and creamy cheese filling makes this pastry the star of any meal, but it shines even brighter when paired with complementary dishes.
-
Rich Coffee: The bold flavors of a freshly brewed cup of coffee enhance the sweetness of the Danish while providing a comforting warmth.
-
Herbal Tea: Pairing with a soothing herbal tea adds a refreshing element, cooling the palate and balancing the pastry's richness.
-
Fruit Salad: A vibrant fruit salad filled with seasonal berries and citrus creates a refreshing contrast to the sweet, creamy Danish.
-
Scrambled Eggs: Light and fluffy scrambled eggs add a savory component, making for a satisfying brunch experience alongside the pastries.
-
Vanilla Ice Cream: Serve a warm Danish a la mode for a decadent dessert that combines flaky pastry with a creamy melt-in-your-mouth finish.
-
Maple Syrup Drizzle: A light drizzle of maple syrup brings an extra layer of sweetness, enhancing the overall flavor profile beautifully.
-
Fresh Mint Leaves: Garnishing with fresh mint not only adds a pop of color but also infuses a fresh note that brightens every bite.
The combination of these pairings creates a well-rounded experience, perfect for any occasion!
Cherry Cheese Danish Variations & Substitutions
Feel free to personalize your Cherry Cheese Danish and take it to new flavor heights with these easy variations!
-
Berry Bliss: Swap the cherry filling for fresh blueberries, raspberries, or strawberries for a seasonal twist. Each bite bursts with juicy goodness!
-
Cinnamon Swirl: Add a teaspoon of cinnamon to the cream cheese filling for a warm, spiced flavor that beautifully complements the sweet cherries. Your kitchen will smell divine!
-
Dairy-Free Delight: Substitute the cream cheese with cashew cream or a non-dairy cream cheese for a meal everyone can enjoy, including those with lactose sensitivities. Enjoy the same rich texture without the dairy!
-
Zesty Lemon: Incorporate zest from one lemon into the cream cheese filling for a refreshing citrus kick. This bright flavor truly revitalizes the Danish, making it even more delightful!
-
Chocolate Indulgence: Drizzle melted dark or white chocolate over the baked Danishes for a luxurious finish. The rich chocolate adds a decadent twist to your classic pastry.
-
Savory Surprise: Experiment with adding finely diced jalapeños to the cream cheese for an unexpected savory kick. Paired with sweet cherries, it's a delightful balance of flavors.
-
Nutty Flavor: Spread a thin layer of almond paste beneath the cream cheese filling for an added depth of flavor. This nutty companion will make your pastries truly gourmet!
-
Simply Peachy: Replace the cherry filling with peach pie filling for a sun-kissed flavor reminiscent of summer. Each bite will refresh your taste buds with its juicy sweetness.
With these variations, your Cherry Cheese Danish can be whatever you want it to be—enjoy exploring your culinary creativity! Don't forget to pair your creations with a warm cup of coffee or a refreshing iced tea for a complete experience, just like with a classic Cream Cheese Danish or scrumptious Cheese Tortellini Summer.
Make Ahead Options
These Cherry Cheese Danishes are ideal for meal prep, allowing you to enjoy fresh-baked goodness even on your busiest mornings! You can prepare the puff pastry squares and the cream cheese filling up to 24 hours in advance. Simply cut the pastry and store the squares in an airtight container in the refrigerator, and keep the cream cheese mixture covered in the fridge as well. When you're ready to bake, just spoon the filling onto the pastry squares, add the cherry topping, fold, and apply the egg wash before popping them in the oven. This ensures your pastries are just as delicious as when freshly made, saving you time while guaranteeing that warm, flaky experience. Enjoy effortless delight with each bite!
Cherry Cheese Danish Recipe FAQs
How do I know if my cherries are ripe for the filling?
Absolutely! When selecting cherries, look for ones that are firm and plump with a deep red color. Avoid any with dark spots or bruises, as these can indicate overripeness. Fresh cherries are a delightful and healthier option, but if you choose canned, ensure they’re packed in juice, not syrup, for an authentic taste.
What is the best way to store leftover Cherry Cheese Danishes?
Very easy! Place the leftover Danishes in an airtight container and store them in the refrigerator for up to 3 days. If you want to enjoy them warm later, simply pop them in the microwave for 15-20 seconds or until heated through. This method helps retain their delicious flavor and flaky texture!
Can I freeze Cherry Cheese Danishes? If so, how?
Definitely! To freeze unbaked Danishes, assemble them as per the recipe and place them in a single layer on a baking sheet. Once frozen solid, transfer them to an airtight container or wrap them individually in plastic wrap. They can be frozen for up to 2 months! When you’re ready to bake, just put them frozen directly in the oven, adding an extra 5-10 minutes to the baking time.
What should I do if my puff pastry tears during assembly?
No worries, this happens sometimes! If your puff pastry tears, simply patch it up with a bit of extra pastry or press the edges back together. If it’s too difficult to work with, try chilling the dough in the fridge for about 10-15 minutes, which can help it firm up and become easier to handle for assembly.
Are there any dietary considerations for this recipe?
Absolutely! If you have dietary restrictions, consider using dairy-free cream cheese as a substitute, and for those with egg allergies, a milk wash works well as an egg wash replacement. Just make sure to check for cross-contamination with any ingredients, especially if cooking for someone who has allergies.
Can I prepare the filling ahead of time?
Yes, indeed! You can make the cream cheese filling up to 24 hours in advance. Just store it in an airtight container in the fridge. This will save you time on baking day and keep everything fresh. I often do this to ensure I have all my ingredients ready to go for a quick assembly and bake!

Delicious Cherry Cheese Danish That Will Wow Your Taste Buds
Equipment
- Oven
- Rolling Pin
- mixing bowl
- Pastry Brush
- baking sheet
- parchment paper
Ingredients
For the Pastry
- 1 sheet Puff Pastry Thawed, store-bought for ease
For the Filling
- 8 oz Cream Cheese Softened; mascarpone or ricotta can be used
- ¼ cup Granulated Sugar Can substitute with sugar alternative
- 1 teaspoon Vanilla Extract Vanilla bean can be used for richer flavor
For the Topping
- 1 can Cherry Pie Filling Fresh or homemade filling recommended
- 1 large Egg For egg wash; milk can be an alternative
Instructions
Step‑by‑Step Instructions
- Preheat the oven to 375°F (190°C).
- Roll out thawed puff pastry on a lightly floured surface and cut into four 4x4-inch squares.
- In a mixing bowl, combine softened cream cheese, granulated sugar, and vanilla extract. Blend until light and fluffy.
- Place a spoonful of cream cheese mixture on each pastry square, then top with cherry pie filling.
- Fold the corners of each pastry square towards the center and pinch edges to seal.
- Whisk an egg for the egg wash and brush it over each Danish.
- Place on a parchment-lined baking sheet and bake for 20-25 minutes until golden brown.
- Cool on the baking sheet for 5 minutes before serving warm.


Leave a Reply