
As I rummaged through my fridge one eerie October evening, I stumbled upon a treasure trove of leftover red velvet cupcakes, beckoning for a delicious second act. Enter Halloween Cakesicles—a fun, festive treat that transforms simple remnants into spooky delights. These adorable, cake-on-a-stick creations are not only a fantastic way to reduce waste but also a guaranteed crowd-pleaser for all your fall gatherings. With just a few simple ingredients and a sprinkle of creativity, you can whip up these delectable sweets that are perfect for parties and playful snacking. Curious about how to turn those leftover cupcakes into whimsical pastries that will have everyone asking for the recipe? Let’s dive in!
Why Are These Halloween Cakesicles Perfect?
Leftover Magic: Transforming uneaten red velvet cupcakes is a creative way to reduce waste while whipping up something spooky.
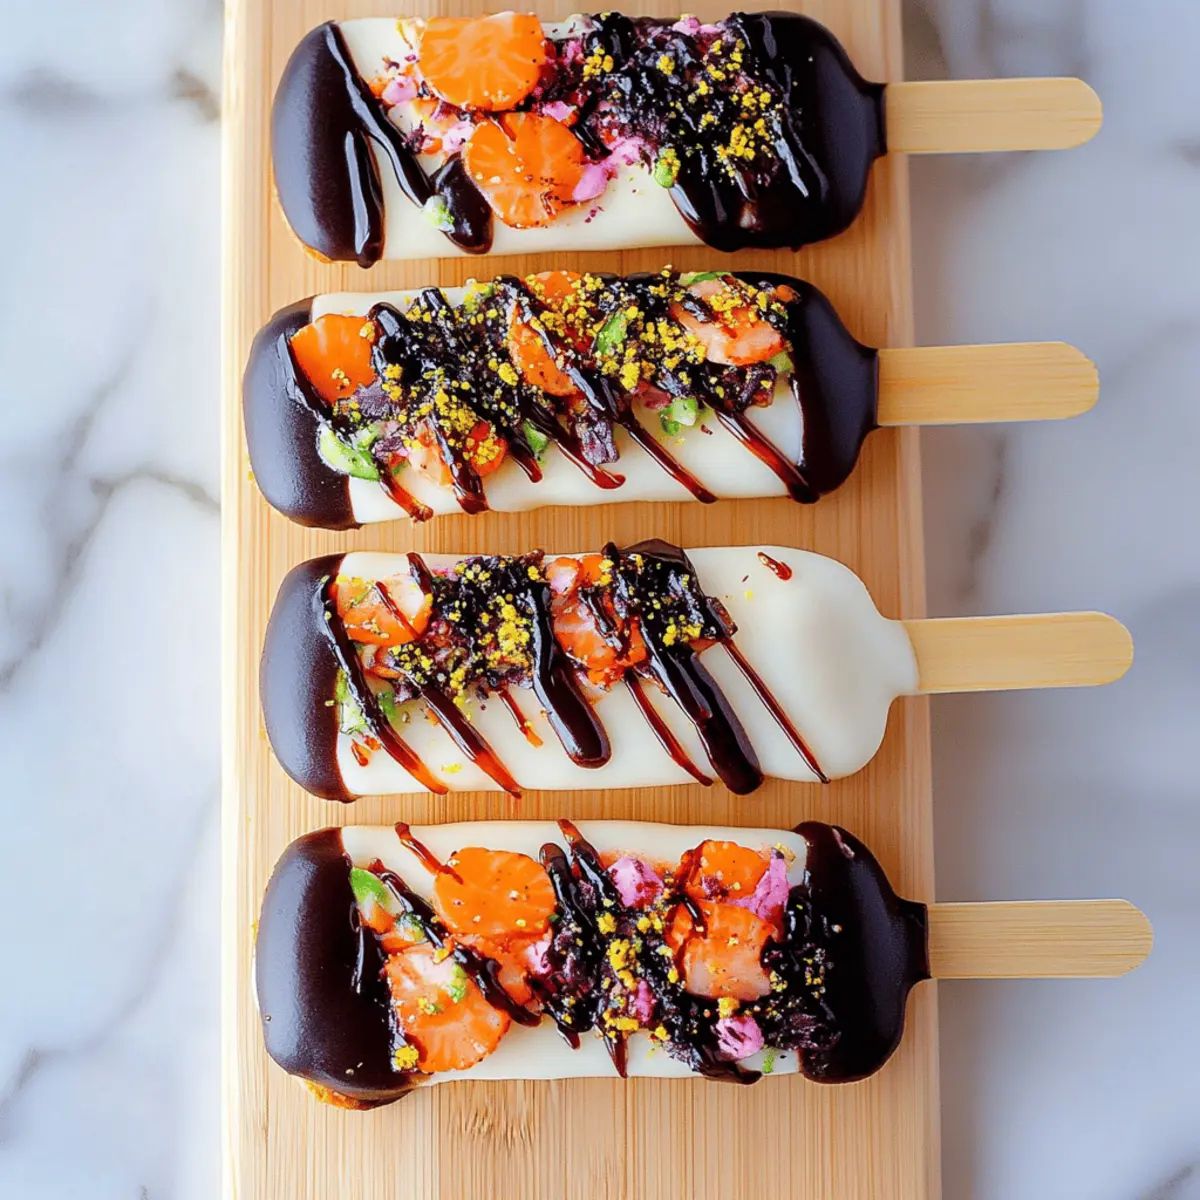
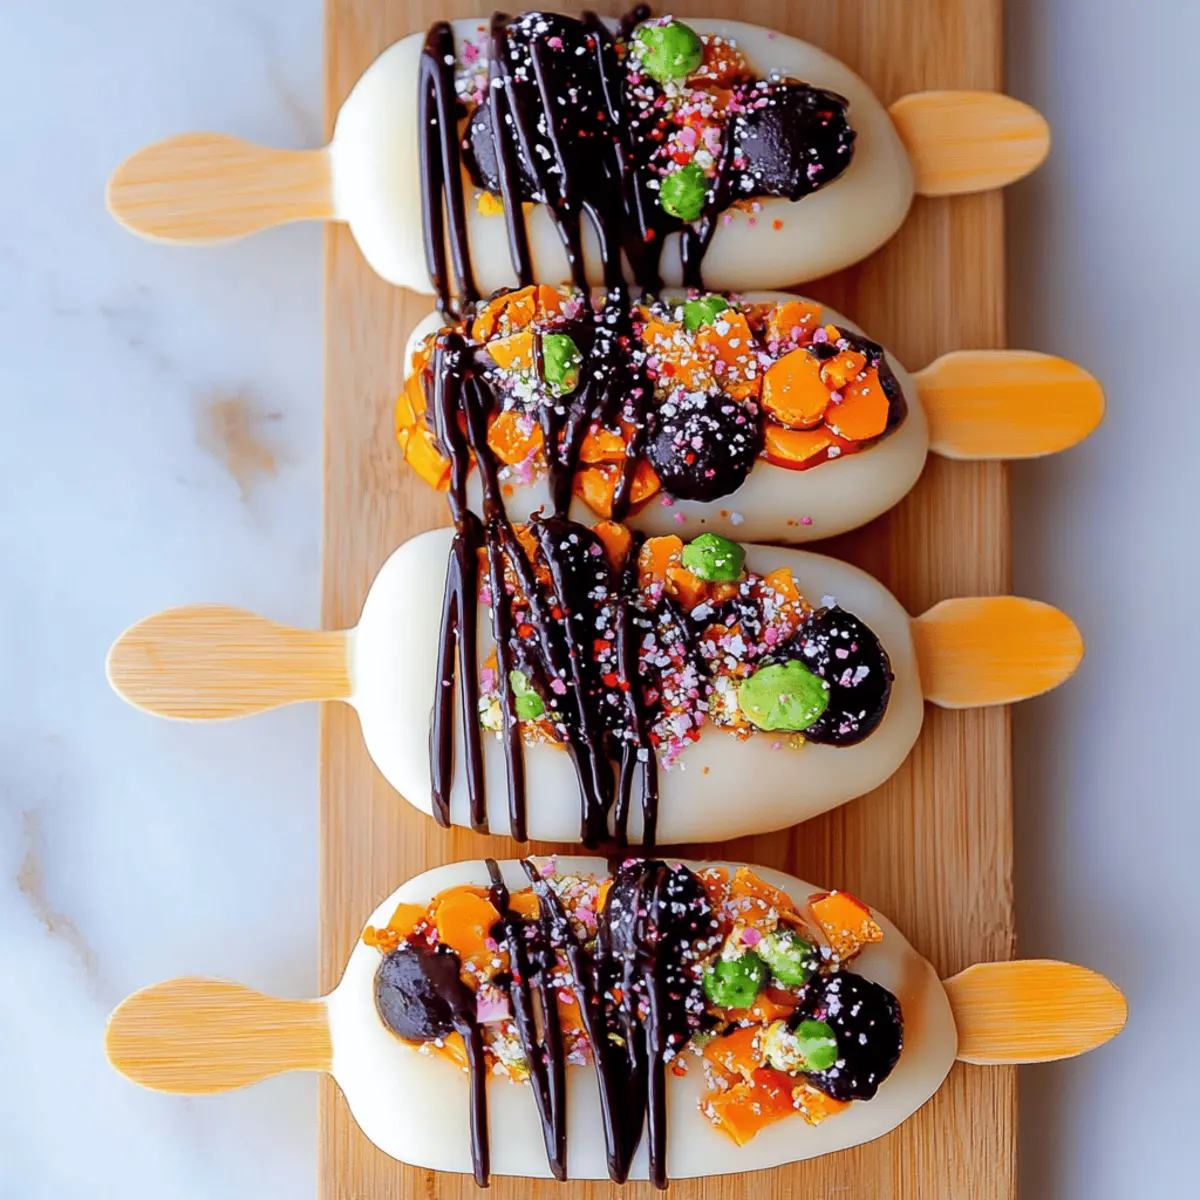
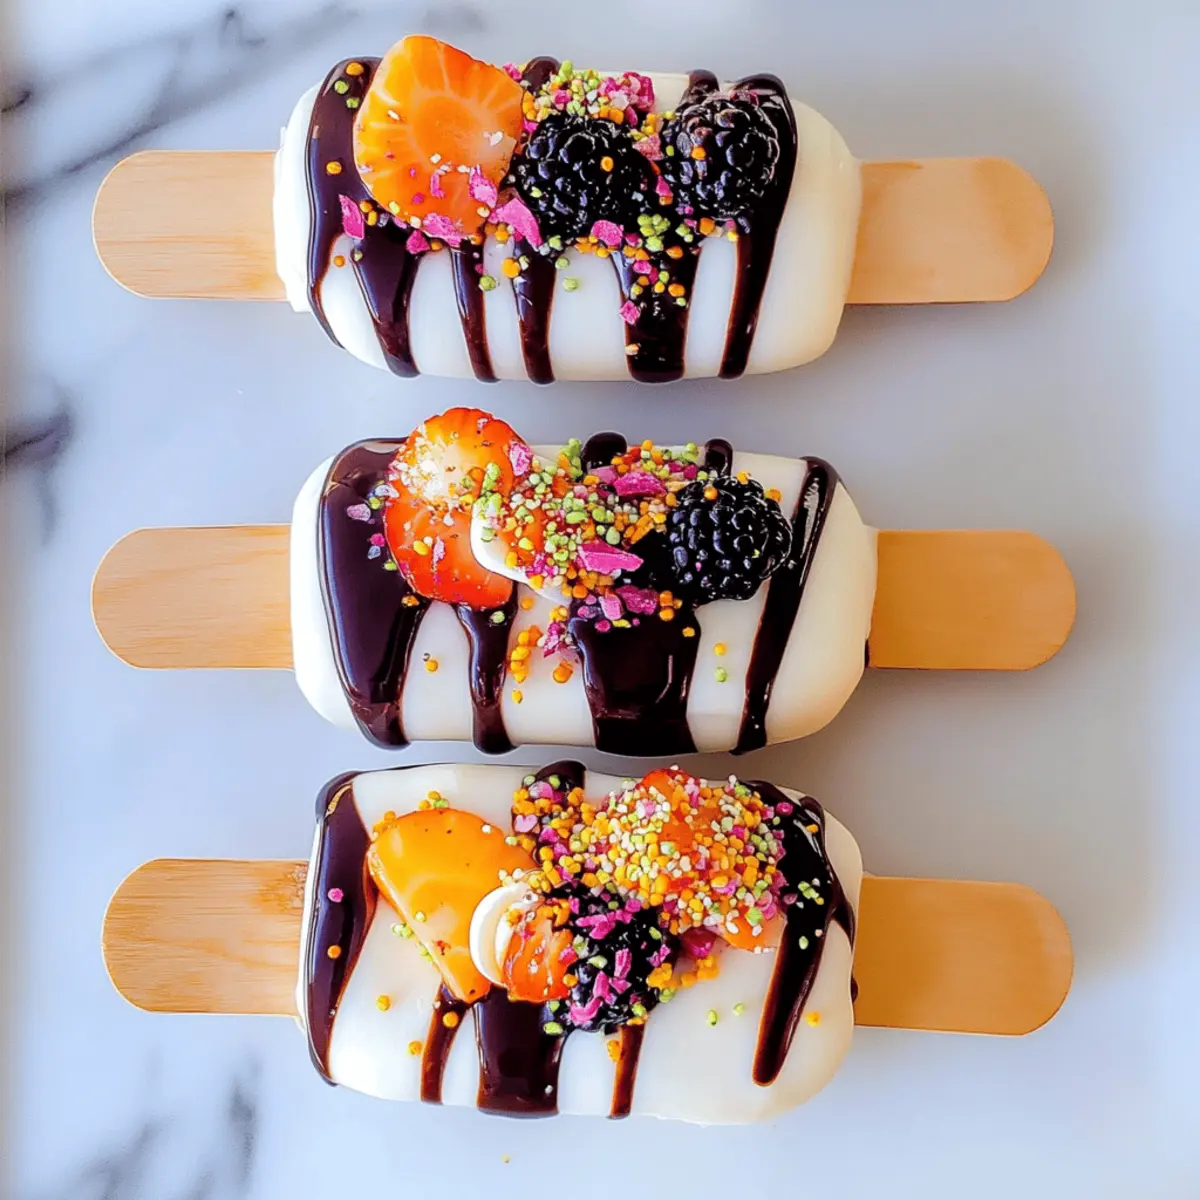
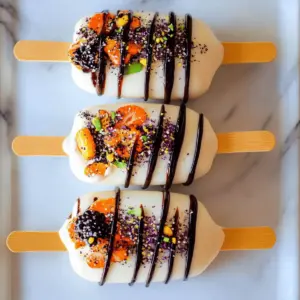
Visually Striking: With vibrant black and orange colors, these cakesicles are not just tasty; they’re eye-catching!
Fun for Everyone: Kids and adults alike will adore these whimsical treats, making them a hit at any Halloween party.
Easy to Customize: Use different colors or toppings to suit your festive theme or personal taste.
Quick Prep: They require minimal effort with just a 30-minute chill in the freezer, so you can enjoy more time celebrating!
For more delightful uses of leftover treats, check out our creative cupcake recipes.
Halloween Cakesicles Ingredients
For the Cakesicles
- Leftover red velvet cupcakes – Perfect for repurposing uneaten treats and adding rich flavor.
- Coating chocolate or candy melts – This creates a delightful outer layer that keeps your cakesicles moist and adds a glossy finish.
For the Colorful Coating
- Powdered food color or candy color – Use black and orange to give your Halloween Cakesicles that festive flair; alternatively, experiment with other colors for unique themes!
Get ready to have some spooky fun in the kitchen as you whip up these enchanting Halloween Cakesicles!
Step‑by‑Step Instructions for Halloween Cakesicles
Step 1: Crumble the Cupcakes
Begin by crumbling your leftover red velvet cupcakes into a large mixing bowl. Aim for a texture that’s fine but not powdery; you want small chunks for flavor. This should take about 5 minutes. Feel the rich aroma of chocolate as you prepare your mixture for the Halloween Cakesicles.
Step 2: Melt the Coating
Next, melt your coating chocolate or candy melts in a microwave-safe bowl. Use short bursts of 20-30 seconds, stirring in between, until the chocolate is completely smooth and glossy. This should take 1-2 minutes. Ensure it’s not too hot to touch, so you can blend it with the cake mixture comfortably.
Step 3: Combine the Mixtures
Pour the melted chocolate into the bowl of crumbled red velvet cupcakes. Stir the mixture well until it forms a cohesive, smooth dough that holds together without crumbling. This should take about 2-3 minutes. You should see the vibrant red of the cupcakes melding beautifully with the chocolate.
Step 4: Fill the Molds
Spoon the combined mixture into your cakesicle molds, filling each cavity evenly to create the perfect shape. Gently press down to ensure there are no air pockets and the mixture is packed nicely. This step can take around 5 minutes, so take your time ensuring each mold is filled adequately.
Step 5: Remove Air Bubbles
After filling the molds, gently tap them on the counter to release any trapped air bubbles and create a smooth surface. Spend about 1-2 minutes on this. Watch for any noticeable gaps, and press down on the mixture if needed to create a perfect, even layer in your Halloween Cakesicles.
Step 6: Chill in the Freezer
Place the filled molds in the freezer and let them chill for about 30 minutes, or until completely set. You’ll know they’re ready when the mixture feels firm to the touch and holds its shape perfectly. This crucial step ensures your cakesicles will pop out smoothly.
Step 7: Remove from Molds
After chilling, carefully remove the cakesicles from the molds by gently pulling on the sticks. If they resist, you can place them back in the freezer for a few more minutes. Proper removal is key to maintaining their cute shapes, getting you ready for the fun decorating phase of your Halloween Cakesicles.
Step 8: Dip in Chocolate
Melt additional coating chocolate or candy melts for dipping. Carefully dip each cakesicle into the melted chocolate, covering it completely for that delectable shiny finish. Let any excess drip off before placing them on a cooling rack or wax paper. This step can take about 5-10 minutes in total.
Step 9: Decorate Your Treats
Once your cakesicles are coated, it’s time to decorate! Use melted chocolate to drizzle fun designs or add sprinkles for that spooky flair. Get creative with black and orange, or any festive colors to match your Halloween theme. This can take about 5 minutes, giving your cakesicles a unique touch.
Step 10: Allow to Set
Finally, let the decorated Halloween Cakesicles set completely at room temperature, or pop them back into the fridge for a quicker firming up. This should take about 15 minutes. Once set, they are ready to serve and delight your friends and family at your Halloween gathering!
Halloween Cakesicles Variations & Substitutions
Feel free to get creative and make these Halloween Cakesicles truly your own—let your imagination run wild!
-
Gluten-Free: Use gluten-free red velvet cupcakes as a substitute to cater to those with dietary restrictions. They’ll be just as delicious!
-
Nutty Twist: Add a handful of crushed nuts or nut butter into the cake mixture for a delightful crunch and extra flavor. A pecan or almond finish adds sophistication!
-
Dairy-Free: Opt for dairy-free chocolate or candy melts and substitute regular cupcakes with vegan red velvet versions for a friendly treat for everyone. You'll never miss the dairy!
-
Fruit Flavors: Instead of red velvet, try using leftover fruity cupcakes like lemon or strawberry for a refreshing twist. Imagine a bite of summer in every spooky treat!
-
Heat Factor: Add a pinch of cayenne pepper or crushed red pepper flakes to the chocolate for a surprising spicy kick. This contrast can elevate the flavor—sweet and heat!
-
Crunchy Coating: Roll your dipped cakesicles in crushed cookies, graham crackers, or nuts for added texture. The crunch pairs perfectly with the smooth chocolate!
-
Colorful Variations: Switch up the colors for holiday themes or personal preferences. Rainbow sprinkles or pastel candy coating can make them festive for birthdays!
For even more inspiration on how to use leftovers creatively, make sure to explore our delightful creative cupcake recipes and check out our spooky Halloween treats for additional festive ideas!
What to Serve with Halloween Cakesicles?
Create a delightful spread that complements these whimsical treats, perfect for your spooky celebrations.
-
Chilled Apple Cider: This sweet, spiced drink adds a refreshing touch that perfectly balances the sweetness of the cakesicles. Serve it in festive cups to elevate your Halloween gathering.
-
Pumpkin Soup: A creamy, warm soup brings comforting flavors to the table. Its savory richness creates a delicious contrast to the sweet cakesicles, making it an inviting choice for any fall feast.
-
Candy Corn Salad: A vibrant mix of corn, bell peppers, and a zesty dressing mirrors the colors of Halloween. This fresh, crunchy side dish provides a refreshing bite that offsets the treats' richness.
-
Spooky Cheese Platter: Include cheeses like goat, cheddar, and brie, along with nuts and dried fruits. This tantalizing assortment offers a range of flavors and textures that enhance the festive atmosphere.
-
Ghostly Brownie Bites: Elevate your dessert game with these chocolatey treats adorned with ghostly icing. They complement the cakesicles while maintaining that festive spirit your guests will love.
-
Crisp Veggie Platter: Pair with dips like ranch or hummus to provide a healthy yet crunchy balance to your sweets. The colorful veggies not only look great but also refresh the palate between each sugary treat.
-
Hot Chocolate Bar: Set up a cozy corner with hot cocoa topped with whipped cream and sprinkles. This delightful drink pairs beautifully with cakesicles, adding warmth and sweetness to your Halloween spread.
-
Caramel Popcorn: Irresistibly sweet and crunchy, this snack is perfect for nibbling alongside the cakesicles. It adds a playful element that keeps the fun going at your Halloween festivities.
How to Store and Freeze Halloween Cakesicles
Fridge: Store your Halloween Cakesicles in an airtight container in the fridge for up to 5 days. This keeps them fresh and delicious while you're savoring these spooky treats.
Freezer: For longer storage, place the cakesicles in a single layer in a freezer-safe container. They can be frozen for up to 2 months. Ensure they are wrapped well to prevent freezer burn.
Thawing: When you're ready to enjoy a frozen cakesicle, simply transfer it to the fridge for a few hours to thaw, or leave it at room temperature for about 30 minutes.
Serving: For the best taste, enjoy your Halloween Cakesicles chilled, and feel free to add a fun drizzle of melted chocolate just before serving!
Expert Tips for Halloween Cakesicles
• Use Fresh Cupcakes: Make sure your leftover red velvet cupcakes are fresh. Stale cupcakes can lead to dry cakesicles that lose their appeal.
• Avoid Overheating Chocolate: When melting your coating chocolate, use short intervals to prevent it from burning. Overheated chocolate can become grainy and unusable for dipping.
• Pack Molds Tightly: Ensure you pack the cupcake mixture firmly into the molds. This helps the Halloween Cakesicles maintain their shape and ensures they don’t fall apart when removed.
• Tap Gently: After filling the molds, tap them gently on the counter. This helps remove air bubbles, ensuring a smooth surface for your treats.
• Chill Longer if Needed: If your cakesicles feel soft after the initial 30 minutes in the freezer, feel free to chill longer. A well-set molds means easier handling and better dips!
Make Ahead Options
These Halloween Cakesicles are a fantastic option for meal prep, allowing you to enjoy more time celebrating! You can easily crumble the leftover red velvet cupcakes and mix them with the melted chocolate up to 24 hours in advance. Store the mixture in an airtight container in the refrigerator to maintain its moisture and flavor. Then, when you're ready to create your spooky treats, simply fill the molds, freeze for about 30 minutes, and dip them in the coating chocolate. This way, you'll have delightful Halloween Cakesicles ready for serving with minimal last-minute effort, ensuring they turn out just as delicious!
Halloween Cakesicles Recipe FAQs
What type of leftover cupcakes should I use?
I recommend using fresh leftover red velvet cupcakes for the best flavor and texture. Stale cupcakes can lead to dry, crumbly cakesicles that aren’t as enjoyable. If you don't have red velvet, try using other moist cake varieties like chocolate or vanilla!
How should I store my Halloween Cakesicles?
Store your Halloween Cakesicles in an airtight container in the fridge for up to 5 days. This keeps them fresh and delicious! If you're planning to keep them longer, you can freeze them for up to 2 months. Just ensure they are tightly wrapped to avoid freezer burn.
Can I freeze Halloween Cakesicles? How?
Absolutely! To freeze your Halloween Cakesicles, place them in a single layer inside a freezer-safe container. Make sure to wrap them well, either in plastic wrap or in a freezer bag, to keep them safe from ice crystals. When you're ready to enjoy one, simply transfer it to the fridge for a few hours or let it sit at room temperature for about 30 minutes until thawed.
What can I do if my cakesicles are falling apart?
If your cakesicles are falling apart, it may be a sign that the mixture wasn't packed tightly enough into the molds. In this case, you can try pressing the mixture back together with your hands before dipping them. If they feel too soft after chilling, give them additional time in the freezer to firm up.
Are there any dietary considerations for Halloween Cakesicles?
Yes, when preparing Halloween Cakesicles, consider any allergies. The recipe includes chocolate and could contain ingredients like nuts or dairy. Always check labels on your coating chocolate or candy melts for allergens. If you're serving them to kids or friends with dietary restrictions, opt for allergen-free chocolate or candy options widely available.
What if I want to use different colors for decoration?
Feel free to get creative! While black and orange are traditional Halloween colors, you can use any colors that fit your theme or the event. For example, customize with green and purple for a witch-themed party or classic red and white for a more elegant dessert. Just make sure the colorings you use are safe and appropriate for all your guests!
Deliciously Fun Halloween Cakesicles You’ll Love to Make
Equipment
- mixing bowl
- Microwave-safe bowl
- cakesicle molds
- spatula
- Cooling rack
Ingredients
For the Cakesicles
- 2 cups leftover red velvet cupcakes crumbled
- 1 cup coating chocolate or candy melts for outer layer
For the Colorful Coating
- 1 tablespoon powdered food color or candy color black and orange recommended
Instructions
Step‑by‑Step Instructions for Halloween Cakesicles
- Crumble your leftover red velvet cupcakes into a large mixing bowl.
- Melt your coating chocolate or candy melts in a microwave-safe bowl.
- Pour the melted chocolate into the bowl of crumbled red velvet cupcakes and stir well.
- Spoon the combined mixture into your cakesicle molds, filling each cavity evenly.
- Gently tap the filled molds on the counter to release any trapped air bubbles.
- Place the filled molds in the freezer and let them chill for about 30 minutes.
- Carefully remove the cakesicles from the molds by gently pulling on the sticks.
- Melt additional coating chocolate or candy melts for dipping.
- Carefully dip each cakesicle into the melted chocolate and let excess drip off.
- Decorate with melted chocolate or sprinkles as desired.
- Let the decorated cakesicles set completely at room temperature.

Leave a Reply