
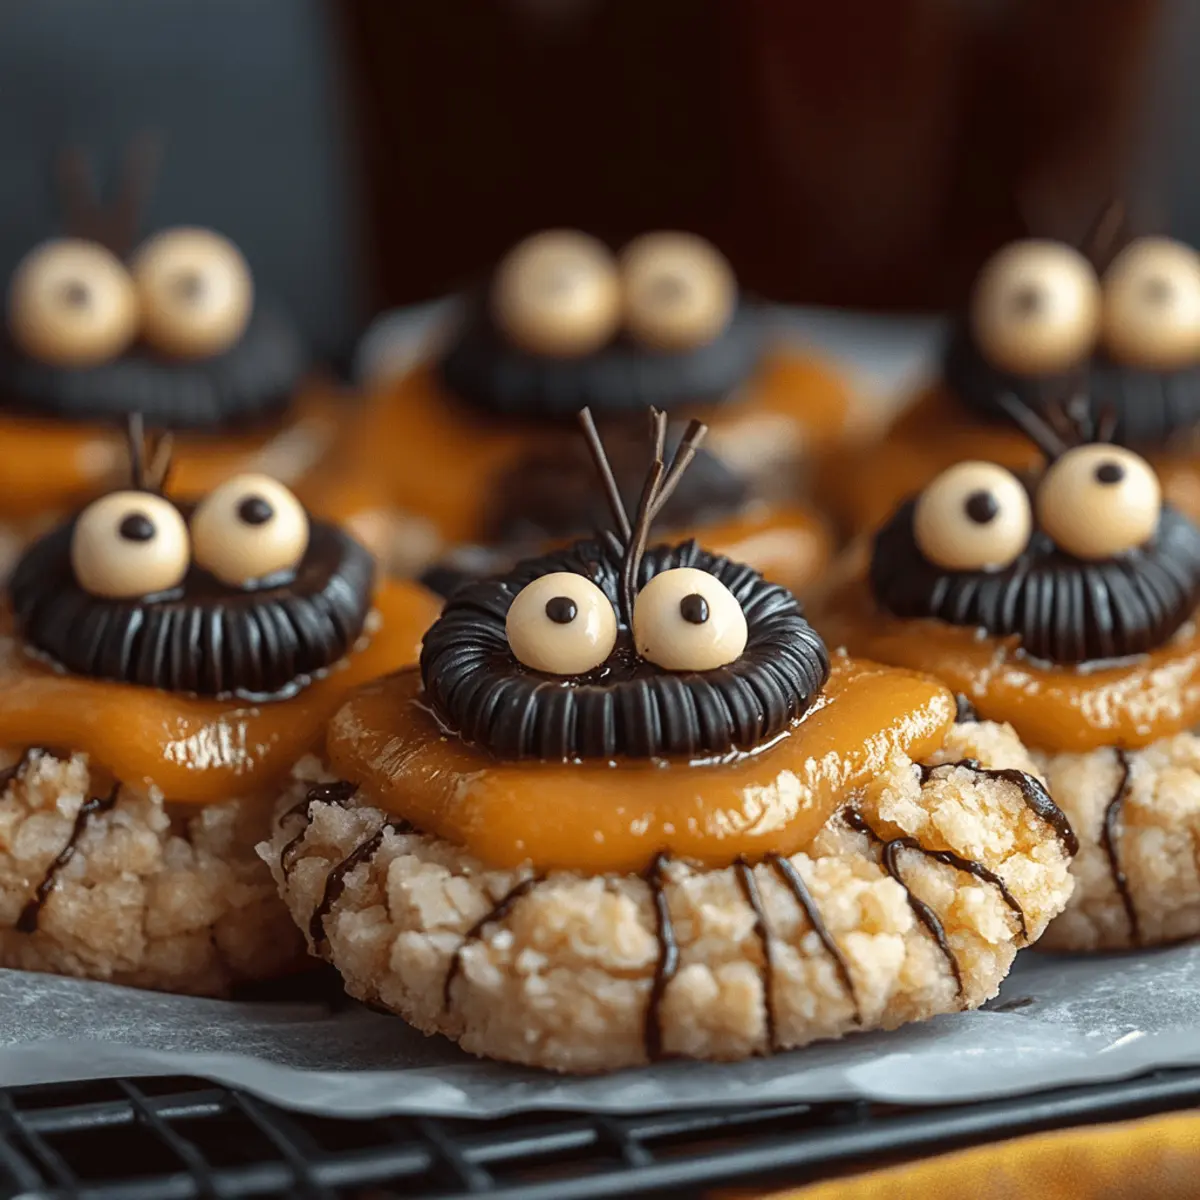
As I turned the corner of my kitchen, the sweet scent of peanut butter enveloped me, instantly sparking childhood memories of baking with my mother. These Peanut Butter Spider Cookies combine nostalgia with a playful twist, making them an irresistible treat for beginners and seasoned bakers alike. With just 15 minutes of prep and a mere 11 minutes in the oven, you'll have a batch of cookies that not only satisfy your sweet tooth but also bring a smile to anyone’s face. The miniature Reese’s cups nestled inside and the whimsical chocolate legs make these cookies a fun addition to any gathering or a delightful surprise for your family. What’s better than serving homemade goodies that are sure to charm? Ready to unleash your inner dessert artist? Let’s dive into the recipe!
Why are Peanut Butter Spider Cookies special?
Irresistible flavor: The delightful blend of creamy peanut butter and rich chocolate makes each bite a taste sensation that both kids and adults will love.
Quick and easy: With just 15 minutes of prep and 11 minutes of baking, these treats are perfect for busy days or spontaneous gatherings.
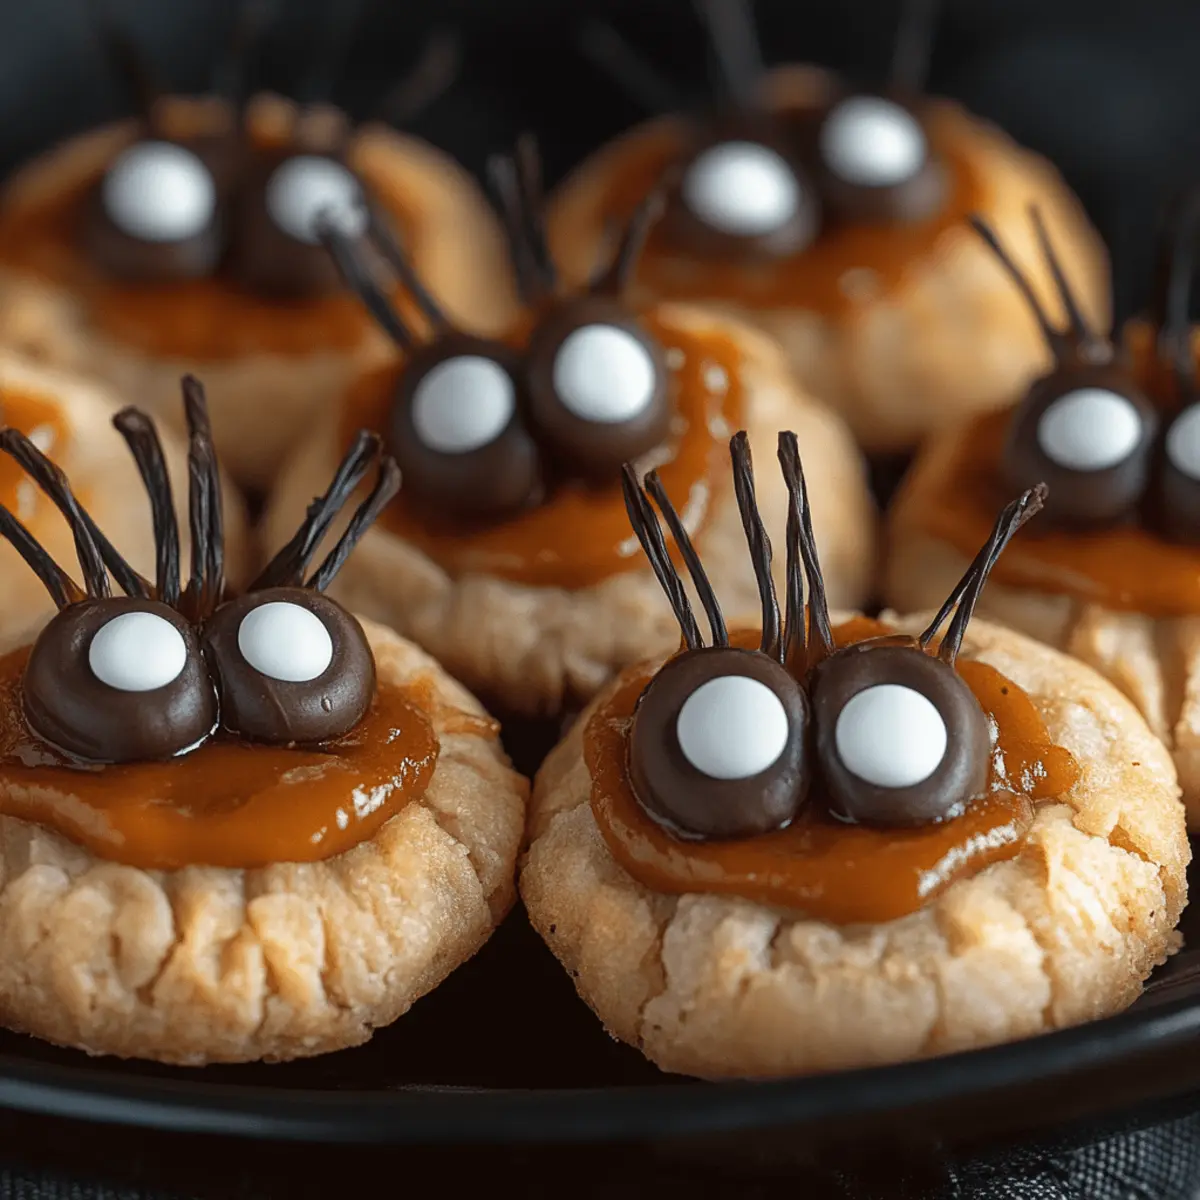
Fun presentation: The whimsical spider design adds a playful element to your dessert table, making them a hit at parties and family outings.
Versatile treats: Perfect for Halloween or any occasion, these cookies can be customized with different toppings or fillings to suit your taste.
Nostalgic appeal: They evoke memories of childhood baking, creating a warm and joyful experience that you can share with loved ones.
Peanut Butter Spider Cookies Ingredients
For the Cookie Dough
• Unsalted butter – ½ cup (113g) at room temperature ensures a creamy texture for the dough.
• Brown sugar – ½ cup (107g) adds a rich, caramel flavor that perfectly balances the peanut butter.
• Granulated sugar – ⅓ cup (66g) helps achieve that delightful sweetness and crispy exterior.
• Creamy peanut butter – ¾ cup (201g) is the star ingredient that delivers a luscious flavor in every bite.
• Large egg – 1 provides richness and helps bind all the ingredients together.
• Vanilla extract – 1 teaspoon enhances the overall flavor, making the cookies smell heavenly.
For the Dry Ingredients
• All-purpose flour – 1 ½ cups (180g) is essential for structure and a soft cookie texture.
• Baking soda – 1 teaspoon promotes even rising for a light and fluffy cookie.
• Baking powder – ½ teaspoon helps achieve a perfect lift, giving your cookies a lovely appearance.
• Salt – ½ teaspoon balances the sweetness and enhances all the flavors in these Peanut Butter Spider Cookies.
For the Decorations
• Granulated sugar – Use for rolling the cookies to give them a beautiful, sugary finish.
• Mini Reese’s Peanut Butter Cups – 24 pieces add a delightful surprise and are key in the spider design.
• Semi-sweet chocolate chips – ½ cup (85g) are used for melting, providing the chocolatey spider legs.
• Candy eyeballs – These fun little additions bring your cookies to life and make them irresistibly cute.
Step‑by‑Step Instructions for Peanut Butter Spider Cookies
Step 1: Chill the Reese’s
Begin by unwrapping 24 mini Reese’s Peanut Butter Cups and placing them in a bowl. Pop the bowl into the freezer while you prepare the cookie dough. This quick chill will keep the chocolates from melting too quickly when added to the delicious Peanut Butter Spider Cookies later.
Step 2: Preheat the Oven
Next, preheat your oven to 350°F (175°C). This step is crucial for achieving perfectly baked cookies. While the oven heats up, you can focus on creating that scrumptious dough that will form the base of your Peanut Butter Spider Cookies.
Step 3: Cream the Sugars and Butter
In a large mixing bowl, beat together ½ cup of room-temperature unsalted butter, ½ cup of brown sugar, and ⅓ cup of granulated sugar using an electric mixer. Mix until the mixture is smooth and fluffy, approximately 2-3 minutes. You should see a light, creamy texture that will make your cookies incredibly tender.
Step 4: Add Wet Ingredients
Add ¾ cup of creamy peanut butter, one large egg, and 1 teaspoon of vanilla extract to the butter mixture. Beat the ingredients together until they are well combined and smooth, about 1-2 minutes. The enticing aroma of peanut butter will start to fill your kitchen, signaling that your Peanut Butter Spider Cookies are coming together beautifully.
Step 5: Incorporate Dry Ingredients
Now, gently fold in 1 ½ cups of all-purpose flour, 1 teaspoon of baking soda, ½ teaspoon of baking powder, and ½ teaspoon of salt. Mix just until combined, making sure not to overmix. The dough should be thick but manageable, ready for shaping into those wonderful cookie balls.
Step 6: Shape the Cookie Balls
Take a tablespoon of dough from your mixing bowl and roll it into a uniform ball in your hands. Aim for tablespoon-sized portions for each cookie. The dough should be soft and slightly sticky, which allows for easy rolling into perfect balls that will make delightful Peanut Butter Spider Cookies.
Step 7: Roll in Sugar and Place on Sheet
Roll each dough ball in granulated sugar until they are generously coated, then place them on a baking sheet lined with parchment paper. Ensure that the dough balls are spaced about 2 inches apart. This spacing allows the cookies to spread evenly while baking, giving them a lovely shape.
Step 8: Bake the Cookies
Place the baking sheet in the preheated oven and bake for 8 to 11 minutes. The cookies will be ready when they have a light golden brown edge and the centers look slightly soft. It’s important to keep an eye on them, as you want the perfect texture for your Peanut Butter Spider Cookies.
Step 9: Add Reese’s to Cookies
Once baked, remove the cookies from the oven and while they are still warm, gently press a mini Reese’s cup into the center of each one. Allow the heat from the cookies to slightly melt the chocolates, creating a deliciously gooey surprise in the center of your Peanut Butter Spider Cookies.
Step 10: Cool on Baking Sheet
Let the cookies cool on the baking sheet for at least 15 to 20 minutes. This cooling time ensures that the cookies firm up a bit, making them easier to transfer without losing their shape. Enjoy the delightful aroma wafting through your kitchen as they set!
Step 11: Melt the Chocolate
In a microwave-safe bowl, melt ½ cup of semi-sweet chocolate chips, stirring every minute until smooth and fully melted. This chocolate will be used later for creating the spider legs. Be patient, as you want a silky consistency for the best results on your Peanut Butter Spider Cookies.
Step 12: Decorate with Legs
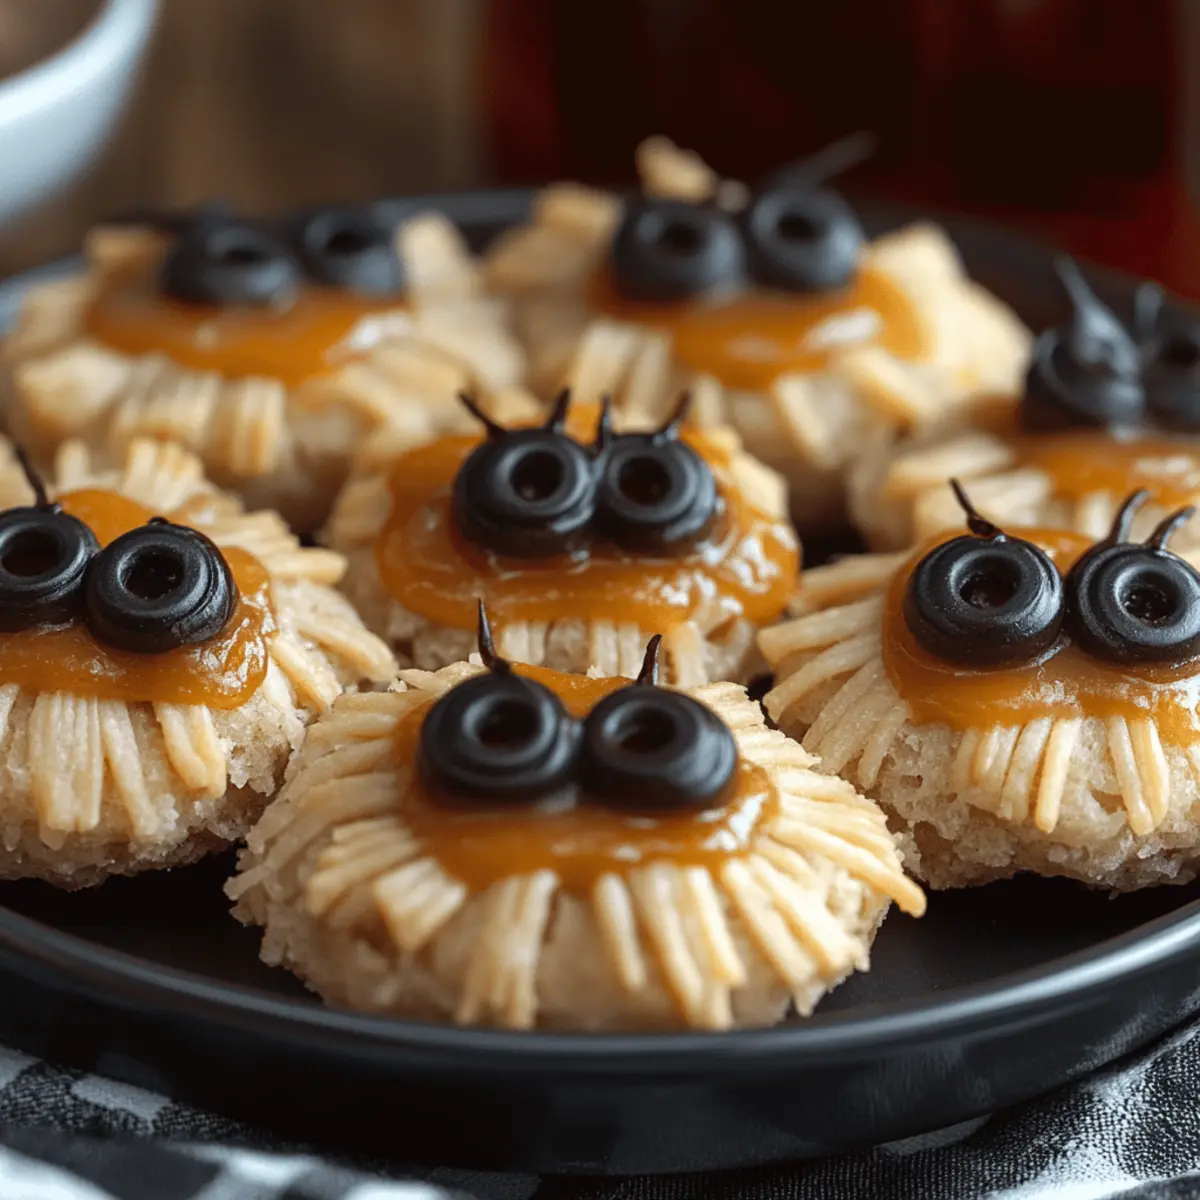
Using a squeeze bottle, or a piping bag if you prefer, draw four legs on each side of the cookies with the melted chocolate. Allow your creativity to flow here! The playful design will make your Peanut Butter Spider Cookies not only fun to eat but also adorable to look at.
Step 13: Attach Eyeballs
To bring the spider design to life, use a small amount of melted chocolate to attach candy eyeballs onto the top of each Reese’s cup. This finishing touch adds personality and charm to your cookies, making them irresistible and festive.
Step 14: Let Set Completely
Finally, allow the decorated Peanut Butter Spider Cookies to set completely before moving or serving. This will ensure that the decorations stay in place and your cookies are ready for everyone to marvel at and enjoy when it’s time to dig in!
How to Store and Freeze Peanut Butter Spider Cookies
Room Temperature: Store cookies in an airtight container at room temperature for up to 3 days. This keeps them fresh and maintains the delightful texture of the Peanut Butter Spider Cookies.
Fridge: If you want to extend their shelf life, place the cookies in the refrigerator in a sealed container for up to 1 week. Allow them to come to room temperature before enjoying for the best flavor.
Freezer: For longer storage, freeze the cookies in a single layer on a baking sheet until firm, then place them in a zip-top bag for up to 3 months. Thaw in the fridge or at room temperature before serving.
Reheating: To refresh the cookies after freezing, warm them in a 350°F (175°C) oven for about 5 minutes. This will restore that lovely softness and melt-in-your-mouth quality, making them even more irresistible!
Peanut Butter Spider Cookies Variations
Feel free to sprinkle your unique flair on these delightful cookies for an even more memorable treat!
- Gluten-Free: Substitute all-purpose flour with a 1:1 gluten-free blend for a celiac-friendly version.
- Nut-Free: Use sun butter or soy nut butter in place of peanut butter to create a safe and tasty treat for those with nut allergies.
- Chocolate Lovers: Mix in dark chocolate chips or chunks for an extra indulgent twist on flavor and texture.
- Added Crunch: Stir in chopped nuts such as walnuts or pecans for a delightful crunch within the soft cookie base.
- Minty Fresh: Add a few drops of peppermint extract to the dough for a refreshing minty flavor that pairs beautifully with chocolate.
- Spicy Kick: Mix in a pinch of cayenne pepper or cinnamon for a warm, spicy note that complements the sweetness of the cookie.
- Vegan-Friendly: Replace the butter with coconut oil and use a flax egg (1 tablespoon ground flaxseed + 2.5 tablespoons water) instead of a regular egg for a vegan alternative.
- Holiday Cheer: Decorate with festive sprinkles or colored icing for holidays like Halloween or Christmas to give them an extra festive touch.
Expert Tips for Peanut Butter Spider Cookies
Chill Your Chocolate: Always chill the mini Reese’s before baking to prevent them from melting too quickly, ensuring they stay intact in your Peanut Butter Spider Cookies.
Don't Overmix: When adding the dry ingredients, mix just until combined. Overmixing can lead to tough cookies instead of the soft, chewy texture you want.
Use Room Temperature Ingredients: Make sure your butter and egg are at room temperature. This helps create a smooth dough, resulting in more flavorful and well-blended cookies.
Watch the Baking Time: Keep a close eye on the cookies during the last couple of minutes. Removing them when they still look slightly underbaked gives you a softer center.
Decorate Creatively: Don’t hesitate to add your own twist! Try different candies or sprinkles to personalize your Peanut Butter Spider Cookies for special occasions.
Make Ahead Options
These Peanut Butter Spider Cookies are perfect for meal prep, allowing you to save time for your busy weeknights! You can prepare the cookie dough up to 24 hours in advance; simply mix it and store it in an airtight container in the refrigerator. For the best flavor and texture, allow the dough to come to room temperature for about 30 minutes before rolling it into balls and baking. You can also chill the mini Reese’s Peanut Butter Cups in advance, keeping them in the freezer until you’re ready to bake. When you're ready to serve, just follow the final baking steps, and you'll have fresh, indulgent cookies that taste just as delicious as when made on the spot!
What to Serve with Peanut Butter Spider Cookies
These adorable cookies are a delightful treat that invites you to create a memorable meal experience filled with sweetness and fun.
-
Crispy Apple Slices: The refreshing crunch of apple slices offers a light contrast to the rich flavors of the cookies. Pair them for a delightful snack trio.
-
Cold Glass of Milk: Nothing beats the classic combination of warm peanut butter cookies and a chilled glass of milk, enhancing that nostalgic comfort.
-
Chocolate Pumpkin Spice Mousse: This decadent mousse adds a layer of creamy richness that complements the cookies, making for an indulgent dessert duo.
-
Trail Mix: An assortment of nuts and dried fruits provides a crunchy texture and a hint of salty flavor that balances the sweetness of the cookies.
-
Hot Chocolate: Serve up a steaming mug of hot chocolate to complement those gooey centers, enveloping your taste buds in an extra warmth.
-
Caramel Popcorn: The sweet, buttery popcorn brings a fun texture and flavor that harmonizes beautifully with the alluring peanut butter taste.
-
Fruit Salad: A light and refreshing fruit medley introduces a burst of freshness while balancing the richness of the cookies magnificently.
-
Vanilla Ice Cream: Top off your cookies with a scoop of creamy vanilla ice cream for a delightful dessert that cools down the warmth of freshly baked cookies.
Peanut Butter Spider Cookies Recipe FAQs
How do I select the best peanut butter for the cookies?
Absolutely! For the best flavor and texture, I recommend using creamy peanut butter with no added sugars or oils. Look for brands that only list peanuts (and maybe salt) as ingredients on the label—this will give you that rich, nutty taste that shines through in your Peanut Butter Spider Cookies!
What is the best way to store leftovers?
To keep your Peanut Butter Spider Cookies fresh, store them in an airtight container at room temperature for up to 3 days. If you're looking to keep them longer, you can refrigerate them for up to 1 week, but make sure to let them come back to room temperature for optimal flavor!
Can I freeze these cookies?
Very! To freeze your Peanut Butter Spider Cookies, first place them in a single layer on a baking sheet and freeze until firm. Then transfer them to a zip-top bag, removing as much air as possible. They can be frozen for up to 3 months. When you're ready to enjoy, simply thaw them in the fridge overnight or at room temperature for a nice treat whenever you want!
What should I do if my cookie dough is too sticky?
If your dough is too sticky to manage, don’t worry! You can add a little more flour, about a tablespoon at a time, until it reaches a workable consistency. Just remember not to overmix. If you want to be safe, chill the dough in the fridge for about 15 to 30 minutes before rolling it into balls. This will make it much easier to handle!
Are these cookies safe for my pets?
Definitely avoid giving your Peanut Butter Spider Cookies to pets, particularly dogs. The chocolate and sugar present can be harmful to them. Instead, save a few extra mini Reese’s cups for a human treat and opt for pet-safe treats for your furry friends!
Can I replace ingredients to make these cookies healthier?
Great question! You can make a few adjustments for a healthier twist. For instance, using natural almond butter can be a fantastic substitute for peanut butter. Additionally, you could use whole wheat flour instead of all-purpose flour. If you want to cut back on sugar, consider reducing the amount or using a sugar substitute. Just remember that these changes may impact the final texture and taste of your Peanut Butter Spider Cookies!
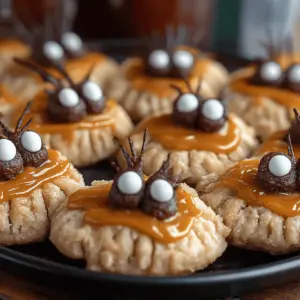
Peanut Butter Spider Cookies for Spooky Sweet Fun
Equipment
- mixing bowl
- Electric Mixer
- baking sheet
- parchment paper
- Microwave-safe bowl
- Squeeze bottle
Ingredients
For the Cookie Dough
- 0.5 cups Unsalted butter at room temperature
- 0.5 cups Brown sugar
- 0.33 cups Granulated sugar
- 0.75 cups Creamy peanut butter
- 1 large Egg
- 1 teaspoon Vanilla extract
For the Dry Ingredients
- 1.5 cups All-purpose flour
- 1 teaspoon Baking soda
- 0.5 teaspoon Baking powder
- 0.5 teaspoon Salt
For the Decorations
- 0.5 cups Granulated sugar for rolling
- 24 pieces Mini Reese’s Peanut Butter Cups
- 0.5 cups Semi-sweet chocolate chips
- Candy eyeballs
Instructions
Step-by-Step Instructions
- Begin by unwrapping 24 mini Reese’s Peanut Butter Cups and placing them in a bowl. Pop the bowl into the freezer while you prepare the cookie dough.
- Next, preheat your oven to 350°F (175°C).
- In a large mixing bowl, beat together ½ cup of room-temperature unsalted butter, ½ cup of brown sugar, and ⅓ cup of granulated sugar using an electric mixer.
- Add ¾ cup of creamy peanut butter, one large egg, and 1 teaspoon of vanilla extract to the butter mixture. Beat until well combined and smooth.
- Now, gently fold in 1 ½ cups of all-purpose flour, 1 teaspoon of baking soda, ½ teaspoon of baking powder, and ½ teaspoon of salt. Mix just until combined.
- Take a tablespoon of dough from your mixing bowl and roll it into a uniform ball.
- Roll each dough ball in granulated sugar until coated, then place them on a baking sheet lined with parchment paper, spaced about 2 inches apart.
- Place the baking sheet in the preheated oven and bake for 8 to 11 minutes until edges are golden brown.
- Once baked, remove the cookies and while still warm, gently press a mini Reese’s cup into the center of each one.
- Let the cookies cool on the baking sheet for at least 15 to 20 minutes.
- In a microwave-safe bowl, melt ½ cup of semi-sweet chocolate chips, stirring every minute until smooth.
- Using a squeeze bottle, draw four legs on each side of the cookies with the melted chocolate.
- Use a small amount of melted chocolate to attach candy eyeballs onto the top of each Reese’s cup.
- Allow the decorated cookies to set completely before moving or serving.


Leave a Reply