
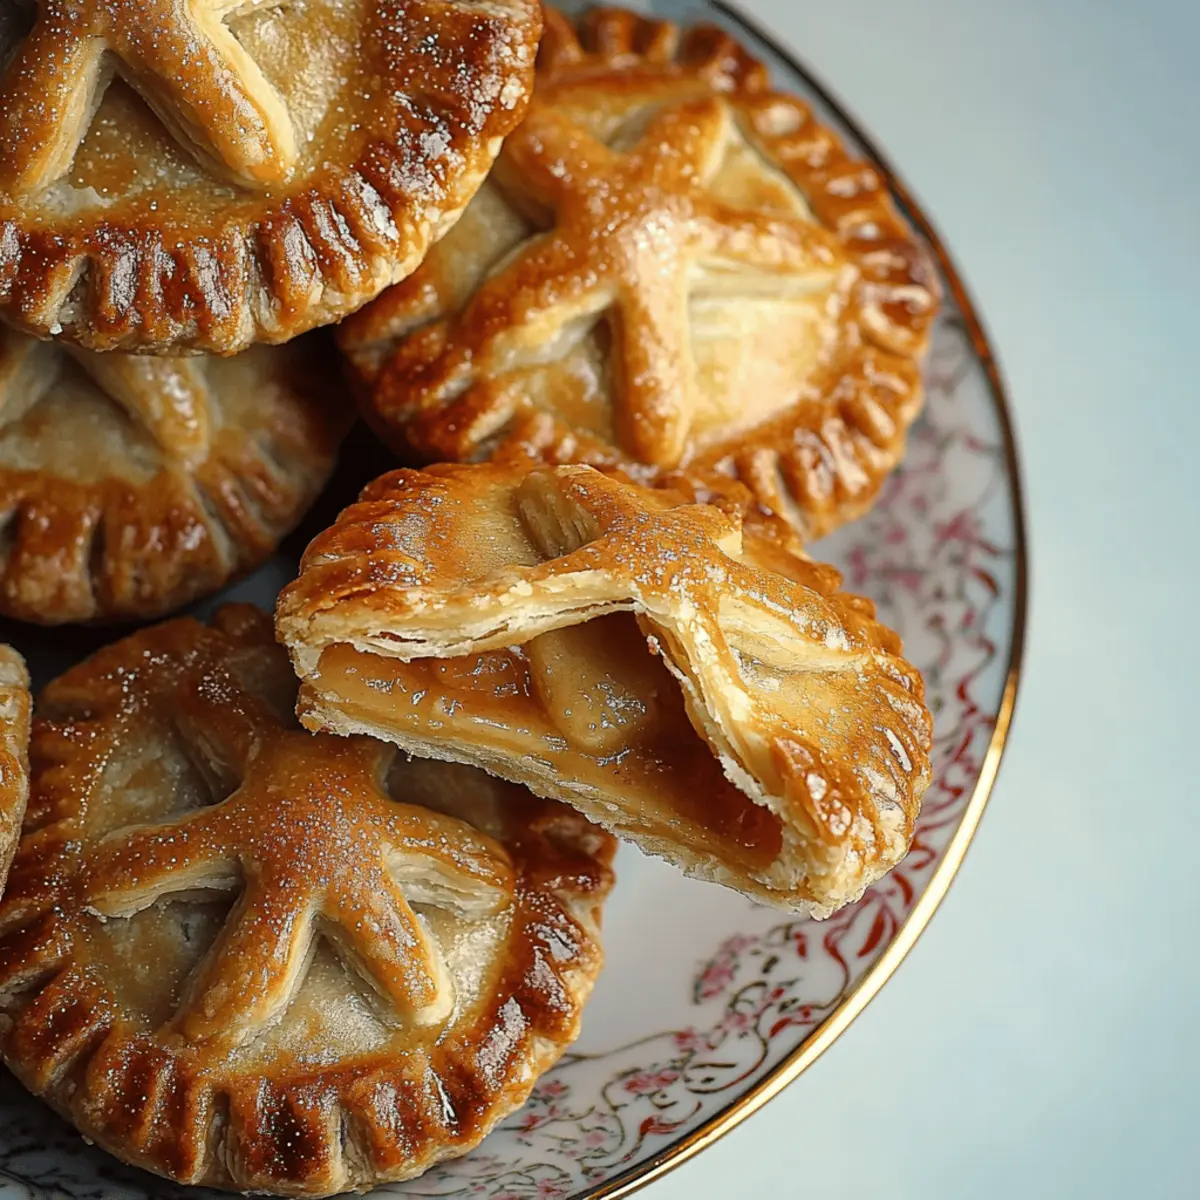
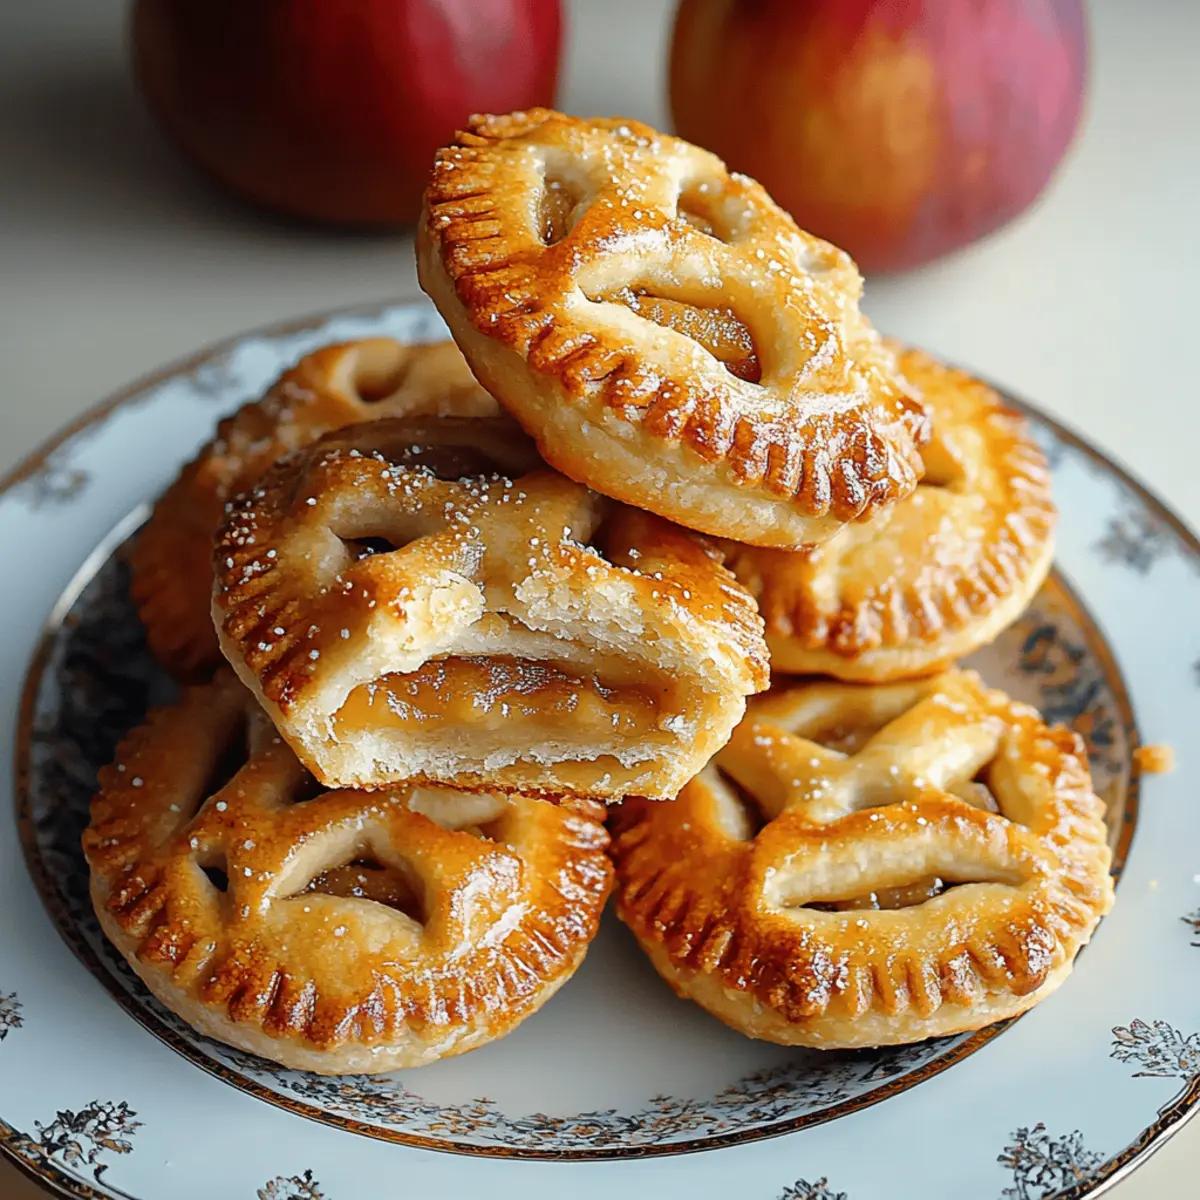
As I pulled the warm mini apple pies from the oven, the cozy aroma of cinnamon and baked apples wrapped around me like a favorite sweater. This delightful treat is my go-to solution for when I need a bit of comfort without spending all day in the kitchen. These Mini Apple Pies can be whipped up in just 40 minutes, making them perfect for both spontaneous gatherings and quiet evenings at home. Plus, they’re a crowd-pleaser that will have everyone reaching for seconds, thanks to their delightful blend of sweet, spiced apples nestled within a flaky crust. Can you already taste the buttery goodness? Let’s dive into the recipe and create some sweet memories!

Why are Mini Apple Pies a must-try?
Irresistible Flavor: The warm blend of spices and sweet apples creates a taste sensation that’s hard to resist.
Quick and Easy: With only 15 minutes of prep and 25 minutes of baking, you can enjoy these treats in no time.
Perfect for Everyone: Whether you’re hosting friends or treating your family, these mini pies quickly become the highlight of any gathering.
Versatile Serving Options: Enjoy them warm or at room temperature, and feel free to dress them up with a scoop of vanilla ice cream for an extra special touch!
Adaptable for All: Want a gluten-free option? Just swap the pie crust, and you’re all set! Each bite will remind you why homemade is always best.
Don’t miss out on making these delightful mini apple pies! They are perfect for cozy days and sweet memories.
Mini Apple Pies Ingredients
Here’s everything you need to make these delightful treats shine!
For the Filling
• Diced apples – fresh varieties like Granny Smith or Honeycrisp add a sweet and tangy depth.
• Brown sugar – this adds a rich caramel flavor that perfectly complements the apples.
• Ground cinnamon – a must-have for that comforting spice essence in every bite.
• Nutmeg – a pinch enhances the warmth and depth of the apple filling.
• Allspice – a delightful blend that adds subtle complexity to the flavors.
• Ground ginger – a hint of warmth; it brightens up the apple mixture beautifully.
• Salt – balances the sweetness and elevates the overall flavor.
• Unsalted butter – adds richness and a lovely buttery note that melds beautifully with the filling.
• Vanilla extract – a dash of this brings out the warmth of the apples.
• Cornstarch slurry – thickens the filling, ensuring a perfect consistency that won’t leak.
For the Crust and Topping
• Premade pie dough – saves prep time while still delivering delicious results.
• Egg (beaten) – used for an egg wash that gives the pies a beautiful golden color.
• Milk, cream, or water – mixed with the egg for a shiny finish.
• Coarse brown sugar – sprinkle on top for a delightful crunch and sweetness—use to taste!
These mini apple pies are not only a sweet treat but also a nostalgic reminder that simplicity and comfort can come together in the most delightful ways. Happy baking!
Step‑by‑Step Instructions for Mini Apple Pies
Step 1: Preheat the Oven
Begin by preheating your oven to 375°F (190°C). This ensures that your mini apple pies bake evenly and become perfectly golden brown. While the oven heats, line a baking sheet with parchment paper to prevent sticking and make cleanup a breeze.
Step 2: Prepare the Apple Filling
In a medium mixing bowl, combine 3 cups of diced apples with ⅓ cup of brown sugar, 1 teaspoon of ground cinnamon, ¼ teaspoon of nutmeg, allspice, ground ginger, and salt. Mix well until the apples are fully coated in the sweet, spicy mixture, releasing their natural juices, which will create a delightful filling.
Step 3: Add Butter and Vanilla
Add 1 tablespoon of unsalted butter and 1 teaspoon of vanilla extract to the apple mixture. Gently stir until the butter is melted and the apples are beautifully coated. This step adds richness and depth to the filling, making your Mini Apple Pies even more delectable.
Step 4: Thicken the Filling
Incorporate the cornstarch slurry (1 tablespoon of cornstarch mixed with 1 tablespoon of water) into the apple mixture. Mix thoroughly to ensure the filling thickens properly. This will prevent any leaks during baking, resulting in perfectly shaped Mini Apple Pies.
Step 5: Prepare the Egg Wash
In a small bowl, whisk together 1 beaten egg with 1 tablespoon of milk, cream, or water to create an egg wash. This blend will give your mini pies a shiny, beautiful finish. Set it aside for brushing on top of the dough later.
Step 6: Assemble the Mini Pies
Roll out the premade pie dough on a lightly floured surface and cut out circles. Place a generous spoonful of the apple filling in the center of each circle. Fold the dough over to create half-moon shapes, pressing the edges together to seal them securely.
Step 7: Apply Egg Wash and Sugar
Brush the tops of each mini pie with the prepared egg wash using a pastry brush. Then, sprinkle coarse brown sugar on top to add sweetness and a delightful crunch. This finishes off the look of your Mini Apple Pies beautifully.
Step 8: Bake
Carefully place the assembled mini apple pies on the prepared baking sheet and bake in the preheated oven for 20-25 minutes. Keep an eye on them and look for a golden brown color on top, indicating they are perfectly baked and ready to delight your taste buds.
Step 9: Cool and Serve
Once baked, remove the mini apple pies from the oven and allow them to cool slightly on a wire rack. This cooling step helps the filling set up nicely, making them easier to handle. Serve warm or at room temperature for a delightful treat!
How to Store and Freeze Mini Apple Pies
Room Temperature: Enjoy your mini apple pies at room temperature for up to 2 hours after baking. If they’re sitting out longer, store them in an airtight container to maintain their freshness.
Fridge: Keep the baked mini apple pies in the refrigerator for up to 3 days. Place them in an airtight container to prevent them from drying out or absorbing any odors.
Freezer: For longer storage, freeze your mini apple pies for up to 3 months. Wrap each pie tightly in plastic wrap and place them in a freezer-safe bag to preserve their quality.
Reheating: When ready to enjoy, thaw the frozen mini apple pies in the fridge overnight. Reheat them in a preheated oven at 350°F (175°C) for about 10-15 minutes until warmed through, ensuring that the crust stays crisp.
Expert Tips for Mini Apple Pies
Choose the Right Apples: Select a mix of tart and sweet apples like Granny Smith and Honeycrisp for the best flavor balance.
Avoid a Soggy Bottom: Use a parchment-lined baking sheet and ensure no excess moisture in the filling by mixing in the cornstarch slurry well.
Perfecting the Seal: Press the edges firmly to prevent the filling from leaking during baking. Use a fork to crimp for an extra decorative touch!
Golden Finish: Don’t skip the egg wash—it’s key to achieving that beautiful golden color and crisp texture on your mini apple pies.
Storage Matters: To keep the pies fresh, store them in an airtight container in the fridge for up to 3 days or freeze for longer enjoyment.
These expert tips will help you create mouthwatering mini apple pies that delight everyone in the family!
Make Ahead Options
These Mini Apple Pies are a fantastic option for meal prep enthusiasts! You can prepare the apple filling and store it in the refrigerator for up to 3 days. Simply mix the diced apples with brown sugar, spices, unsalted butter, and vanilla, then refrigerate it in an airtight container to maintain the flavors. You can also cut the premade pie dough and keep it wrapped tightly in the fridge for up to 24 hours. When you're ready to bake, just assemble the mini pies by filling the dough with the chilled apple mixture, brushing with the egg wash, and sprinkling with coarse brown sugar before popping them into the oven. This way, you'll have delicious, freshly baked Mini Apple Pies with minimal effort, making them perfect for bustling weeknights!
What to Serve with Mini Apple Pies
As you indulge in these sweet treats, consider pairing them with delightful sides and beverages that complement their warm, spiced flavors.
-
Vanilla Ice Cream: The creamy, coolness of vanilla ice cream contrasts beautifully with the warm mini apple pies, creating a blissful fusion of hot and cold.
-
Caramel Sauce: Drizzling warm caramel over the pies enhances their sweetness, adding a rich, gooey texture that makes every bite indulgent and decadent.
-
Whipped Cream: Light and airy, whipped cream adds a fluffy texture that balances the richness of the pies, making for a delightful treat that’s hard to resist.
-
Cinnamon Sugar Dusting: Sprinkling a bit of cinnamon sugar on top adds an extra layer of flavor that mirrors the spices in the pies and enhances the overall experience.
-
Hot Apple Cider: The warm, spiced notes of apple cider perfectly mirror the flavors in the pies, making it a cozy drink choice that warms the soul.
-
Crisp Salad: A light and refreshing salad with mixed greens, nuts, and a citrus vinaigrette provides a bright contrast to the rich pies, keeping your meal balanced and delightful.
Pair these ideas with your mini apple pies and create a comforting spread that invites everyone to gather around the table and share sweet moments together!
Mini Apple Pies: Variations & Substitutions
Feel free to let your creativity shine as you customize these delightful mini apple pies to suit your taste!
- Gluten-Free: Use gluten-free pie crusts instead of traditional dough to cater to gluten-sensitive friends.
- Sweetener Swap: Replace brown sugar with maple syrup or honey for a different sweetness profile.
- Spice Explosion: Add a pinch of cayenne or chili powder for a surprising kick that pairs beautifully with the sweetness.
- Fruit Fiesta: Incorporate other fruits like berries or pears to create a mixed fruit filling bursting with seasonal goodness.
- Nutty Crunch: Add chopped pecans or walnuts to the apple mixture for an irresistible crunch that enhances texture.
For those who love a comforting spice experience, just imagine the warm embrace of flavor mingling with each crisp bite. Each variation creates a unique twist, ensuring there's a version for everyone to enjoy!
- Caramel Delight: Drizzle caramel sauce over the mini pies before serving for an indulgent treat that’ll have everyone swooning.
To elevate your dessert even further, consider serving them with a scoop of homemade vanilla ice cream or a dollop of fresh whipped cream. Feel free to explore these options and create sweet memories with every delicious bite of your mini apple pies! Happy baking!
Mini Apple Pies Recipe FAQs
What type of apples should I use for the filling?
Absolutely! For the best flavor, I recommend a mix of sweet and tart apples. Granny Smith apples provide that perfect tang, while Honeycrisp brings just the right amount of sweetness to balance the filling. Feel free to experiment with your local favorites!
How should I store leftover mini apple pies?
Very! To keep your mini apple pies fresh, store them in an airtight container in the refrigerator for up to 3 days. This will prevent them from drying out and absorbing any other smells from the fridge. If you want to indulge later, they can stay in the freezer for about 3 months—just wrap each pie tightly in plastic wrap before placing them in a freezer-safe bag.
Can I freeze mini apple pies? If so, how?
Absolutely! To freeze your mini apple pies, let them cool completely after baking. Then, wrap each pie individually in plastic wrap, ensuring there are no gaps for air to get in. After wrapping, place them in a freezer-safe bag or container, and label it with the date. When you're ready to enjoy them, just thaw them in the fridge overnight!
Why did my mini apple pies leak during baking?
Very! If your mini apple pies are leaking, it could be due to excess moisture in the filling. Ensure you mix in the cornstarch slurry properly to thicken the filling and prevent leaks. Additionally, pressing the edges of the dough firmly closed is key—I often crimp them with a fork for a tighter seal!
Are mini apple pies safe for pets?
Definitely! While the main ingredients in mini apple pies are not toxic to pets, the sugar and spices can upset their stomachs. It’s best to avoid sharing them with your furry friends altogether! If you're concerned about allergies, keep in mind that some spices can be harmful to pets as well.
Can I use a different type of crust for this recipe?
Of course! If you're looking for a gluten-free option, simply swap out the premade pie dough for gluten-free alternatives, which are widely available. You might also consider using puff pastry for a flakier texture, ensuring that each bite is as delicious as possible while catering to any dietary needs!

Irresistibly Sweet Mini Apple Pies for Cozy Days
Equipment
- Oven
- baking sheet
- parchment paper
- mixing bowls
- Pastry Brush
Ingredients
For the Filling
- 3 cups diced apples Granny Smith or Honeycrisp
- ⅓ cup brown sugar
- 1 teaspoon ground cinnamon
- ¼ teaspoon nutmeg
- 1 teaspoon allspice
- 1 teaspoon ground ginger
- ½ teaspoon salt
- 1 tablespoon unsalted butter
- 1 teaspoon vanilla extract
- 1 tablespoon cornstarch mixed with 1 tablespoon of water for slurry
For the Crust and Topping
- 1 pack premade pie dough
- 1 beaten egg egg for egg wash
- 1 tablespoon milk or cream or water for egg wash
- to taste coarse brown sugar for topping
Instructions
Step‑by‑Step Instructions for Mini Apple Pies
- Preheat your oven to 375°F (190°C) and line a baking sheet with parchment paper.
- In a medium mixing bowl, combine diced apples with brown sugar, ground cinnamon, nutmeg, allspice, ground ginger, and salt. Mix well.
- Add unsalted butter and vanilla extract to the apple mixture. Stir until the butter melts and the apples are coated.
- Incorporate the cornstarch slurry into the apple mixture and mix thoroughly.
- In a small bowl, whisk together the beaten egg with milk to create an egg wash.
- Roll out the premade pie dough and cut out circles. Place a spoonful of apple filling in the center of each.
- Fold the dough over to create half-moon shapes and press edges to seal.
- Brush the tops of each mini pie with the egg wash and sprinkle coarse brown sugar on top.
- Place the pies on the baking sheet and bake for 20-25 minutes until golden brown.
- Allow the mini apple pies to cool slightly before serving.


Leave a Reply