
As I glanced over my kitchen counter, it struck me that sometimes we all need a fun, nostalgic treat to bring a smile to our faces. Enter Ruler Rice Krispies, an enchanting twist on a classic favorite that’s perfect for those moments when you're craving something homemade but don’t want to spend hours in the kitchen. With just 25 minutes of prep and a healthy dash of creativity, these colorful, ruler-shaped bars will delight both kids and adults alike. Not only are they incredibly easy to whip up, but they also serve as a sweet, playful addition to any gathering or lunch box—a guaranteed crowd-pleaser! Are you ready to unleash your inner artist and make snack time a little more exciting? Let's dive into the fun!
Why are Ruler Rice Krispies a Must-Try?
Fun and Creative: These Ruler Rice Krispies are a delightful twist on a beloved classic, adding a vibrant splash of color to your snack time.
Quick to Make: With just 25 minutes from start to finish, you can easily whip up this whimsical treat without spending all day in the kitchen.
Crowd-Pleasing Appeal: Perfect for parties, kids' events, or even a playful surprise in lunch boxes, these treats are sure to spark joy and nostalgia in everyone.
Customizable and Versatile: Feel free to experiment with colors and decorations to match any theme or occasion. This versatility makes them a delightful choice for any celebration!
Easy to Keep: Not only do they look adorable, but these treats are also simple to store and enjoy over the week. If you’d like more fun dessert ideas, check out our Rainbow Desserts for inspiration!
Ruler Rice Krispies Ingredients
• Here’s everything you need to create these delightful treats!
For the Bars
- Rice Krispies cereal – 6 cups – Provides that classic crunch for your colorful creation.
- Mini marshmallows – 1 (10 oz) bag – The gooey hero that binds your rice squares together!
- Butter – 3 tablespoons – Adds a silky richness to your mixture.
For Coloring
- Red gel food coloring – A few drops – Brightens one portion to create a fun red layer.
- Yellow gel food coloring – A few drops – Gives another layer a cheerful, sunny hue.
- Black gel food coloring – A few drops – Perfect for adding dramatic accents later on.
For Decorating
- White candy melts – ½ cup – Helps create the shiny “metal edge” of your ruler.
- Chocolate chips (or brown candy melts) – ½ cup – Perfect for adding ruler markings with deliciousness!
- Black decorating gel or black edible marker – For detailing numbers and lines on the treats.
For Preparation
- Non-stick cooking spray – A quick spritz – Ensures easy removal of your treats from the pan.
- Parchment paper – For lining the baking dish – Keeps everything from sticking and simplifies cleanup.
Now that you have all your Ruler Rice Krispies ingredients, let’s get those creative juices flowing in the kitchen!
Step‑by‑Step Instructions for Ruler Rice Krispies
Step 1: Prepare the Dish
Start by preparing a 9×13 inch baking dish. Line it with parchment paper to prevent sticking, and then generously spray the surface with non-stick cooking spray. This ensures that your colorful Ruler Rice Krispies come out easily once they are set.
Step 2: Melt the Marshmallows
In a large saucepan, melt 3 tablespoons of butter over low heat. Once melted, add a 10 oz bag of mini marshmallows, stirring continuously for about 3–5 minutes until completely melted and smooth. This creates a gooey mixture that will bind your Rice Krispies together beautifully.
Step 3: Combine with Rice Krispies
Remove the saucepan from heat and immediately add 6 cups of Rice Krispies cereal to the melted marshmallow mixture. Stir well for about 2 minutes, ensuring that every piece of cereal is thoroughly coated and glistening with the marshmallow mixture’s sweetness.
Step 4: Divide the Mixture
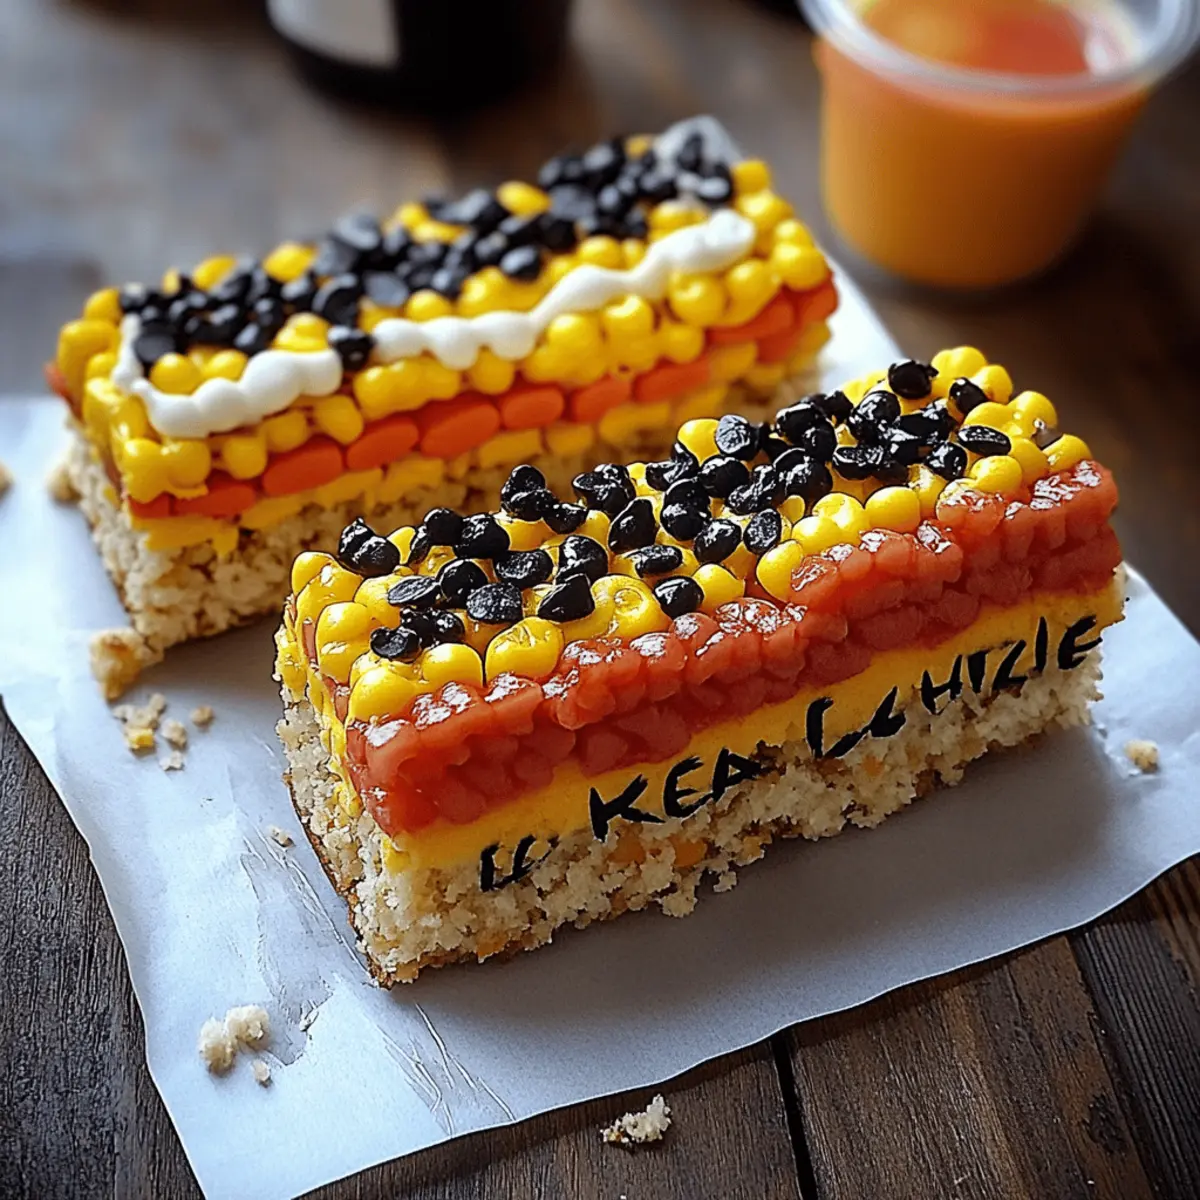
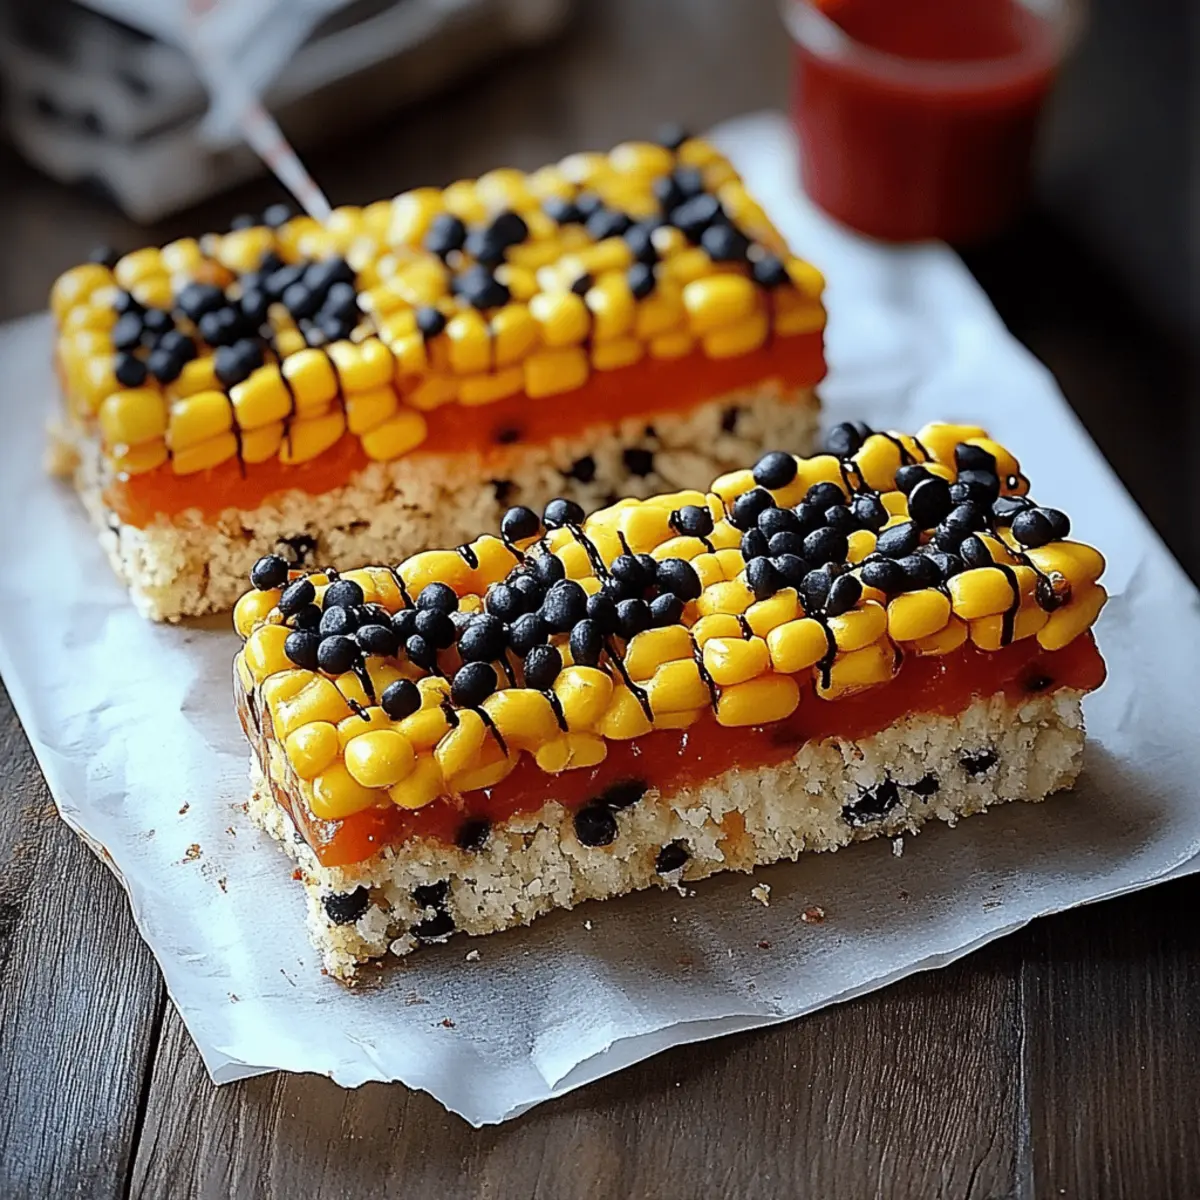
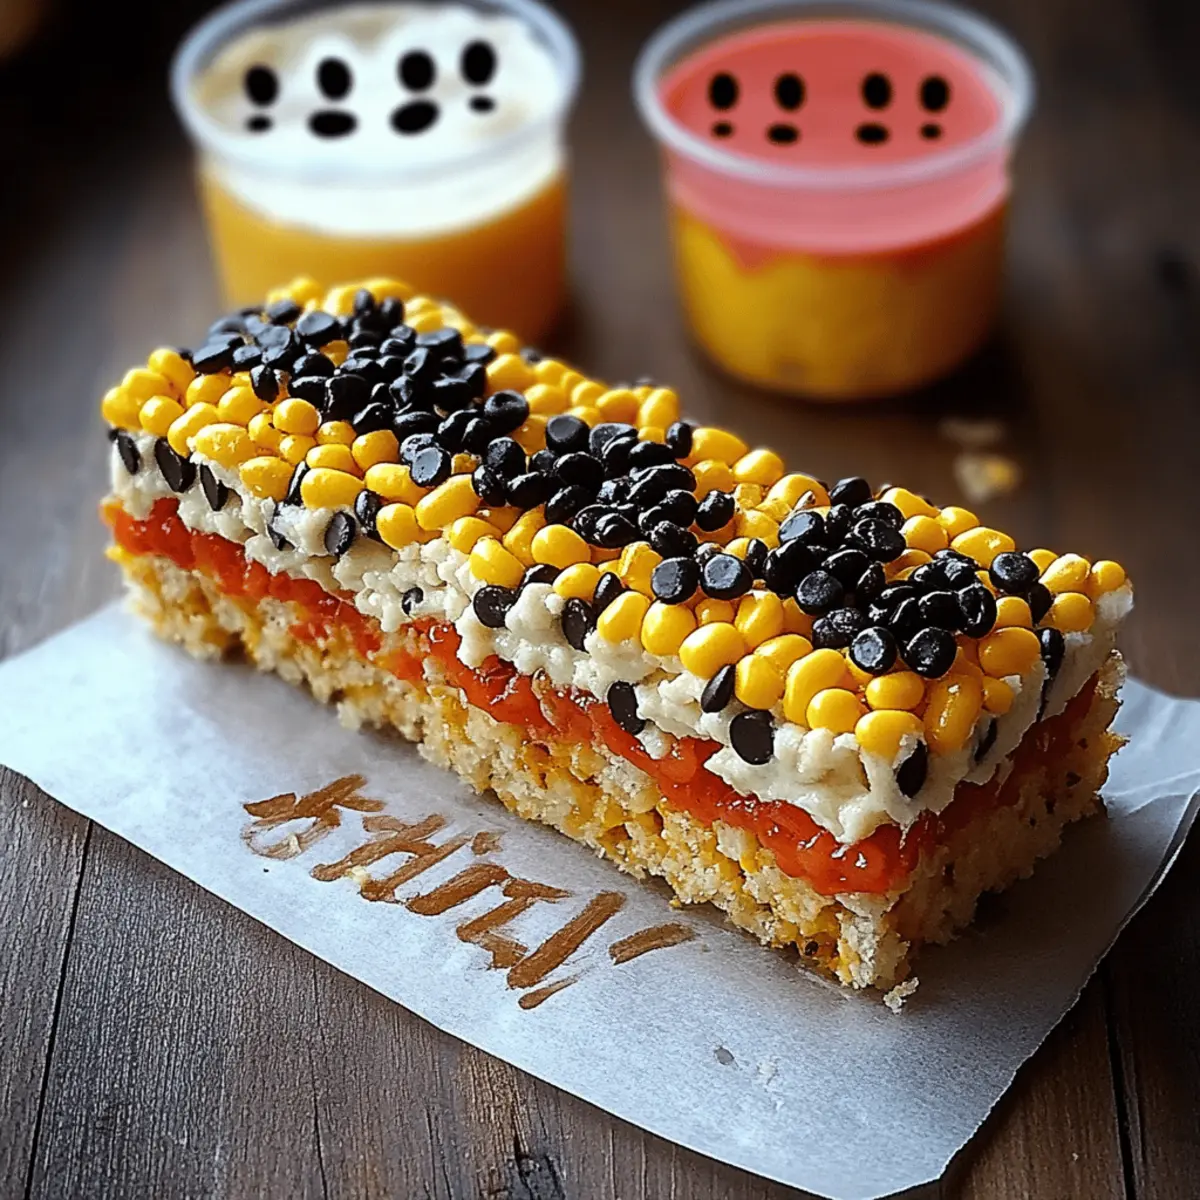
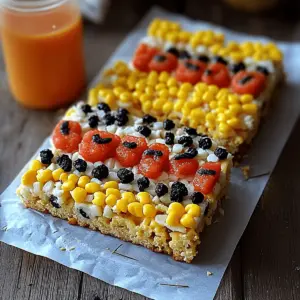
Once mixed, carefully divide the gooey cereal mixture into three equal portions in separate bowls. Keep one portion plain, then add yellow gel food coloring to another, and red gel food coloring to the last. Use a spatula to mix the colors in until evenly incorporated, creating vibrant layers for your Ruler Rice Krispies.
Step 5: Layer the Mixtures
Begin pressing the red mixture into the bottom third of the prepared baking dish, ensuring it's evenly spread. Next, press the yellow mixture into the center third, and finally, layer the plain mixture on top. Use a spatula to press down firmly, creating smooth layers that will stay together. Allow the mixture to cool completely for about 30 minutes.
Step 6: Cut the Bars
Once your layered Ruler Rice Krispies are set and firm, remove them from the baking dish using the edges of the parchment paper. Transfer to a cutting board and, using a sharp knife, cut the treats into long rectangle bars, mimicking rulers. Aim for about 12 long bars to serve.
Step 7: Melt the Candy
In separate microwave-safe bowls, melt ½ cup of white candy melts and ½ cup of chocolate chips for about 30 seconds each, stirring until completely smooth. Be careful not to overheat; this will be crucial for creating your decorative ruler markings.
Step 8: Decorate the Treats
With the melted chocolate and white candy melts, use a piping bag or a spoon to add ruler markings and numbers on your Ruler Rice Krispies. Drizzle chocolate for markings, then pipe the white candy melts on one edge to create that shiny “metal edge”. Get creative with your designs!
Step 9: Final Touches
Using a black decorating gel or a black edible marker, add numbers and small lines to create the ruler details. Take your time to make each bar unique and appealing, ensuring they look just as fun as they taste. Once decorated, allow everything to set for about 15 minutes before serving.
Step 10: Serve and Enjoy
Now your Ruler Rice Krispies are ready! Whether you’re serving them at a party or packing them for lunch, these colorful treats will surely impress. Store any leftovers in an airtight container at room temperature, ready to delight friends and family whenever you want.
What to Serve with Ruler Rice Krispies
Treat yourself to a delightful assortment of accompaniments that will turn snack time into a full-on celebration of flavors and fun!
- Fresh Fruit Skewers: Bright, juicy fruits add a refreshing contrast to the sweetness of the bars, creating a balanced snack perfect for kids' parties.
- Chocolate Dipping Sauce: A warm, gooey chocolate sauce invites everyone to dip their treats, indulging in rich flavors that elevate the Ruler Rice Krispies.
- Colorful Vegetable Platter: Crisp, crunchy veggies alongside a creamy dip frame the sweetness of the bars, providing a nutritious option that keeps things interesting.
- Milkshakes: Creamy vanilla or chocolate milkshakes not only quench thirst but also bring a nostalgic twist that pairs beautifully with childhood favorites.
- Ice Cream Sundaes: Layered ice cream sundaes topped with sprinkles offer a fun dessert experience that echoes the playfulness of the Ruler Rice Krispies.
For a light refreshment, a fruity punch or lemonade can cleanse the palate beautifully, ensuring every bite of the Ruler Rice Krispies shines on its own. Embrace creativity in your table setting, and your snack spread will be a memorable feast!
How to Store and Freeze Ruler Rice Krispies
Room Temperature: Store the Ruler Rice Krispies in an airtight container at room temperature for up to 1 week, keeping them soft and delicious.
Refrigerator: If you prefer them chilled, you can refrigerate the treats for up to 2 weeks. Just ensure they're sealed to prevent them from becoming stale.
Freezer: For longer storage, wrap individual bars in plastic wrap and place them in a freezer bag. They will stay fresh for up to 3 months.
Reheating: If you enjoy them warm, microwave a bar for about 10-15 seconds to soften it slightly, bringing back that delightful chewiness!
Ruler Rice Krispies Variations & Substitutions
Feel free to mix things up with these fun twists that will elevate your Ruler Rice Krispies experience!
-
Dairy-Free: Substitute butter with coconut oil or dairy-free margarine for a deliciously rich option for those who are lactose intolerant.
Coconut oil adds a subtle sweetness that complements the marshmallows perfectly. -
Colorful Sprinkles: Top your Ruler Rice Krispies with colorful sprinkles for an extra festive touch.
Not only does it add a burst of color, but it also adds a delightful crunch to every bite! -
Nutty Crunch: For a delightful texture twist, fold in 1 cup of chopped nuts or seeds before it sets.
Almonds or peanuts bring a satisfying crunch and a boost of protein to these sweet treats. -
Sugar-Free Alternative: Use sugar-free marshmallows and sweeteners to cater to low-sugar diets.
These options maintain the same gooey consistency, allowing everyone to join in on the fun! -
Spicy Kick: Mix in a pinch of cayenne pepper or chili powder for a surprising heat that pairs wonderfully with the sweetness.
Just a dash can transform your Ruler Rice Krispies from playful to pleasantly surprising! -
Flavored Extracts: Add a teaspoon of vanilla or almond extract into the melted marshmallow for a hint of extra flavor.
These lovely additions elevate the overall taste while keeping the essence of the classic treat. -
Alternative Cereal: Swap Rice Krispies for another crispy cereal like cornflakes or fruity pebbles for a unique flavor profile.
Not only do these alternatives provide a different taste, but they also add a fun new look! -
Mini Fruit Pieces: Fold in dry, chopped fruits like cranberries or cherries for a sweet and tangy element.
This twist not only enhances the flavor but also adds vibrant colors for visual appeal.
Explore these variations and feel free to invent your own! For more delightful desserts, don’t miss our tasty Rainbow Desserts for even more sweet inspiration!
Make Ahead Options
These delightful Ruler Rice Krispies are perfect for busy home cooks who love to meal prep! You can make the colorful mixture up to 24 hours in advance. Simply follow the first five steps to prepare and layer the mixtures in your baking dish, then cover it with plastic wrap and refrigerate. This helps maintain their freshness and quality. When you're ready to finish, simply cut the treats into bars, melt your candy melts, and add the ruler markings as instructed. Allow them to set for about 15 minutes before serving. With this prep plan, you’ll save time while still delighting your friends and family with delicious homemade treats!
Expert Tips for Ruler Rice Krispies
Color Blending: Use gel food coloring sparingly: A few drops go a long way. Experiment with layering colors for a beautiful gradient effect!
Smoothing Layers: Press down firmly: Ensure even layers by firmly pressing each colored mixture into the dish. A flat spatula helps create smooth surfaces.
Cutting Tips: Use a sharp knife: Clean cuts will make your Ruler Rice Krispies look polished. Run the knife under hot water for easier slicing.
Storage Advice: Keep them fresh: Store your treats in an airtight container at room temperature to maintain their texture and taste for up to a week.
Avoid Sticking: Don’t skip the spray: Always use non-stick cooking spray and parchment paper; it makes the removal process much simpler!
Ruler Rice Krispies Recipe FAQs
What kind of Rice Krispies should I use?
Absolutely, stick with the classic Rice Krispies cereal! It provides the perfect crunch and texture for your Ruler Rice Krispies. Avoid any off-brand or flavored variants, as they may alter the taste and consistency of your treats.
How should I store Ruler Rice Krispies to keep them fresh?
Store your Ruler Rice Krispies in an airtight container at room temperature for up to 1 week. This keeps them soft and chewy, perfect for snacking! If you'd like them chilled, they can also be refrigerated for up to 2 weeks—just ensure they’re sealed well to avoid becoming stale.
Can I freeze Ruler Rice Krispies?
Absolutely! To freeze your Ruler Rice Krispies, individually wrap each bar in plastic wrap, then place them in a freezer bag. They’ll stay fresh for up to 3 months. When you're ready to enjoy them, simply thaw them at room temperature or microwave one for 10-15 seconds to soften up a bit.
What should I do if my Ruler Rice Krispies mixture is too sticky?
No worries! If your mixture is too sticky, it may be due to the marshmallows not melting properly or having used too much butter. Try adding in a bit more Rice Krispies—about 1 cup at a time—until you reach the desired consistency. Additionally, lightly greasing your hands or using a plastic spatula can help press the mixture into the dish without it sticking too much.
Are these Ruler Rice Krispies safe for people with allergies?
While the ingredients in Ruler Rice Krispies are generally safe, always be cautious about allergies! The mini marshmallows contain gelatin, which may not be suitable for vegetarians, and the treats also contain dairy from the butter. Cross-contamination is possible if made in a kitchen that processes nuts or gluten products, so it's essential to check all labels if you're serving someone with allergies.
Can I use different colors or flavors for decorating?
Very much so! Feel free to get creative with your Ruler Rice Krispies. You can use any colors of gel food coloring you like, or even try flavored candy melts if you want to add an extra twist! Just think about the theme of your event or who you’re serving, and customize to delight your guests even more!
Remember, these FAQs are designed to help you navigate your Ruler Rice Krispies baking experience, ensuring it’s as delightful and fun as the treats themselves!
Rainbow Ruler Rice Krispies Treats that Wow Every Party
Equipment
- 9×13-inch baking dish
- large saucepan
- spatula
- Piping bag
- Cutting Board
- sharp knife
- microwave-safe bowls
Ingredients
For the Bars
- 6 cups Rice Krispies cereal Provides that classic crunch for your colorful creation.
- 1 10 oz bag Mini marshmallows The gooey hero that binds your rice squares together!
- 3 tablespoons Butter Adds a silky richness to your mixture.
For Coloring
- Red gel food coloring Brightens one portion to create a fun red layer.
- Yellow gel food coloring Gives another layer a cheerful, sunny hue.
- Black gel food coloring Perfect for adding dramatic accents later on.
For Decorating
- ½ cup White candy melts Helps create the shiny 'metal edge' of your ruler.
- ½ cup Chocolate chips (or brown candy melts) Perfect for adding ruler markings with deliciousness!
- Black decorating gel or black edible marker For detailing numbers and lines on the treats.
For Preparation
- Non-stick cooking spray Ensures easy removal of your treats from the pan.
- Parchment paper Keeps everything from sticking and simplifies cleanup.
Instructions
Preparation Steps
- Prepare a 9×13 inch baking dish. Line it with parchment paper and spray with non-stick cooking spray.
- In a large saucepan, melt butter over low heat. Add mini marshmallows, stirring until completely melted and smooth.
- Remove from heat and add Rice Krispies cereal to the mixture. Stir well for about 2 minutes.
- Divide the mixture into three equal portions. Keep one plain, add yellow gel to another, and red gel to the last.
- Press the red mixture into the bottom third of the prepared dish, yellow in the center, and plain on top. Cool completely for 30 minutes.
- Cut the treats into rectangle bars, aiming for 12 long bars.
- Melt white candy melts and chocolate chips in separate bowls for about 30 seconds, stirring until smooth.
- Decorate the treats with melted chocolate and white candy melts, creating ruler markings and a shiny edge.
- Using black gel or an edible marker, add numbers and lines for the ruler details. Allow to set for 15 minutes.
- Serve and enjoy your Ruler Rice Krispies!


Leave a Reply