
You wouldn't believe how quickly I fell head over heels for Chocotorta. This delightful dessert combines the rich decadence of chocolate cookies with the creamy sweetness of dulce de leche and cream cheese—perfect for anyone craving a homemade treat from the comfort of their own kitchen. Not only is this no-bake dessert incredibly simple to whip up in just 15 minutes, but it also promises to impress friends and family alike. With its layered textures and luscious flavors, it’s a crowd-pleaser that will have everyone asking for seconds. Whether you're treating yourself after a long day or planning the perfect finale for a gathering, this Chocotorta is bound to become a favorite. So, what’s your secret to making a dessert feel special? Let’s dive into making this unforgettable treat!
Why is Chocotorta a Must-Try?
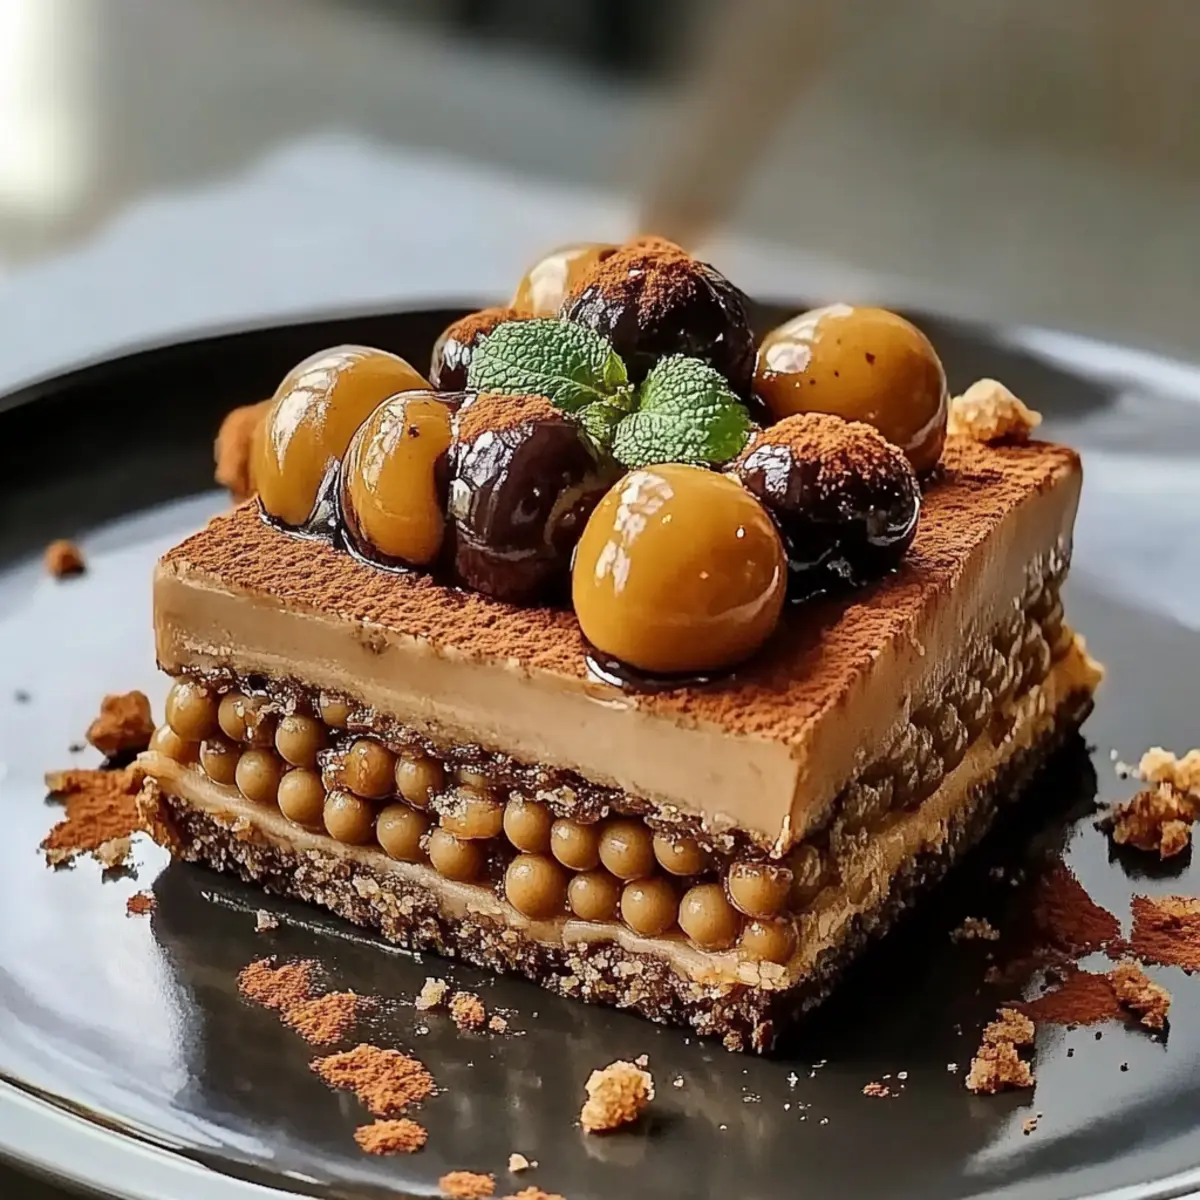
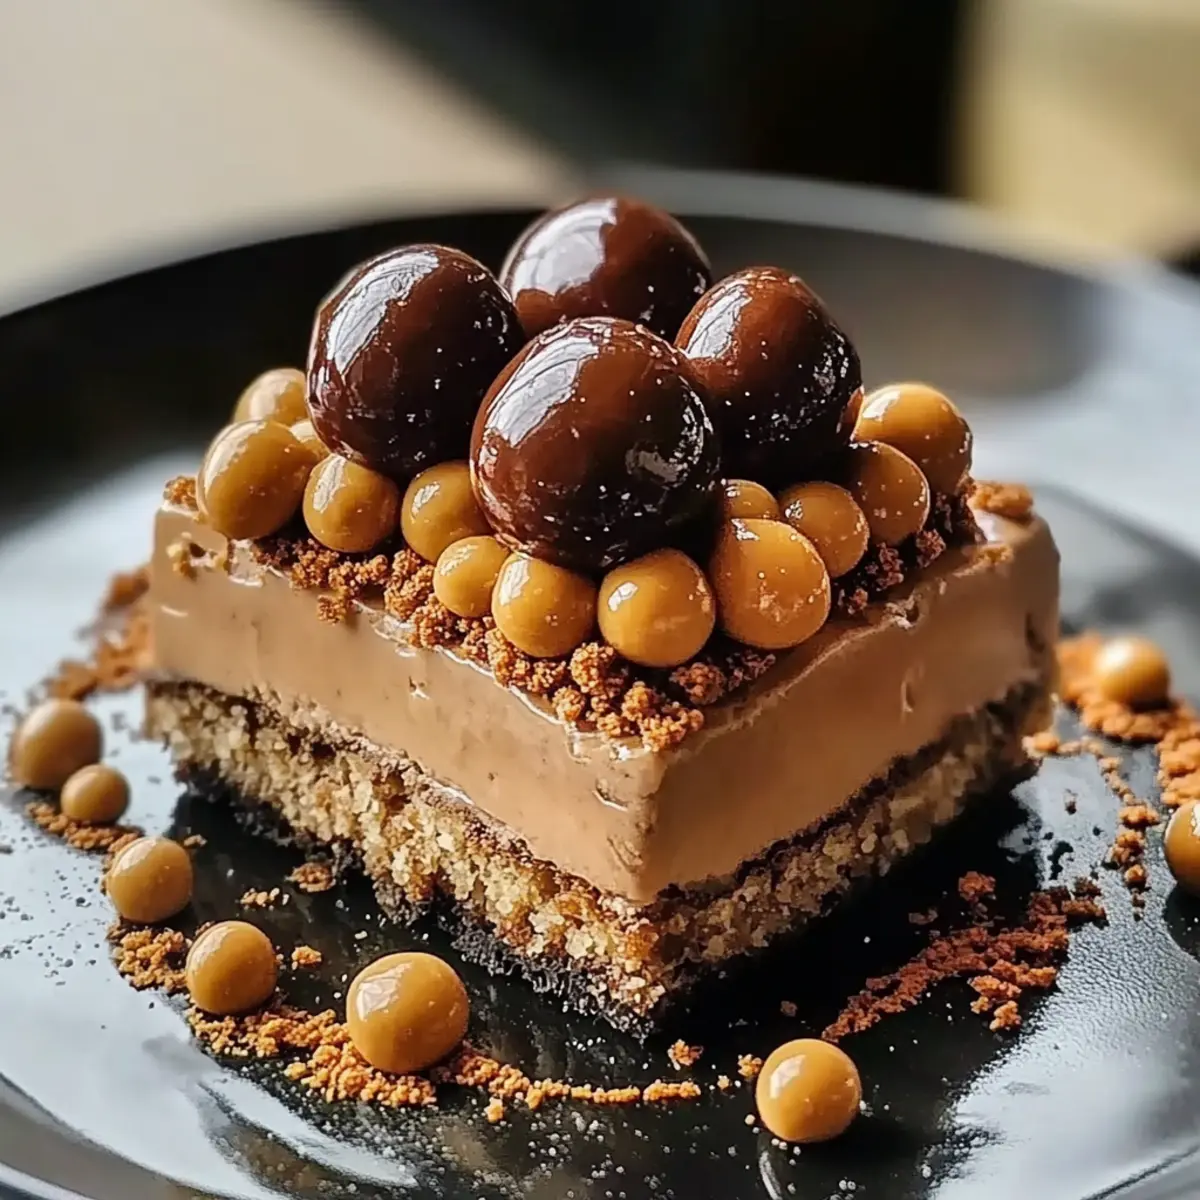
Irresistible Layers: Each bite reveals creamy layers of dulce de leche and cream cheese that blend beautifully with the soft chocolate cookies.
Quick & Easy: You’ll love how effortless this no-bake recipe is to put together—just 15 minutes from start to fridge!
Crowd Favorite: Perfect for gatherings, Chocotorta’s elegance and rich flavor profile ensures it’ll be a hit at any event.
Make Ahead: The flavors mingle beautifully when chilled overnight, allowing you to prepare it in advance for any occasion.
Versatile Delight: Add a twist with garnishes like chocolate shavings or fresh fruit to customize your dessert and impress guests!
Chocotorta Ingredients
• Here’s everything you need to make this no-bake delight!
For the Layers
- 500 g chocolate cookies – these cookies provide the rich chocolate base that complements the creamy filling.
- 400 g dulce de leche – a sweet, caramel-like treat that adds moisture and flavor to your Chocotorta.
- 1 cup cream cheese – this ingredient brings a smooth, tangy richness that balances the sweetness of the dulce de leche.
- 1 teaspoon vanilla extract – a splash of vanilla elevates the flavors and adds warmth.
Optional Garnishes
- Chocolate shavings – sprinkle these on top for an extra touch of elegance and chocolatey goodness.
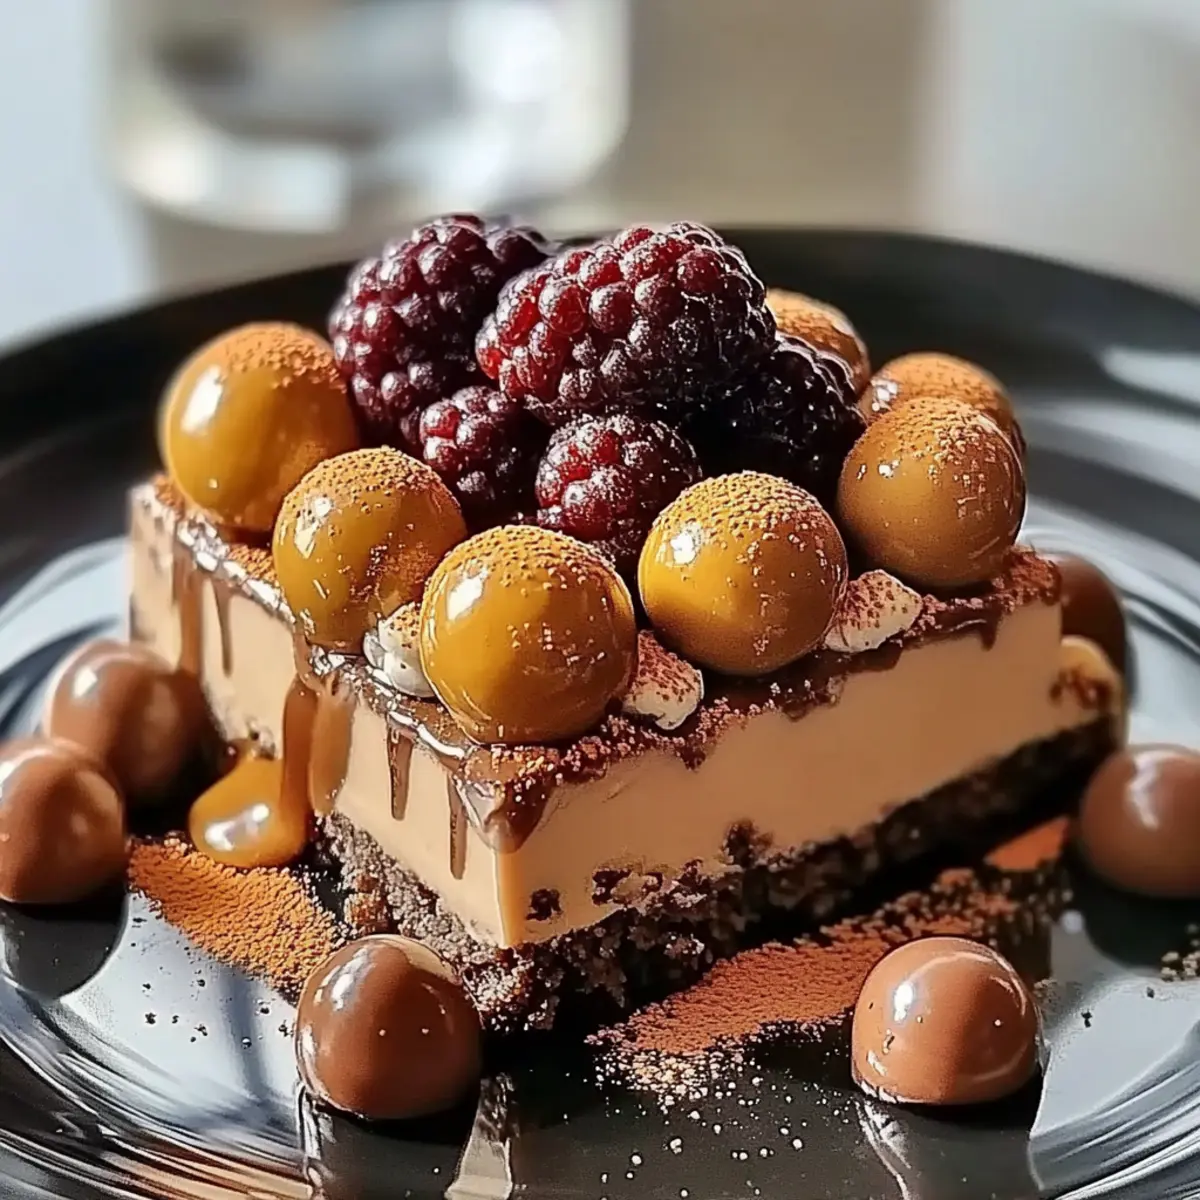
- Fresh fruit – berries or slices of banana can add a refreshing contrast to the rich dessert.
Remember, the right ingredients make all the difference in creating an unforgettable Chocotorta!
Step‑by‑Step Instructions for Chocotorta
Step 1: Mix the Filling
In a large mixing bowl, combine 400 g of dulce de leche with 1 cup of cream cheese and 1 teaspoon of vanilla extract. Using a hand mixer or a whisk, blend the ingredients on medium speed until the mixture is smooth and creamy, about 2-3 minutes. This rich filling will be the heart of your Chocotorta.
Step 2: Prepare the Cookies
Quickly dip each chocolate cookie in water or milk for just a couple of seconds to soften them. Make sure not to soak them—just a gentle dip will do. This step is crucial, as it allows the cookies to absorb moisture and blend perfectly with the creamy filling, creating that luscious layer in your Chocotorta.
Step 3: Layer the Cookies
Take a rectangular dish and begin layering the softened cookies on the bottom, aligning them closely to cover the entire surface. Aim for an even layer with no gaps. Place the cookies neatly, creating a solid foundation for your dessert that will support the creamy filling beautifully.
Step 4: Apply the Creamy Layer
Once the cookies are in place, generously spread a layer of the dulce de leche and cream cheese mixture over the cookies. Use a spatula to distribute it evenly, ensuring every corner is filled. It's important to achieve a smooth, even layer, as this sets the stage for the following layers of cookies and filling.
Step 5: Repeat Layering
Continue the process of layering by dipping more chocolate cookies, placing them over the cream layer, and then adding another layer of the creamy mixture. Repeat this sequence until you have used all your cookies and filling, and finish with a final layer of the cream mixture on top for a perfect Chocotorta finish.
Step 6: Chill to Set
Cover the dish with plastic wrap or a lid and place it in the refrigerator. Allow the Chocotorta to chill for at least 4 hours, but for best results, let it set overnight. This chilling time helps the flavors meld beautifully and ensures a firm, sliceable dessert.
Step 7: Slice and Serve
When ready to serve, carefully remove the Chocotorta from the refrigerator and slice it into portions with a sharp knife. Serve it chilled, perhaps garnished with chocolate shavings or fresh fruit, for a delightful treat that is sure to impress!
Chocotorta Variations & Substitutions
Feel free to embark on a flavor adventure with these fun twists on your Chocotorta!
-
Dairy-Free: Swap cream cheese for vegan cream cheese and use coconut milk for soaking your cookies. This version is just as creamy and indulgent!
-
Gluten-Free: Choose gluten-free chocolate cookies for a delightful treat that everyone can enjoy. It’s amazing how just a simple swap can make this dessert accessible to all!
-
Nutty Crunch: Add crushed nuts, like walnuts or almonds, in between layers for an extra texture boost. The crunch pairs beautifully with the creamy layers, giving your Chocotorta a delightful surprise in every bite.
-
Flavored Cream Cheese: Use flavored cream cheese, such as strawberry or hazelnut, for a unique twist on the taste. It adds a wonderful zing and a new dimension to your dessert that will be a guest favorite.
-
Fruit-Filled Layers: Incorporate layers of fresh fruit, like sliced bananas or berries, between the creamy filling and cookies. The fruity freshness creates a contrast that makes each slice even more exciting!
-
Chocolate-Dipped: Dip the top layer of your Chocotorta in melted chocolate for a decadent finish. This glossy layer not only looks gorgeous but also adds a rich chocolatey kick to each bite!
-
Spiced Touch: Mix in a dash of cinnamon or nutmeg into the cream cheese filling for a warm, spiced flavor that's perfect for holidays or cozy gatherings. It’s a wonderful way to elevate the simple flavors of the Chocotorta.
-
Coffee Kick: For coffee lovers, add a shot of espresso to the cream cheese mixture. This vibrant addition will give your Chocotorta a delightful coffee flavor that pairs perfectly with chocolate!
Explore these variations to make the classic Chocotorta your very own, and don’t hesitate to experiment further. Serving it with a side of freshly brewed coffee or even a scoop of vanilla ice cream can elevate the experience!
Expert Tips for Chocotorta
-
Soften Cookies Right: Dip the chocolate cookies in water or milk only briefly; too much soaking will make them soggy and fall apart.
-
Layer Evenly: Ensure each layer of cream and cookies is evenly spread and aligned. This prevents shifting and creates beautiful, uniform slices of Chocotorta.
-
Chill Properly: Be patient with the chilling time—letting it set overnight helps the flavors develop and firms up the dessert for perfect slicing.
-
Customize It: Feel free to add unique flavors or garnishes like crushed nuts or caramel sauce. This makes each Chocotorta special to your taste!
-
Check Freshness: Use fresh cream cheese and dulce de leche for the best flavor. Stale ingredients can affect the texture and taste of your Chocotorta.
Make Ahead Options
Preparing Chocotorta in advance is a fantastic way to save time and ensure your dessert is ready for any occasion! You can assemble the entire dessert up to 24 hours ahead of time, allowing the layers to set properly while the flavors meld beautifully. Simply follow the layering instructions, cover it tightly with plastic wrap, and refrigerate. For the best quality, avoid adding any garnishes until just before serving, as they may lose freshness if left too long. When you're ready to serve, just slice through the chilled layers and present your Chocotorta with a flourish, achieving impressive results with minimal last-minute effort!
How to Store and Freeze Chocotorta
Fridge: Store Chocotorta in an airtight container for up to 5 days. This keeps it fresh and allows the flavors to continue developing.
Freezer: To freeze, wrap individual slices tightly in plastic wrap, then place them in a freezer-safe container. It will stay good for up to 2 months.
Thawing: When ready to enjoy, thaw the Chocotorta in the fridge overnight. Serve chilled for the best texture and flavor experience.
Make Ahead: You can prepare Chocotorta a day in advance; the chilling enhances the dessert's rich flavors beautifully.
What to Serve with Chocotorta
Indulging in a slice of this decadent dessert is an experience best complemented by delightful pairings that elevate your meal.
-
Fresh Berries: The tartness of strawberries or raspberries contrasts beautifully with the rich sweetness of Chocotorta, creating a perfect balance.
-
Whipped Cream: A dollop of lightly sweetened whipped cream adds a fluffy texture that enhances the creaminess of the Chocotorta layers.
-
Coffee or Espresso: A steaming cup of coffee cuts through the richness, making every bite feel even more luxurious and enjoyable.
-
Chocolate Shavings: Sprinkling chocolate shavings on top enhances the visual appeal while adding an extra layer of chocolatey goodness.
-
Banana Slices: Fresh banana slices provide a tropical twist and a refreshing bite that complements the creamy layers of the dessert.
-
Mint Tea: Sip on a warm cup of mint tea; its refreshing notes offer a wonderful contrast to the decadent flavors of the Chocotorta.
-
Vanilla Ice Cream: A scoop of vanilla ice cream on the side melts into the dessert, making each forkful even more indulgent and creamy.
-
Caramel Sauce: Drizzling some caramel sauce over individual slices adds an additional layer of flavor that enhances the dessert experience.
-
Dark Chocolate Sauce: For true chocoholics, a rich dark chocolate sauce intensifies the chocolate experience while adding visual flair.
Chocotorta Recipe FAQs
How do I choose the right chocolate cookies for Chocotorta?
Absolutely! Look for chocolate cookies that are soft and have a good balance of sweetness; I often use Oreos or similar brands. Ensure they are fresh, as old cookies may lack the moistness needed for the dessert.
How should I store leftover Chocotorta?
For fridge storage, place Chocotorta in an airtight container, and it will stay fresh for up to 5 days. This maintains its delightful texture and allows the flavors to meld even further.
Can I freeze Chocotorta, and if so, how?
Very! To freeze, slice the Chocotorta and wrap each piece tightly in plastic wrap. Then, place them in a freezer-safe container. It can last for up to 2 months. When you're ready to enjoy, simply thaw it in the fridge overnight for the best results.
What could go wrong when making Chocotorta?
Common issues include cookies falling apart during layering. To prevent this, ensure you only dip them briefly in milk or water—just a quick dip will suffice. If the cream layer seems too runny, double-check that your cream cheese is properly softened and well-mixed; sometimes chilling it for a little longer can also help firm it up.
Are there any dietary considerations for Chocotorta?
Yes! If you're making it for someone with gluten sensitivities, you can easily substitute regular chocolate cookies for gluten-free options, ensuring everyone can enjoy this delicious treat. Additionally, check the dulce de leche for any potential allergens if cooking for guests with food allergies.
Decadent Chocotorta: Your Ultimate No-Bake Dessert Delight
Equipment
- mixing bowl
- spatula
- whisk
- rectangular dish
- plastic wrap
Ingredients
For the Layers
- 500 g chocolate cookies these cookies provide the rich chocolate base
- 400 g dulce de leche adds moisture and flavor to your Chocotorta
- 1 cup cream cheese brings a smooth, tangy richness
- 1 teaspoon vanilla extract elevates the flavors
Optional Garnishes
- chocolate shavings for an extra touch of elegance
- fresh fruit e.g., berries or banana slices
Instructions
Step-by-Step Instructions for Chocotorta
- In a large mixing bowl, combine dulce de leche, cream cheese, and vanilla extract. Blend until smooth and creamy, about 2-3 minutes.
- Dip each chocolate cookie in water or milk for just a couple of seconds to soften them.
- Layer the softened cookies in a rectangular dish, covering the bottom evenly.
- Spread a layer of the dulce de leche and cream cheese mixture over the cookies evenly.
- Repeat layering cookies and creamy mixture until all ingredients are used, finishing with the cream mixture on top.
- Cover and refrigerate for at least 4 hours, preferably overnight.
- Slice and serve chilled, garnished with optional chocolate shavings or fresh fruit.


Leave a Reply