
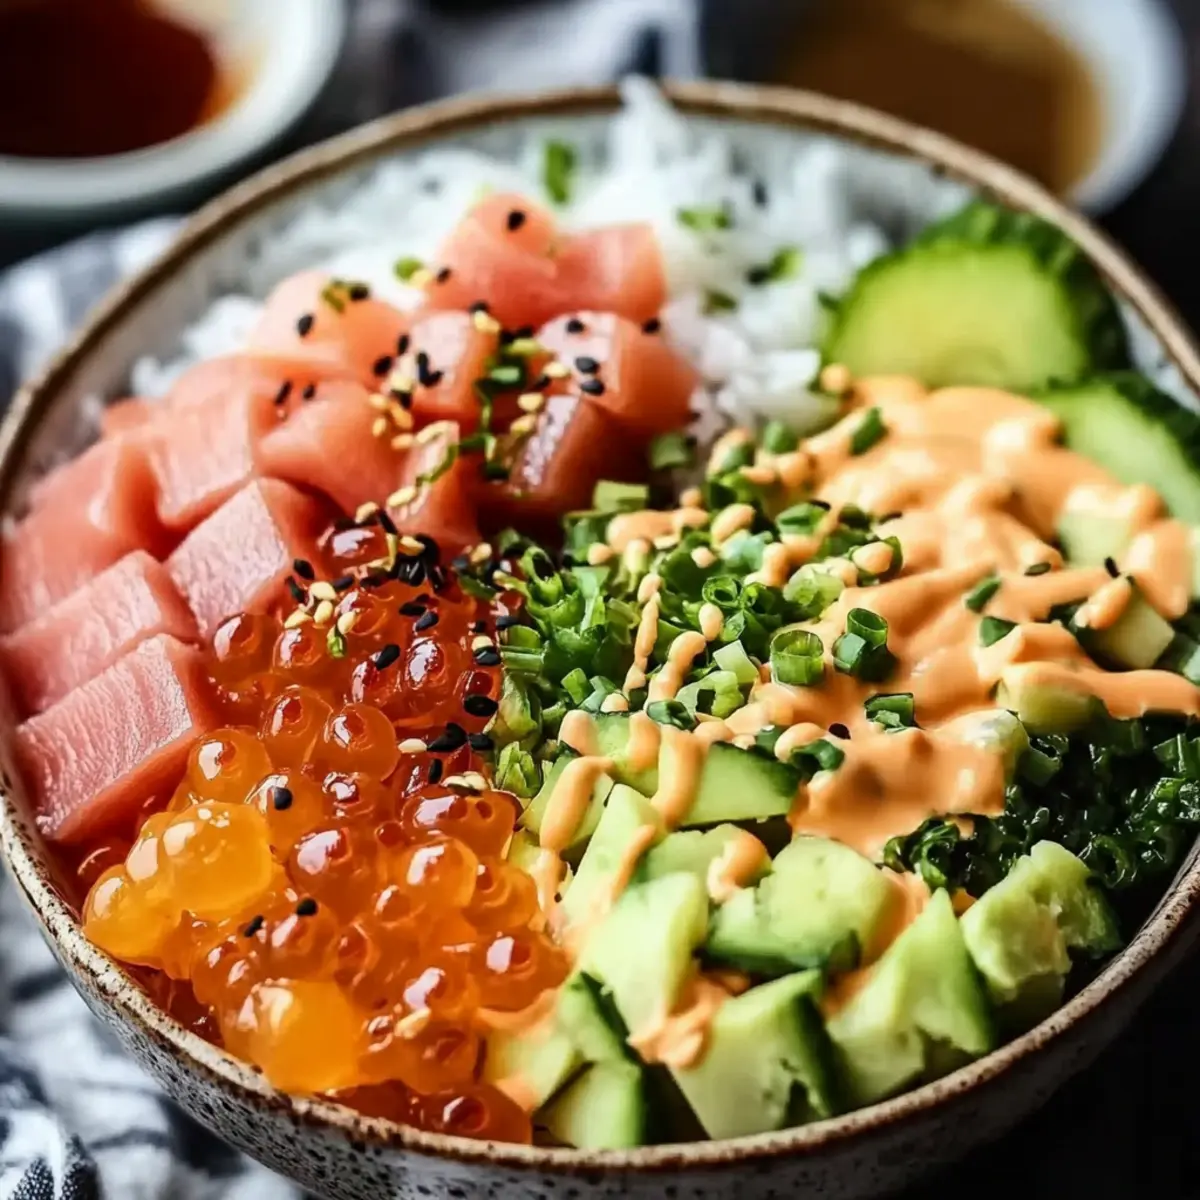
As I sampled my first bowl of California Sushi Bowls, a wave of refreshing flavors transported me straight to the sun-kissed beaches of the West Coast. This delightful dish combines the vibrant freshness of avocado and cucumber with the savory goodness of crab meat, making it an ideal meal for those longing to reconnect with the joys of homemade food. Not only does this recipe come together in just 35 minutes, but it’s also a crowd-pleaser that effortlessly elevates your weeknight dinners. Whether you’re treating yourself or impressing friends, these bowls promise to satisfy cravings without the guilt of fast food. Ready to dive into a bowl filled with sunshine? Let’s get started!
Why Are California Sushi Bowls So Irresistible?
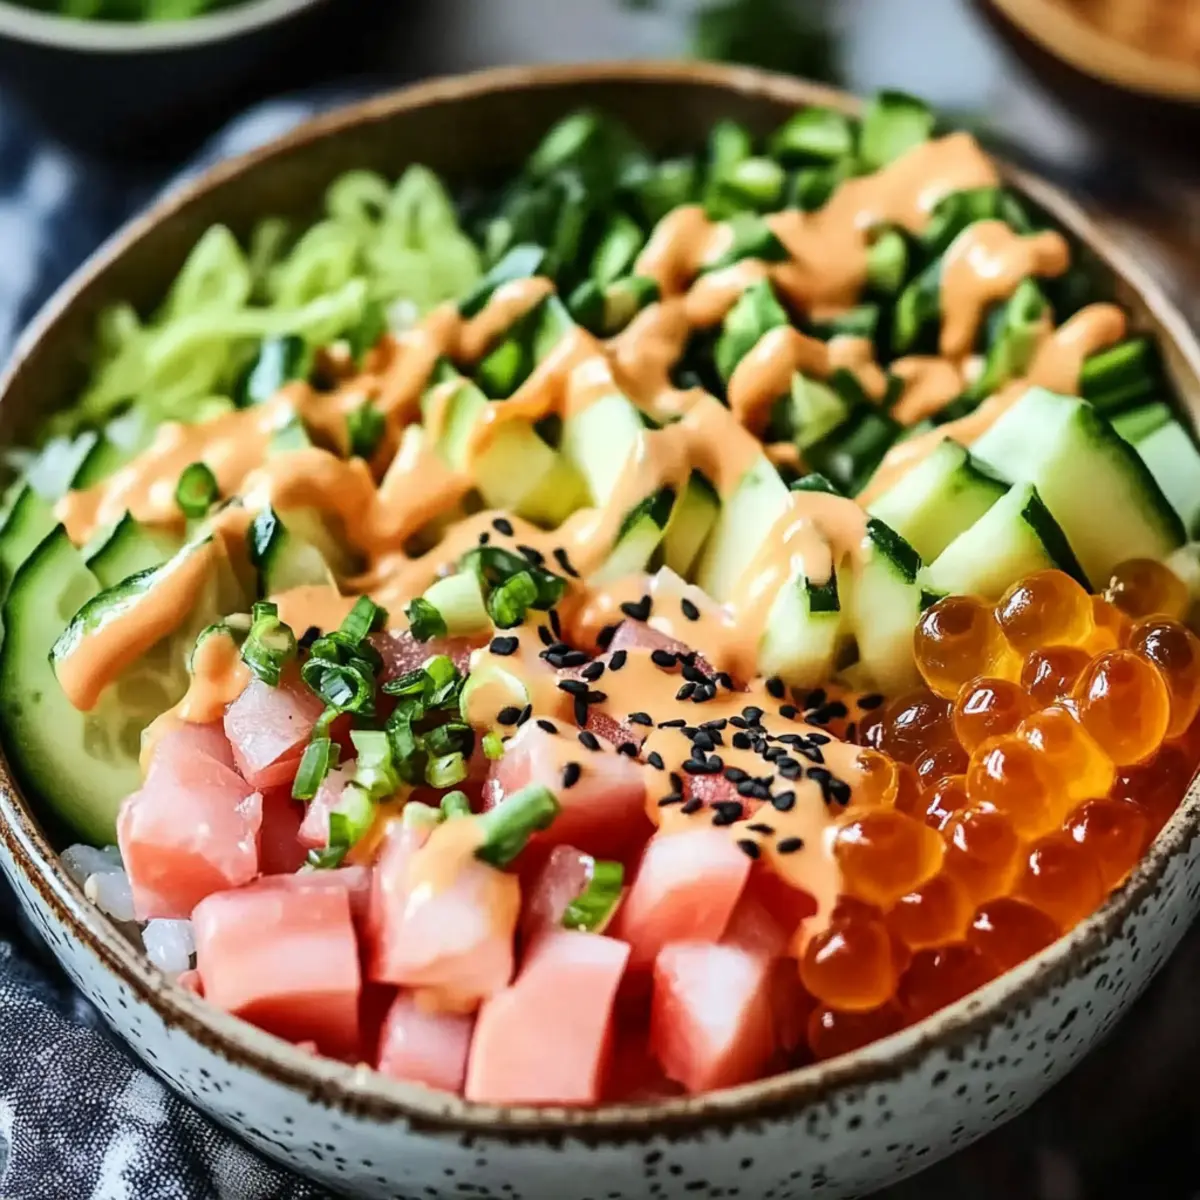
Freshness at Your Fingertips: Each bowl bursts with vibrant ingredients like creamy avocado and crunchy cucumbers, offering a taste of summer in every bite.
Customizable Delight: Swap out crab meat for shrimp or even tofu to cater to your personal preferences or dietary needs, making this recipe truly your own.
Quick and Easy: With just 35 minutes from start to finish, these bowls fit seamlessly into your busy lifestyle, proving that healthy meals can be both simple and satisfying.
Crowd-Pleasing Factor: Serve these colorful bowls at your next gathering, and watch them disappear faster than takeout! They’re not just a meal; they're a conversation starter.
Explore more delicious choices, like Burger Bowls Customizable or the savory Salmon Sushi Bake for more fun in the kitchen!
California Sushi Bowls Ingredients
For the Rice
- Sushi rice – Essential for that perfect sticky texture that holds the bowl together.
- Water – Necessary for cooking the rice to fluffy perfection.
- Rice vinegar – Adds a delightful tang that balances the flavors beautifully.
- Sugar – A touch of sweetness enhances the overall taste of the rice.
- Salt – Brings all the flavors together and elevates the dish.
For the Toppings
- Avocado – Creamy and rich, it adds a luxurious touch to your California Sushi Bowls.
- Cucumber – Fresh and crunchy, it provides a refreshing contrast to the other ingredients.
- Crab meat – Offers a taste of the sea; consider swapping for shrimp or salmon for a different twist.
- Edamame – Packed with protein, these tender seeds bring color and nutrition to your bowl.
- Seaweed salad – A flavorful addition that adds a unique umami kick.
- Soy sauce – Drizzle on top for a savory finish; use tamari for a gluten-free alternative.
- Sesame seeds – Sprinkle for added crunch and a nutty flavor to round out the dish.
Step‑by‑Step Instructions for California Sushi Bowls
Step 1: Rinse the Rice
Begin by rinsing 2 cups of sushi rice under cold running water. This crucial step helps remove excess starch, ensuring the rice becomes fluffy instead of sticky. Agitate the rice gently until the water runs clear, then drain it well in a fine-mesh strainer.
Step 2: Cook the Rice
In a medium pot, combine the rinsed sushi rice with 2 ½ cups of water. Bring the mixture to a gentle boil over medium-high heat. Once boiling, reduce the heat to low, cover the pot, and let it simmer for 18 to 20 minutes. The rice is done when the water is completely absorbed and the grains are tender.
Step 3: Prepare the Vinegar Mixture
While the rice is cooking, mix ¼ cup rice vinegar, 2 tablespoons sugar, and 1 teaspoon salt in a small bowl. Stir until the sugar and salt are fully dissolved. If needed, heat the mixture gently for a few seconds in the microwave to aid dissolution, but avoid boiling.
Step 4: Let the Rice Rest
After the rice has cooked, remove it from heat and let it rest covered for an additional 10 minutes. This step allows the moisture to evenly distribute, enhancing the texture of your California Sushi Bowls.
Step 5: Fluff and Season the Rice
Once the resting time is complete, use a fork to fluff the rice gently. Gradually mix in the prepared vinegar mixture, ensuring that every grain is coated evenly. The rice should have a glossy finish while still being light and fluffy.
Step 6: Assemble the Bowls
Divide the seasoned sushi rice among 5 serving bowls, creating a generous base for your toppings. Feel free to arrange the rice in a mound to add height and visual appeal to your California Sushi Bowls.
Step 7: Add the Toppings
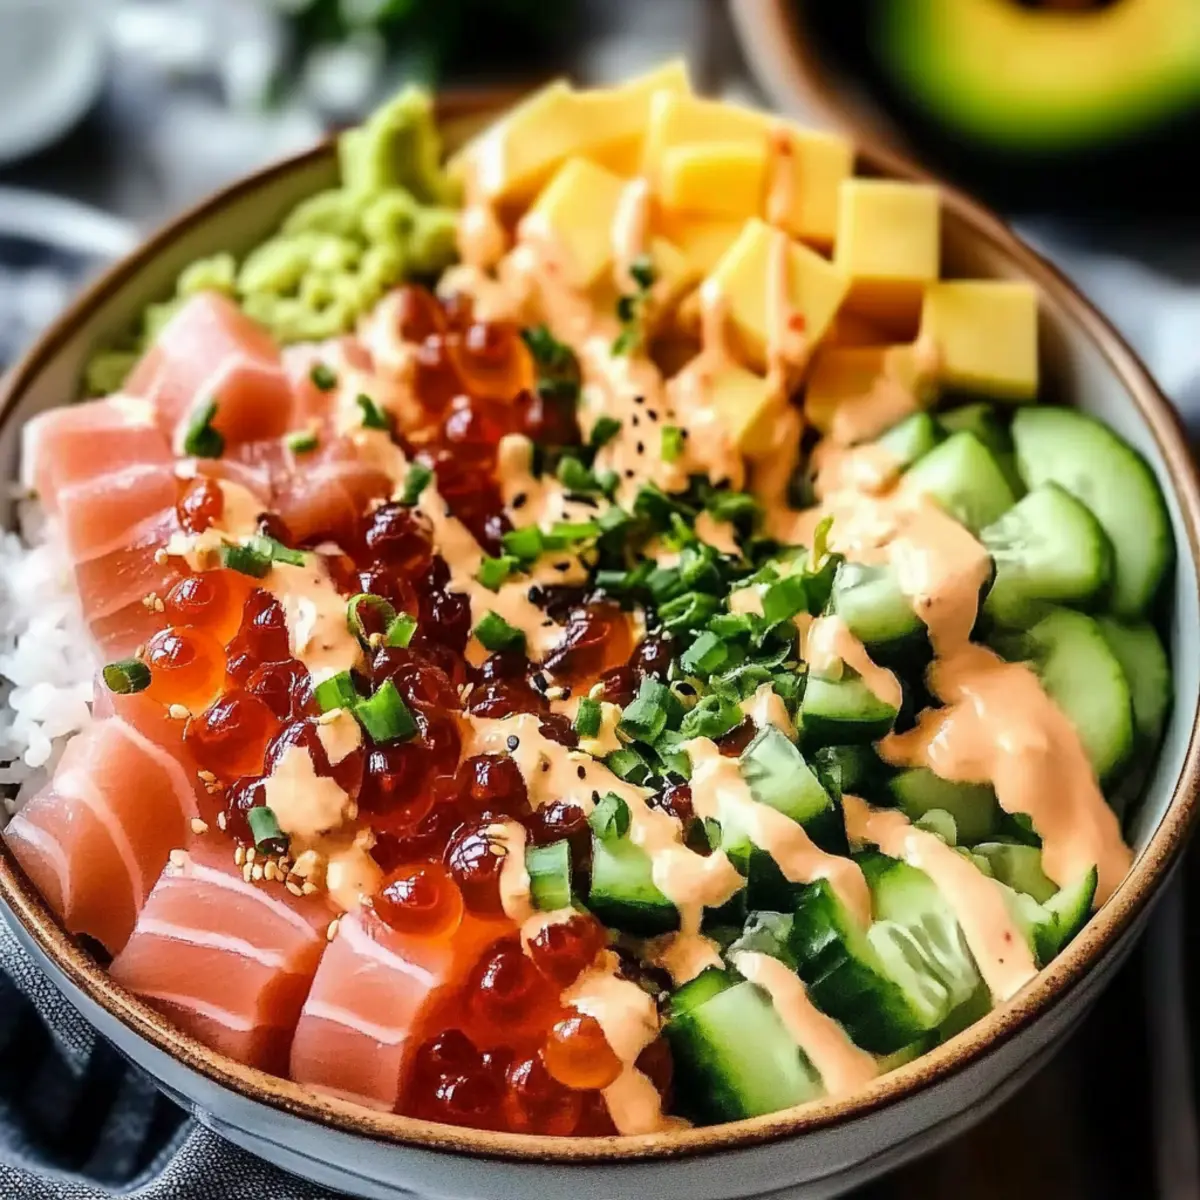
Now it's time to layer on the colorful toppings! Start with slices of creamy avocado and diced cucumber for freshness. Next, evenly distribute the crab meat, edamame, and a sprinkle of seaweed salad across each bowl, creating a delightful medley of flavors.
Step 8: Drizzle and Garnish
Finally, drizzle ¼ cup of soy sauce over each bowl for a flavorful finish. To round off your California Sushi Bowls, sprinkle sesame seeds on top for an added crunch and nutty flavor that enhances the overall experience.
Expert Tips for California Sushi Bowls
-
Perfect Rice Rinse: Always rinse sushi rice thoroughly until the water runs clear to remove excess starch, preventing overly sticky rice.
-
Resting Time Matters: Let the cooked rice sit covered for 10 minutes after cooking; this ensures optimal texture for your California Sushi Bowls.
-
Vinegar Mixture Heat: If sugar and salt don't dissolve easily, gently heat the vinegar mixture. Avoid boiling; just warm enough to dissolve.
-
Customizable Toppings: Feel free to swap crab meat with shrimp or tofu for unique flavors, accommodating dietary preferences while keeping it fresh!
-
Balanced Soy Sauce: Start with less soy sauce when drizzling; you can always add more. This helps avoid overpowering the dish's delicate flavors.
Make Ahead Options
Preparing these California Sushi Bowls in advance is a fantastic time-saver, especially for busy weeknights! You can cook and season the sushi rice up to 24 hours ahead and store it in an airtight container in the refrigerator. To maintain quality, let it cool to room temperature before refrigerating to prevent clumping. Additionally, you can slice the avocado, dice cucumber, and pre-cook the crab meat up to 3 days in advance. Just remember to sprinkle a bit of lemon juice on the avocado to keep it fresh and vibrant. When you're ready to serve, simply reheating the rice briefly in the microwave (if preferred warm) and arrange your toppings for a delightful homemade experience!
How to Store and Freeze California Sushi Bowls
Fridge: Keep any leftover California Sushi Bowls in an airtight container for up to 3 days. This ensures the ingredients stay fresh and delicious for your lunch or dinner.
Freezer: While it's best enjoyed fresh, you can freeze the rice portion only for up to 1 month. Cool it completely, then pack it in freezer bags to save space and preserve flavor.
Reheating: To enjoy frozen rice, let it thaw in the refrigerator overnight, then reheat in the microwave, adding a splash of water to retain moisture.
Toppings Storage: Store toppings like avocado and cucumber separately in the fridge. Avocado tends to brown quickly, so use it within a day for best quality.
California Sushi Bowls Variations & Substitutions
Feel free to mix and match these ideas to make your California Sushi Bowls even more delightful!
-
Dairy-Free: Substitute avocado with a dollop of coconut yogurt for a creamy, plant-based twist. It adds a subtle sweet flavor that pairs beautifully with fresh toppings.
-
Heat It Up: Add sliced jalapeños or a sprinkle of chili flakes to your bowl for a spicy kick that elevates your sushi experience! Just remember, a little goes a long way.
-
Vegan Option: Replace crab meat with marinated tofu or chickpeas for a hearty vegan alternative that doesn’t skimp on flavor or texture! This twist is not only filling but also packed with protein.
-
Grain Swap: Use quinoa or brown rice instead of sushi rice for a health boost, adding fiber and nuttiness for a more wholesome base to your bowls. They're also gluten-free, making them a versatile choice!
-
Flavor Boost: Incorporate some fresh herbs like cilantro or basil for a fragrant touch that brightens the dish. Herbs add an aromatic quality that complements the other ingredients beautifully.
-
Texture Play: Toss in some crispy fried onions or tempura vegetables to introduce a delightful crunch that contrasts with the creamy avocado and soft rice. This texture variety enhances every bite!
-
Fruity Twist: Try adding pineapple or mango chunks for a tropical twist that brings sweetness and acidity to balance the savory elements of the bowl. It’s like a beach vacation in a dish!
-
Nutty Flavor: Mix in a tablespoon of hoisin sauce or peanut sauce instead of soy sauce for a delightful nutty flavor that transforms your sushi bowls into a whole new experience!
Find inspiration for further culinary adventures in the comforting recipe of Burger Bowls Customizable or explore the deliciously layered Salmon Sushi Bake for more exciting dinner options!
What to Serve with California Sushi Bowls?
Enhance your California Sushi Bowls experience with delightful pairings that create a vibrant and balanced meal.
-
Miso Soup: A warm and savory counterpart, it’s light yet flavorful, making it a perfect starter before diving into your colorful bowls.
-
Pickled Ginger: This tangy and sweet garnish cleanses the palate and adds an extra zing, balancing the rich flavors of avocado and crab.
-
Sea Salt Edamame: Steamed and sprinkled with sea salt, these nutritious beans provide a satisfying crunch and complement the fresh elements beautifully.
-
Crispy Tempura Vegetables: The crunchy tempura batter contrasts beautifully with the freshness of the sushi bowls, offering both texture and flavor that delight the senses.
-
Sake: A chilled glass of sake enhances the meal's authenticity, providing smooth notes that pair well with seafood flavors.
-
Mango Sticky Rice: For dessert, this tropical treat brings a sweet finish to your dining experience, balancing savory and sweet in perfect harmony.
Indulge in these pairings and transform your California Sushi Bowls into a feasting experience that transports you to the heart of coastal cuisine.
California Sushi Bowls Recipe FAQs
What type of rice should I use for California Sushi Bowls?
Absolutely! It’s essential to use sushi rice for this recipe. Look for short-grain or medium-grain varieties, which are stickier than regular rice and perfect for sushi bowls. This texture helps the rice hold together and ensures that every delightful bite is well-balanced.
How should I store leftovers?
I recommend storing any leftover California Sushi Bowls in an airtight container in the refrigerator. They’ll stay fresh for up to 3 days. Just be sure to keep the toppings like avocado and cucumber separate to maintain their freshness and prevent browning.
Can I freeze the rice for California Sushi Bowls?
Yes, you can! To freeze the rice, first, let it cool completely. Then, pack it into freezer bags, removing as much air as possible. It can be frozen for up to 1 month. When you’re ready to use it, simply thaw it in the refrigerator overnight and reheat gently in the microwave with a splash of water.
What should I do if my rice turns out too sticky?
Very often, too much starch is the culprit behind overly sticky rice. If this happens, try using less water next time or rinsing the rice more thoroughly until the water runs completely clear. If you've already made your rice, consider creating California Sushi Bowls anyway—just fluff the rice and layer it with toppings to balance the flavors!
Are California Sushi Bowls suitable for gluten-free diets?
Yes! You can easily make California Sushi Bowls gluten-free by using tamari instead of regular soy sauce. Just check the labels on other ingredients like seaweed salad or any pre-packaged components to ensure they’re also gluten-free. Enjoying a delicious homemade meal has never been easier!
Is there a substitute for crab meat in California Sushi Bowls?
Absolutely! You can easily swap out crab meat with shrimp, salmon, or even tofu for a vegetarian option. If you choose to use shrimp or salmon, just make sure they are cooked beforehand. This allows you to tailor your California Sushi Bowls to your preferences, making them a truly personalized delight!
California Sushi Bowls: Fresh, Flavorful, and Fun to Make!
Equipment
- Pot
- strainer
- Small Bowl
Ingredients
For the Rice
- 2 cups sushi rice Essential for that perfect sticky texture that holds the bowl together.
- 2.5 cups water Necessary for cooking the rice to fluffy perfection.
- 0.25 cups rice vinegar Adds a delightful tang that balances the flavors beautifully.
- 2 tablespoons sugar A touch of sweetness enhances the overall taste of the rice.
- 1 teaspoon salt Brings all the flavors together and elevates the dish.
For the Toppings
- 1 medium avocado Creamy and rich, it adds a luxurious touch.
- 1 medium cucumber Fresh and crunchy, it provides a refreshing contrast.
- 8 ounces crab meat Offers a taste of the sea; consider swapping for shrimp or salmon.
- 1 cup edamame Packed with protein, these tender seeds bring color and nutrition.
- 1 cup seaweed salad A flavorful addition that adds a unique umami kick.
- 0.25 cups soy sauce Drizzle on top for a savory finish; use tamari for gluten-free.
- 2 tablespoons sesame seeds Sprinkle for added crunch and a nutty flavor.
Instructions
Preparation Steps
- Rinse the sushi rice under cold running water until the water runs clear. Drain well.
- Combine the rinsed sushi rice with water in a medium pot and bring to a gentle boil. Reduce heat, cover, and simmer for 18-20 minutes until water is absorbed.
- Mix rice vinegar, sugar, and salt in a small bowl until dissolved. Heat gently if necessary.
- Remove rice from heat and let it rest covered for 10 minutes.
- Fluff the rice with a fork, mix in the vinegar mixture until coated.
- Divide the seasoned rice among 5 bowls.
- Layer on toppings of avocado, cucumber, crab meat, edamame, and seaweed salad.
- Drizzle with soy sauce and sprinkle sesame seeds on top.
Leave a Reply